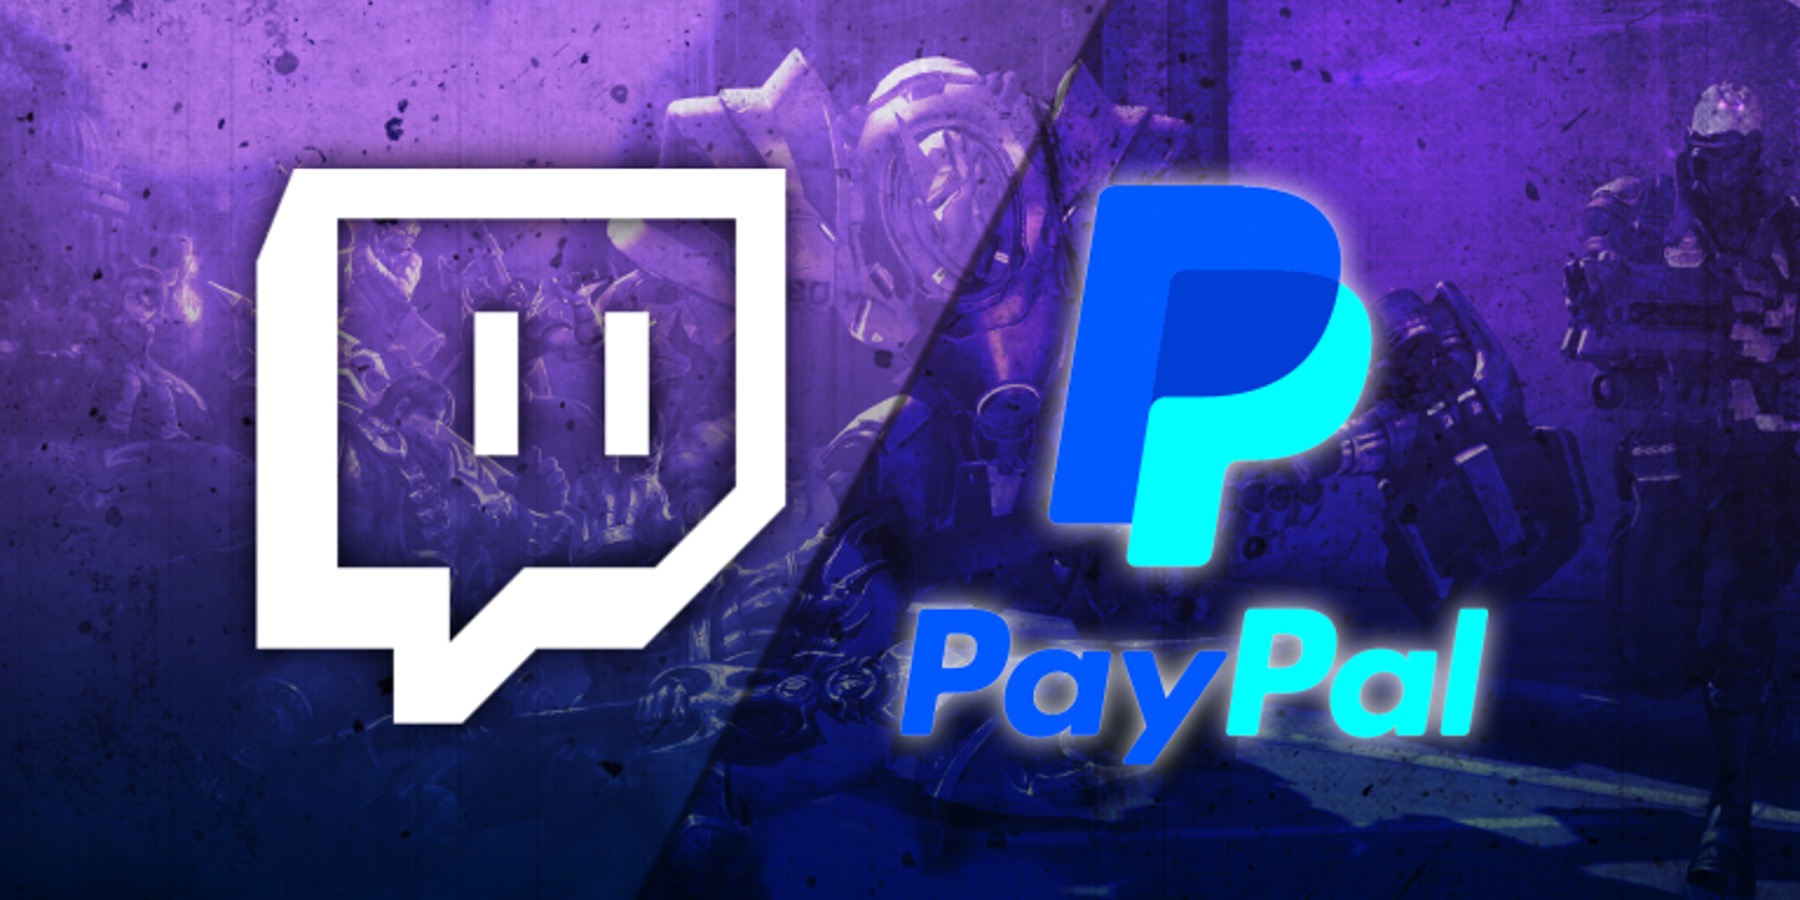
Introduction
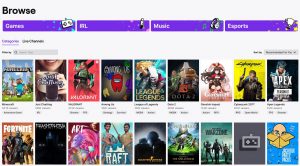
Welcome to the world of streaming on Twitch! As a content creator, one of the ways you can monetize your channel and earn support from your viewers is through donations. And what better way to accept donations than through PayPal, a widely recognized and trusted online payment platform?
In this guide, we will walk you through the process of setting up PayPal on Twitch, allowing your viewers to easily donate to your channel. Whether you’re just starting or have been streaming for a while, integrating PayPal into your Twitch channel can make it convenient for your audience to show their support.
By linking your PayPal account to your Twitch channel, you can create a customized donation button and add it to your channel page. This provides your viewers with a seamless way to contribute, ensuring a hassle-free donation process. Additionally, PayPal offers secure transactions and robust fraud protection, giving you and your viewers peace of mind.
Let’s dive into the step-by-step process of creating and setting up your PayPal account on Twitch. By following these instructions, you’ll be well on your way to accepting donations and building a thriving community of supporters.
Step 1: Creating a PayPal Account
The first step in setting up PayPal on Twitch is creating a PayPal account, if you don’t already have one. Follow these simple steps to get started:
- Visit the official PayPal website at www.paypal.com.
- Click on the “Sign Up” button, usually located in the top-right corner of the page.
- Choose the type of account you want to create. PayPal offers both personal and business accounts. For Twitch streaming, a personal account will typically suffice.
- Fill out the required information, including your email address, password, and personal details. Make sure to provide accurate information to ensure a smooth account setup.
- Verify your email address by clicking on the link sent to your inbox. This step is crucial to activate your PayPal account.
- Once your email is verified, you may be prompted to link a bank account or credit card to your PayPal account. This step is essential for transferring funds in and out of your PayPal account.
- Follow the instructions provided by PayPal to link your preferred payment method. This ensures that you can easily access and use your funds when received from Twitch donations.
With your PayPal account successfully created, you’re now ready to link it to your Twitch channel and start accepting donations from your viewers. Keep reading to learn how to complete this process.
Step 2: Linking your PayPal Account to Twitch
Now that you have your PayPal account set up, the next step is to link it to your Twitch channel. This will enable viewers to donate to your stream directly through PayPal. Follow these instructions to seamlessly link your PayPal account to Twitch:
- Log in to your Twitch account and navigate to your channel’s Dashboard. This is where you can manage various aspects of your stream.
- From the Dashboard, click on the “Settings” tab, typically located at the top-right corner of the page. This will take you to your channel’s settings page.
- In the left-hand sidebar, click on “Donations” to access the donation settings for your Twitch channel.
- Scroll down to the “Donation Methods” section and locate the PayPal option. Click on the “Connect with PayPal” button.
- You’ll be redirected to the PayPal login page. Enter your PayPal account credentials and log in to authorize the connection between Twitch and PayPal.
- Once logged in, you may be asked to grant permission to Twitch to access certain PayPal features. Review the permissions carefully and click on “Agree” or “Authorize” to proceed.
- After granting permission, you’ll be redirected back to your Twitch settings page, where you should see a confirmation that your PayPal account is now linked to your Twitch channel.
Congratulations! You’ve successfully linked your PayPal account to Twitch. This means that your viewers can now donate to your channel using PayPal as a payment method. In the next step, we’ll explore how to customize your donation button to match your channel’s branding.
Step 3: Customizing your Donation Button
Now that your PayPal account is linked to Twitch, it’s time to customize your donation button to match the aesthetics of your channel. This will make it more appealing and engaging for your viewers. Follow these steps to customize your donation button:
- Visit the PayPal website and log in to your account.
- Once logged in, navigate to the “Tools” section, usually accessible from the main menu or your account dashboard.
- Under the “Tools” section, locate and click on “PayPal Buttons.” This will take you to the button creation page.
- From the available options, choose “Donations” as the button type. This will allow you to create a button specifically for receiving donations.
- Customize your donation button by selecting the preferred button style, size, and color. You can also choose to add a custom image or add specific donation amounts.
- Once you’re satisfied with the customization, click on the “Create Button” option to generate the HTML code for your donation button.
- Copy the HTML code provided by PayPal. This code will be used to embed the donation button on your Twitch channel.
By customizing your donation button, you can ensure that it seamlessly integrates with your Twitch channel’s design and branding. This creates a cohesive and professional look, enhancing the overall viewer experience. With the HTML code in hand, let’s move on to the next step and learn how to add the PayPal donation button to your Twitch channel.
Step 4: Adding the PayPal Donation Button to Your Twitch Channel
With the customized PayPal donation button code ready, it’s time to add it to your Twitch channel. Follow these steps to seamlessly integrate the PayPal donation button:
- Log in to your Twitch account and navigate to your channel’s Dashboard.
- From the Dashboard, click on the “Settings” tab, usually located at the top-right corner of the page.
- On the settings page, find the “Description” section. This is where you can add custom information about your channel.
- Within the “Description” section, paste the HTML code for your PayPal donation button. Ensure that you are in the HTML editing mode to properly display the button.
- Customize the description text surrounding the donation button to encourage viewers to support your channel. You can express your gratitude, provide information about what the donations will be used for, and add any other relevant details.
- Save your changes, and your Twitch channel will now display the PayPal donation button in the description section.
By adding the PayPal donation button to your Twitch channel, you are providing a visible and convenient way for your viewers to contribute. Remember to regularly update and engage with your audience by expressing your appreciation for their support.
With the button successfully added, let’s move on to the final step and test your PayPal donation button to ensure everything is functioning correctly.
Step 5: Testing your PayPal Donation Button
Once you’ve added the PayPal donation button to your Twitch channel, it’s important to test it to ensure that everything is working as intended. Follow these steps to test your PayPal donation button:
- Visit your Twitch channel as a viewer. You can do this by opening a new browser window or logging out of your Twitch account.
- Navigate to the description section of your channel, where you added the PayPal donation button.
- Click on the PayPal donation button to initiate the donation process.
- You should be redirected to the PayPal website, where you can choose the donation amount and proceed with the payment.
- Make a test donation using a small amount to ensure that the transaction goes through smoothly.
- Verify that you receive a notification or confirmation of the donation in your PayPal account. This confirms that the donation was successfully processed.
- Take a moment to thank your viewers for their support and acknowledge the test donation, either through chat or a follow-up message on your stream.
By testing your PayPal donation button, you can be confident that your viewers can easily donate to your channel. It also provides an opportunity for you to express your gratitude and establish a sense of trust with your community.
Congratulations! You have successfully set up and tested your PayPal donation button on Twitch. Now you can focus on creating engaging content and building a supportive community of viewers. Remember to regularly check your PayPal account for incoming donations and always show appreciation to your viewers for their support.
Conclusion
Setting up PayPal on Twitch is a crucial step for any streamer looking to monetize their channel and receive support from their viewers. By following the step-by-step process outlined in this guide, you can seamlessly link your PayPal account to your Twitch channel, customize your donation button, and start accepting donations with ease.
Creating a PayPal account is the first step, which involves providing accurate information and linking your preferred payment method. Once your PayPal account is set up, you can proceed to link it to your Twitch channel. This process allows viewers to donate directly through PayPal and provides a secure and trusted payment method.
Customizing your donation button is the next step, wherein you can personalize the appearance and design to match your Twitch channel’s branding. By creating an attractive and engaging donation button, you increase the likelihood of receiving donations from your supportive audience.
Adding the PayPal donation button to your Twitch channel is a crucial step in making it visible and easily accessible for your viewers. By placing the button in the description section of your channel, you provide a clear call-to-action for your audience to support your content.
Finally, it’s essential to test your PayPal donation button to ensure that the donation process works seamlessly. By making a test donation, you can verify that donations are processed correctly and acknowledge your supporters in the process.
With your PayPal account successfully linked to Twitch and your donation button in place, you’re well on your way to building a thriving community of viewers and receiving support for your content. Remember to express your gratitude to your viewers, engage with them, and continue creating high-quality streams that keep them coming back.
Now that you have the knowledge and tools to set up PayPal on Twitch, it’s time to take action and start accepting donations. Good luck on your streaming journey, and may your channel flourish with the support of your incredible viewers!