Introduction
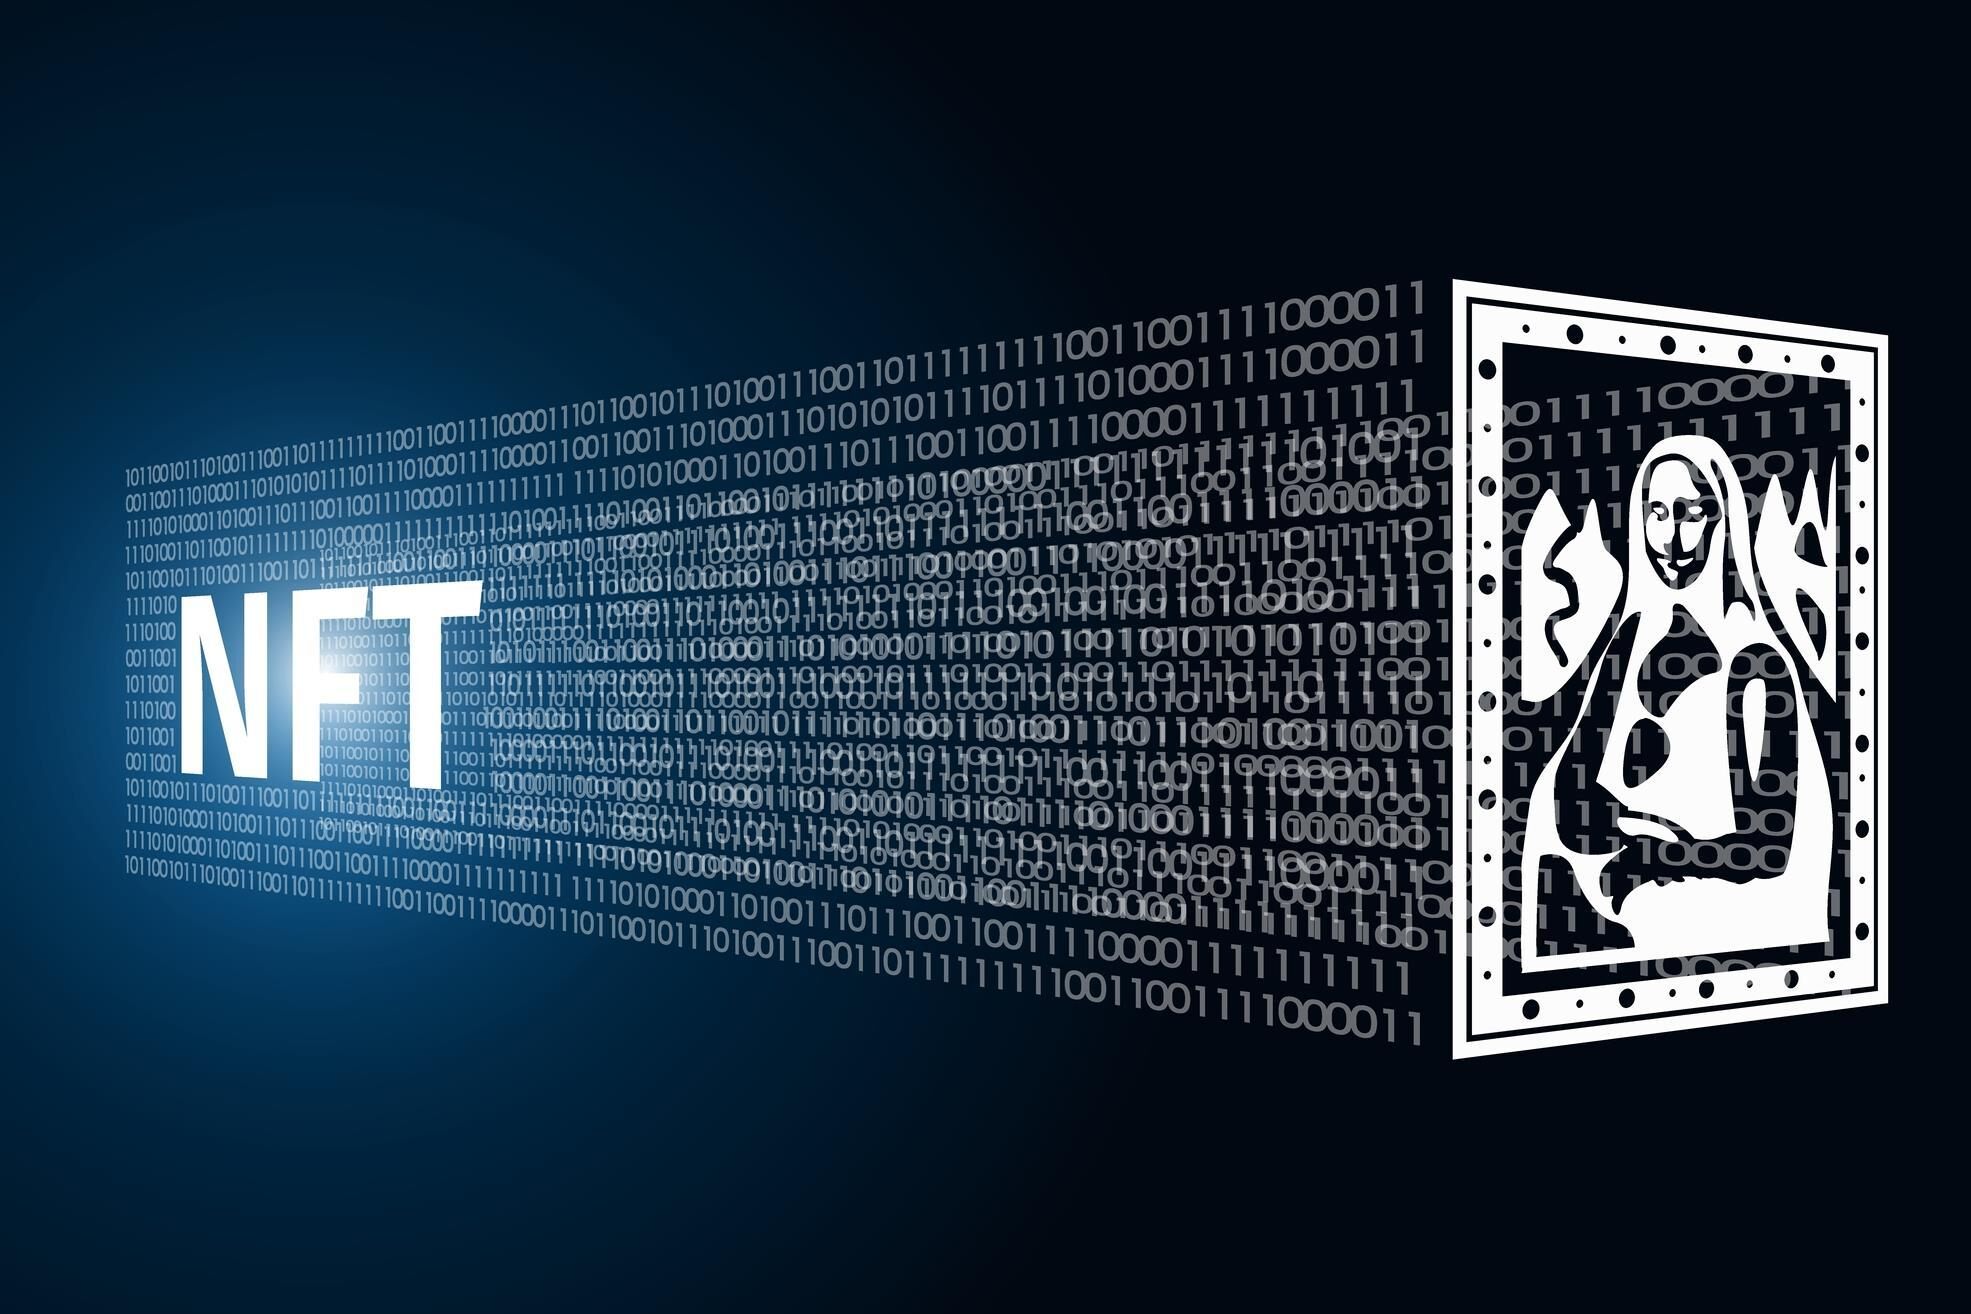
As the world of digital art and collectibles continues to evolve, non-fungible tokens (NFTs) have emerged as a groundbreaking concept. NFTs represent unique digital assets that can be bought, sold, and owned securely on the blockchain. These digital assets can include anything from artwork and music to virtual real estate and even virtual pets. NFTs have gained immense popularity in recent years, with artists and creators turning to platforms like Opensea to mint and sell their own unique NFTs.
In this article, we will guide you through the process of minting an NFT on Opensea, one of the leading NFT marketplaces. Whether you’re an artist looking to showcase your work, a content creator exploring new avenues, or simply curious about the world of NFTs, this step-by-step guide will help you navigate the process with ease.
Disclaimer: Before we dive into the details, it’s important to note that minting an NFT involves some technical knowledge and familiarity with cryptocurrency wallets. Therefore, we recommend doing thorough research and consulting relevant resources to better understand the intricacies of the process.
Now, let’s explore the fascinating world of NFTs and learn how you can mint your own NFT on Opensea!
What is an NFT?
In the ever-evolving world of digital assets, non-fungible tokens (NFTs) have sparked a new wave of creativity and innovation. But what exactly is an NFT? Let’s delve into the concept.
Unlike cryptocurrencies such as Bitcoin or Ethereum, which are fungible and can be exchanged on a like-for-like basis, NFTs are unique and indivisible digital assets. Each NFT represents ownership of a specific item or piece of content, whether it’s artwork, videos, music, virtual real estate, collectibles, or even virtual pets. Essentially, NFTs provide a way to prove ownership and authenticity of digital assets using blockchain technology.
One of the key features of NFTs is their ability to be bought, sold, and traded on various online marketplaces. This has opened up new opportunities for artists, creators, and collectors to monetize their work and engage with a global audience.
What sets NFTs apart from traditional digital files is their underlying blockchain technology. Each NFT is built on a blockchain network, usually Ethereum, which ensures transparency, security, and immutability. The blockchain verifies the ownership of an NFT and records the transaction history associated with it. This decentralized nature of NFTs provides a unique and tamper-proof record of ownership and transfer.
One of the main drivers behind the explosive growth of NFTs is the ability to establish scarcity and uniqueness in the digital realm. For example, an artist may create a limited edition of 10 NFTs for a particular artwork, ensuring that each piece is one-of-a-kind and cannot be replicated or forged. This scarcity, combined with the growing demand for NFTs, has resulted in some notable sales and high valuations in the NFT market.
It’s worth noting that NFTs have also raised discussions surrounding sustainability and carbon footprint. Due to the energy-intensive nature of blockchain networks like Ethereum, concerns have been raised about the environmental impact of NFT transactions. However, initiatives are underway to explore more environmentally friendly solutions and reduce the carbon footprint associated with NFTs.
In summary, NFTs are unique digital assets that leverage blockchain technology to establish ownership, authenticity, and provenance. They have revolutionized the way artists, creators, and collectors engage with digital content and open up new possibilities for monetization and expression in the digital age.
What is Opensea?
Opensea is a leading online marketplace for buying, selling, and trading non-fungible tokens (NFTs). Launched in 2017, Opensea has played a pivotal role in the explosive growth of the NFT ecosystem, providing a platform for creators and collectors to showcase and monetize their digital assets.
Opensea operates on the Ethereum blockchain, making it compatible with a wide range of NFTs built on the same network. Ethereum’s robust smart contract capabilities enable Opensea to facilitate secure and transparent transactions, ensuring the authenticity and ownership of the NFTs listed on its platform.
One of the key features of Opensea is its decentralized nature. It functions as a peer-to-peer marketplace, connecting buyers and sellers directly without the need for intermediaries. This decentralized marketplace model allows for greater control and ownership of assets while minimizing fees and restrictions often associated with traditional art markets.
Opensea offers a diverse selection of NFTs across various categories, including art, virtual real estate, collectibles, domain names, and more. Artists and creators can list their NFTs for sale, auction, or even enable ongoing royalty payments for future sales. Users can browse through the vast collection of NFTs, search by category or creator, and place bids or make outright purchases.
Opensea also provides a robust set of tools and features to enhance the user experience. This includes customizable storefronts, detailed analytics, and the ability to create collections or bundles of NFTs. Additionally, Opensea enables social interactions within its marketplace, allowing users to follow and communicate with their favorite artists and collectors.
With its growing popularity, Opensea has become a hub for artists, celebrities, and well-known brands to release exclusive NFTs and engage with their fan base. The platform has hosted high-profile auctions and sales, creating headlines in the mainstream media and driving further interest in the NFT market.
Furthermore, Opensea remains committed to community-driven development. As an open-source project, anyone can contribute to its growth and improvement. This fosters innovation and the continuous evolution of the platform to meet the changing needs of the NFT ecosystem.
In summary, Opensea is a decentralized marketplace that has established itself as a prominent player in the NFT space. Through its platform, artists, creators, and collectors can engage in the buying, selling, and trading of digital assets, while enjoying a range of features and tools that enhance the overall NFT experience.
Step 1: Set up a Wallet
Before you can start minting NFTs on Opensea, you’ll need to set up a cryptocurrency wallet. A wallet serves as a secure digital storage for your crypto assets, including the Ethereum cryptocurrency required for NFT transactions.
There are various types of cryptocurrency wallets available, including web-based wallets, desktop wallets, and hardware wallets. Each wallet has its own security features and user interface, so it’s important to choose one that suits your needs.
One popular option is MetaMask, a browser extension that acts as a digital wallet and allows you to interact with the Ethereum blockchain. To set up MetaMask, follow these steps:
- Install MetaMask: Download and install the MetaMask extension for your preferred browser (Google Chrome, Firefox, or Brave).
- Create a Wallet: Open MetaMask and follow the instructions to create a new wallet. Set a strong password and write down your seed phrase, which is crucial for wallet recovery in case you forget your password.
- Connect to Ethereum Mainnet: Once your wallet is created, connect it to the Ethereum Mainnet network. This will allow you to send and receive Ethereum and interact with the Opensea marketplace.
- Backup Your Wallet: It’s crucial to back up your wallet’s seed phrase and store it in a safe place. Losing your seed phrase can result in permanent loss of access to your wallet and funds.
Other popular wallet options include Trust Wallet, Coinbase Wallet, and MyEtherWallet. Research and choose a wallet that you feel comfortable with and that offers the necessary security measures for your peace of mind.
Once you have set up your wallet, you are ready to move on to the next step: connecting your wallet to Opensea.
Step 2: Connect your Wallet to Opensea
After setting up your cryptocurrency wallet, the next step is to connect it to Opensea. This will enable you to interact with the Opensea marketplace, mint your own NFTs, and participate in buying and selling activities.
To connect your wallet to Opensea, follow these simple steps:
- Visit Opensea: Open your web browser and go to the Opensea website (opensea.io).
- Click on “Connect Wallet”: On the Opensea homepage, you’ll find a button that says “Connect Wallet”. Click on it.
- Choose your Wallet: A pop-up window will appear with a list of supported wallets. Select the wallet you have set up (e.g., MetaMask).
- Authorize the Connection: Once you’ve selected your wallet, you may be prompted to authorize the connection between your wallet and Opensea. Follow the on-screen instructions to complete the authorization process.
- Confirm the Connection: After authorization, your wallet will be connected to Opensea, and you’ll see a confirmation message on the screen. You are now ready to start exploring and using the Opensea marketplace.
Connecting your wallet to Opensea establishes a secure and direct link between your wallet and the platform. This connection allows you to view your NFT collection, create new listings, place bids on existing NFTs, and manage your transactions.
Remember, each time you want to interact with Opensea, make sure your wallet is connected. If you switch browsers or use a different device, you may need to reconnect your wallet to regain access to your account and assets.
Now that your wallet is connected to Opensea, it’s time to proceed to the next step: choosing the content for your NFT.
Step 3: Choose your NFT Content
Once your wallet is connected to Opensea, you can start the exciting process of choosing the content for your NFT. The content you select will be the unique digital asset that you’ll mint and list for sale on the Opensea marketplace.
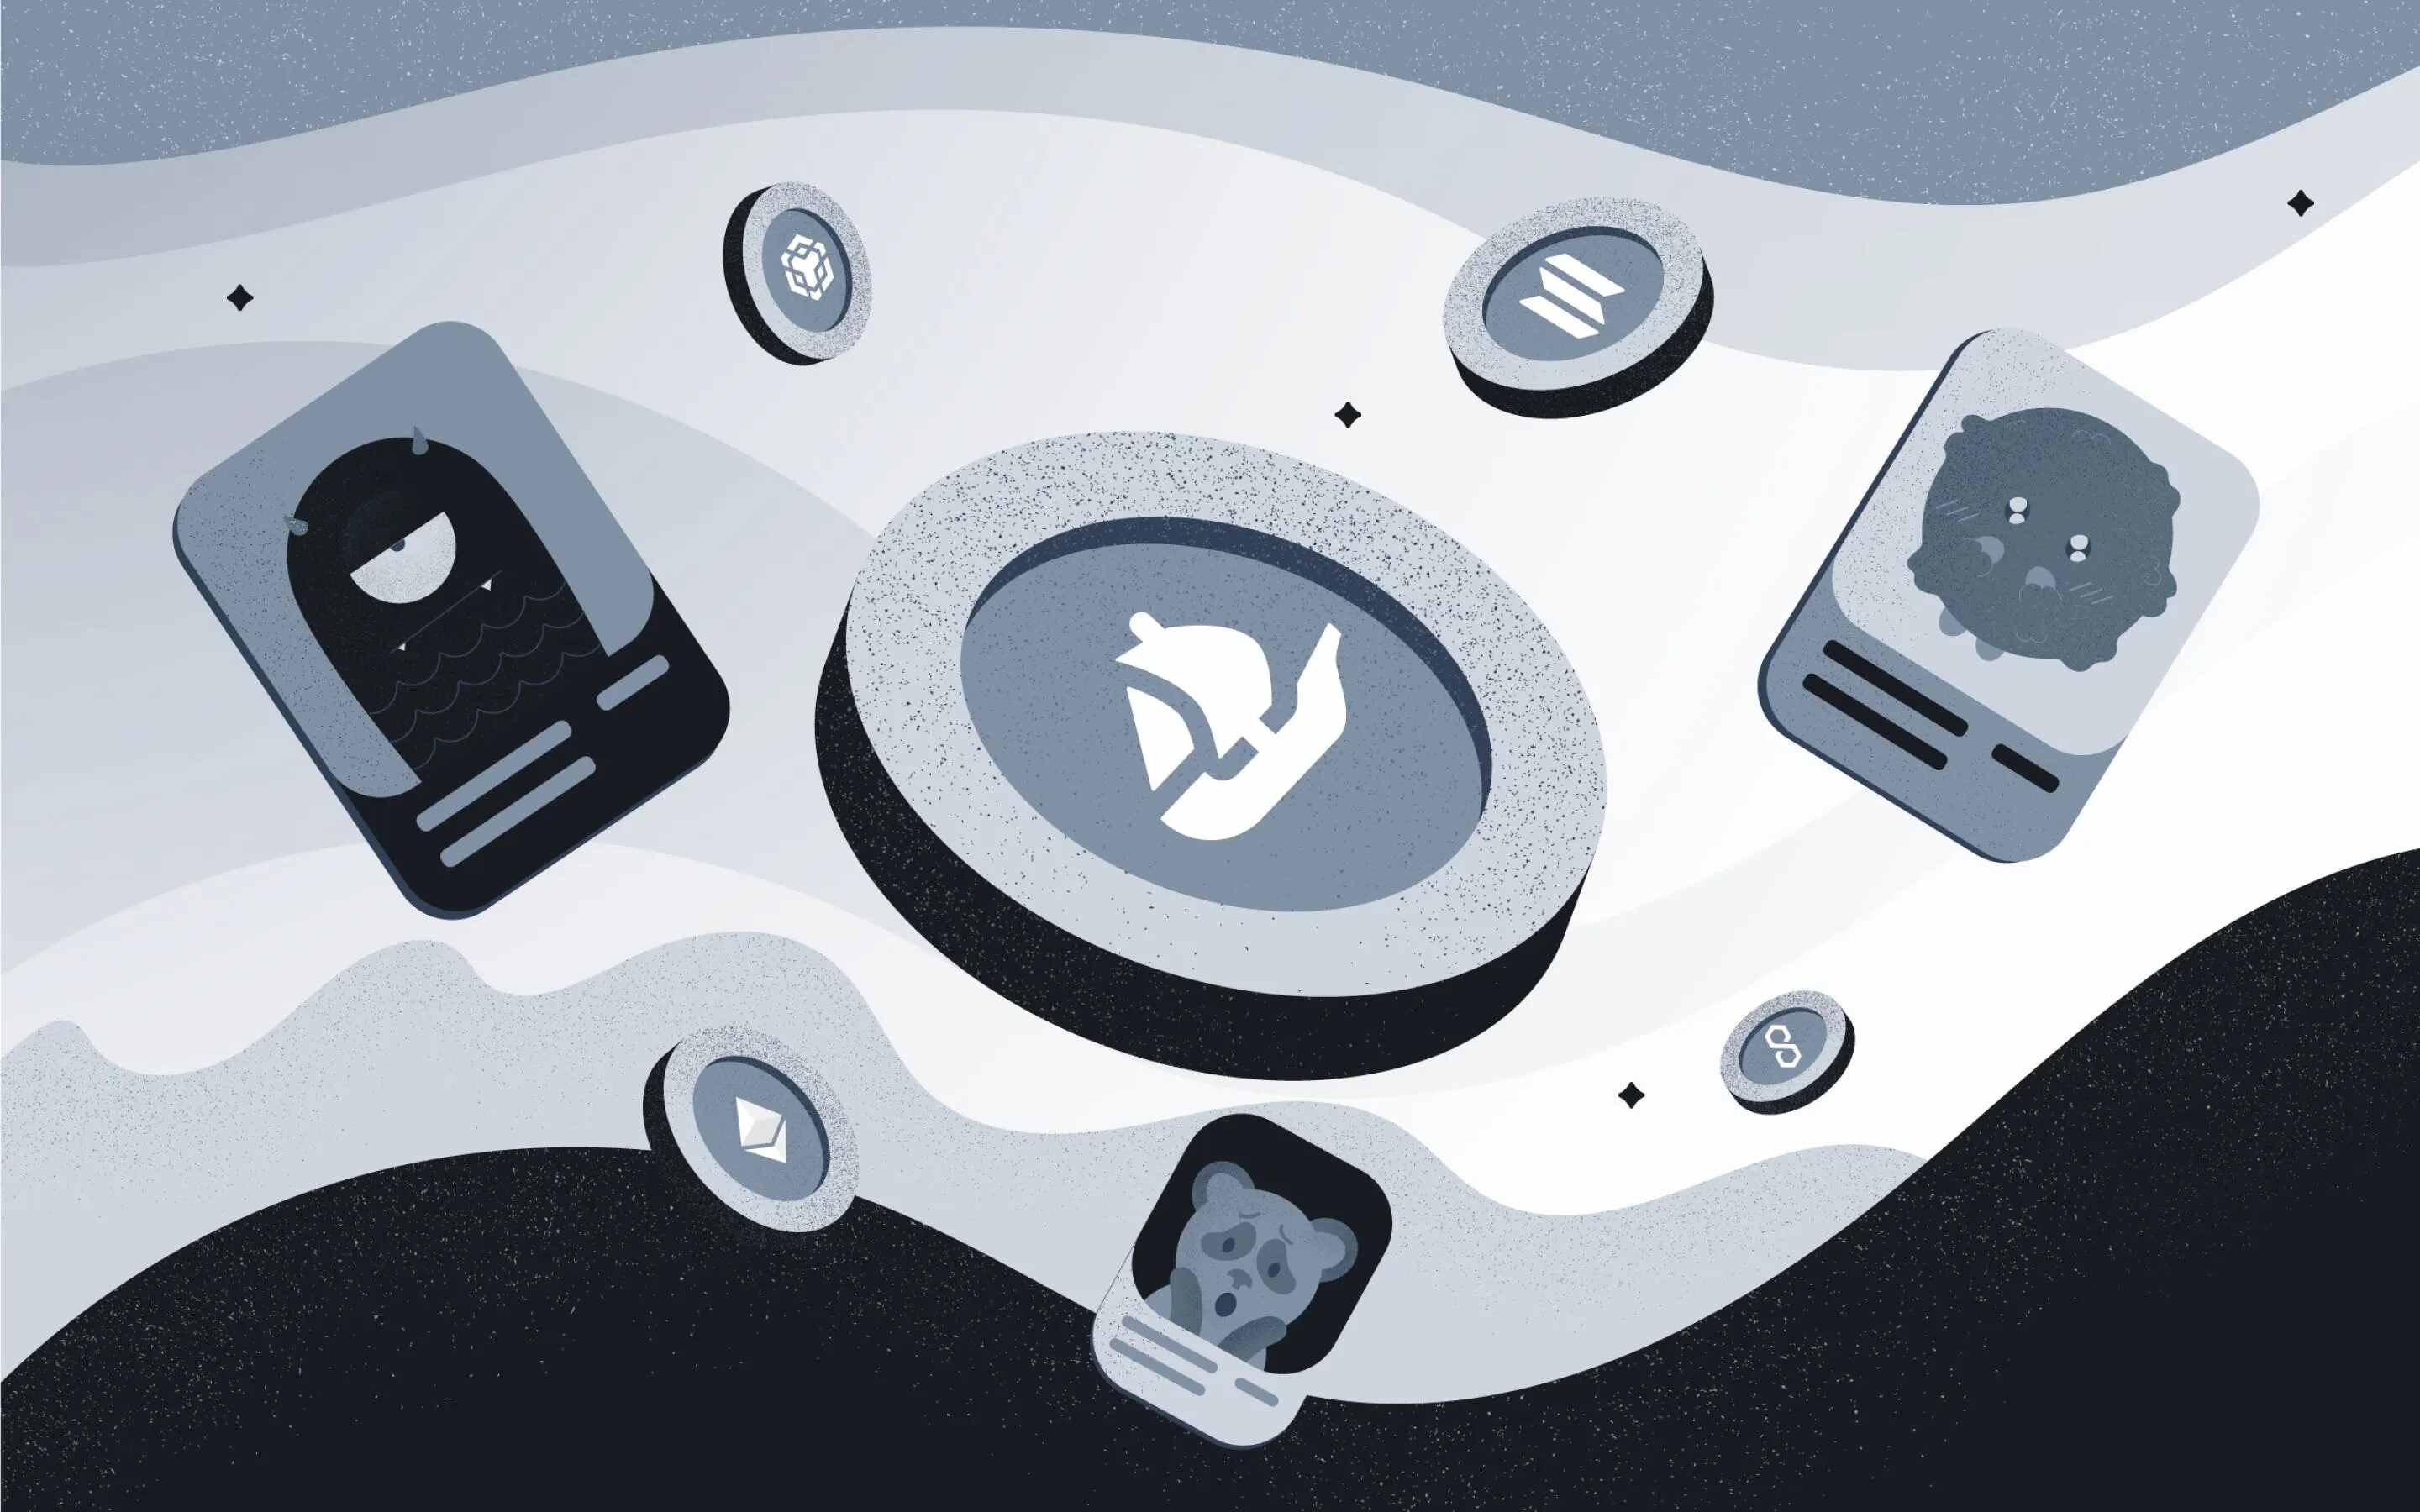
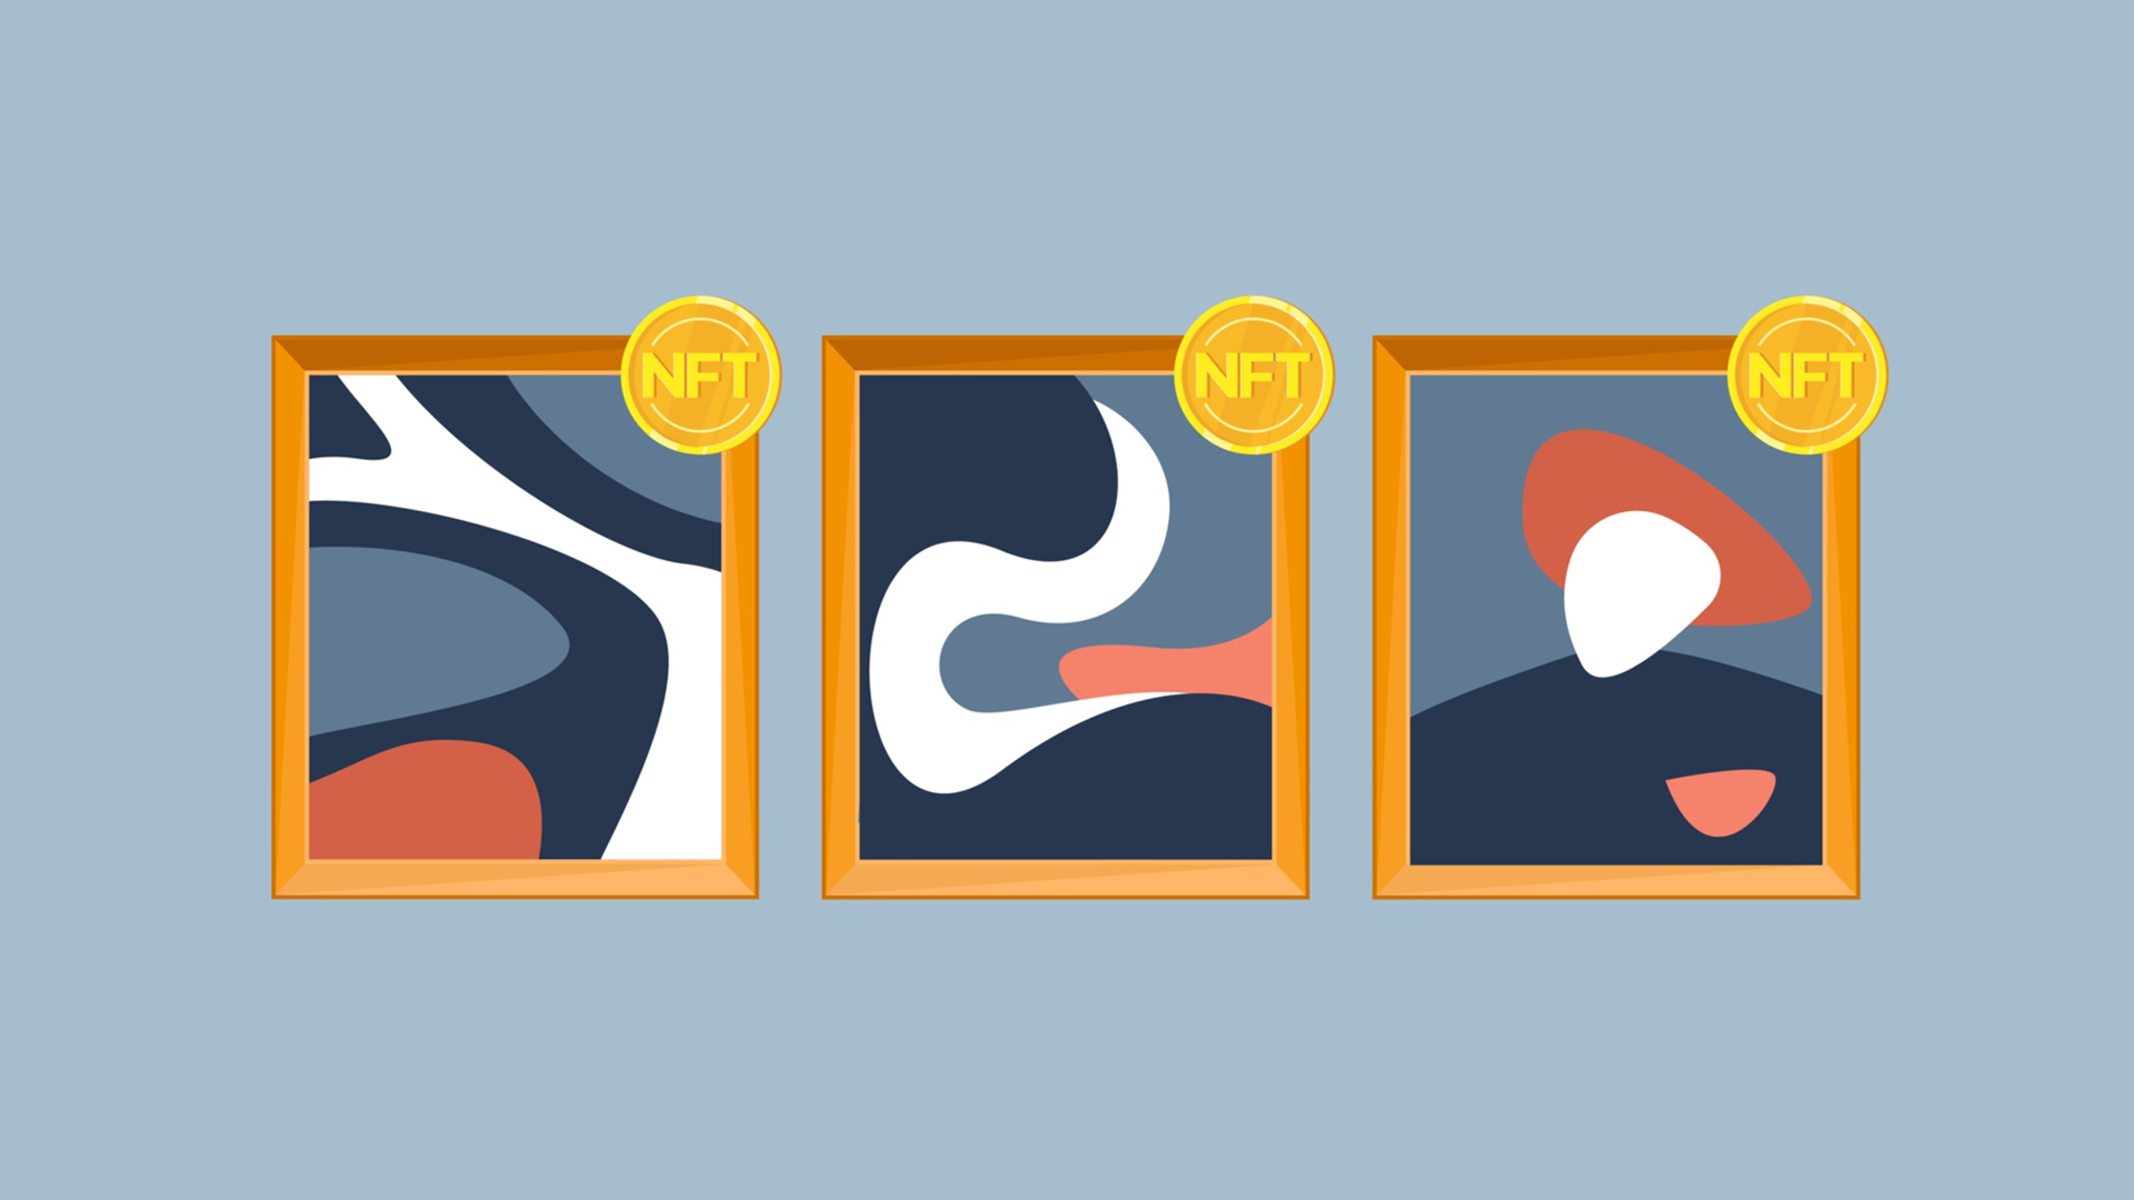
When it comes to NFT content, the possibilities are endless. You can choose to showcase your artistic creations, such as digital artwork, illustrations, animations, or even music compositions. Alternatively, you can explore other types of digital assets like virtual real estate, domain names, or collectibles.
Here are a few considerations when choosing your NFT content:
Authenticity and uniqueness: Aim to create or select content that is original and stands out. NFTs thrive on their individuality, so make sure your content is distinct and cannot be easily replicated.
Quality and presentation: The presentation of your NFT matters. Pay attention to the quality of your artwork, the resolution of your images or videos, and the overall aesthetics of your content. Strive to create a visually appealing and engaging experience for potential buyers.
Market demand: While expressing your creativity is important, it’s also worth considering the market demand for certain types of NFTs. Research current trends and explore popular categories that have high demand and potential for sales.
License and ownership: Ensure that you have the necessary rights and permissions for the content you choose. Respect intellectual property and avoid using copyrighted material without permission. Creating your own original content is generally the best approach to avoid any legal complications.
Remember, NFTs are not limited to digital art. There is a growing interest in virtual real estate, virtual goods, game items, and even tokenized representations of physical assets. Explore different possibilities and find a niche that aligns with your interests and expertise.
Once you have selected the content you want to turn into an NFT, it’s time to move on to the next step: creating your NFT listing on Opensea. This will involve providing details about your content and configuring various settings for your NFT.
Step 4: Create your NFT Listing on Opensea
With your chosen content ready, it’s time to create your NFT listing on Opensea. This step involves providing details about your content, configuring settings, and preparing it for sale on the Opensea marketplace.
Follow these steps to create your NFT listing:
- Access your Opensea account: Make sure your wallet is connected to Opensea. Visit the Opensea website and log in to your account.
- Click on “Create”: Look for the “Create” button or option on the Opensea homepage. This will direct you to the NFT creation page.
- Choose your content: Select the content you want to turn into an NFT. This can be an image, a video, a music file, or any other digital asset that is supported by Opensea.
- Add details: Provide relevant information about your content, such as a title, description, and any additional details you want to share with potential buyers. You can use this space to highlight the inspiration behind your creation or provide context for the artwork.
- Upload your content: Upload the file or files that represent your NFT. Make sure that the file meets the specified requirements, such as file format, size, and resolution. Opensea will guide you through the uploading process.
- Choose a collection (optional): If you have multiple NFTs or want to organize your creations into collections, you can select or create a collection to house your NFT. This is optional, but it can help categorize and showcase your work.
- Set royalties (optional): If you would like to earn ongoing royalties from secondary sales of your NFT, you can set a percentage that will automatically be distributed to you each time the NFT is sold by subsequent owners.
Take your time to carefully fill in the required information and double-check for any errors or omissions. The details you provide will influence how your NFT is presented to potential buyers, so it’s important to provide accurate and engaging information.
Once you have completed the listing creation process, review the information and make any necessary edits. Once you are satisfied with the listing, proceed to the next step: configuring NFT details and settings.
Step 5: Configure NFT Details and Settings
After creating your NFT listing on Opensea, it’s time to configure the details and settings that will govern the behavior and visibility of your NFT on the marketplace. This step allows you to customize the experience for potential buyers and showcase your NFT in the best possible way.
Here are some important details and settings you can configure for your NFT:
Title and Description: Make sure your NFT has a clear, concise, and captivating title that accurately represents your content. Craft a compelling description that provides additional context, backstory, and information about your artwork, music, or other digital asset.
Royalties: If you have set royalties in the previous step, ensure that the percentage is correctly entered. Royalties allow you to earn a portion of the sale price each time your NFT is resold by subsequent owners.
Attributes and Traits: Consider adding attributes or traits to your NFT to make it more appealing or unique. For example, if you’re minting a collectible character artwork, you can specify traits such as rarity, color, or special abilities.
Royalty-Free License: Choose whether to offer your NFT under a royalty-free license. This means that the buyer will not have to pay future royalties when reselling the NFT.
Visibility Options: Decide whether to make your NFT listing public or private. Public listings are visible to all users on Opensea, while private listings can only be accessed via a direct link. Consider the level of exposure you desire for your NFT and adjust the visibility accordingly.
Promotion and Metadata: You can optimize your NFT listing for discoverability by providing relevant metadata and tags. Think about keywords and phrases that potential buyers might use when searching for NFTs and incorporate them into your listing.
Take the time to review and adjust these details and settings according to your preferences and goals. Ensure that all the information accurately represents your NFT and enhances its appeal to potential buyers.
Once you are satisfied with the configuration, proceed to the next step: setting a price for your NFT.
Step 6: Set a Price for your NFT
Setting an appropriate price for your NFT is a crucial step in the minting process. It determines the value at which you are willing to sell your digital asset and plays a significant role in attracting potential buyers. The price you set should reflect the perceived value of your NFT and the current market trends.
Consider the following factors when determining the price for your NFT:
Market Research: Conduct thorough research on similar NFTs in your chosen category or niche. Look at the prices at which these NFTs are being listed and sold. This will give you insights into the pricing range and help you position your NFT competitively.
Quality and Rarity: Assess the quality and uniqueness of your NFT. High-quality, original, or scarce digital assets often command higher prices. Factors such as the artist’s reputation, the popularity of the content, and the rarity of the NFT can influence its perceived value.
Artist Reputation and Demand: Consider your own reputation and demand as an artist or creator. If you have an established following or a track record of successful sales, you may be able to price your NFTs at a premium. Conversely, if you are new to the space, setting a more conservative price may attract potential buyers.
Size and Editions: If you plan to release multiple editions of your NFT or offer different sizes or variations, consider pricing them accordingly. Limited editions or larger sizes may command a higher price due to their exclusivity or increased value.
Secondary Market Potential: Take into account the potential for future sales and the availability of royalties. If you believe your NFT has long-term value and potential for appreciation, you may want to price it higher to account for potential secondary market transactions.
It’s important to strike a balance between setting a price that reflects the value of your NFT and being realistic in terms of market demand. Some artists prefer to start with a lower price to attract initial buyers and build a reputation, while others may opt for a higher price based on their established brand or the perceived value of their content.
Once you have determined the price for your NFT, enter it into the designated field in your Opensea listing. Take a moment to review all the details, including the price, before proceeding to the next step: confirming and minting your NFT.
Step 7: Confirm and Mint your NFT
After setting the price for your NFT, it’s time to confirm and mint it on the Opensea platform. Minting your NFT means permanently recording it on the Ethereum blockchain, establishing its authenticity and creating a unique token that represents your digital asset.
Follow these steps to confirm and mint your NFT:
- Review your listing: Double-check all the details of your NFT listing, including the title, description, price, and any additional settings or attributes you have configured. Make sure everything is accurate and reflects your intentions as an artist or creator.
- Choose the “Mint” option: Look for the “Mint” or similar button on your Opensea listing page. Click on it to initiate the minting process.
- Confirm the transaction: A pop-up window or notification will appear, asking you to confirm the transaction. This is where you will need to pay the gas fees associated with minting your NFT on the Ethereum blockchain. Review the fees, and if you’re satisfied, proceed with the confirmation.
- Wait for confirmation: Once you confirm the transaction, the minting process will begin. This process involves validating and recording your NFT on the Ethereum blockchain, which may take some time depending on network congestion. Be patient and wait for the confirmation of a successful minting.
- Verify the minted NFT: After the minting process is complete, verify that your NFT is successfully minted and listed on the Opensea marketplace. Check its visibility and any additional settings you have configured to ensure everything is as intended.
Once your NFT is minted and listed, it becomes an immutable digital asset on the blockchain. It can now be viewed, bought, and sold by potential buyers on the Opensea marketplace.
Remember that the process of minting an NFT involves transaction fees, known as gas fees, which can vary depending on the Ethereum network’s current congestion. Keep this in mind and be prepared to cover the associated costs when confirming the minting transaction.
Congratulations! You have successfully confirmed and minted your NFT. The next step is to share, promote, and sell your NFT to attract potential buyers and engage with the NFT community.
Step 8: Share, promote, and sell your NFT
After minting your NFT on Opensea, the final step is to share, promote, and sell your digital asset to attract potential buyers and maximize its exposure within the NFT community. Here are some effective strategies to help you get started:
1. Social Media Presence: Leverage your existing social media presence to showcase and promote your NFT. Share images, videos, or snippets of your creation on platforms like Twitter, Instagram, or TikTok to generate interest and engage with your audience. Consider using relevant hashtags and tagging influencers or communities that align with your content.
2. NFT Marketplaces and Communities: Explore other NFT marketplaces and online communities that cater to your specific niche or target audience. Join forums, Discord channels, or Telegram groups where you can connect with fellow artists, collectors, and enthusiasts who may be interested in your NFT. Actively participate in discussions and share insights about your process or inspiration.
3. Collaborations and Partnerships: Collaborate with other artists, creators, or brands to cross-promote your NFT. Jointly create limited editions or unique bundles that offer added value to potential buyers. This can expand your reach and introduce your work to new audiences who may become interested in your individual NFTs.
4. Engage with your Community: Interact with your audience, respond to comments, and answer questions about your NFT. Show appreciation to your collectors and provide updates on future releases or projects. Engaging with your community fosters a loyal following and can lead to increased sales and word-of-mouth promotion.
5. Virtual Exhibitions and Events: Participate in virtual exhibitions, art galleries, or online events that focus on NFTs. This allows you to showcase your work in curated collections, gain exposure to a wider audience, and potentially attract buyers or collaborations with industry professionals.
6. Online Advertising: Consider utilizing online advertising platforms to target specific demographics or communities that may have an interest in your NFT. Platforms like Google Ads or social media advertising tools allow you to reach a wider audience and create targeted campaigns to promote your NFT effectively.
7. Offer Limited Time Specials: Create a sense of urgency and exclusivity by offering limited-time specials or discounts on your NFT. This can encourage potential buyers to make a purchase decision sooner rather than later.
8. Showcase Physical Proofs: If you have the capability, consider offering physical proofs or representations of your NFTs for potential buyers. Physical proofs can offer a tangible and unique aspect to your digital art, making them more attractive to collectors.
By implementing these strategies and exploring additional marketing avenues, you can build awareness and demand for your NFT. Remember to adapt and experiment with different promotional tactics to find what works best for your specific NFT and target audience.
Furthermore, stay updated on the latest industry trends and actively participate in the NFT community to continuously improve your marketing techniques and grow your presence in the NFT space.
Conclusion
Congratulations! You have successfully navigated through the process of minting an NFT on Opensea. This step-by-step guide has provided you with the knowledge and tools to create and list your own unique digital assets on one of the leading NFT marketplaces.
From setting up a wallet and connecting it to Opensea to choosing your NFT content, configuring details and settings, and ultimately selling and promoting your NFT, each step plays a crucial role in your journey as an NFT creator. Remember to approach each step with careful consideration and creativity.
As you continue to explore the world of NFTs, stay connected with the vibrant NFT community, engage with fellow artists and collectors, and keep an eye on emerging trends and opportunities. The NFT space is continuously evolving, and by staying informed and adaptive, you can maximize your chances of success.
Lastly, remember that minting an NFT is just the beginning of your journey. Building a strong brand, establishing a loyal following, and creating high-quality and desirable digital assets are ongoing efforts. Embrace the learning process, experiment with different techniques, and continuously refine your craft to stand out in the ever-growing NFT landscape.
Now, armed with the knowledge and steps outlined in this guide, it’s time to unleash your creativity, mint your own unique NFTs, and make your mark in the exciting world of digital art and collectibles.