Introduction
Welcome to the world of Non-Fungible Tokens (NFTs) – a digital phenomenon that has taken the internet by storm. In recent years, NFTs have gained rapid popularity and have become a hot topic of discussion in the world of art, technology, and finance. But what exactly is an NFT, and why should you consider using one as your Twitter profile picture?
An NFT is a type of digital asset that represents ownership or proof of authenticity of a unique item or piece of content, such as artwork, music, videos, or even virtual real estate. Unlike cryptocurrencies like Bitcoin or Ethereum, which are interchangeable and have the same value, NFTs are indivisible and can’t be exchanged on a like-for-like basis. Each NFT has its own distinct value and characteristics.
Now, you might be wondering why you would want to use an NFT as your Twitter profile picture. Well, there are several benefits that come with this choice:
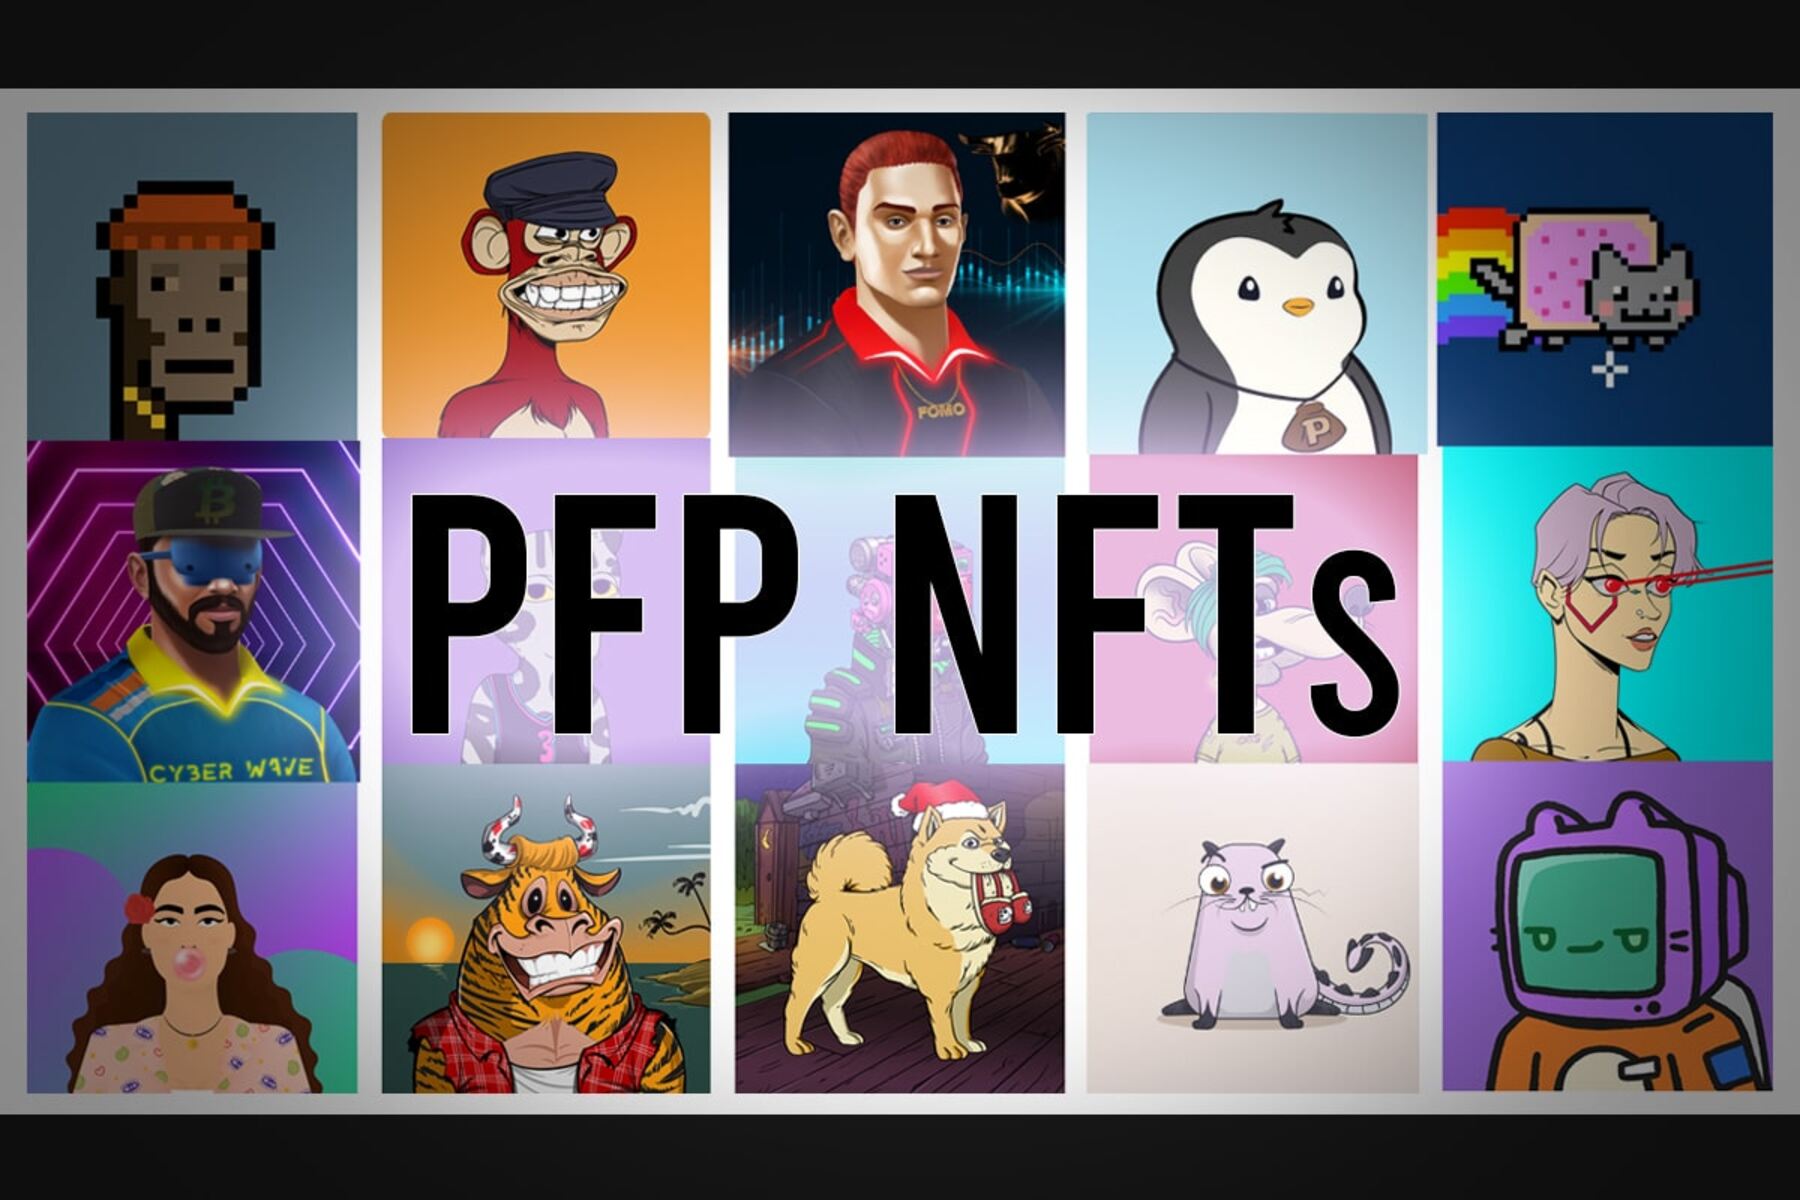
- Showcase Your Unique Identity: By using an NFT as your profile picture, you can stand out from the crowd and display your individuality. Instead of using a generic image or a stock photo, you can have a one-of-a-kind piece of digital art that represents your personality and style.
- Support Artists and Creators: NFTs have opened up new possibilities for artists and creators to monetize their work in a fair and transparent way. By purchasing and using an NFT as your profile picture, you directly support the artist behind the artwork and contribute to the growth of the digital art community.
- Potential for Value Appreciation: While the value of NFTs can be volatile, some NFTs have gained significant value over time. By owning and displaying an NFT as your profile picture, you have the potential to benefit from any future value appreciation of the artwork.
- Join a Growing Community: By embracing NFTs and using them as your profile picture, you become a part of a vibrant and innovative community of digital art enthusiasts, collectors, and creators. This community is constantly evolving and offers exciting opportunities for networking, collaborations, and discovering new talent.
In the following sections, we will guide you step-by-step on how to create and use an NFT as your Twitter profile picture, from selecting the right artwork to minting your NFT and connecting it to your Twitter account. So, let’s dive in and turn your profile picture into a work of art!
What is an NFT?
In order to understand the concept of using an NFT as your Twitter profile picture, it’s important to first grasp what an NFT is.
An NFT, or Non-Fungible Token, is a type of digital asset that is stored on a blockchain. Unlike cryptocurrencies such as Bitcoin or Ethereum, which are fungible and can be exchanged on a like-for-like basis, NFTs are unique and indivisible. Each NFT represents ownership or proof of authenticity of a specific item or piece of content, such as artwork, music, videos, or even virtual real estate.
What makes NFTs unique is the fact that they are stored and verified on a blockchain, a decentralized and transparent digital ledger. This ensures the authenticity and provenance of the NFT, as each transaction related to the NFT is recorded and can be traced back to its origin.
NFTs have gained widespread popularity in the art world, as they provide a way for digital artists to sell and monetize their work. With traditional artwork, it can be difficult to prove its authenticity or track its ownership history. However, with NFTs, artists can create unique digital pieces that can be bought, sold, and owned with ease.
One of the key features of NFTs is the ability to incorporate smart contracts, which are self-executing agreements with predefined terms and conditions. These smart contracts can include royalty agreements, allowing artists to earn a percentage of future sales when their NFT is resold in the marketplace.
It’s important to note that owning an NFT does not grant you copyright ownership of the underlying content. For example, if you own an NFT of a digital artwork, you don’t have the right to reproduce or distribute that artwork without the artist’s permission. The value of an NFT lies in its uniqueness and the ownership rights it represents, rather than the content itself.
The world of NFTs is constantly evolving, and innovative use cases are emerging beyond just digital art. Musicians are releasing NFTs as limited-edition albums or concert tickets, virtual real estate developers are selling virtual land parcels, and even social media influencers are launching exclusive NFT collections.
In the next sections, we will explore the benefits of using an NFT as your Twitter profile picture and guide you through the process of creating and integrating an NFT into your profile. So, let’s dive in and discover the exciting possibilities of NFTs!
Benefits of using an NFT as your Twitter profile picture
Using an NFT as your Twitter profile picture comes with several benefits that can enhance your online presence and provide unique opportunities for self-expression. Let’s explore some of the advantages of using an NFT as your profile picture:
- Showcase Your Unique Identity: By using an NFT as your profile picture, you can stand out from the crowd and display your individuality. Instead of using a generic image or a stock photo, you can have a one-of-a-kind piece of digital art that represents your personality and style. This can help you make a memorable impression on your followers and attract new connections.
- Support Artists and Creators: NFTs have opened up new possibilities for artists and creators to monetize their work in a fair and transparent way. By purchasing and using an NFT as your profile picture, you directly support the artist behind the artwork and contribute to the growth of the digital art community. This can empower artists to continue creating and sharing their unique creations with the world.
- Establish Credibility and Expertise: By using an NFT as your profile picture, you can showcase your involvement and interest in the world of digital art and blockchain technology. This can help position you as an innovator, thought leader, or supporter of the arts. It can also serve as a conversation starter and provide opportunities to network with like-minded individuals.
- Potential for Value Appreciation: While the value of NFTs can be volatile, some NFTs have gained significant value over time. By owning and displaying an NFT as your profile picture, you have the potential to benefit from any future value appreciation of the artwork. This adds an exciting element of investment potential to your profile, where your profile picture could become a valuable asset.
- Join a Growing Community: By embracing NFTs and using them as your profile picture, you become a part of a vibrant and innovative community of digital art enthusiasts, collectors, and creators. This community is constantly evolving and offers exciting opportunities for networking, collaborations, and discovering new talent. Engaging with this community can provide valuable connections and expand your horizons.
With these benefits in mind, it’s clear that using an NFT as your Twitter profile picture can transform your online presence and create meaningful connections. In the next sections, we will guide you step-by-step on how to create and use an NFT for your Twitter profile picture. So, let’s dive in and turn your profile picture into a work of art!
Step-by-step guide to creating an NFT for your Twitter profile picture
If you’re ready to showcase your unique style and creativity by using an NFT as your Twitter profile picture, follow this step-by-step guide to create your very own NFT:
- Choose the right artwork: Start by selecting the artwork or image that you want to use as your NFT. This can be a piece of digital art, a photograph, or an illustration that reflects your personal style and interests. Make sure you have the rights to use the artwork or create your own original piece.
- Set up a digital wallet: In order to create and store your NFT, you’ll need a digital wallet that is compatible with the blockchain you plan to use. Popular digital wallets include MetaMask and Trust Wallet. Choose a wallet that supports the blockchain platform you plan to mint your NFT on.
- Select a marketplace to mint your NFT: There are several online marketplaces that allow you to mint and sell your NFTs, such as OpenSea, Rarible, or SuperRare. Research different platforms to find the one that aligns with your needs and preferences, including fees, user interface, and community support.
- Upload your artwork to the marketplace: Once you have chosen a marketplace, navigate to their website and create an account if necessary. Look for the option to upload your artwork or image file and provide any required details, such as title, description, and edition size (if applicable). Make sure to follow the marketplace’s guidelines and instructions for file formats and size.
- Mint your NFT: After uploading your artwork, you will need to confirm the transaction and pay any associated fees to mint your NFT. Minting an NFT involves creating a unique token on the blockchain that represents your artwork. This process establishes the authenticity and ownership of your NFT.
- Connect your digital wallet to Twitter: In order to display your NFT as your Twitter profile picture, you’ll need to connect your digital wallet to your Twitter account. This can usually be done by linking your wallet address or through a wallet provider integration. Follow the instructions provided by Twitter to complete the connection.
- Update your Twitter profile picture with your NFT: Once your wallet and Twitter account are connected, navigate to your Twitter profile settings and locate the option to update your profile picture. Browse through your wallet’s connected NFTs, select the NFT artwork you want to use, and set it as your profile picture. This step may vary depending on the wallet and Twitter integration you are using.
And there you have it! You’ve successfully created and set up your NFT as your Twitter profile picture. Now you can proudly showcase your unique artwork to your followers and the Twitter community.
Remember to promote your NFT on social media, share the story behind the artwork, and engage with the NFT community to maximize exposure and potential sales. Enjoy the journey of being a part of the exciting world of NFTs!
Choosing the right artwork for your NFT
When it comes to creating an NFT for your Twitter profile picture, selecting the right artwork is a crucial step. Here are some key considerations to help you choose the perfect piece:
- Reflect your personal style: Look for artwork that resonates with your individuality and reflects your personal style. Whether you prefer abstract designs, vibrant illustrations, or classic photography, choose artwork that speaks to you and represents your aesthetic preferences.
- Consider the theme or message: Think about the message or theme you want to convey through your profile picture. Do you want to showcase your love for nature, technology, or pop culture? Consider how the artwork aligns with your interests and passions, and how it can resonate with your audience.
- Quality and resolution: Ensure that the chosen artwork is of high quality and resolution. A pixelated or low-resolution image can diminish the impact and visual appeal of your profile picture. Opt for artwork that is clear, crisp, and visually captivating, even at smaller sizes.
- Originality and copyright: If you’re using someone else’s artwork, make sure you have the necessary rights and permissions to use it as an NFT. Copyright law protects the rights of artists, so it’s important to respect their intellectual property. Alternatively, consider creating your own original artwork or collaborating with an artist to ensure authenticity and avoid any legal complications.
- Emotional connection: Choose artwork that elicits an emotional response from you and has the potential to resonate with others. An image that evokes joy, curiosity, or inspiration can help you establish a deeper connection with your audience and make a lasting impression.
- Consider scalability: Keep in mind that your profile picture will be displayed in a small square format on Twitter. Look for artwork that is scalable and can maintain its impact and visual appeal even when reduced to a smaller size. Avoid complex details or intricate patterns that might be lost in a smaller profile picture.
- Artistic diversity: Consider showcasing a diverse range of artists, styles, and perspectives with your NFT. Embrace the opportunity to support emerging artists or underrepresented voices and contribute to a more inclusive art community. Sharing a variety of artwork can also spark interesting conversations and expose your audience to new talent.
Take the time to explore various art platforms, galleries, and social media channels to discover artists and artworks that resonate with you. Engaging with the art community and attending virtual art exhibitions can also help you find unique and inspiring pieces to feature as your NFT.
Remember, the chosen artwork will not only be a representation of your personal style but will also contribute to the overall impression you make on your Twitter audience. So choose wisely and let your profile picture become a captivating visual statement!
Setting up a digital wallet
In order to create and manage your NFTs, you’ll need to set up a digital wallet. A digital wallet serves as a secure and convenient way to store your NFTs and interact with blockchain platforms. Here’s a step-by-step guide on setting up a digital wallet:
- Choose a compatible wallet: There are several digital wallets available, each compatible with different blockchain platforms. Some popular wallet options include MetaMask, Trust Wallet, and Coinbase Wallet. Research the features, security measures, and supported blockchains of each wallet to determine which one best suits your needs.
- Download and install the wallet: Once you’ve chosen a wallet, visit the official website or app store to download the wallet application. Make sure to download the genuine version of the wallet from a trusted source. Follow the installation instructions provided by the wallet provider.
- Create a new wallet: Open the wallet application and follow the prompts to create a new wallet. This typically involves choosing a secure password and generating a unique wallet address. Keep your password and wallet address safe and secure, as they will be crucial for accessing and managing your NFTs.
- Backup your wallet: It’s essential to create a backup of your wallet’s seed phrase or recovery phrase. This phrase consists of a series of words that can be used to restore your wallet if you ever lose access to it. Write down the phrase on a piece of paper and store it in a safe location. Be cautious of sharing the phrase digitally or with anyone else.
- Add funds to your wallet: Depending on the blockchain platform you plan to use, you may need to have some cryptocurrency in your wallet to cover transaction fees or to purchase NFTs. Follow the instructions provided by the wallet to add funds, which usually involve purchasing cryptocurrency from a reputable exchange and transferring it to your wallet address.
- Explore wallet features: Familiarize yourself with the features and functionalities of your chosen wallet. Most wallets allow you to view your NFT collection, send and receive NFTs, and connect with various blockchain platforms. Take the time to explore the wallet’s interface, settings, and security options.
- Stay vigilant with security: Protecting your wallet and NFTs is of utmost importance. Enable two-factor authentication (2FA) for an extra layer of security. Be cautious of phishing attempts and only enter your wallet information on official wallet applications or websites. Regularly update your wallet software and be mindful of the security practices recommended by the wallet provider.
Setting up a digital wallet is a critical step in your NFT journey, as it provides you with a secure and convenient way to manage your NFTs. Take the time to research different wallets and choose the one that aligns with your needs and preferences. With a properly set up wallet, you’ll be ready to dive into the world of NFTs and embark on your creative journey!
Selecting a marketplace to mint your NFT
When it comes to minting your NFT, choosing the right marketplace is crucial. A marketplace is a platform where you can upload, create, and sell your NFTs. With the booming popularity of NFTs, there are several options available. Here’s a guide to help you select the right marketplace for minting your NFT:
- Research available marketplaces: Start by researching and exploring various NFT marketplaces. Some popular options include OpenSea, Rarible, SuperRare, and Foundation. Look for reputable and well-established platforms that have a strong track record of successful NFT sales and a supportive community.
- Consider the platform’s reach: Look for a marketplace that has a wide user base and a sizable audience. A larger marketplace can increase the visibility and potential reach of your NFT, making it more likely to be discovered by potential buyers. Check if the marketplace has active collectors, investors, and artists who can contribute to a vibrant buying and selling environment.
- Evaluate platform fees: Take into account the fees charged by the marketplace. Typically, there are fees associated with minting your NFT and additional fees when your NFT is sold. Compare the fee structures of different platforms and consider the impact these fees may have on your earnings. It’s also important to read about any hidden or additional fees that may apply.
- Explore marketplace features and tools: Consider the features and tools offered by each marketplace. Look for user-friendly interfaces, robust search and discovery options, customizable NFT metadata, and social interaction features. Some platforms may also provide additional services like auctions, royalties, and curation, which can enhance the selling and promotion of your NFT.
- Community and support: Assess the level of community engagement and support on the marketplace. Look for platforms that foster a supportive and knowledgeable community of artists, collectors, and enthusiasts. A community-centric marketplace can provide valuable networking opportunities, collaboration options, and exposure to potential buyers.
- Check platform policies: Read and understand the marketplace’s policies, terms of service, and guidelines. Ensure that the marketplace aligns with your values and requirements regarding copyright protection, ownership rights, and intellectual property. Familiarize yourself with any restrictions or limitations the platform may have on content, file formats, or pricing.
- Research success stories and reputation: Look for success stories and testimonials from artists who have previously used the marketplace. Research the marketplace’s reputation in the NFT community and seek feedback from artists who have prior experience with the platform. This can provide insights into the effectiveness, reliability, and overall satisfaction of using the marketplace.
Ultimately, the decision of selecting a marketplace depends on your specific goals, preferences, and needs. Consider the factors mentioned above and weigh the pros and cons of each platform to make an informed decision. Don’t be afraid to experiment with multiple marketplaces and diversify your NFT presence to reach different audiences and maximize your potential for success.
Once you have chosen a marketplace, you’ll be ready to upload your artwork and mint your NFT. The next section will guide you through the process of uploading your artwork to the marketplace and minting your NFT successfully.
Uploading your artwork to the marketplace
After selecting a marketplace to mint your NFT, the next step is to upload your artwork to the platform. This process allows you to showcase your unique creation and make it available for sale. Follow these steps to successfully upload your artwork to the marketplace:
- Create an account: If you haven’t already, create an account on the chosen marketplace. This typically involves providing an email address, choosing a username, and setting a secure password. Some platforms may require additional verification steps.
- Navigate to the upload page: Once you’re logged in, locate the upload section on the marketplace’s website or app. This section is usually labeled as “Create” or “Upload” and can be found in the main navigation menu or on the dashboard.
- Prepare your artwork files: Before uploading your artwork, make sure it meets the marketplace’s guidelines and specifications. Check the required file formats, dimensions, size limits, and any additional requirements. Convert your artwork files to the correct format and ensure they are of high quality to showcase the best version of your artwork.
- Provide artwork details: Fill in the necessary details about your artwork. This may include the title, description, tags, and edition size (if applicable). Craft a compelling description that highlights the unique aspects of your artwork, its inspiration, and any notable features. Use relevant keywords to maximize discoverability within the marketplace’s search functionality.
- Set a price: Determine the price at which you want to sell your NFT. Consider factors such as the perceived value of your artwork, market demand, and your own financial goals. Set an appropriate price that reflects the quality and uniqueness of your creation. Some marketplaces may also allow you to choose from different pricing models, such as fixed prices or auctions.
- Upload your artwork: Use the marketplace’s provided upload functionality to add your artwork files. Depending on the platform, you may be able to upload multiple image files or include additional media related to your artwork, such as videos or 3D models. Follow the instructions provided by the marketplace to ensure a successful upload.
- Review and submit: Take the time to carefully review all the information you’ve entered, including the artwork details, price, and uploaded files. Ensure there are no typos or errors before proceeding. Once you’re satisfied with the information, submit your artwork to the marketplace for review. The marketplace will typically conduct a review process to ensure the artwork meets their guidelines and standards.
Once the marketplace approves your artwork, it will be listed and made available for sale on the platform. Your NFT will have its own unique page where users can view the artwork, read the description, and have the option to make a purchase. Promote your artwork through social media channels, communities, and your own network to increase its visibility and attract potential buyers.
Remember that uploading your artwork is just the first step. Engage with the community, participate in discussions, and promote your NFT to increase its chances of being discovered and sold. Embrace the journey of sharing your creations with the world and connecting with like-minded individuals in the NFT space.
Minting your NFT
After successfully uploading your artwork to the marketplace, the next crucial step is to mint your NFT. Minting an NFT involves creating a unique token on the chosen blockchain platform that represents ownership and authenticity of your artwork. Follow these steps to mint your NFT:
- Access your artwork listing: Locate your uploaded artwork on the marketplace platform. Navigate to the page dedicated to your artwork, where users can view the details and make a purchase.
- Initiate the minting process: Look for the minting or create NFT button on the artwork page. This button will likely be labeled as “Mint” or “Create”. Click on it to begin the minting process.
- Confirm the details: Review the information displayed on the minting page and ensure it accurately represents your artwork. Verify that the title, description, tags, and price align with your intentions. Make any necessary adjustments before proceeding.
- Select the blockchain: Choose the blockchain platform on which you want to mint your NFT. The marketplace may offer various blockchain options such as Ethereum, Binance Smart Chain, or Flow. Consider factors like network fees, transaction speed, and community support when making your selection.
- Authorize the transaction: Depending on the marketplace and wallet integration, you may need to sign the transaction using your connected digital wallet. Follow the prompts to authorize the minting process. Be prepared to pay any associated gas fees or network fees required for the transaction.
- Wait for confirmation: After authorizing the transaction, the minting process will initiate. The process duration can vary depending on the blockchain platform and network congestion. Stay patient and wait for the transaction to process and the marketplace to confirm the successful minting of your NFT.
- Receive your NFT: Once the minting process is complete, you will receive confirmation that your NFT has been successfully created on the blockchain. Your NFT will have a unique token ID that distinguishes it from other tokens on the platform. This token ID serves as proof of ownership and authenticity of your artwork.
- Update the artwork status: After minting your NFT, ensure that the artwork listing on the marketplace reflects its minted status. It should display the NFT token information, blockchain platform, and the fact that it is now available for purchase as an NFT.
Congratulations! You have successfully minted your NFT. Your artwork is now transformed into a unique digital asset protected by the blockchain. Take pride in your creation and continue to promote and showcase your NFT to attract potential buyers and collectors.
It’s worth noting that minting an NFT incurs costs, including gas fees and platform fees. These costs may vary depending on the marketplace and blockchain platform you choose. Take them into account when considering the pricing strategy for your NFT.
With your NFT minted, the next step is to connect your digital wallet to your Twitter account and set your NFT as your profile picture. The following section will guide you through this process and help you display your NFT proudly on your Twitter profile.
Connecting your digital wallet to Twitter
Once you have minted your NFT and are ready to display it as your Twitter profile picture, you’ll need to connect your digital wallet to your Twitter account. This connection allows Twitter to recognize and display your NFT as your profile picture. Follow these steps to connect your digital wallet to Twitter:
- Access your digital wallet: Open the digital wallet application you have chosen and ensure that you are logged in to your wallet account.
- Locate the wallet settings: In the wallet application, look for the settings or account section. This is usually represented by a gear or profile icon. Click on it to access your wallet settings.
- Find the “Connect to Twitter” option: Within the wallet settings, search for an option that allows you to connect your digital wallet to Twitter. The label for this option may vary depending on the wallet you are using. It could be named “Connect Social Accounts” or “Connect External Apps”.
- Authorize the connection: Click on the “Connect to Twitter” or similar option, and a pop-up window or new page will appear, prompting you to authorize the connection between your wallet and Twitter. Review the permissions required to establish the connection and authorize the connection process.
- Authenticate with Twitter: After authorizing the connection, you will be redirected to Twitter’s login page. Enter your Twitter username and password to authenticate the connection between your wallet and Twitter. If you’re already logged in to Twitter, you may be automatically authenticated.
- Grant access to your wallet: Once authenticated, you may be asked to grant access to your wallet account’s information. This step is crucial for Twitter to retrieve and display your NFT as your profile picture. Approve the access request to proceed.
- Confirm the connection: After granting access, you will receive a confirmation message stating that your wallet is now connected to Twitter. This indicates that your wallet’s NFTs can be selected as your profile picture on the platform.
- Select your NFT as your profile picture: Return to your Twitter account settings and navigate to the profile picture section. Look for the option to update your profile picture and select an image. Depending on the wallet integration, you should be able to choose your NFT from your wallet’s connected NFTs and set it as your profile picture.
Once you’ve set your NFT as your Twitter profile picture, it may take a few moments to update across platforms. Refresh your Twitter profile or wait for the update to propagate, and you will see your NFT displayed proudly as your profile picture.
It’s important to note that not all wallets and NFT marketplaces have direct integration with Twitter. In such cases, you may need to manually download the image of your NFT from your marketplace or wallet and upload it as your profile picture on Twitter.
Connecting your digital wallet to Twitter allows you to display your NFT and showcase your creativity and individuality to your followers and the Twitter community. Enjoy the visibility and unique identity that your NFT brings to your Twitter profile!
Updating your Twitter profile picture with your NFT
Once you have connected your digital wallet to Twitter, you can update your profile picture with your NFT. Here’s a step-by-step guide to help you display your NFT proudly on your Twitter profile:
- Access your Twitter account settings: Log in to your Twitter account and navigate to the settings menu. You can find the settings menu by clicking on your profile picture in the top-right corner of the Twitter homepage and selecting “Settings and privacy” from the drop-down menu.
- Locate the profile picture section: Within the Twitter account settings, look for the “Profile” or “Profile picture” section. This section manages your profile picture settings.
- Choose the “Update” option: In the profile picture section, select the option to update your profile picture. This will prompt you to choose a new image to set as your profile picture.
- Browse your connected NFTs: Depending on the wallet and Twitter integration, you may be presented with a selection of your connected NFTs directly within the Twitter settings. Browse through your NFTs and choose the one you want to use as your profile picture.
- Select your NFT as the profile picture: Click on your chosen NFT to set it as your profile picture. Twitter will update the profile picture with your selected NFT. It may take a few moments for the change to be reflected across the platform.
- Review and adjust the display: After selecting your NFT as the profile picture, review how it appears in your Twitter profile. Depending on the dimensions of your NFT and Twitter’s profile picture display, you may need to adjust the positioning or crop the image to ensure it looks visually pleasing within the circular profile picture frame.
- Save the changes: Once you are satisfied with how your NFT appears as your profile picture, save the changes in the Twitter account settings. Your NFT will now be displayed as your profile picture across your Twitter profile and tweets.
- Share your new profile picture: Take the opportunity to share a tweet announcing your new profile picture and showcasing your NFT. This can help promote your NFT, engage with your followers, and attract attention to your profile.
Updating your Twitter profile picture with your NFT enables you to express your creativity, share your unique artwork, and make a statement about who you are. Your NFT will be visible to your followers, friends, and anyone who visits your profile, creating a visually striking and memorable representation of yourself within the Twitter community.
It’s important to note that the process of updating your profile picture may vary slightly depending on your device, operating system, and Twitter app version. However, the general steps should remain consistent across platforms. Make sure to follow any on-screen instructions and prompts provided by Twitter.
Now that your NFT is proudly displayed as your Twitter profile picture, take the time to engage with the NFT community, interact with like-minded individuals, and continue promoting your artwork and NFTs on social media. Enjoy the attention, recognition, and conversations your NFT profile picture brings!
Conclusion
Using an NFT as your Twitter profile picture allows you to stand out, showcase your creativity, and support the growing digital art community. Throughout this guide, we have explored the process of creating, minting, and integrating an NFT into your Twitter profile. By following the step-by-step instructions, you can effectively turn your profile picture into a unique work of art.
We began by understanding the essence of an NFT – a non-fungible token that represents ownership or proof of authenticity of a digital asset. We then delved into the benefits of using an NFT as your Twitter profile picture, such as expressing your unique identity, supporting artists, and participating in a vibrant community.
To successfully create an NFT for your Twitter profile picture, we provided a detailed guide, including choosing the right artwork, setting up a digital wallet, selecting a marketplace, uploading your artwork, minting the NFT, and connecting your digital wallet to Twitter. Each step is crucial in ensuring a seamless and rewarding experience.
With your NFT minted and your digital wallet connected to Twitter, you are now ready to update your profile picture. Make sure to carefully select your NFT from your connected NFTs within your wallet and adjust the display to ensure an aesthetically pleasing result. Remember to share your new profile picture with your followers and engage with the NFT community.
Embracing the world of NFTs and using them as your Twitter profile picture opens up possibilities for self-expression, collaborations, and discovering new artists. It also provides an opportunity to support the digital art industry and potentially benefit from any future value appreciation of your NFT.
As the NFT space continues to evolve, it’s important to stay informed about the latest trends, marketplaces, and best practices. Engaging with the community of artists, collectors, and enthusiasts will allow you to stay connected, share insights, and expand your knowledge.
Now that you have the knowledge to create and integrate an NFT into your Twitter profile, it’s time to unleash your creativity, showcase your unique style, and make a lasting impression on the Twitterverse. Your NFT as your profile picture will capture attention, spark conversations, and reflect your passion for the world of digital art.