Introduction
Welcome to our comprehensive guide on how to issue a refund on Cash App. Cash App is a popular mobile payment app that allows users to send and receive money easily. Whether you’ve made a mistake in sending a payment or need to refund a customer for a purchase, the refund process on Cash App is straightforward and hassle-free.
Issuing a refund on Cash App is essential for maintaining a positive relationship with your customers or correcting any payment errors that may occur. By providing a seamless refund experience, you can build trust and loyalty with your customers while ensuring a smooth transaction process.
In this guide, we will walk you through the step-by-step process of issuing a refund on Cash App. We will explain how to open the Cash App, navigate to the activity tab, select the payment you want to refund, confirm the refund details, and complete the refund process. We will also cover how to verify the refund status to ensure that the transaction is successfully processed.
Whether you are a business owner managing payments or an individual sending money to friends and family, understanding how to issue a refund on Cash App is an essential skill. By following the steps outlined in this guide, you will be able to refund payments quickly and efficiently, providing a positive experience for both yourself and the recipient.
Let’s get started with the first step – opening the Cash App on your mobile device.
Step 1: Open the Cash App
The first step in issuing a refund on Cash App is to open the app on your mobile device. Cash App is available for both iOS and Android platforms and can be downloaded for free from the respective app stores.
Once you have downloaded and installed the Cash App, tap on the app icon to open it. The app will launch, and you will be presented with the Cash App home screen.
If you haven’t already done so, you will need to sign in to your Cash App account. Enter your login credentials, such as your email or phone number, and your password. Tap the “Sign In” button to proceed.
If you are a new user and don’t have a Cash App account yet, you can quickly create one by tapping the “Sign Up” button and following the on-screen instructions.
After signing in to your Cash App account, you will be directed to the main dashboard, where you can access your account balance, transaction history, and various other features.
Opening the Cash App is the first and crucial step in initiating a refund process. Now that you have successfully opened the app, let’s move on to the next step – navigating to the activity tab.
Step 2: Go to the Activity Tab
Once you have opened the Cash App on your mobile device, the next step in issuing a refund is to navigate to the activity tab. The activity tab is where you can view and manage all your Cash App transactions.
To go to the activity tab, look for the menu icon at the bottom of the screen. It is represented by a small square with three horizontal lines. Tap on this icon to open the navigation menu.
In the navigation menu, you will see several options, such as “Home,” “Cash Card,” “Investing,” and more. Look for and select the “Activity” option. This will take you to the activity tab, where you can see a list of all your recent transactions.
The activity tab provides a comprehensive view of your Cash App transaction history. Each transaction is displayed with relevant details, including the date, time, amount, and the name or username of the recipient or sender.
Scroll through the activity tab to locate the specific payment transaction that you want to issue a refund for. You can search for the transaction by navigating through the list manually or by using the search bar at the top of the screen to enter specific keywords or names associated with the payment.
Once you have located the payment transaction you want to refund, select it to proceed to the next step. The selected transaction will open a detailed view where you can access additional options and initiate the refund process.
Now that you have successfully navigated to the activity tab, let’s move on to the next step – selecting the payment you want to refund.
Step 3: Select the Payment
After accessing the activity tab on the Cash App, the next step in issuing a refund is to select the specific payment that you want to refund. By selecting the payment, you can view its details and initiate the refund process.
In the activity tab, scroll through the list of transactions until you find the payment you wish to refund. You can identify the payment by its corresponding date, time, and the name or username of the recipient or sender.
Once you have located the payment, tap on it to open the detailed view. This view will provide you with additional information about the payment, including the transaction amount and any accompanying notes or descriptions.
Review the payment details carefully to ensure that you are selecting the correct one for the refund. If you are unsure about a particular transaction, you can double-check the relevant information or contact the recipient or sender for clarification.
By selecting the payment, you are indicating to the Cash App that this specific transaction is the one you want to refund. This step is essential for initiating the refund process accurately. Once you have confirmed the selection, you can proceed to the next step to tap on the “Refund” option.
Now that you have successfully selected the payment you wish to refund, let’s move on to the next step – tapping on the “Refund” button to proceed with the refund process.
Step 4: Tap “Refund”
After selecting the payment that you want to refund on Cash App, the next step is to tap on the “Refund” option. This option allows you to initiate the refund process and start the reversal of the payment transaction.
On the detailed view of the selected payment, you will see various options and buttons related to the transaction. Look for the “Refund” button and tap on it to proceed with the refund.
By tapping on the “Refund” button, you are confirming your intention to return the funds to the original sender or recipient. This action triggers the refund process and ensures that the money is reversed and returned to the appropriate account.
It is important to note that once you tap on the “Refund” button, the refund process cannot be undone. Therefore, before proceeding with the refund, double-check the payment details and ensure that you have selected the correct transaction to be refunded.
If you are certain that you are tapping on the correct “Refund” button, go ahead and tap on it to initiate the refund process.
Cash App will then process your request and initiate the refund procedure. The time it takes for the refund to be processed and the funds to be returned may vary depending on several factors, such as the payment method used and the recipient’s bank processing times.
Now that you have tapped on the “Refund” button and initiated the refund process, let’s move on to the next step – confirming the refund details before finalizing the refund.
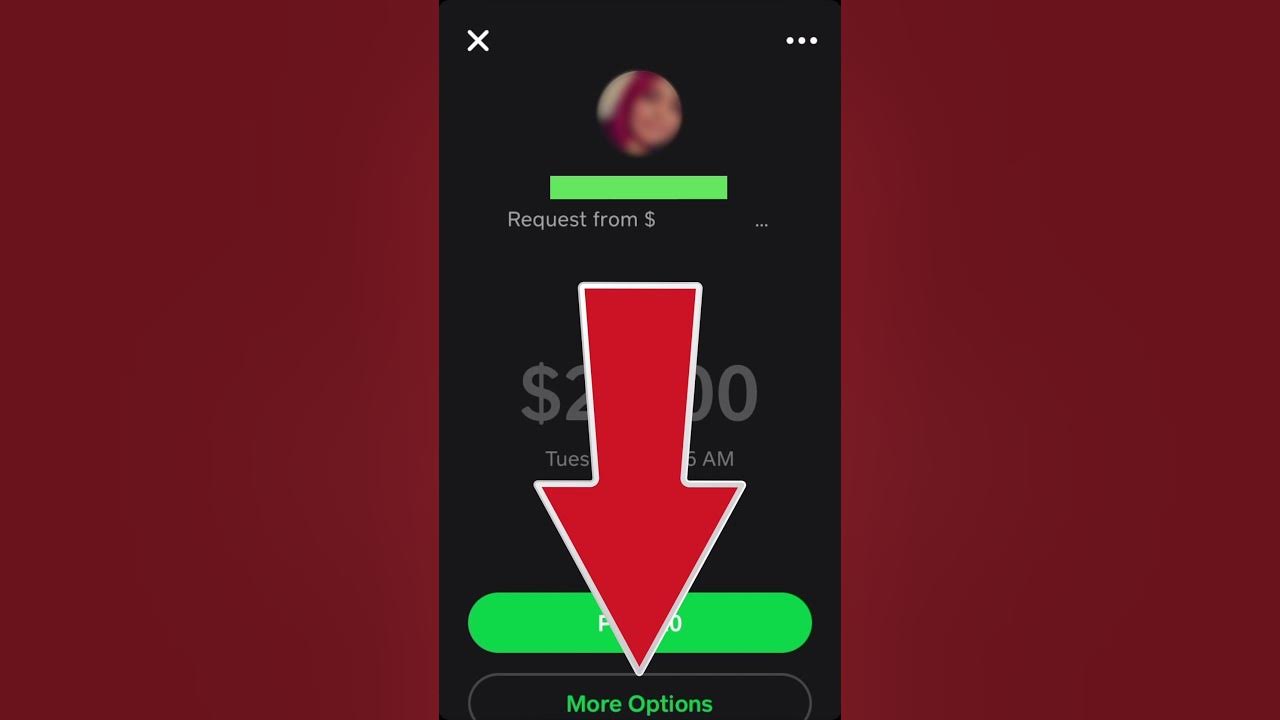
Step 5: Confirm the Refund Details
After tapping on the “Refund” button on Cash App, the next step is to confirm the refund details before finalizing the refund. This step ensures that you have reviewed the refund information and are ready to proceed with the reversal of the payment.
Once you have initiated the refund, Cash App will display a confirmation screen that provides an overview of the refund details. This screen typically includes information about the refund amount, the recipient, and any accompanying notes or descriptions.
Take a moment to carefully review the refund details to ensure that everything is accurate. Check that the refund amount matches your intended refund amount, and confirm that the recipient’s information is correct.
If you have entered any additional notes or reasons for the refund, make sure they are accurately reflected on the screen as well. It is essential to double-check all the information on this confirmation screen to prevent any discrepancies or issues with the refund process.
If you notice any errors or discrepancies, it is recommended to cancel the refund and double-check the transaction details before proceeding. This ensures that the refund is processed correctly and avoids any potential complications.
However, if you have confirmed that all the refund details are accurate, you can proceed to the next step and tap on the “Confirm” or “Proceed” button to finalize the refund.
By confirming the refund details, you are indicating your readiness to complete the refund process. Cash App will then proceed with the necessary steps to reverse the payment and return the funds to the sender or recipient, depending on the specific transaction.
Now that you have reviewed and confirmed the refund details, let’s move on to the next step – providing a reason for the refund, if necessary.
Step 6: Provide Reason for Refund (optional)
When issuing a refund on Cash App, you have the option to provide a reason for the refund. While this step is optional, it can be helpful to provide additional context or clarification to the recipient of the refund.
After confirming the refund details, Cash App may prompt you to enter a reason or explanation for the refund. This can be done by typing a message in a designated text box or selecting from predefined reasons provided by the app.
If you choose to provide a reason for the refund, it is recommended to be clear and concise. Explain the circumstances that led to the refund, such as a mistaken payment, a canceled transaction, or any other relevant information.
Providing a reason for the refund can help the recipient understand the situation better and prevent any confusion or misunderstandings. It also demonstrates transparency and professionalism in your refund process.
However, if you prefer not to provide a reason or if Cash App does not prompt you to enter one, you can simply skip this step and proceed to the next one.
Keep in mind that the recipient may still have the option to contact you directly to inquire about the reason for the refund, even if you haven’t provided one. Therefore, it is important to be prepared to address any inquiries or concerns regarding the refund.
Now that you understand the optional step of providing a reason for the refund, let’s move on to the next step – tapping on the “Refund” button to complete the process.
Step 7: Tap “Refund” to Complete the Process
After reviewing and confirming the refund details, the next step in the refund process on Cash App is to tap the “Refund” button to complete the transaction reversal. This step finalizes the refund and ensures that the funds are returned to the original sender or recipient.
On the confirmation screen, you will typically see a button labeled “Refund” or “Complete Refund.” Tap on this button to proceed with the final steps of the refund process.
By tapping the “Refund” button, you are confirming your intentions to proceed with the refund and completing the necessary actions to initiate the transaction reversal.
It is important to note that once you tap the “Refund” button, the refund process cannot be undone. Therefore, it is crucial to double-check and ensure that all the refund details are accurate before completing the process.
Cash App will then process the refund request and initiate the necessary steps to reverse the payment and return the funds to the sender or recipient’s account.
Depending on various factors such as the payment method used, the recipient’s banking institution, and other external factors, it may take some time for the refund to be fully processed and reflected in the recipient’s account.
Now that you have tapped the “Refund” button to complete the refund process, let’s move on to the final step – verifying the refund status to ensure the transaction is successfully processed.
Step 8: Verify Refund Status
After completing the refund process on Cash App, it is essential to verify the refund status to ensure that the transaction has been successfully processed. Verifying the refund status gives you the assurance that the funds have been returned to the sender or recipient’s account as intended.
To verify the refund status, you can navigate back to the activity tab on Cash App. This tab provides a comprehensive view of all your transactions, including any refunds that have been processed. Look for the specific payment transaction that you issued a refund for.
When a refund has been successfully processed, you will typically see a notification or indicator confirming the refund status. This may be shown as a “Refunded” label or a checkmark icon next to the transaction.
By confirming the refund status, you have the peace of mind that the funds have been returned, and the refund process has been completed. If you do not see the expected refund status, it is advisable to wait for a reasonable period and check again later.
In some cases, the refund may take some time to appear in the recipient’s account due to banking processes and transaction processing times. If you have concerns about the refund status or believe there may be an issue, it is best to contact Cash App support for further assistance.
Verifying the refund status is an important final step to ensure that the refund process has been successfully executed. It allows you to confirm that the transaction has been reversed, providing peace of mind for both parties involved.
Now that you have verified the refund status and completed the refund process on Cash App, you can rest assured that the funds have been returned as intended.
Conclusion
Issuing a refund on Cash App is a simple and straightforward process that can be done in a few easy steps. Whether you need to correct a payment mistake or refund a customer for a purchase, understanding how to navigate the refund process is essential.
In this guide, we have covered the step-by-step process of issuing a refund on Cash App. From opening the app to verifying the refund status, each step plays a crucial role in ensuring a smooth and successful refund transaction.
By following these steps, you can confidently initiate a refund on Cash App and provide a positive experience for your customers or recipients. Remember to review and confirm the refund details, tap on the “Refund” button to complete the process, and verify the refund status for your peace of mind.
It is also important to keep in mind that the refund process may vary depending on various factors, such as payment methods and external processing times. If you encounter any issues or have questions regarding the refund, it is suggested to reach out to Cash App support for assistance.
Whether you are a business owner, an individual sending money to friends and family, or a recipient of a refund, understanding how to issue a refund on Cash App is a valuable skill that can help maintain positive relationships and streamline financial transactions.
Now that you have gained the knowledge and insights about the refund process on Cash App, you can confidently navigate the app and issue refunds whenever necessary. Ensure accuracy, transparency, and timely communication throughout the process to provide the best refund experience for all parties involved.
Thank you for following along with our guide on how to issue a refund on Cash App. We hope you find this information helpful and that it empowers you to handle refunds with ease and efficiency.