Introduction
Deleting a Payoneer account can be necessary for various reasons. Whether you’ve found a better alternative, no longer require the services provided, or simply want to close unused accounts, the process can be straightforward if you follow the correct steps.
In this article, we will guide you through the process of deleting your Payoneer account. It’s important to note that once you delete your account, all associated data and information will be permanently removed. Therefore, before proceeding with the account deletion, make sure to withdraw any remaining funds and ensure you have no pending transactions.
Deleting your Payoneer account involves contacting customer support and providing them with the required information. The entire process typically takes a few business days, as Payoneer verifies and processes the account deletion request. Additionally, closing any associated Payoneer cards is an essential step to complete the account closure.
Now, let’s dive into the step-by-step process of deleting your Payoneer account and bidding farewell to the platform.
Step 1: Log in to your Payoneer Account
The first step to delete your Payoneer account is to log in to your account. Open your preferred web browser and visit the Payoneer website. On the homepage, you will find the “Sign In” button at the top-right corner. Click on it to proceed.
Once you click on the “Sign In” button, you will be redirected to the login page. Here, enter your username and password in the designated fields. Make sure to input the correct credentials associated with your Payoneer account.
If you have forgotten your username or password, don’t worry. Just click on the “Forgot your username or password?” link below the login fields. You will be prompted to enter your email address to initiate the recovery process.
After successfully logging in to your Payoneer account, you will have access to the dashboard, where you can manage various aspects of your account. It is essential to perform certain actions before proceeding with the account deletion process, such as withdrawing any remaining funds and closing associated Payoneer cards. We will explore these steps further in subsequent sections.
It is crucial to remember that the account deletion process cannot be undone. Therefore, ensure that you have backed up any important information or documents associated with your Payoneer account before proceeding.
Now that you are logged in to your Payoneer account, let’s move on to the next step and contact Payoneer customer support to initiate the account deletion process.
Step 2: Contact Payoneer Customer Support
Once you have logged in to your Payoneer account, the next step is to contact Payoneer customer support to initiate the account deletion process. Payoneer provides customer support through different channels, including email and live chat. You can choose the method that is most convenient for you.
To contact Payoneer customer support via email, go to the Payoneer website and navigate to the “Contact Us” or “Support” page. Look for the “Email” option and click on it. You will be directed to a form where you can fill out your details and the reason for contacting customer support.
Alternatively, you can opt for the live chat option provided on the Payoneer website. Look for the “Live Chat” or “Chat Now” button and click on it. This will open a chat window where you can directly communicate with a Payoneer customer support representative.
When contacting customer support, it is important to clearly state your intention to delete your account. Provide accurate and relevant information along with the reason for deletion. Be prepared to answer any additional questions or provide any necessary documentation that may be requested to process your request.
Payoneer customer support is generally responsive and efficient in handling account-related queries. They will guide you through the necessary steps and provide further instructions on the account deletion process.
Once you have initiated contact with Payoneer customer support and provided the required information, it is time to proceed to the next step and confirm the account deletion request.
Step 3: Provide the Required Information and Reason for Account Deletion
After contacting Payoneer customer support, the next step in the process of deleting your account is to provide the required information and reason for the account deletion. Payoneer may ask for certain details to verify your identity and ensure the security of your account.
The information you may be required to provide can include personal details such as your full name, date of birth, email address, and the last four digits of your Payoneer card (if applicable). It is crucial to provide accurate and up-to-date information to avoid any delays in the account deletion process.
In addition to the necessary information, Payoneer will also ask for the reason behind your decision to delete your account. The reason could be personal, such as switching to a different financial service provider or no longer requiring the services provided by Payoneer.
When providing the reason, it is best to be clear and concise. Avoid getting into unnecessary details or sounding negative. Keep in mind that the purpose of providing the reason is to help Payoneer understand their users’ needs and improve their services accordingly.
Be honest in your response and provide a genuine reason for deleting your account. Payoneer values customer feedback and may use it to enhance their offerings in the future. This step ensures that your account deletion request is properly processed and that you have communicated your intentions clearly.
Once you have provided the necessary information and reason for account deletion, it is time to move on to the next step and confirm the deletion request.
Step 4: Confirm the Deletion Request
After providing the required information and reason for account deletion, the next step is to confirm your deletion request with Payoneer. Payoneer customer support will guide you through this process to ensure that your request is correctly recorded and executed.
Payoneer may require you to confirm your account deletion request through a verification method, such as responding to an email or completing a form. This step adds an additional layer of security to prevent any unauthorized account deletions.
Check your email inbox linked to your Payoneer account for any messages from Payoneer regarding your deletion request. Follow the instructions provided in the email to confirm the deletion. Make sure to read and understand the instructions carefully to avoid any confusion or mistakes.
If you are requested to complete a form, fill out the necessary details accurately and submit it as instructed. Pay attention to any deadlines or specific requirements mentioned in the instructions.
Confirming your deletion request ensures that your intention to delete the account is formally acknowledged by Payoneer. It helps maintain transparency and accountability, ensuring that your account is deleted as per your request.
Once you have successfully confirmed your deletion request, it is crucial to wait for Payoneer to verify and process the account deletion. This can take a few business days, so be patient during this time.
Now that you have confirmed the deletion request, let’s proceed to the next step and discuss how to withdraw any remaining funds from your Payoneer account.
Step 5: Wait for Payoneer to Verify and Process the Account Deletion
After confirming your deletion request, you will need to wait for Payoneer to verify and process the account deletion. This step is crucial to ensure that all your account data and information are securely removed from Payoneer’s systems.
Payoneer’s verification process may take a few business days. During this time, it is important to refrain from logging into your account and conducting any transactions. Logging in or using your account can disrupt the account deletion process and may result in delays.
While you wait for Payoneer to complete the verification process, make sure to monitor your email inbox for any updates or additional instructions. Payoneer may contact you if they require any further information or documentation to proceed with the account deletion.
It is advised to keep a record of any communication with Payoneer during this period. This can include email exchanges or chat transcripts, which can serve as evidence in case of any issues or delays in the account deletion process.
During the verification and processing period, it is recommended to check your Payoneer account one last time to ensure that all pending transactions have been completed, and there are no remaining funds or obligations linked to your account.
Once Payoneer has successfully verified and processed the account deletion, you will receive confirmation either via email or through your account dashboard. This confirmation will indicate that your Payoneer account has been officially deleted.
Now that you have completed the waiting period, it is time to move on to the next step and withdraw any remaining funds from your Payoneer account before closing it altogether.
Step 6: Withdraw any Remaining Funds from your Payoneer Account
Before closing your Payoneer account, it is crucial to withdraw any remaining funds to ensure that you have access to your money. Follow these steps to withdraw your funds:
- Log in to your Payoneer account using your credentials.
- Navigate to the “Withdraw” or “Withdraw Funds” section on your account dashboard.
- Select the appropriate withdrawal method based on your preference and location. Payoneer offers various withdrawal options such as bank transfer, Payoneer card, or other supported methods.
- Enter the amount you want to withdraw. Make sure to consider any applicable fees or minimum withdrawal requirements.
- Review the withdrawal details and confirm the transaction. Payoneer may require additional verification steps for security purposes.
- Once the withdrawal is processed, the funds will be transferred to your specified bank account or card, depending on the chosen withdrawal method.
It is important to note that the time it takes for the funds to reach your bank account or card may vary depending on your location and the processing times of the receiving financial institution.
After successfully withdrawing your remaining funds, you can verify the transaction in your Payoneer account to ensure that the amount has been transferred correctly.
Now that you have taken care of your funds, it’s time to proceed to the final step and close any associated Payoneer cards.
Step 7: Close any Associated Payoneer Cards
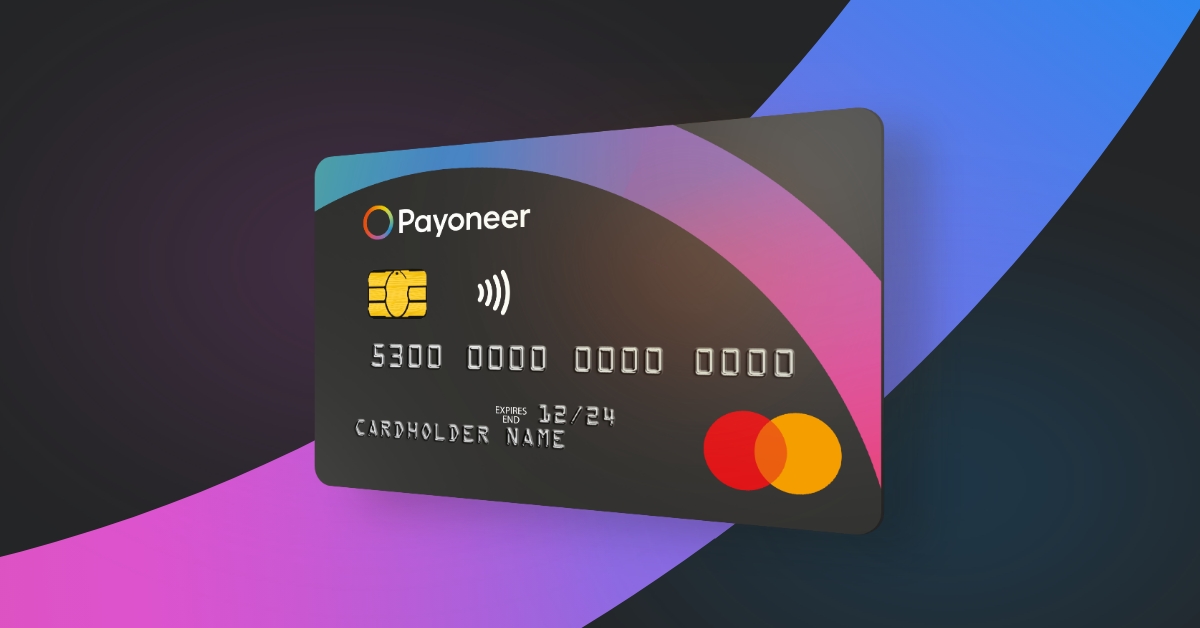
As the final step in deleting your Payoneer account, it’s important to close any associated Payoneer cards. This ensures that no further transactions can be made using these cards once your account is deactivated.
To close your Payoneer card(s), follow these steps:
- Login to your Payoneer account using your credentials.
- Navigate to the “Settings” or “Cards” section in your account dashboard.
- Locate the specific card you want to close and select the option to “Close” or “Deactivate” it.
- Follow the on-screen instructions to confirm the closure of the card.
- If you have multiple Payoneer cards, repeat the process for each card you wish to close.
It’s crucial to ensure that all associated Payoneer cards are closed to prevent any unauthorized usage or potential security risks.
Once you have successfully closed all your Payoneer cards, it indicates that you have completed the entire process of deleting your Payoneer account and associated cards.
Remember to properly dispose of any physical Payoneer cards you may have, ensuring that they are destroyed or rendered inoperable, for added security.
It’s important to note that once your Payoneer account and cards are closed, you will no longer have access to the Payoneer services, including any transaction history or associated benefits.
With this final step completed, you have successfully deleted your Payoneer account and closed any associated cards. Congratulations on completing the account deletion process!
Conclusion
Deleting a Payoneer account is a multi-step process that involves contacting customer support, providing the necessary information, and confirming the deletion request. It is important to follow each step carefully to ensure a smooth account deletion process.
Remember to log in to your Payoneer account, contact customer support, provide accurate information, and confirm the deletion request. Waiting for Payoneer to verify and process the account deletion is crucial, and during this time, make sure to withdraw any remaining funds from your account.
Closing any associated Payoneer cards adds an extra layer of security and ensures that no further transactions can be made using those cards. Once all these steps are completed, you can rest assured that you have successfully deleted your Payoneer account and severed ties with the platform.
Before initiating the deletion process, consider all the implications of closing your Payoneer account. Make sure to back up any important data or documents associated with your account and evaluate if deleting the account is the right decision for your financial needs.
Now that you have followed the necessary steps outlined in this guide, you can confidently proceed with deleting your Payoneer account. Whether you have found an alternative solution, no longer require the services, or have different reasons for closing your account, the steps provided will help you navigate the account deletion process smoothly.
Always remember to exercise caution when sharing personal information and contact customer support if you have any concerns or issues during the account deletion process.
We hope that this guide has provided valuable insights and guidance on how to delete a Payoneer account. Should you have any further questions or need additional assistance, don’t hesitate to reach out to Payoneer’s dedicated customer support team.
Thank you for choosing Payoneer, and best wishes on your financial journey!


