Understanding the Basics of Your Canon DSLR Camera
Before delving into the intricacies of your Canon DSLR camera, it’s essential to grasp the fundamental components and features that form the backbone of your device. Familiarizing yourself with these basics will pave the way for a seamless and enriching photography experience.
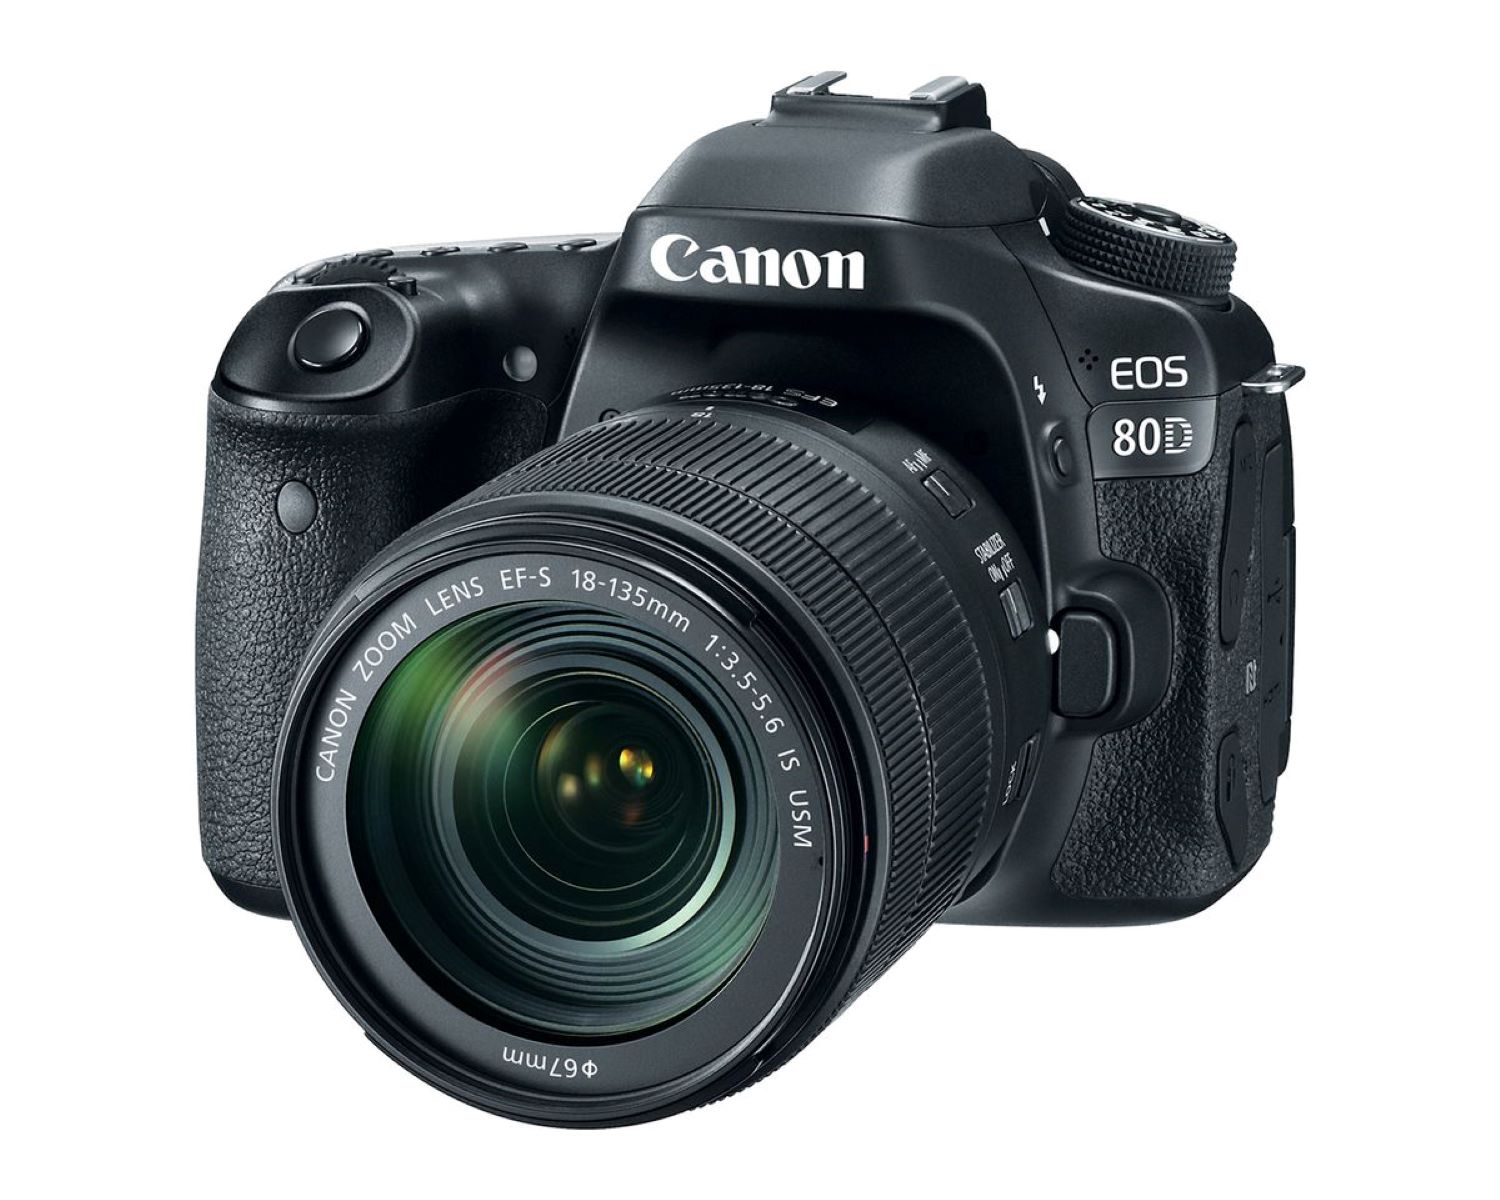
1. Camera Body and Lens: The camera body houses the sensor, processor, and controls, while the lens determines the focal length and aperture. Understanding how these two elements work in tandem is crucial for capturing stunning images.
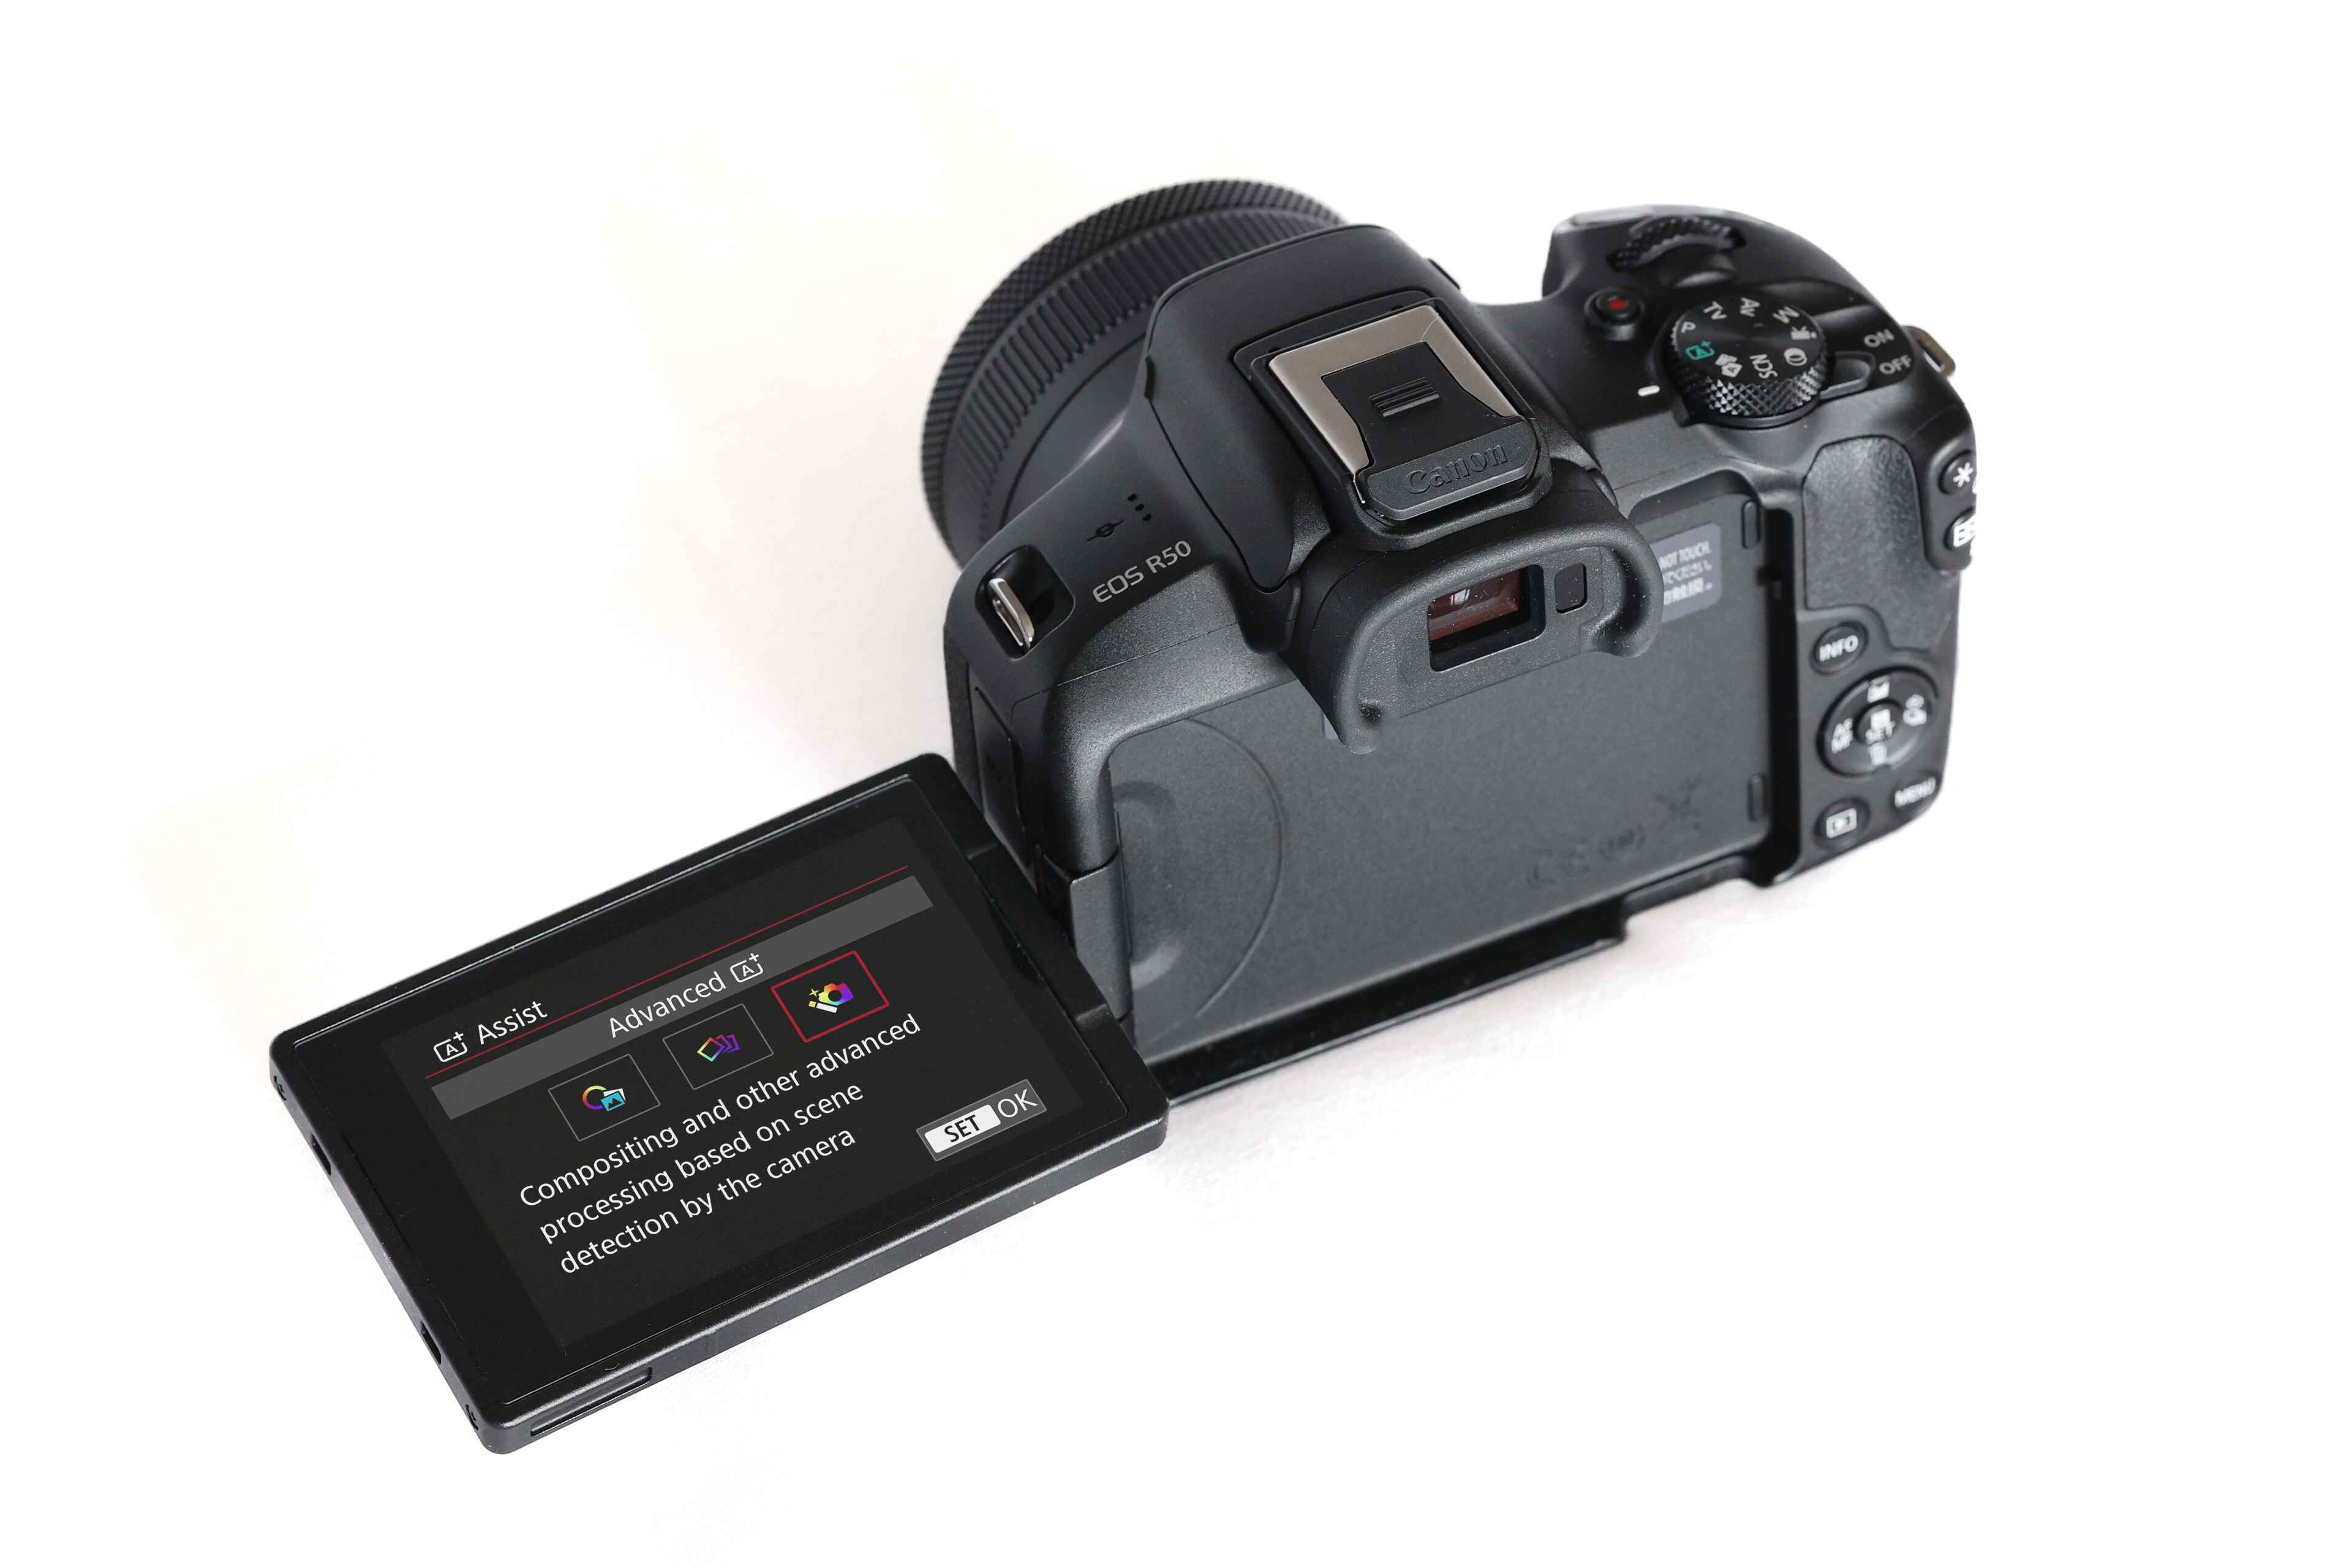
2. Viewfinder and LCD Screen: The viewfinder allows you to frame your shot optically, while the LCD screen provides a digital preview. Learning to utilize both effectively enables you to compose your photographs with precision.
3. Buttons and Controls: Each button and dial on your camera serves a specific function, such as adjusting exposure, focus, and shooting modes. Mastering these controls empowers you to tailor your settings swiftly and accurately.
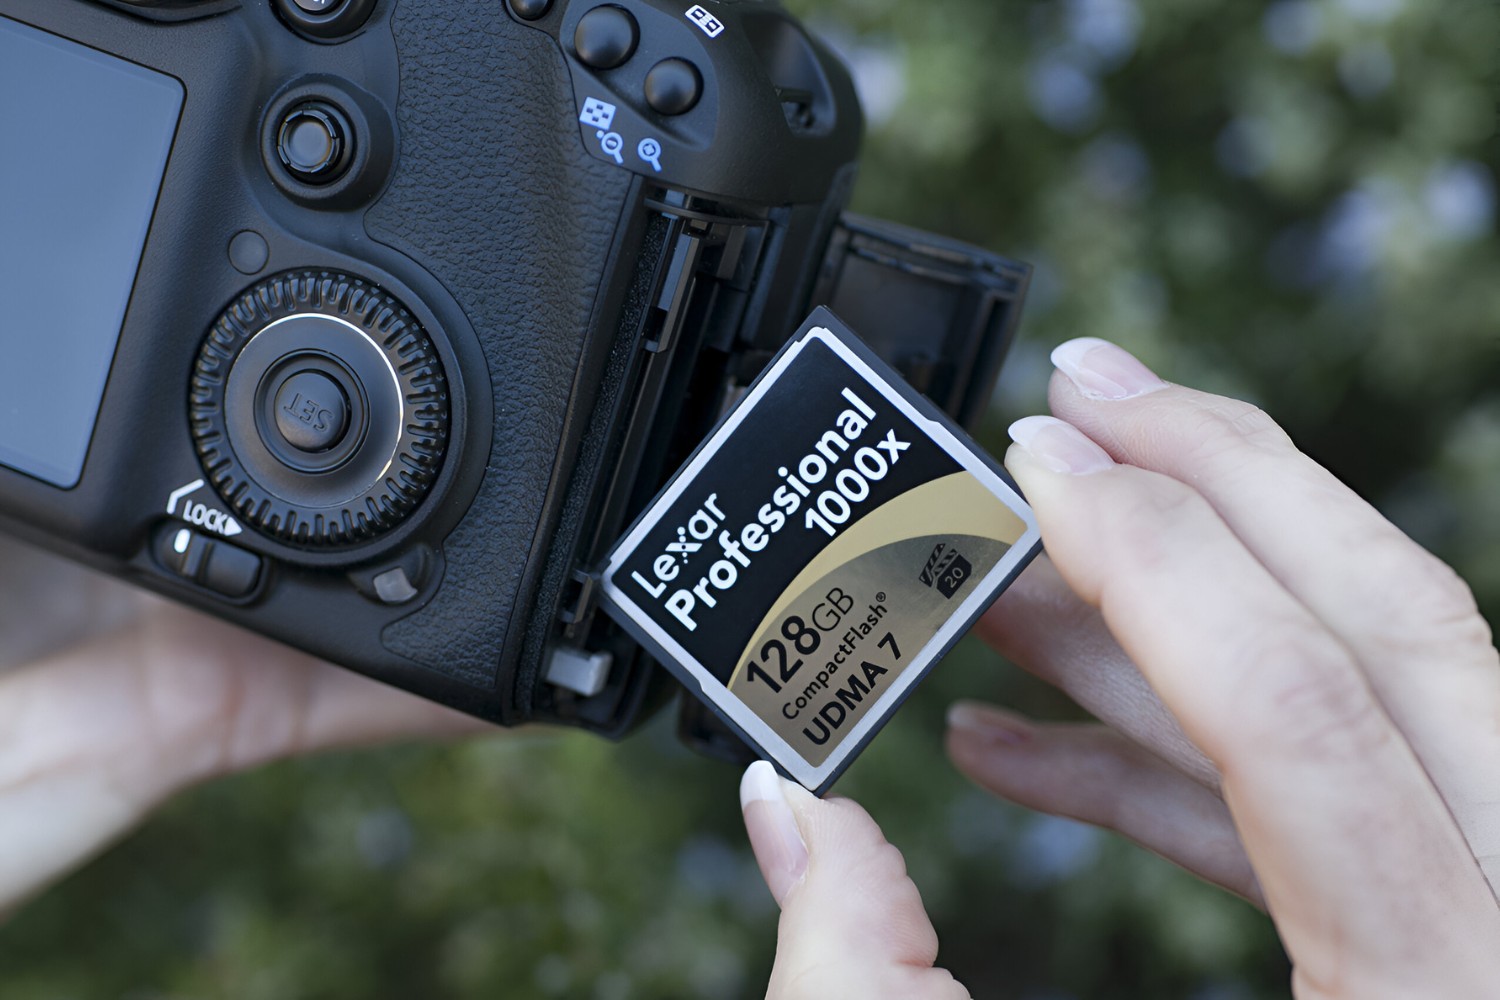
4. Battery and Memory Card: Ensuring your camera is powered and equipped with sufficient storage is paramount. Understanding how to manage battery life and select the appropriate memory card capacity is essential for uninterrupted shooting.
5. Camera Modes: Your Canon DSLR offers a range of shooting modes, including manual, aperture priority, and shutter priority. Familiarize yourself with these modes to harness the full potential of your camera in diverse shooting conditions.
By acquainting yourself with these foundational aspects of your Canon DSLR camera, you lay a solid groundwork for harnessing its capabilities to the fullest. This knowledge forms the cornerstone for navigating the camera’s settings, mastering exposure techniques, and ultimately capturing breathtaking images.
Navigating the Camera Settings and Menus
Understanding the intricate settings and menus of your Canon DSLR camera is pivotal in unleashing its full potential. Navigating through these options empowers you to customize your shooting experience and achieve the desired results. Here’s a closer look at the essential aspects of the camera’s settings and menus:
1. Shooting Settings: Dive into the shooting settings menu to adjust parameters such as image quality, file format, and white balance. This allows you to tailor your camera to suit specific shooting conditions and desired image characteristics.
2. Custom Functions: Explore the custom functions menu to personalize your camera’s behavior, including customizing buttons, setting up back-button focus, and fine-tuning autofocus parameters. Customizing these functions enhances the efficiency and ergonomics of your shooting experience.
3. Playback and Display: Familiarize yourself with the playback and display settings to review and manage captured images effectively. Understanding these options ensures that you can assess your shots accurately and make necessary adjustments on the fly.
4. Firmware Updates: Regularly check for firmware updates to keep your camera’s software up to date. These updates often introduce new features, improve performance, and address any existing issues, ensuring that your camera operates at its best.
5. Menu Navigation: Mastering the navigation of the camera’s menu system is crucial for swift and efficient operation. Understanding the menu structure and utilizing shortcuts streamlines your workflow, allowing you to focus on capturing moments without being hindered by menu navigation.
By delving into the intricacies of your camera’s settings and menus, you equip yourself with the knowledge to tailor your shooting experience to meet specific creative and technical requirements. This understanding lays the groundwork for mastering the exposure triangle, utilizing different shooting modes, and exploring advanced photography techniques with confidence and precision.
Mastering the Exposure Triangle: Aperture, Shutter Speed, and ISO
Mastering the exposure triangle is fundamental to achieving optimal exposure and creative control in your photography. Understanding the interplay between aperture, shutter speed, and ISO empowers you to capture images with the desired brightness, sharpness, and visual impact. Here’s a closer look at each element:
1. Aperture: The aperture, represented by an f-stop value, regulates the size of the lens opening. A wider aperture (lower f-stop) results in a shallow depth of field, ideal for portraits and artistic shots, while a narrower aperture (higher f-stop) increases depth of field, suitable for landscapes and architecture.
2. Shutter Speed: Shutter speed dictates the duration for which the camera’s shutter remains open. Faster shutter speeds freeze motion, making it ideal for capturing fast-paced subjects, while slower shutter speeds introduce motion blur, conveying a sense of movement and dynamism in your images.
3. ISO: ISO determines the camera sensor’s sensitivity to light. Lower ISO values are suitable for well-lit conditions, offering optimal image quality, while higher ISO values are employed in low-light situations, albeit with the trade-off of increased digital noise.
Understanding the relationship between these three elements allows you to make informed decisions when adjusting exposure settings to achieve the desired creative and technical outcomes. This knowledge forms the foundation for using different shooting modes, exploring autofocus techniques, and harnessing the full potential of your Canon DSLR camera in diverse shooting scenarios.
Using Different Shooting Modes for Various Scenarios
Mastering the diverse shooting modes of your Canon DSLR camera is crucial for adapting to different photography scenarios and achieving the desired creative results. Each mode is tailored to specific shooting conditions, providing you with the flexibility to capture stunning images in various environments. Here’s a closer look at the key shooting modes and their applications:
1. Manual Mode: In manual mode, you have full control over the exposure settings, including aperture, shutter speed, and ISO. This mode is ideal for situations where you want precise control over the image’s exposure, such as in studio or landscape photography.
2. Aperture Priority Mode: This mode allows you to set the desired aperture while the camera automatically adjusts the shutter speed for optimal exposure. It is well-suited for controlling the depth of field, making it ideal for portraits and close-up shots.
3. Shutter Priority Mode: In this mode, you can select the desired shutter speed, and the camera adjusts the aperture accordingly. It is particularly useful for capturing fast-moving subjects or creating motion blur effects in dynamic scenes.
4. Program Mode: Program mode offers a balance between automatic and manual control, allowing you to adjust various settings while the camera selects the most suitable aperture and shutter speed. It is a versatile mode for general shooting situations.
5. Scene Modes: Canon DSLR cameras often feature scene modes tailored to specific scenarios, such as portrait, landscape, sports, and night photography. These modes optimize the camera settings for the respective scenes, simplifying the process of capturing compelling images in diverse environments.
By familiarizing yourself with these shooting modes and their applications, you gain the versatility to adapt to different shooting conditions and creatively express your vision through photography. This knowledge serves as a springboard for exploring autofocus techniques, understanding white balance, and utilizing different lenses to elevate your photographic endeavors.
Exploring Autofocus and Manual Focus Techniques
Understanding the intricacies of autofocus and manual focus techniques is essential for achieving precise and sharp focus in your photographs. Both methods offer distinct advantages and are suited to different shooting scenarios, empowering you to capture compelling images with clarity and accuracy. Let’s delve into the nuances of each focusing technique:
Autofocus (AF): Canon DSLR cameras are equipped with advanced autofocus systems that employ various focus points to track and capture subjects with precision. The autofocus system offers different modes, such as single-point AF, zone AF, and automatic AF point selection, allowing you to tailor the focus to suit the composition and subject movement.
Manual Focus (MF): Manual focus provides complete control over the focusing process, enabling you to fine-tune the focus manually using the focus ring on the lens. This method is particularly advantageous in situations where the autofocus may struggle, such as low-light conditions or when capturing subjects with minimal contrast.
Back-Button Focus: Utilizing the back-button focus technique separates the autofocus activation from the shutter button, allowing you to initiate and lock focus independently. This approach offers greater flexibility in controlling the focus and is favored by many photographers for its precision and responsiveness.
Focus Modes: Understanding the different focus modes, such as single-shot AF, continuous AF, and AI Servo, enables you to adapt to varying subject movement and shooting conditions. Single-shot AF is suitable for static subjects, while continuous AF excels in tracking moving subjects with accuracy.
By exploring both autofocus and manual focus techniques, you equip yourself with the versatility to adapt to diverse shooting scenarios and overcome focusing challenges effectively. This knowledge forms the foundation for understanding white balance, utilizing different lenses, and honing your composition and framing skills to elevate your photographic prowess.
Understanding White Balance and Color Temperature
White balance and color temperature play a pivotal role in shaping the visual aesthetics of your photographs, influencing the overall mood and tone of your images. By comprehending these aspects, you can effectively adjust the color rendition to convey the desired atmosphere and enhance the visual impact of your photography.
White Balance: White balance refers to the adjustment of colors in your images to accurately represent whites as neutral, regardless of the lighting conditions. Different light sources, such as daylight, incandescent bulbs, and fluorescent lighting, have varying color temperatures, necessitating white balance adjustments to maintain natural color reproduction.
Color Temperature: Color temperature is measured in Kelvin and denotes the warmth or coolness of light. Lower color temperatures (e.g., 2500-4000K) yield warm, amber hues, while higher temperatures (e.g., 5000-7000K) produce cooler, blue tones. Understanding color temperature enables you to interpret and manipulate the color characteristics of light sources to evoke specific emotions and visual styles in your images.
White Balance Presets: Canon DSLR cameras offer white balance presets, including daylight, shade, cloudy, tungsten, fluorescent, and flash, among others. These presets serve as starting points for adjusting the color temperature according to the prevailing lighting conditions, ensuring accurate color rendition in your photographs.
Custom White Balance: Custom white balance allows you to calibrate the white balance settings based on the specific lighting environment, ensuring precise color reproduction. By using a neutral target, such as a gray card, you can capture the ambient light and create a custom white balance setting tailored to the prevailing conditions.
Artistic Interpretation: Beyond technical accuracy, white balance and color temperature offer opportunities for creative expression. Deliberate deviations from neutral white balance can imbue your images with warmth, coolness, or dramatic color casts, enhancing the emotional impact and visual narrative of your photographs.
By comprehending the nuances of white balance and color temperature, you gain the ability to manipulate the color characteristics of light to convey specific moods and atmospheres in your images. This knowledge serves as a cornerstone for utilizing different lenses, honing your composition and framing skills, and delving into post-processing and editing to refine and elevate your photographic vision.
Utilizing Different Lenses for Creative Photography
Choosing the right lens is a critical aspect of creative photography, as it significantly influences the composition, perspective, and visual impact of your images. Understanding the characteristics and applications of different lenses empowers you to capture diverse subjects with distinct artistic interpretations. Here’s a closer look at the versatility offered by various types of lenses:
1. Wide-Angle Lenses: Wide-angle lenses, typically ranging from 14mm to 35mm, excel in capturing expansive scenes, architectural marvels, and immersive landscapes. Their broad field of view and inherent distortion can create dynamic and dramatic compositions, making them ideal for emphasizing spatial relationships and adding depth to your photographs.
2. Telephoto Lenses: Telephoto lenses, with focal lengths exceeding 70mm, enable you to isolate distant subjects and compress perspective, making them well-suited for wildlife, sports, and portrait photography. Their ability to blur the background and emphasize the subject enhances visual storytelling and creates compelling, intimate portrayals.
3. Prime Lenses: Prime lenses with fixed focal lengths offer exceptional optical quality and wide apertures, making them ideal for achieving razor-sharp images and beautiful background blur (bokeh). Their optical precision and low-light performance make them versatile choices for portraiture, street photography, and artistic compositions.
4. Macro Lenses: Macro lenses are designed for capturing intricate details and close-up subjects with exceptional clarity. Their high magnification capabilities and minimal focusing distances reveal the enchanting world of tiny subjects, such as flowers, insects, and textures, enabling you to explore and portray captivating microcosms.
5. Fisheye Lenses: Fisheye lenses offer an ultra-wide perspective and pronounced distortion, resulting in surreal and unconventional imagery. Their exaggerated curvature and expansive field of view unleash creative possibilities, allowing you to experiment with unconventional compositions and abstract visual narratives.
By harnessing the unique characteristics of different lenses, you can infuse your photography with diverse perspectives, visual dynamics, and storytelling capabilities. This knowledge serves as a springboard for honing your composition and framing skills, exploring post-processing and editing techniques, and refining your photographic vision to express your creativity with depth and impact.
Tips for Composition and Framing
Effective composition and framing are essential elements that elevate the visual impact and storytelling prowess of your photographs. By mastering these aspects, you can create compelling and visually engaging images that captivate viewers and convey your artistic vision. Here are valuable tips to enhance your composition and framing techniques:
1. Rule of Thirds: Utilize the rule of thirds by mentally dividing your frame into a 3×3 grid and positioning key elements along the gridlines or at their intersections. This technique creates balanced and visually dynamic compositions that draw the viewer’s eye into the scene.
2. Leading Lines: Incorporate leading lines, such as roads, fences, or natural formations, to guide the viewer’s gaze through the image and create a sense of depth and movement. Leading lines add visual interest and convey a narrative within the frame.
3. Framing within the Frame: Look for natural or architectural elements, such as windows, doorways, or foliage, to frame your subject within the scene. This technique adds layers to the composition, draws attention to the main subject, and creates a sense of context and depth.
4. Negative Space: Embrace negative space by allowing areas of the frame to remain uncluttered, emphasizing the subject and evoking a sense of minimalism and tranquility. Negative space can enhance the visual impact of the main subject and evoke emotional responses from the viewer.
5. Perspective and Point of View: Experiment with different perspectives and viewpoints, such as low angles, high angles, or unconventional vantage points, to create unique and thought-provoking compositions. Changing your viewpoint can transform mundane scenes into visually striking images.
6. Balance and Symmetry: Seek balance and symmetry in your compositions to create a sense of harmony and visual stability. Symmetrical compositions can convey a sense of order and elegance, while asymmetrical balance adds energy and intrigue to the frame.
By implementing these tips for composition and framing, you can infuse your photography with visual dynamism, emotional resonance, and a compelling narrative. This knowledge serves as a foundation for exploring post-processing and editing techniques, utilizing different lenses, and refining your photographic vision to convey your creativity with depth and impact.
Post-Processing and Editing Your Photos
Post-processing and editing are integral stages in the photographic workflow, allowing you to refine and enhance your images to achieve the desired visual impact and convey your artistic vision. With the aid of digital tools and software, you can elevate your photographs to new heights, bringing out their full potential and captivating your audience. Here’s a closer look at the essential aspects of post-processing and editing:
1. Raw Processing: If your camera captures images in raw format, utilize raw processing software to adjust exposure, white balance, and contrast, while retaining maximum image quality and flexibility. Raw processing enables precise control over the tonal and color characteristics of your photographs.
2. Color Correction: Fine-tune the color rendition of your images to achieve accurate and visually appealing results. Adjusting hues, saturation, and vibrancy can enhance the mood and atmosphere of your photographs, ensuring that the colors resonate with the intended emotional impact.
3. Exposure and Contrast Adjustment: Tailor the exposure and contrast to optimize the tonal range and visual dynamics of your images. Balancing highlights and shadows, as well as manipulating contrast, can bring out details and create a compelling interplay of light and shadow within the frame.
4. Sharpening and Detail Enhancement: Apply selective sharpening and detail enhancement to accentuate textures, intricate elements, and fine details within your photographs. This process enhances the overall clarity and visual acuity of the image, drawing the viewer into the intricacies of the scene.
5. Cropping and Composition Refinement: Use cropping and composition adjustments to refine the framing and visual flow of your images. By repositioning elements within the frame, you can enhance the composition, eliminate distractions, and create a more impactful visual narrative.
6. Creative Effects and Artistic Interpretation: Experiment with creative effects, such as black and white conversion, toning, and vignetting, to imbue your images with unique visual styles and artistic interpretations. Creative effects can evoke emotions and add a distinctive flair to your photographs.
By delving into post-processing and editing, you can refine and elevate your photographs, infusing them with your creative vision and personal style. This knowledge serves as a springboard for honing your composition and framing skills, utilizing different lenses, and exploring advanced photography techniques to express your creativity with depth and impact.