Introduction
Welcome to the world of photography, where capturing the perfect shot often requires precision, creativity, and the ability to see the world through a lens. As a proud owner of a Canon DSLR camera, you understand the importance of having a clear view of your subject to ensure that every detail is captured flawlessly. However, there are times when the camera’s built-in display may not provide the ideal vantage point for composing your shots. This is where the convenience of linking your Canon DSLR camera to your laptop as a monitor comes into play.
By connecting your Canon DSLR camera to your laptop, you can leverage the larger screen and more detailed display to fine-tune your composition, adjust settings, and review your images in real-time. Whether you are a professional photographer seeking precise control over your shots or an enthusiast looking to enhance your photography experience, using your laptop as a monitor for still photography can significantly elevate your capabilities.
In this guide, we will walk you through the step-by-step process of linking your Canon DSLR camera to your laptop, enabling you to utilize the live view feature for capturing stunning images. From checking compatibility to setting up live view shooting and adjusting camera settings, you will gain valuable insights into seamlessly integrating your camera and laptop for an enhanced photography experience. So, grab your Canon DSLR camera, fire up your laptop, and let’s embark on this journey to unlock the full potential of your photography endeavors.
Step 1: Check Your Camera and Laptop Compatibility
Before diving into the process of linking your Canon DSLR camera to your laptop, it’s crucial to ensure that both your camera and laptop are compatible for this setup. Canon offers a range of DSLR cameras, each with distinct features and compatibility requirements. Similarly, laptops vary in their connectivity options and system specifications, which can impact the seamless integration of your camera and laptop for live view shooting.
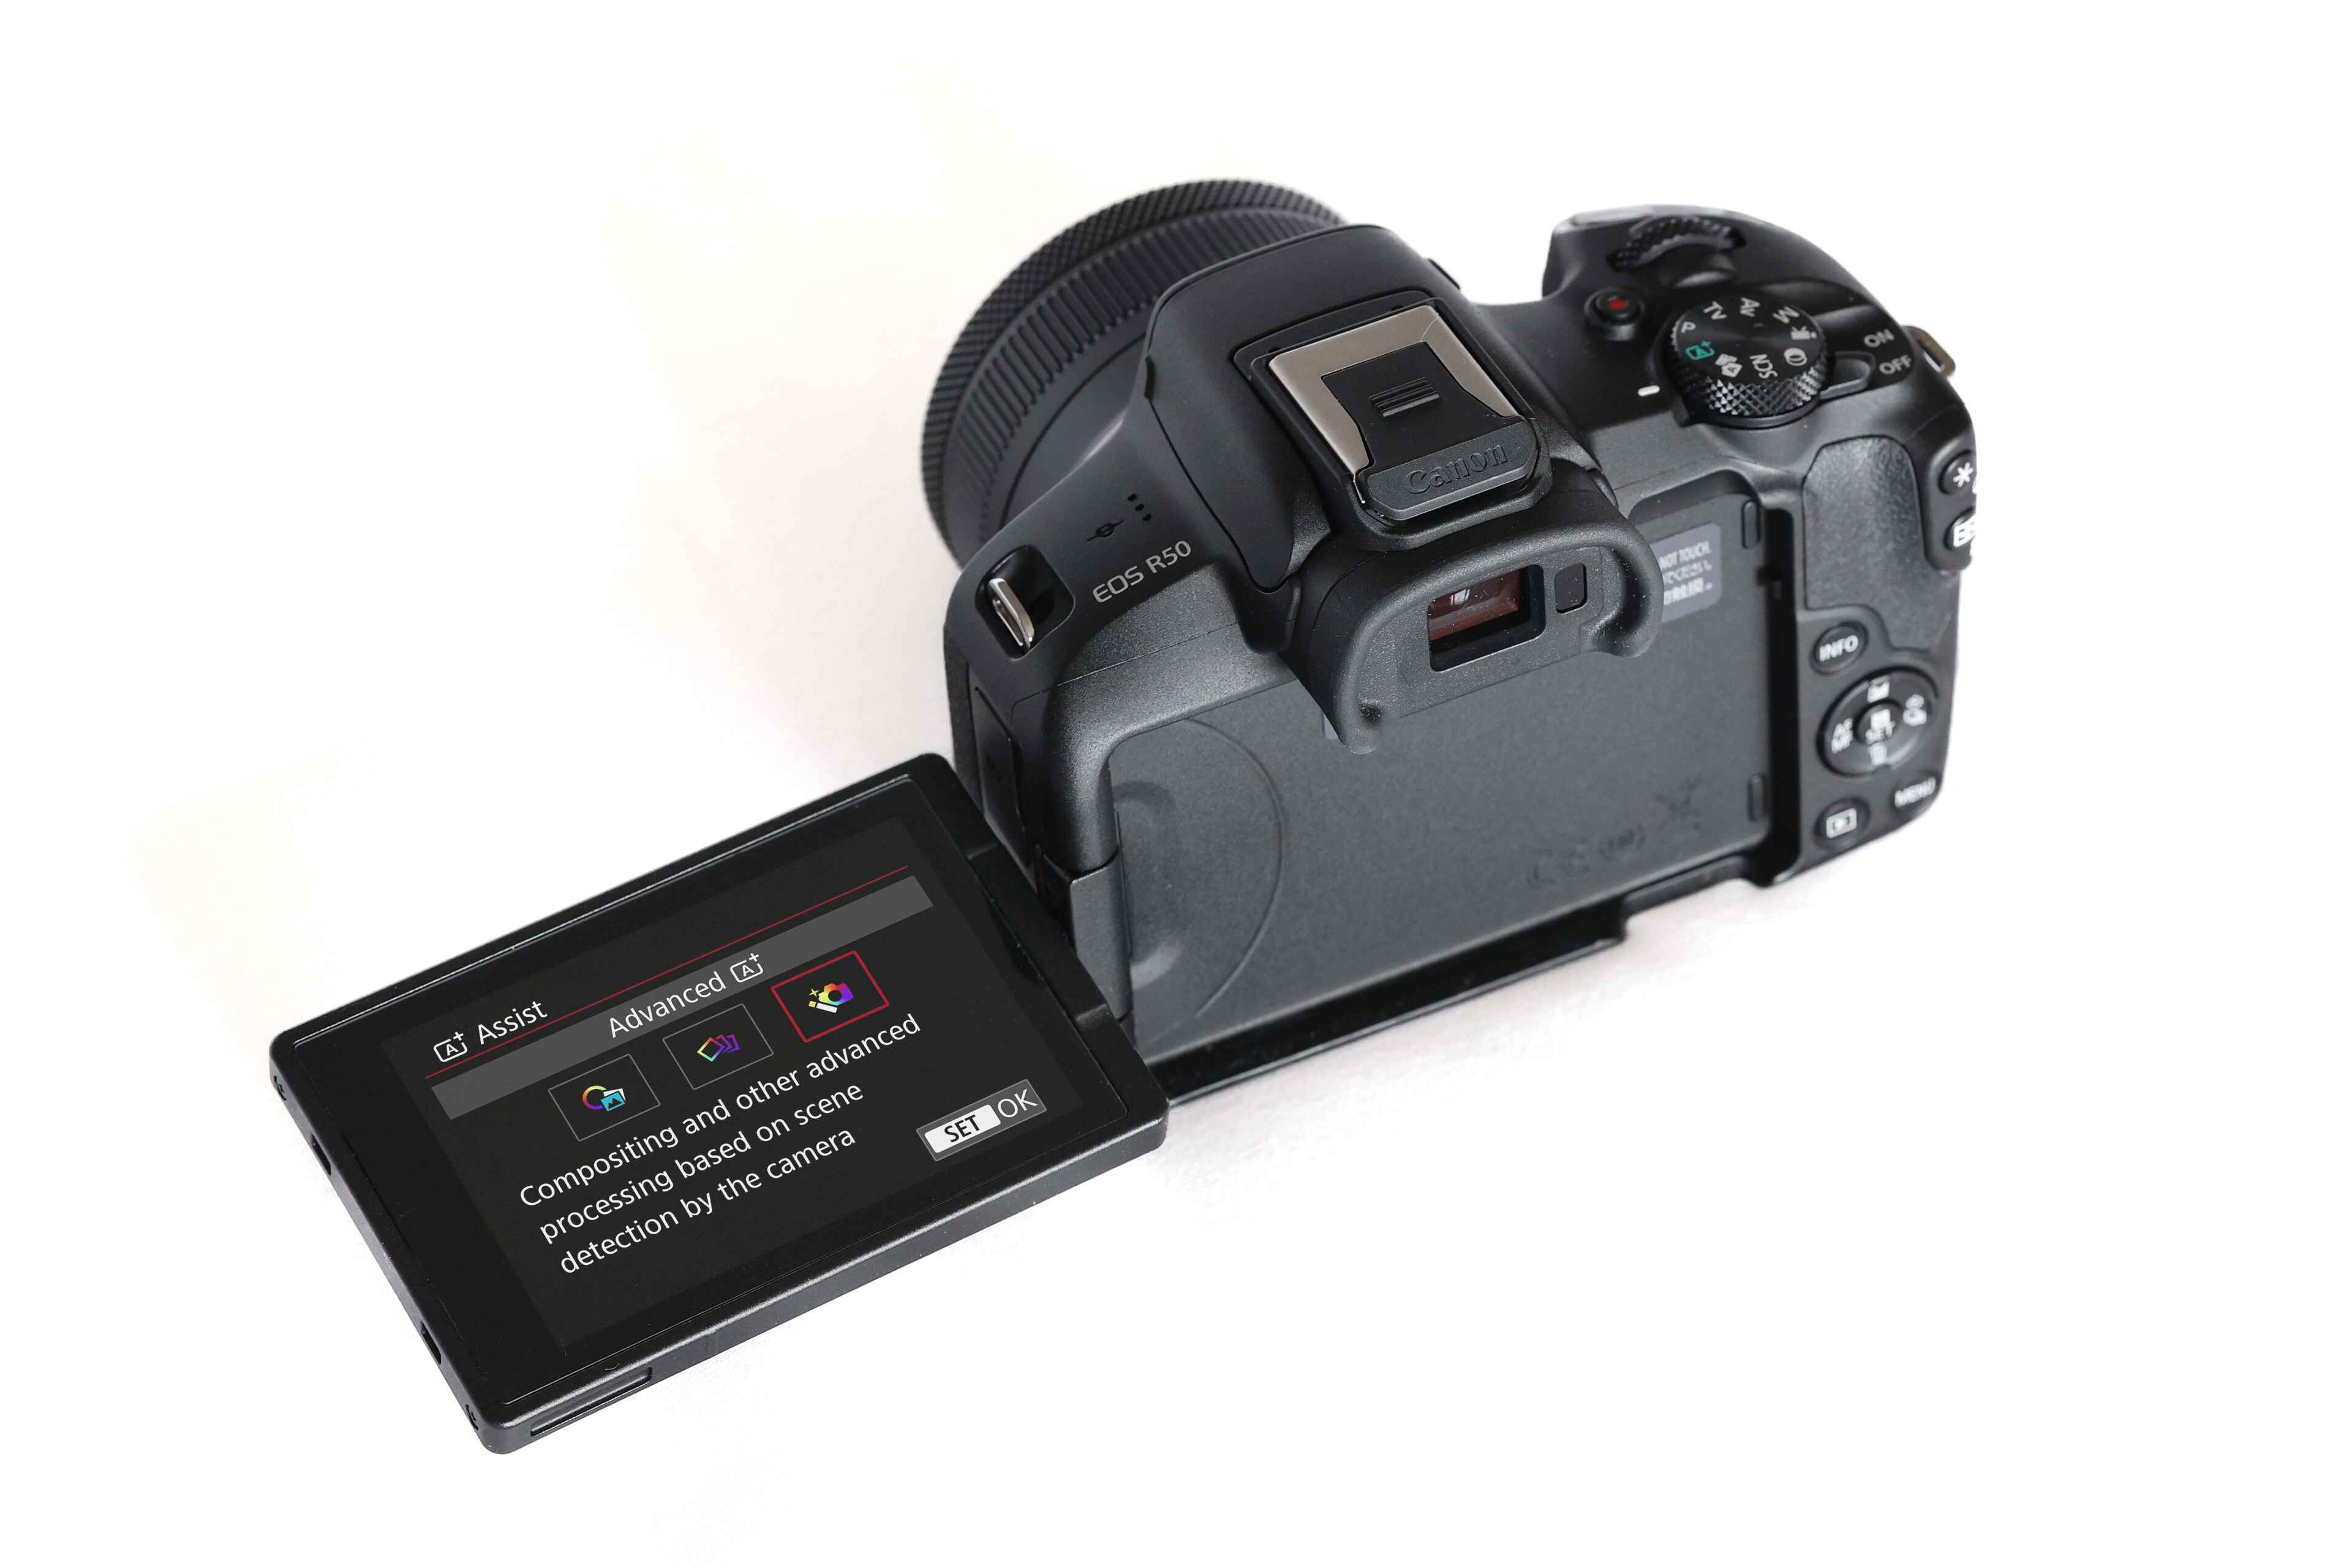
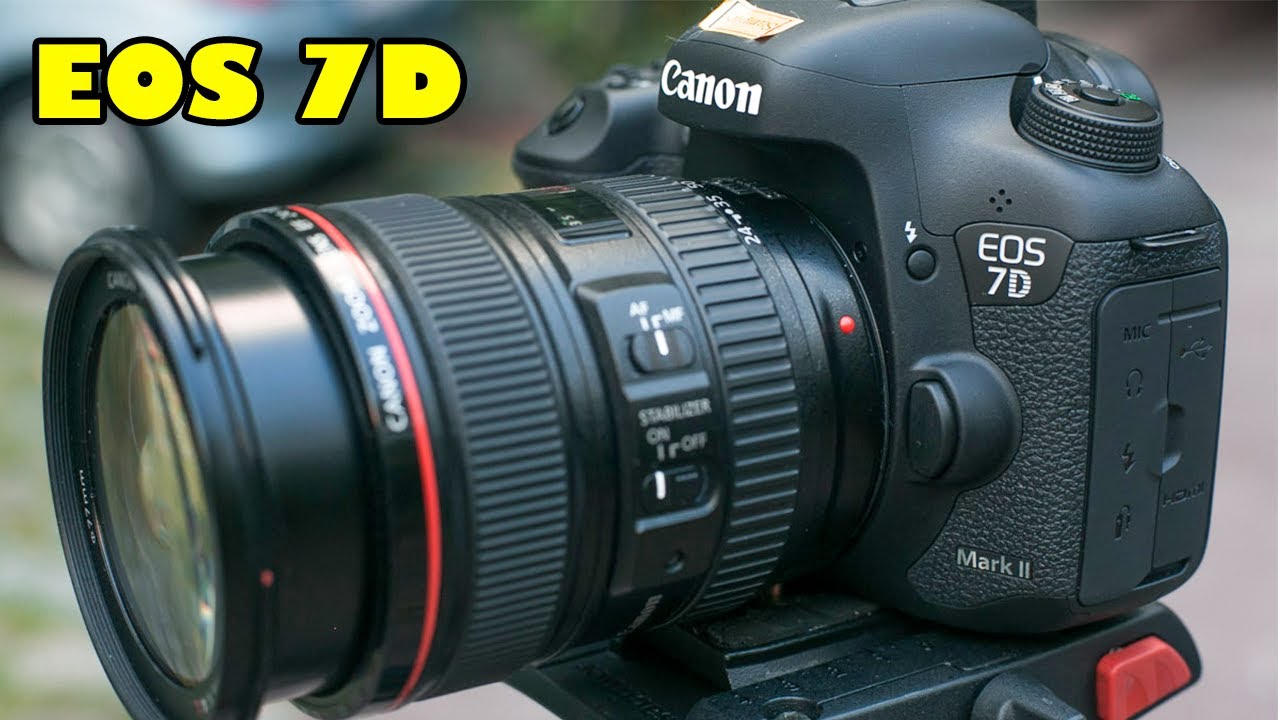
First and foremost, check the model of your Canon DSLR camera to determine if it supports live view shooting and USB connectivity for tethering to a laptop. Most modern Canon DSLR models, such as the EOS 5D series, 6D series, and 7D series, are equipped with these capabilities, allowing for a smooth connection to a laptop for monitoring and controlling the camera settings remotely.
Next, examine your laptop’s specifications to ensure it meets the necessary requirements for tethered shooting with your Canon DSLR camera. Verify that your laptop has a USB port, as this will serve as the primary connection point for linking the camera. Additionally, confirm that your laptop’s operating system is compatible with Canon’s EOS Utility software, which is essential for establishing the connection and enabling live view shooting.
Once you have confirmed the compatibility of your camera and laptop, it’s time to gather the required accessories, such as the USB cable that came with your Canon DSLR camera. This cable will facilitate the physical connection between your camera and laptop, enabling data transfer and live view display on your laptop screen.
By conducting this preliminary compatibility check, you can preemptively address any potential issues and ensure a seamless setup process for linking your Canon DSLR camera to your laptop. With the assurance of compatibility, you are ready to proceed to the next steps toward harnessing the power of live view shooting for still photography.
Step 2: Install Canon EOS Utility Software
Once you have confirmed the compatibility of your Canon DSLR camera and laptop, the next crucial step is to install the Canon EOS Utility software on your laptop. This software serves as the bridge that enables seamless communication between your camera and laptop, allowing you to establish a tethered connection and access the live view shooting feature.
To begin, insert the CD that accompanied your Canon DSLR camera into your laptop’s optical drive. If your laptop doesn’t have an optical drive, you can download the EOS Utility software directly from Canon’s official website. Follow the on-screen instructions to complete the installation process, ensuring that the software is correctly installed and ready for use.
Alternatively, if you prefer to download the software from Canon’s website, navigate to the designated support section, locate the EOS Utility software for your specific camera model, and proceed with the download and installation. It’s essential to select the version of the software that is compatible with your camera model and your laptop’s operating system to ensure optimal functionality.
Upon successful installation, launch the Canon EOS Utility software on your laptop. Connect your Canon DSLR camera to your laptop using the provided USB cable, and power on the camera. The software should automatically detect the connected camera and establish a tethered connection, enabling you to access the live view shooting mode directly from your laptop screen.
By installing the Canon EOS Utility software, you unlock a host of features that empower you to control your camera remotely, adjust settings, and capture images with precision. The intuitive interface of the software simplifies the process of setting up live view shooting, making it easier to compose your shots and review images in real-time on your laptop.
With the Canon EOS Utility software installed and your camera connected to your laptop, you are now poised to delve into the next steps of configuring live view shooting and fine-tuning your camera settings for an enhanced photography experience.
Step 3: Connect Your Camera to Your Laptop
With the Canon EOS Utility software successfully installed on your laptop, it’s time to establish the physical connection between your Canon DSLR camera and your laptop. This connection is essential for enabling the live view shooting feature, allowing you to monitor and control your camera’s settings directly from your laptop screen.
Begin by powering off your Canon DSLR camera and your laptop to prepare for the connection. Locate the USB port on your camera, typically situated on the side or rear panel, and the USB port on your laptop. Using the USB cable provided with your Canon DSLR camera, carefully connect one end to the camera’s USB port and the other end to an available USB port on your laptop.
Once the physical connection is established, power on your Canon DSLR camera. Your laptop should recognize the connected camera, and the Canon EOS Utility software should launch automatically, indicating a successful connection. If the software does not launch automatically, you can manually open it to initiate the tethered connection and access the live view shooting mode.
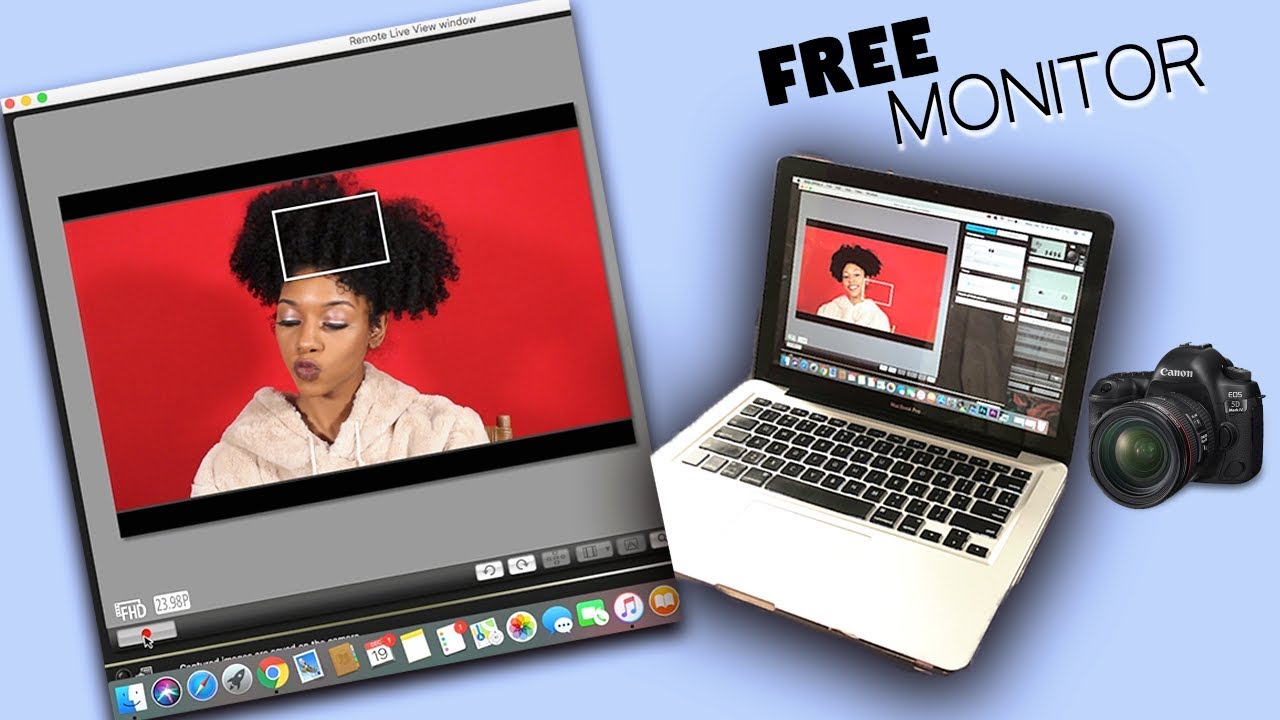
As the connection is established, your Canon DSLR camera’s live view display will be mirrored on your laptop screen, providing you with a larger and more detailed view for composing your shots. This real-time display allows you to adjust the composition, focus, and exposure settings directly from your laptop, offering enhanced control and precision in your photography workflow.
It’s important to ensure that the USB connection between your camera and laptop remains secure throughout your photography session to maintain a stable live view feed and seamless communication between the devices. Additionally, be mindful of cable placement to prevent any interference with your shooting process and to maintain a clutter-free workspace.
By successfully connecting your Canon DSLR camera to your laptop, you have unlocked the capability to leverage the live view shooting feature, transforming your laptop into a versatile monitor for capturing stunning still photography. With the physical connection established, you are now ready to delve into setting up live view shooting and fine-tuning your camera settings to elevate your photography experience.
Step 4: Set Up Live View Shooting
Now that your Canon DSLR camera is successfully connected to your laptop, it’s time to configure the live view shooting mode to harness the full potential of this setup. Live view shooting provides a real-time display of your camera’s viewfinder on your laptop screen, allowing for precise composition, focus adjustments, and exposure control as you capture still photography.
Within the Canon EOS Utility software interface on your laptop, navigate to the live view shooting mode, often indicated by a dedicated icon or menu option. Upon entering live view mode, you will witness the live feed from your camera’s viewfinder displayed on your laptop, providing a detailed and expansive view for composing your shots.
Take a moment to familiarize yourself with the live view shooting interface, which typically includes essential controls for adjusting focus, exposure settings, and capturing images remotely. The intuitive nature of the software’s interface makes it easy to fine-tune your composition and make precise adjustments to achieve the desired framing and visual impact in your photographs.
As you explore the live view shooting mode, consider utilizing additional features offered within the Canon EOS Utility software, such as grid overlays for aligning your composition, histogram displays for monitoring exposure levels, and remote shutter release functionality for capturing images without physically touching the camera.
Furthermore, the live view shooting mode enables you to magnify specific areas of the frame for critical focus assessment, making it an invaluable tool for achieving sharp and detailed images, especially in scenarios where precise focus is paramount, such as macro photography or portrait sessions.
Throughout your live view shooting setup, maintain a keen eye on the live feed displayed on your laptop, leveraging the larger screen and detailed display to ensure that every element within your composition aligns with your creative vision. Embrace the flexibility and control that live view shooting affords, allowing you to experiment with different angles, perspectives, and framing options with confidence.
By setting up live view shooting on your Canon DSLR camera through your connected laptop, you have unlocked a powerful tool for enhancing your photography workflow. With the live view mode configured, you are now poised to explore the next steps of adjusting camera settings and embarking on your photography journey with newfound precision and creative freedom.
Step 5: Adjust Camera Settings
With live view shooting mode configured and your Canon DSLR camera connected to your laptop, it’s time to delve into the process of adjusting camera settings to fine-tune your photography setup. The ability to remotely control and modify camera settings through your laptop empowers you to optimize exposure, focus, and other critical parameters with precision and ease.
Within the Canon EOS Utility software interface on your laptop, you will find a comprehensive array of camera settings that can be adjusted remotely, mirroring the control options available on the camera itself. These settings may include aperture, shutter speed, ISO sensitivity, white balance, and focus mode, among others, depending on the capabilities of your specific Canon DSLR model.
Begin by familiarizing yourself with the layout and functionality of the camera settings interface within the Canon EOS Utility software. This intuitive interface typically mirrors the physical controls of your camera, allowing you to make seamless adjustments to achieve the desired exposure and focus settings for your photography.
As you navigate through the camera settings, take advantage of the real-time feedback provided by the live view feed on your laptop screen. This visual representation enables you to gauge the impact of your adjustments instantaneously, empowering you to make informed decisions regarding exposure levels, depth of field, and overall image aesthetics.
Additionally, consider utilizing the histogram display within the software interface to evaluate the distribution of tonal values in your composition, ensuring optimal exposure and dynamic range. The histogram serves as a valuable tool for fine-tuning exposure settings, especially in challenging lighting conditions where precise exposure control is essential.
Throughout the process of adjusting camera settings, maintain a deliberate and methodical approach, taking the time to assess the impact of each modification on the live view feed. This iterative process allows you to refine your settings with precision, ensuring that every aspect of your composition aligns with your creative vision.
By leveraging the capability to adjust camera settings remotely through your laptop, you gain a heightened level of control over your photography workflow, enabling you to capture images with meticulous attention to detail and technical finesse. With your camera settings optimized, you are now prepared to embark on the final step of initiating live view shooting and capturing stunning still photography with confidence and precision.
Step 6: Start Shooting and Reviewing on Your Laptop
With your Canon DSLR camera connected to your laptop and the camera settings adjusted to your preferences, you are now poised to embark on the exciting phase of capturing and reviewing your still photography directly on your laptop screen. The seamless integration of live view shooting and remote camera control empowers you to initiate your photography session with confidence and precision.
Initiate the live view shooting mode within the Canon EOS Utility software interface on your laptop, immersing yourself in the real-time display of your camera’s viewfinder on the larger and more detailed screen. This immersive view provides an expansive canvas for composing your shots and monitoring critical elements within your frame with heightened clarity and precision.
As you commence your photography session, take advantage of the remote shutter release functionality offered within the Canon EOS Utility software. This feature allows you to capture images directly from your laptop, eliminating the need to physically interact with the camera and minimizing the risk of unintended motion or camera shake during the image capture process.
Throughout your photography session, leverage the live view feed on your laptop to assess the visual impact of your compositions, make on-the-fly adjustments to framing and focus, and capture images with confidence. The real-time feedback provided by the live view display empowers you to refine your shots with precision, ensuring that each image reflects your creative vision with clarity and finesse.
Following each image capture, take advantage of the image review functionality within the Canon EOS Utility software to instantly assess the quality and impact of your photographs on your laptop screen. This immediate feedback loop enables you to make informed decisions regarding exposure, composition, and overall image quality, enhancing your ability to refine your photography techniques in real time.
Embrace the creative freedom and technical precision afforded by the seamless integration of your Canon DSLR camera and your laptop, allowing you to capture stunning still photography with unparalleled control and convenience. The ability to initiate, capture, and review your images directly on your laptop screen represents a transformative approach to photography, enriching your creative process and elevating the quality of your photographic output.
With the capability to seamlessly transition between shooting and reviewing on your laptop, you have unlocked a dynamic and efficient workflow that empowers you to capture compelling imagery with precision and artistry. Embrace this integrated approach to photography, and let your creative vision unfold with newfound clarity and impact.