Introduction
Are you eager to transfer the captivating footage from your Panasonic camcorder to your computer for editing, sharing, or safekeeping? This guide will walk you through the seamless process, ensuring that you can effortlessly navigate the technical aspects and enjoy your video content on a larger screen.
Transferring video files from your Panasonic camcorder to your computer opens up a world of possibilities, allowing you to unleash your creativity through editing, sharing with friends and family, or simply archiving your precious memories. Whether you're a budding filmmaker, a vlogging enthusiast, or a casual videographer, mastering the art of transferring video files is an essential skill in today's digital age.
By following the steps outlined in this comprehensive guide, you'll gain the confidence to effortlessly transfer video files from your Panasonic camcorder to your computer, empowering you to explore the endless potential of your video content. Let's embark on this journey together as we delve into the intricacies of video transfer and harness the power of technology to bring your visual stories to life.
Stay tuned as we dive into the step-by-step process, ensuring that you're equipped with the knowledge and expertise to seamlessly transfer, edit, and organize your video files with ease and precision. Let's embark on this exciting venture, where your creativity knows no bounds and your video content takes center stage.
Step 1: Prepare Your Equipment
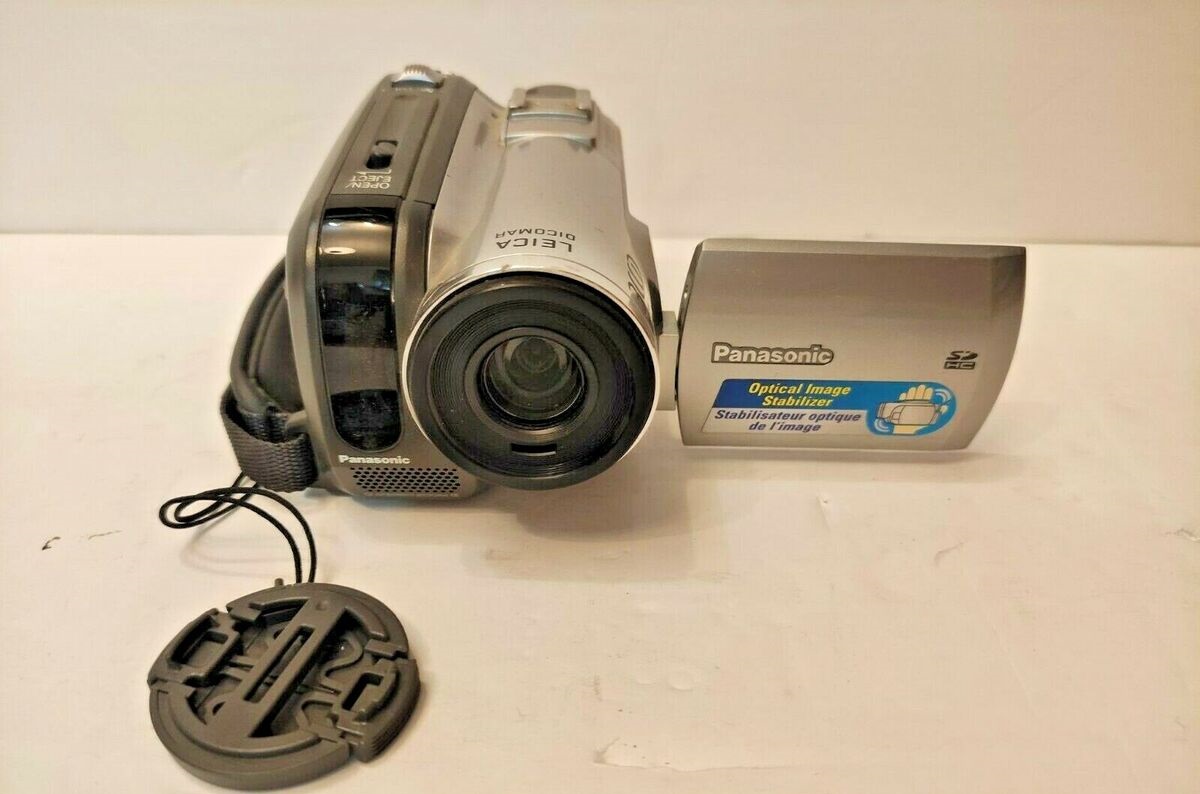
Before diving into the process of transferring video from your Panasonic camcorder to your computer, it’s crucial to ensure that your equipment is ready for seamless connectivity and data transfer. Here are the essential steps to prepare your equipment:
- Charge Your Camcorder: Begin by ensuring that your Panasonic camcorder is adequately charged or connected to a power source. This ensures uninterrupted access to your video files during the transfer process.
- Check Available Storage: Assess the available storage space on your camcorder to confirm that there is ample room to accommodate the video files you intend to transfer. If necessary, free up space by removing any unnecessary data or transferring existing files to a separate storage device.
- Prepare Your Computer: Ensure that your computer is powered on and has sufficient storage space to accommodate the incoming video files. Additionally, make sure that the necessary software or drivers for interfacing with your camcorder are installed and up to date.
- Gather Required Cables: Locate the appropriate cables for connecting your Panasonic camcorder to your computer. Depending on the model of your camcorder, this may include USB, HDMI, or FireWire cables. Verify that the cables are in good condition and free from any damage.
- Organize Your Workspace: Create a well-lit and clutter-free workspace where you can comfortably set up your camcorder and computer for the transfer process. Clear any obstructions and ensure that both devices are within reach of the connecting cables.
By meticulously preparing your equipment, you set the stage for a smooth and efficient video transfer experience. This initial groundwork ensures that you can seamlessly proceed to the next steps with confidence, knowing that your devices are primed for optimal performance.
Step 2: Connect Your Camcorder to Your Computer
Once your equipment is prepared, the next crucial step is to establish a secure and reliable connection between your Panasonic camcorder and your computer. Follow these detailed instructions to ensure a successful connection:
- Identify the Connection Port: Locate the appropriate port on your Panasonic camcorder for connecting to your computer. This may be a USB, HDMI, or FireWire port, depending on the model of your camcorder. Refer to your camcorder’s manual for specific guidance on port identification.
- Choose the Correct Cable: Select the compatible cable for connecting your camcorder to your computer. Ensure that the cable matches the port on your camcorder and the corresponding port on your computer. For example, if your camcorder has a USB port, use a USB cable for the connection.
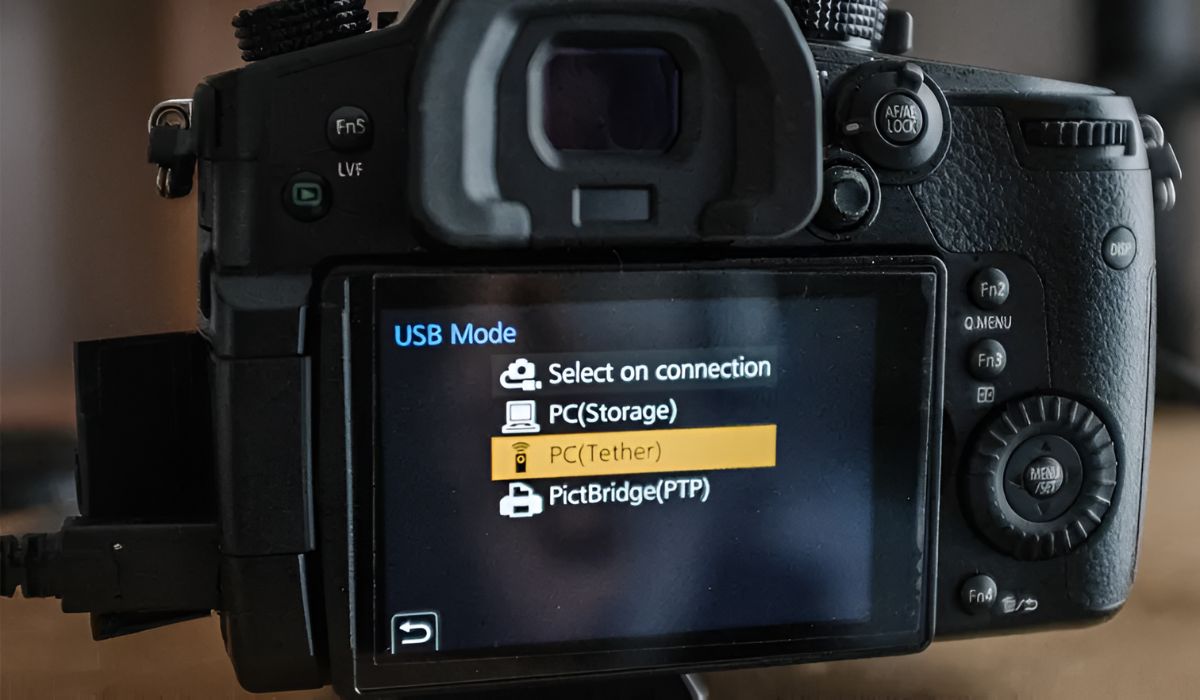
- Power On Your Camcorder: Switch on your Panasonic camcorder and set it to the appropriate mode for data transfer. Some camcorders have a dedicated “PC” or “Data Transfer” mode, while others may require you to select the transfer option from the menu.
- Connect the Cable: Carefully insert one end of the cable into the designated port on your camcorder, ensuring a secure fit. Then, connect the other end of the cable to the corresponding port on your computer. Listen for the familiar sound of a successful USB connection or look for visual indicators of connectivity on your camcorder’s display.
- Confirm the Connection: Once the cable is securely connected, verify that your computer recognizes the camcorder. Depending on your computer’s operating system, you may receive a notification indicating that a new device has been connected. If necessary, install any required drivers or software to facilitate the connection.
By meticulously following these steps, you establish a robust link between your Panasonic camcorder and your computer, laying the foundation for seamless data transfer. With the connection established, you’re now ready to proceed to the next phase of transferring your video files with confidence and precision.
Step 3: Transfer the Video Files
With your Panasonic camcorder successfully connected to your computer, it’s time to embark on the pivotal stage of transferring your cherished video files. Follow these detailed steps to ensure a smooth and efficient transfer process:
- Access Your Camcorder’s Storage: On your computer, navigate to the file explorer or media management software to access the storage of your Panasonic camcorder. Locate the folder or directory where your video files are stored within the camcorder’s internal memory or memory card.
- Select the Video Files: Identify the specific video files that you intend to transfer to your computer. You may choose individual files or select multiple files for simultaneous transfer, depending on your editing or archiving requirements.
- Initiate the Transfer: Once the desired video files are selected, initiate the transfer process by dragging and dropping the files to a designated folder on your computer. Alternatively, use the copy-and-paste method to transfer the files from your camcorder’s storage to your computer’s hard drive or external storage device.
- Monitor the Transfer Progress: Keep a close eye on the transfer progress to ensure that each file is successfully copied to your computer. Depending on the file size and the transfer speed, this process may take some time. Patience is key as your valuable video content makes its way to your computer’s storage.
- Verify the Transferred Files: After the transfer is complete, verify that the video files have been successfully copied to your computer. Open the destination folder and review the transferred files to confirm that they are intact and ready for further editing, sharing, or archival purposes.
By meticulously following these steps, you ensure a seamless transfer of your video files from your Panasonic camcorder to your computer. With the files securely stored on your computer, you’re now poised to explore a myriad of creative possibilities, from editing and enhancing your videos to sharing them with your audience or preserving them for future enjoyment.
Step 4: Edit and Organize Your Video Files
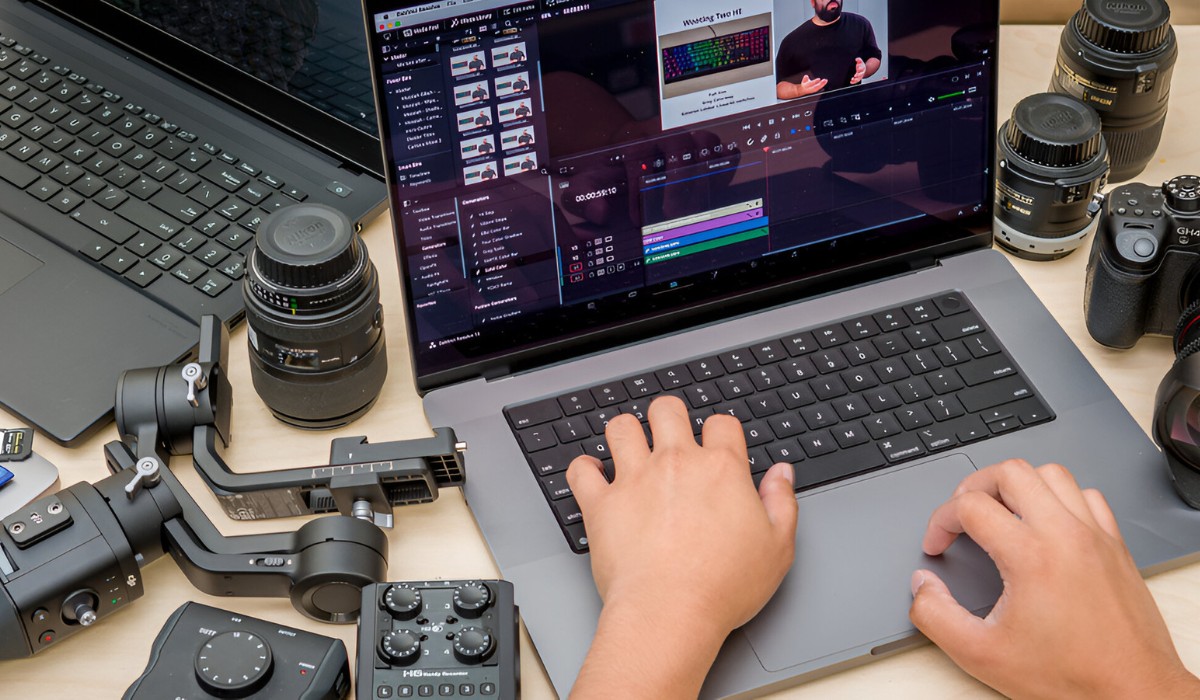
Now that your video files have been successfully transferred to your computer, it’s time to delve into the realm of editing and organizing your precious visual content. This crucial step empowers you to refine your videos, add creative touches, and ensure that your digital library is meticulously organized for easy access and enjoyment. Follow these essential guidelines to navigate the editing and organization process:
- Select Your Editing Software: Choose a suitable video editing software that aligns with your skill level and creative aspirations. Whether you opt for a user-friendly, entry-level program or a professional-grade editing suite, ensure that the software meets your specific editing needs.
- Import Your Video Files: Within your chosen editing software, import the video files that you transferred from your Panasonic camcorder. Create a new project or timeline where you can begin working with your video content, allowing you to unleash your creativity and storytelling prowess.
- Enhance and Edit Your Videos: Utilize the features and tools within your editing software to enhance and edit your video files. This may include trimming footage, adding transitions, incorporating music or sound effects, applying visual effects, and adjusting color grading to achieve the desired cinematic look.
- Organize Your Video Library: Create a systematic organizational structure for your video files on your computer. Consider categorizing your videos into folders based on themes, events, or projects, allowing for easy navigation and retrieval of specific content when needed.
- Add Metadata and Descriptions: Enhance the organization of your video library by adding metadata and descriptive information to your video files. This could include titles, descriptions, tags, and keywords that facilitate efficient searching and categorization within your video management system.
By embracing the editing and organization phase, you elevate your video content to new heights of creativity and accessibility. Whether you’re crafting engaging narratives, compiling memorable montages, or simply organizing your video library with precision, this stage empowers you to infuse your personal touch and creative vision into every aspect of your visual storytelling.
Conclusion
Congratulations on mastering the art of transferring video from your Panasonic camcorder to your computer! By diligently preparing your equipment, establishing a secure connection, and navigating the transfer process with precision, you’ve unlocked a world of creative possibilities for your video content. As you venture into the realm of editing and organizing your video files, remember that every step you take adds depth and richness to your visual storytelling journey.
With your video files seamlessly transferred to your computer, you now have the power to shape and mold your content, infusing it with your unique perspective and creative flair. Whether you’re crafting captivating narratives, compiling memorable montages, or simply organizing your video library with meticulous care, each action brings you closer to realizing the full potential of your visual storytelling endeavors.
As you explore the myriad features of your chosen editing software and meticulously organize your video library, embrace the journey of creativity and self-expression. Your videos are not just files on a computer—they are windows into moments, emotions, and experiences that deserve to be cherished and shared with the world.
Remember, the process of transferring, editing, and organizing your video files is not merely a technical endeavor; it’s a canvas for your imagination and a platform for your stories to unfold. Embrace each step with enthusiasm, curiosity, and a relentless pursuit of excellence, knowing that your creative endeavors are limited only by the boundaries of your own imagination.
So, as you embark on your continued exploration of video creation and storytelling, may your passion for visual expression be ignited, your technical skills be honed, and your stories be told with authenticity and impact. Your journey as a visual storyteller has only just begun, and the possibilities that await you are as boundless as your creativity.