Introduction
Are you eager to preserve your cherished memories captured on Hi8 tapes by transferring them to a more durable and convenient format, such as DVDs? While the traditional method involves using a Hi8 camcorder, advancements in technology have made it possible to transfer Hi8 to DVD without a camcorder. In this comprehensive guide, we will walk you through the step-by-step process, enabling you to digitize your precious footage with ease.
Whether you want to relive your wedding day, childhood milestones, or any other significant events, this tutorial will equip you with the knowledge and skills needed to safeguard these memories for years to come. By following these instructions, you can transform your old Hi8 tapes into digital files and then burn them onto DVDs, ensuring that they remain accessible and well-preserved.
This guide is designed to be accessible to individuals of all technical abilities, so even if you're not particularly tech-savvy, you'll be able to follow along and successfully complete the transfer process. So, gather your Hi8 tapes and get ready to embark on this rewarding journey of preserving and sharing your nostalgic moments. Let's dive into the details of how to transfer Hi8 to DVD without a camcorder.
Step 1: Gather Your Equipment
Before commencing the process of transferring your Hi8 tapes to DVD, it’s essential to ensure that you have all the necessary equipment at your disposal. Here’s a breakdown of the items you’ll need:
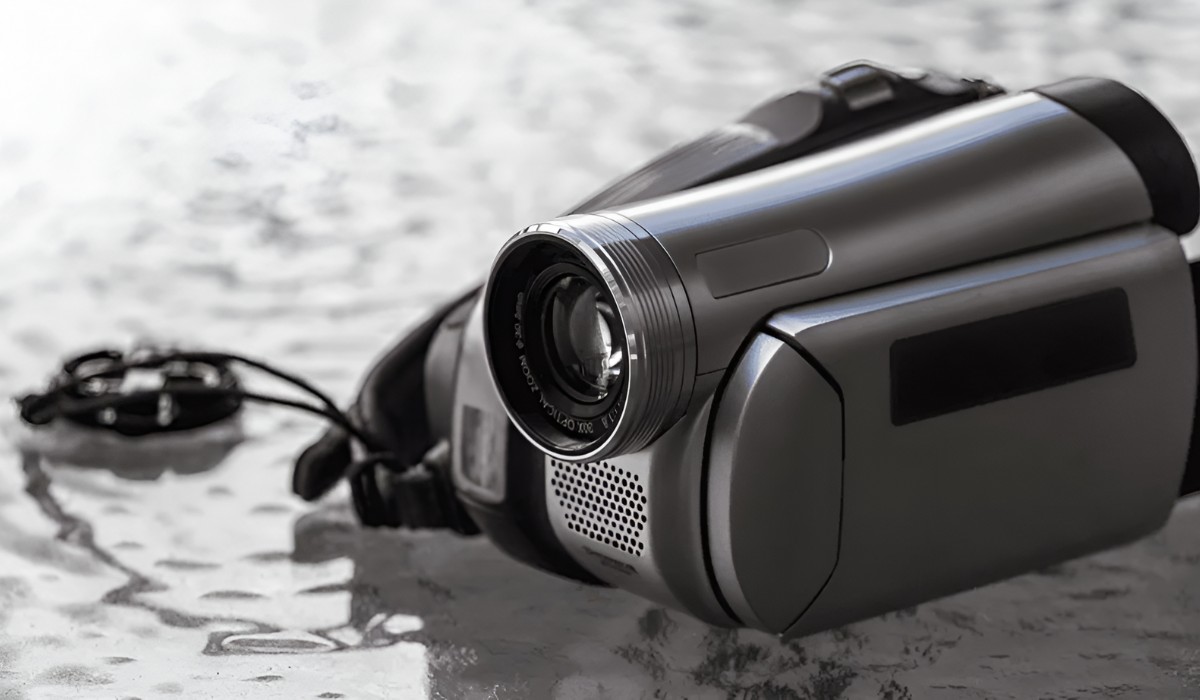
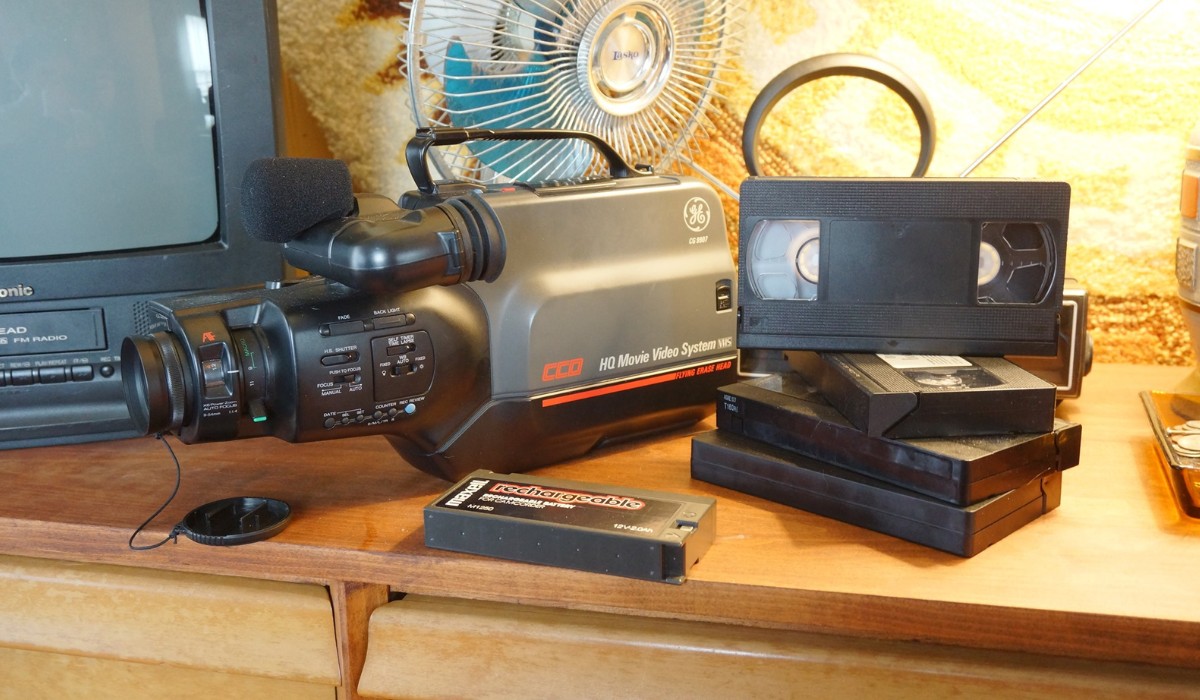
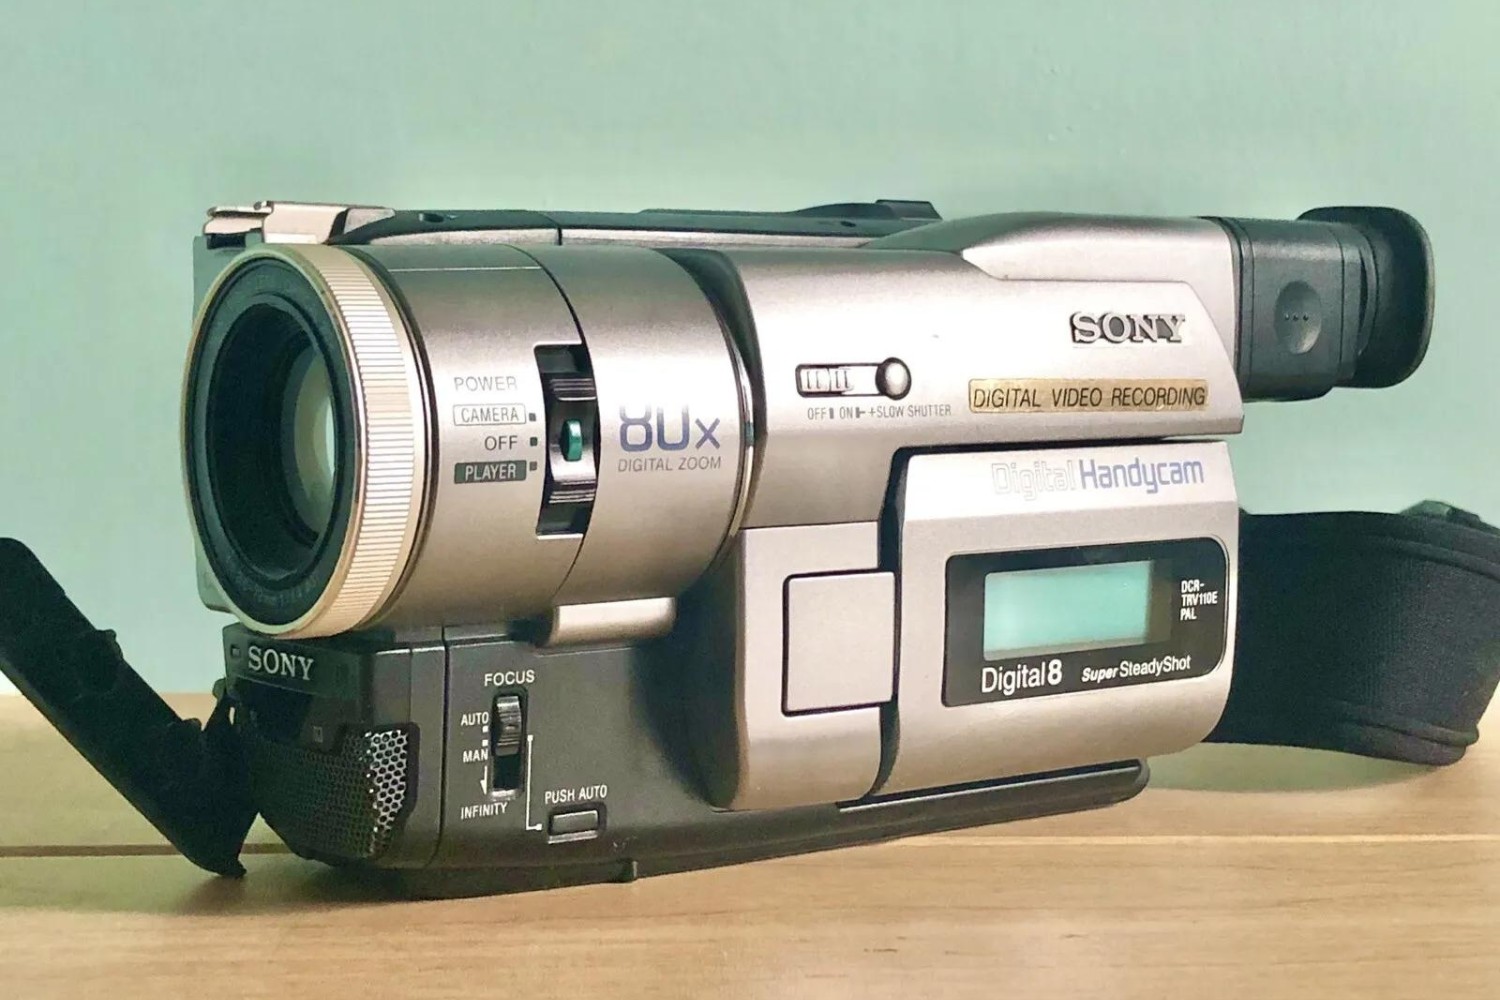
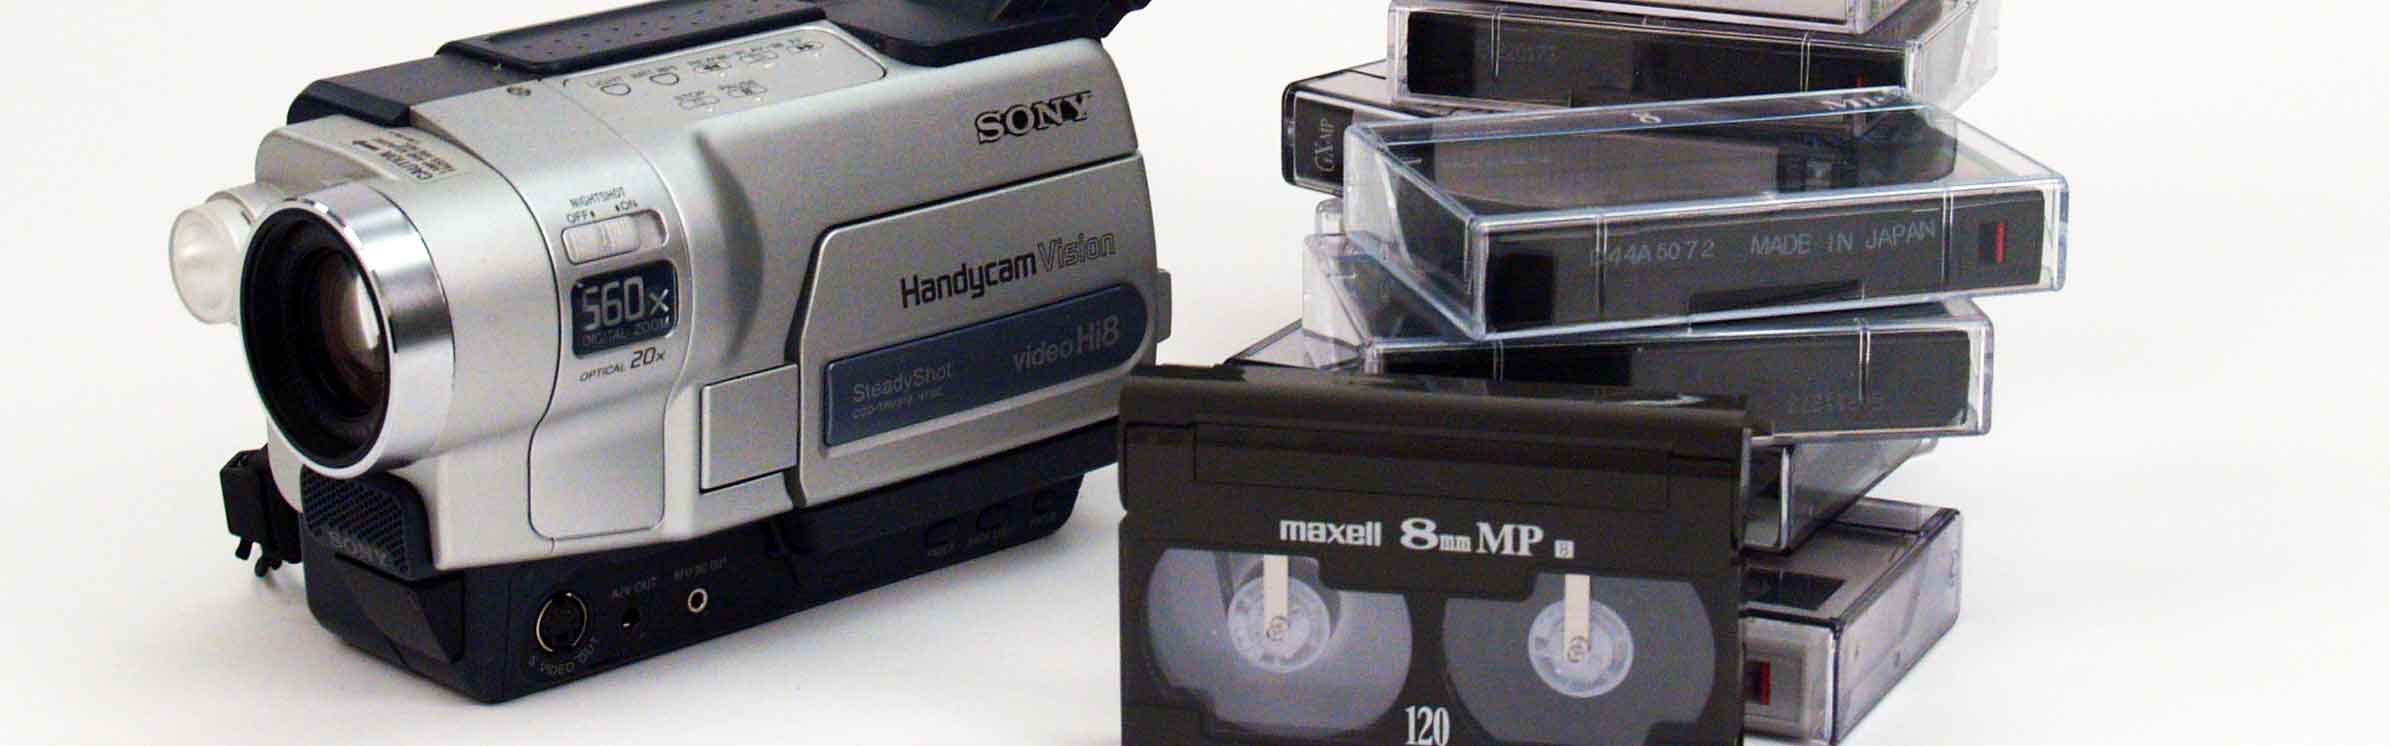
- Hi8 Player: To play your Hi8 tapes, you’ll require a Hi8 player, which can be a standalone player or a Hi8 camcorder that is capable of playing back the tapes.
- Computer: You’ll need a computer with a compatible operating system to facilitate the transfer and editing of the video footage.
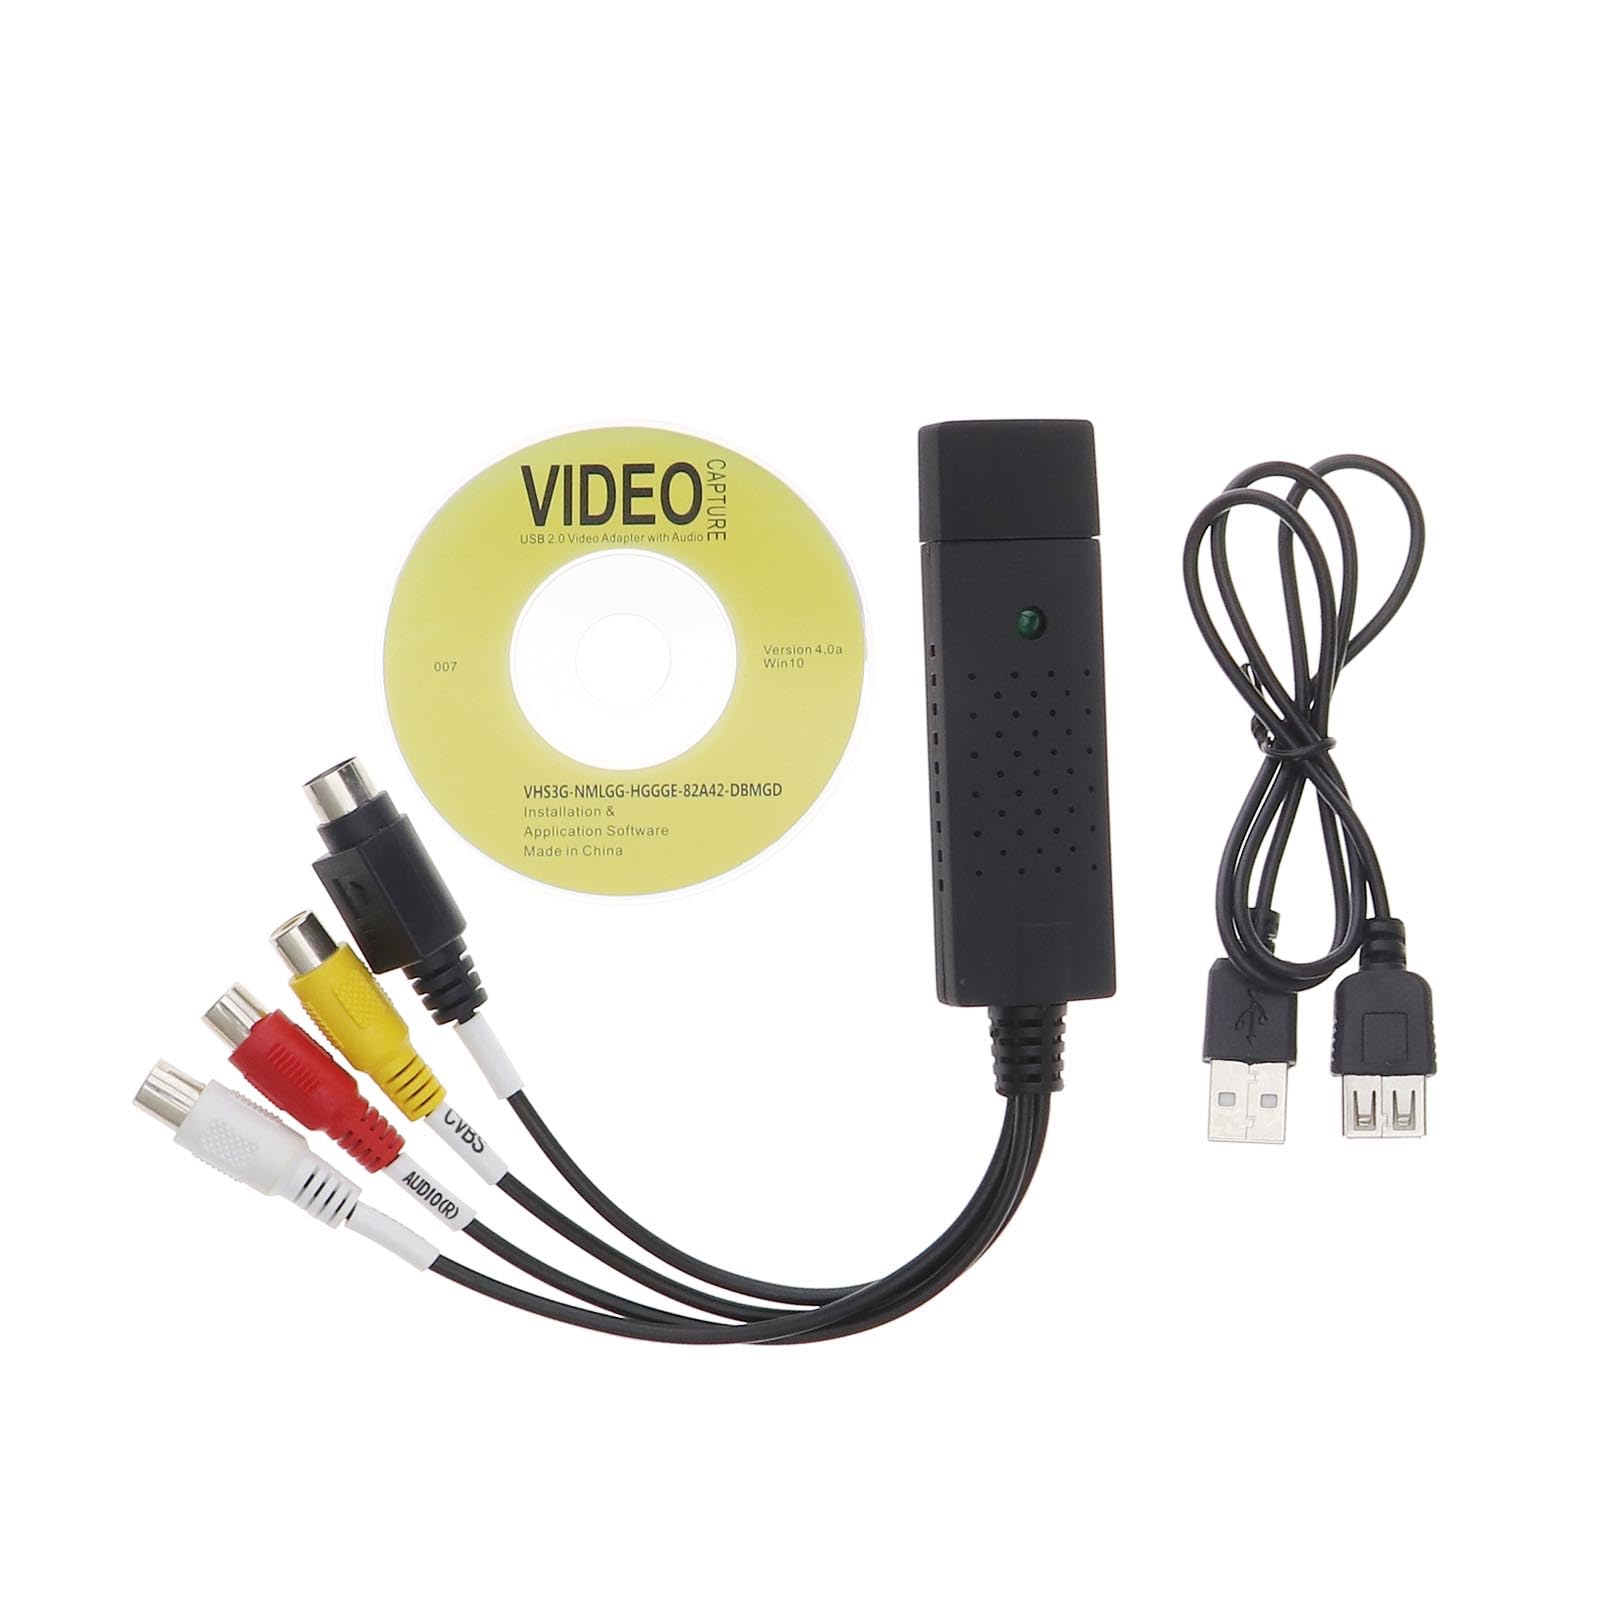
- Video Capture Device: This device serves as the bridge between your Hi8 player and computer, allowing you to digitize the analog video signals from the tapes.
- Blank DVDs: Once you’ve transferred and edited your footage, you’ll need blank DVDs to burn the digital files onto.
- Video Editing Software: To enhance and edit your footage, you’ll require video editing software installed on your computer.
- Connections and Cables: Ensure that you have the necessary cables to connect your Hi8 player to the video capture device and your computer.
By gathering these essential tools and ensuring that they are in good working condition, you’ll be well-prepared to embark on the journey of preserving your Hi8 memories for years to come.
Step 2: Connect Your Hi8 Player to Your Computer
Once you have assembled the necessary equipment, the next step is to establish the connection between your Hi8 player and your computer. Follow these steps to ensure a seamless setup:
- Identify Video Output on Hi8 Player: Locate the video output port on your Hi8 player. This may be a composite or S-video output, depending on the model.
- Choose the Right Cable: Select the appropriate cable to connect the video output of your Hi8 player to the video capture device. If your Hi8 player has a composite output, use a composite RCA cable. If it has an S-video output, use an S-video cable.
- Connect to Video Capture Device: Plug one end of the chosen cable into the video output port of your Hi8 player and the other end into the corresponding input on the video capture device.
- Connect Video Capture Device to Computer: Use a USB cable to connect the video capture device to your computer. Ensure that the device is recognized and installed on your computer before proceeding to the next step.
By successfully establishing the connection between your Hi8 player and computer via the video capture device, you’ll be ready to proceed to the next crucial step of capturing the video footage from your Hi8 tapes.
Step 3: Capture the Video
With the physical connections in place, it’s time to capture the video content from your Hi8 tapes onto your computer. The following steps will guide you through this process:
- Launch Video Capture Software: Open the video capture software on your computer. This software will detect the video signal from your Hi8 player and allow you to record and save the footage.
- Insert Hi8 Tape: Insert the Hi8 tape that you wish to transfer into your Hi8 player and ensure that it is rewound to the beginning of the footage you want to capture.
- Start Capture: Use the video capture software to initiate the recording process. Press play on your Hi8 player to begin playback of the tape. The software will capture the video in real-time, transferring it to a digital file on your computer.
- Monitor Progress: Keep an eye on the capture process to ensure that the footage is being recorded smoothly and without interruptions. Monitor the file size to gauge the progress of the capture.
- Save the Digital File: Once the capture is complete, save the digital file to your computer. Organize your files systematically to keep track of the captured footage.
By following these steps, you’ll successfully digitize your Hi8 footage, preserving it in a format that is easily editable and shareable. This marks a significant milestone in the process of transferring your Hi8 tapes to DVD without the need for a camcorder.
Step 4: Edit and Enhance the Footage
Once you have captured the video from your Hi8 tapes, the next step is to edit and enhance the footage to ensure that it meets your desired quality and presentation standards. Follow these steps to refine your digitized content:
- Import the Video File: Open your video editing software and import the digital file containing the captured Hi8 footage. Familiarize yourself with the editing interface and tools available within the software.
- Trim and Cut: Review the captured footage and identify segments that you wish to remove or trim. Use the editing software to cut out any unwanted sections, ensuring that the final video is cohesive and engaging.
- Enhance Visuals and Audio: Explore the software’s features for enhancing the visual quality and audio clarity of the footage. Adjust brightness, contrast, and audio levels to optimize the viewing and listening experience.
- Add Transitions and Effects: Incorporate transitions and effects to smoothen the flow between different scenes and add a professional touch to the video. Experiment with various transitions and effects to enhance the visual appeal of your footage.
- Include Titles and Captions: Introduce titles, captions, and other textual elements to provide context and information throughout the video. This is especially useful for labeling different sections or adding descriptive text.
- Preview and Fine-Tune: Preview the edited footage to ensure that it aligns with your vision. Make any necessary adjustments to achieve the desired outcome before proceeding to the next step.
By meticulously editing and enhancing the digitized Hi8 footage, you’ll elevate its quality and storytelling potential, preparing it for the final phase of the transfer process—burning it onto a DVD for long-term preservation and sharing.
Step 5: Burn the Video to a DVD
Having refined and perfected your digitized Hi8 footage, the final step in the transfer process involves burning the video onto a DVD for convenient playback and long-term preservation. Follow these steps to complete this vital stage:
- Launch DVD Authoring Software: Open the DVD authoring software on your computer. This software will enable you to compile your edited video footage into a format suitable for burning onto a DVD.
- Import Edited Video: Import the edited and enhanced video file into the DVD authoring software. Arrange the video content in the desired sequence, and consider adding menu screens and chapter markers for improved navigation.
- Customize DVD Menu (Optional): If desired, customize the DVD menu by adding background images, music, and text. Create an engaging and intuitive menu interface to enhance the overall viewing experience.
- Preview and Finalize: Preview the DVD project to ensure that all elements are in place and that the video plays seamlessly. Make any necessary adjustments before proceeding to the burning stage.
- Burn to DVD: Insert a blank DVD into your computer’s DVD writer and initiate the burning process within the DVD authoring software. Follow the on-screen prompts to commence the burning of your edited video onto the DVD.
- Label and Store: Once the burning process is complete, label the DVD with relevant details, such as the contents and date. Store the DVD in a protective case or sleeve to safeguard it from damage and environmental factors.
By following these steps, you will have successfully transferred your cherished Hi8 footage to a DVD, ensuring its longevity and accessibility for future generations to enjoy.
Conclusion
Congratulations! You’ve completed the process of transferring your precious Hi8 tapes to DVD without the need for a camcorder. By following the step-by-step guide outlined in this tutorial, you’ve successfully preserved your nostalgic memories in a digital format, ensuring their longevity and accessibility for years to come.
Through the careful gathering of equipment, establishing connections, capturing the video content, and refining it through editing and enhancement, you’ve transformed analog footage into a digital masterpiece. The final step of burning the video onto a DVD marks the culmination of your efforts, resulting in a tangible and shareable format that can be enjoyed on DVD players and computers alike.
By embracing this transfer process, you’ve unlocked a world of possibilities for reliving and sharing your cherished moments. Whether it’s a family gathering, a milestone celebration, or a precious childhood memory, your digitized Hi8 footage is now ready to be enjoyed and treasured for generations to come.
As technology continues to evolve, it’s essential to adapt and embrace new methods of preserving and sharing our most cherished memories. By digitizing your Hi8 tapes and transferring them to DVD, you’ve taken a proactive step towards safeguarding your personal history in a format that transcends the limitations of analog media.
As you reflect on the journey from Hi8 tapes to digital DVDs, take pride in the effort and dedication you’ve invested in preserving your memories. Your commitment to this process ensures that the stories and moments captured on your Hi8 tapes will continue to resonate and bring joy to those who experience them in the future.
So, as you label and store your newly created DVDs, take a moment to appreciate the significance of this accomplishment. Your dedication to preserving your personal history is a testament to the enduring value of these precious memories.