Understanding Your DSLR Camera
Understanding Your DSLR Camera
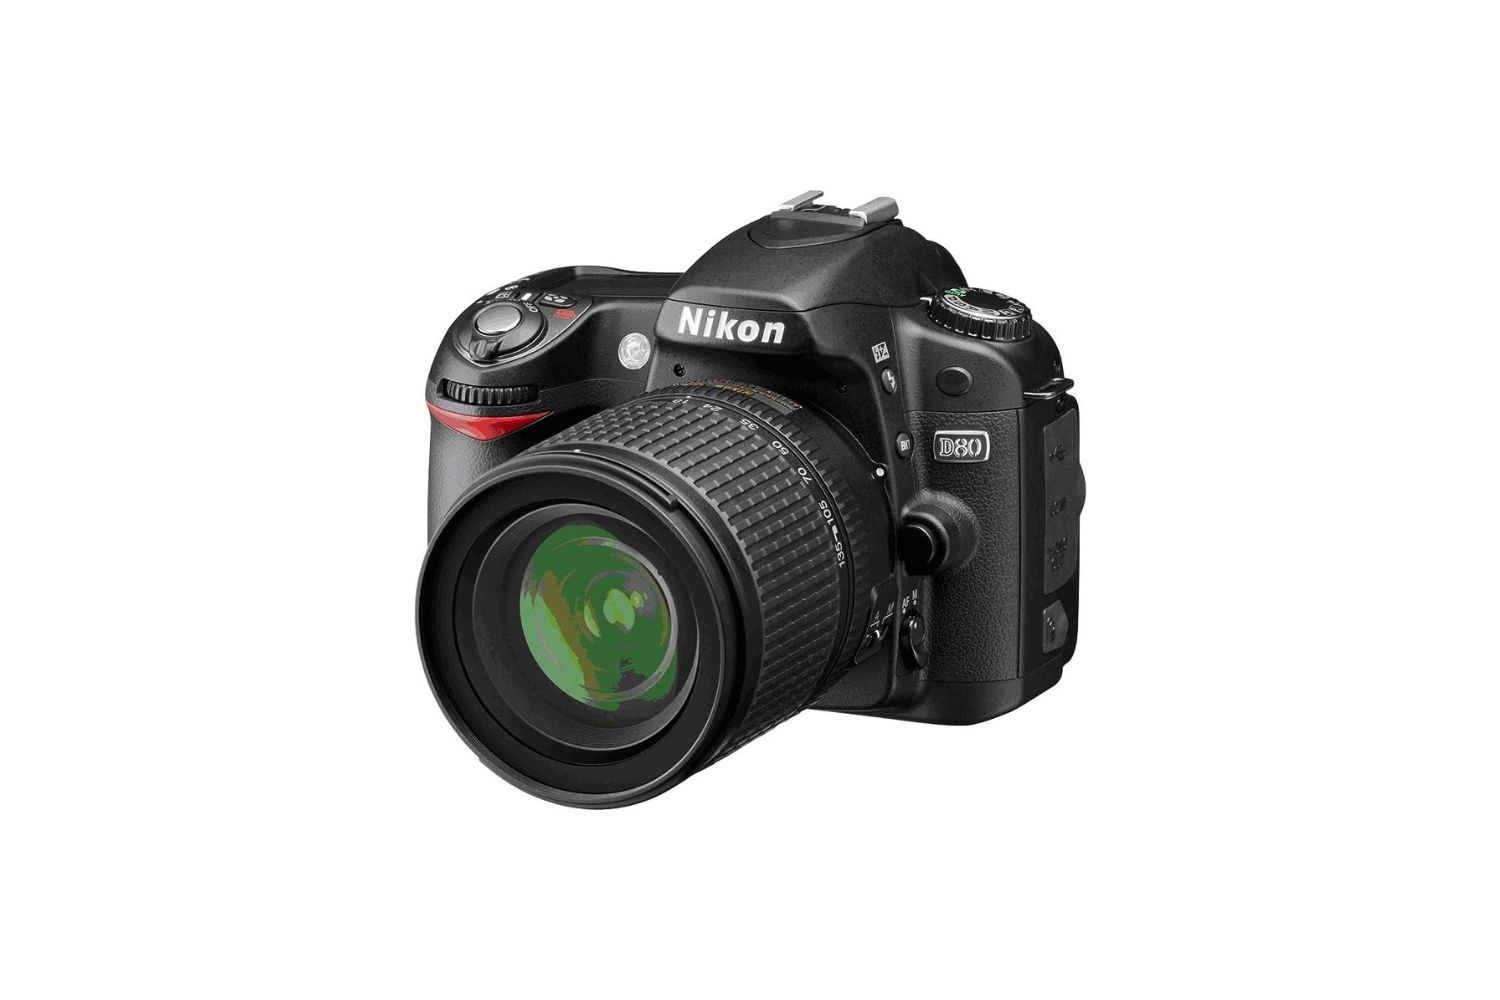
When you first hold a DSLR camera in your hands, it may seem daunting with all its buttons, dials, and settings. However, understanding the basic components and functions of your camera is the first step towards capturing stunning photographs.
Getting to Know Your Camera
Before delving into the technical aspects, take the time to familiarize yourself with the physical features of your DSLR. From the lens to the viewfinder, and from the mode dial to the various buttons, each component plays a crucial role in shaping the outcome of your images.
Mastering Manual Mode
While the automatic settings can produce decent results, unlocking the full potential of your DSLR involves mastering manual mode. This grants you complete control over the exposure, aperture, and shutter speed, allowing for creative and personalized shots.
Understanding the Viewfinder
The viewfinder is your window to the world through the lens. Familiarize yourself with the information displayed within it, such as the exposure meter and focus points, to ensure that your compositions are well-balanced and sharp.
Exploring the Menu System
Take the time to navigate through the menu system of your camera. Understanding the various options for image quality, white balance, and autofocus modes will empower you to tailor your settings to suit different shooting conditions.
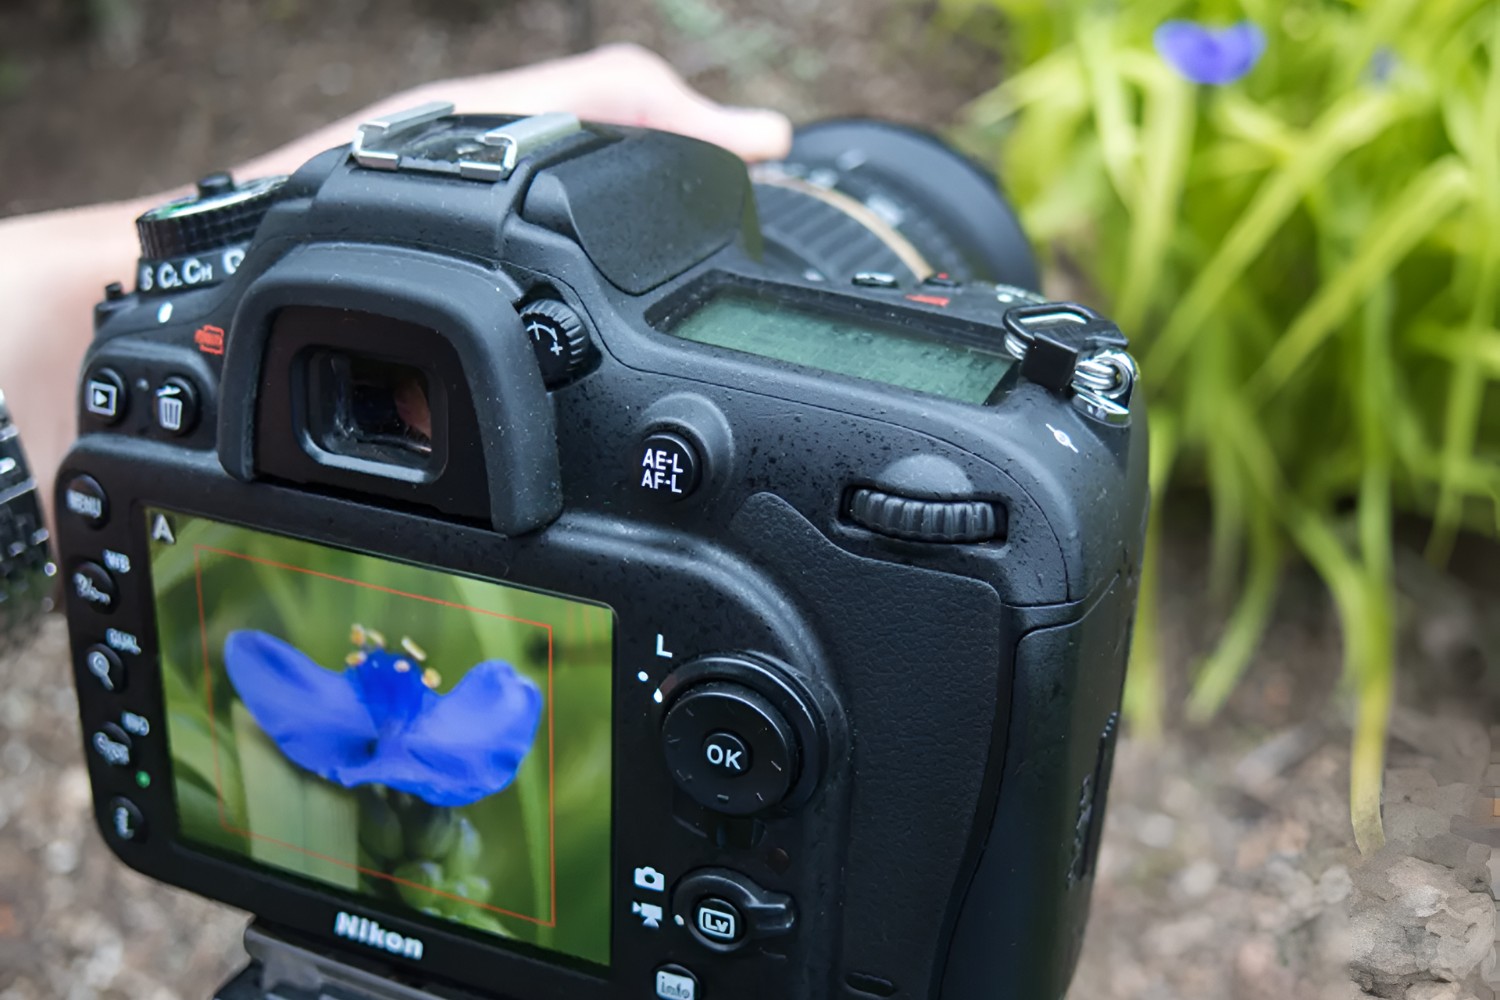
Utilizing the LCD Screen
While the viewfinder provides a traditional means of composing your shots, the LCD screen offers a digital preview of your images. Familiarize yourself with this feature to review and adjust settings on the fly, ensuring that every shot meets your creative vision.
By comprehensively understanding the intricacies of your DSLR camera, you can harness its full potential and elevate your photography skills to new heights.
Mastering Exposure and Aperture
Mastering Exposure and Aperture
Exposure and aperture are fundamental elements in photography that significantly influence the outcome of your images. Mastering these aspects empowers you to capture scenes with precision and artistry.
Understanding Exposure
Exposure refers to the amount of light that reaches the camera sensor when you take a photograph. It is determined by the combination of aperture, shutter speed, and ISO. Achieving the right exposure is crucial for producing well-balanced and visually appealing images.
Aperture and Depth of Field
Aperture, represented by the f-stop value, controls the size of the opening in the lens through which light enters the camera. A lower f-stop (e.g., f/2.8) results in a wider aperture, allowing more light to reach the sensor and creating a shallow depth of field. Conversely, a higher f-stop (e.g., f/16) produces a narrower aperture, resulting in a greater depth of field where more of the scene is in focus.
Creative Control with Aperture
Mastering aperture enables you to creatively manipulate the depth of field in your photographs. A wide aperture (low f-stop) is ideal for portraits and close-up shots, where the subject is emphasized against a beautifully blurred background. On the other hand, a narrow aperture (high f-stop) is suitable for landscapes and architectural photography, where sharpness throughout the scene is desired.
Balancing Exposure Triangle
The exposure triangle, comprising aperture, shutter speed, and ISO, dictates the overall exposure of your images. Understanding how these elements interact and affect each other is essential for achieving the desired exposure in various lighting conditions.
By mastering exposure and aperture, you gain the ability to control the amount of light entering your camera and creatively influence the depth of field in your photographs, resulting in captivating and visually impactful images.
Using Shutter Speed for Creative Effects
Shutter speed plays a pivotal role in photography, allowing you to capture motion, create artistic effects, and maintain sharpness in your images. Understanding and harnessing the potential of shutter speed opens up a world of creative possibilities in your photography.
Freezing or Blurring Motion
By adjusting the shutter speed, you can freeze fast-moving subjects with a quick shutter speed or convey a sense of motion by using a slower shutter speed. This versatility enables you to capture dynamic scenes such as sports events, wildlife in action, or flowing water with precision and artistic flair.
Long Exposure Photography
Utilizing a slow shutter speed for long exposure photography allows you to create stunning effects, such as silky-smooth waterfalls, light trails from moving vehicles, or mesmerizing star trails in the night sky. This technique adds a captivating and ethereal dimension to your images, transforming ordinary scenes into extraordinary visual narratives.
Creative Motion Blur
Intentional motion blur can be employed to convey a sense of dynamism and energy in your photographs. This technique is particularly effective in capturing the graceful movements of dancers, the rush of city streets, or the exhilarating speed of sports, adding a compelling visual impact to your images.
Stabilization for Sharpness
When shooting handheld, especially in low-light conditions, choosing an appropriate shutter speed is crucial for preventing camera shake and ensuring sharp, blur-free images. Understanding the relationship between shutter speed and focal length is essential for achieving optimal stabilization and image clarity.
By mastering the use of shutter speed, you can infuse your photography with creativity, drama, and visual intrigue, capturing moments with precision and artistic expression.
Understanding ISO and its Impact on Image Quality
ISO, which stands for International Organization for Standardization, is a crucial setting in photography that directly affects the sensitivity of your camera’s sensor to light. Understanding the role of ISO and its impact on image quality is essential for achieving optimal results in various shooting conditions.
Adjusting Sensitivity to Light
Increasing the ISO setting makes the sensor more sensitive to light, allowing you to capture well-exposed images in low-light environments or when using faster shutter speeds. However, higher ISO levels can introduce digital noise, affecting the overall quality and clarity of the image.
Balancing Image Quality and Noise
Choosing the appropriate ISO setting involves striking a balance between achieving proper exposure and minimizing noise. In well-lit conditions, using a lower ISO (e.g., ISO 100 or 200) produces images with minimal noise and optimal sharpness. In dimly lit settings, a higher ISO (e.g., ISO 800 or above) may be necessary to maintain adequate exposure, albeit with a potential increase in noise.
Artistic Effects and Grain
Intentionally using higher ISO settings can introduce a grainy texture, reminiscent of classic film photography. This artistic choice can add character and mood to your images, particularly in black and white photography or when aiming for a vintage aesthetic.
Post-Processing Considerations
When shooting at higher ISO levels, post-processing software can be utilized to reduce noise and enhance image quality. Understanding the capabilities of noise reduction tools and techniques empowers you to refine and optimize your photographs, ensuring that the impact of noise is minimized without compromising the overall visual appeal.
By comprehending the influence of ISO on image quality, you can make informed decisions when adjusting this setting to suit the lighting conditions and creative objectives, resulting in well-exposed and visually captivating photographs.
Composition Techniques for Captivating Photos
Composition is the art of arranging elements within a frame to create visually appealing and impactful photographs. Mastering composition techniques allows you to elevate your images from ordinary snapshots to captivating works of art, drawing viewers into the scene and conveying your creative vision effectively.
Rule of Thirds
The rule of thirds is a fundamental guideline in composition, dividing the frame into a 3×3 grid. Placing key elements along these gridlines or at their intersections creates a balanced and visually engaging composition, guiding the viewer’s gaze and adding depth to the image.
Leading Lines
Using leading lines, such as roads, pathways, or architectural features, directs the viewer’s attention towards the main subject or focal point. These lines create a sense of depth and guide the eye through the image, adding visual interest and narrative flow to the composition.
Balance and Symmetry
Creating balanced compositions through symmetry or deliberate asymmetry adds a sense of harmony and visual stability to your photographs. Whether capturing reflections on water surfaces, architectural symmetry, or natural patterns, balanced compositions evoke a feeling of order and aesthetic appeal.
Negative Space
Intentionally incorporating negative space, the empty areas around the main subject, can emphasize the subject’s significance and evoke a sense of minimalism and tranquility. This technique allows the subject to breathe within the frame, drawing attention to its presence and creating a powerful visual impact.
Foreground Interest
Adding elements in the foreground of the composition, such as foliage, objects, or textures, creates depth and dimension in the image. This technique immerses the viewer in the scene, providing context and visual layers that enhance the overall storytelling of the photograph.
By applying these composition techniques, you can craft visually compelling and emotionally resonant photographs that effectively communicate your artistic vision and engage viewers on a profound level.
Utilizing Natural Light to Enhance Your Photos
Natural light is a versatile and powerful tool for photographers, offering a myriad of possibilities for capturing stunning and evocative images. Understanding how to harness and manipulate natural light allows you to infuse your photographs with ambiance, depth, and visual allure.
Golden Hour Magic
The golden hour, occurring shortly after sunrise and before sunset, bathes the landscape in warm, soft light with gentle, flattering shadows. This magical time of day lends a captivating glow to your subjects, adding warmth and dimension to your photographs, whether capturing portraits, landscapes, or architectural scenes.
Soft Diffused Light
Overcast or cloudy days provide photographers with a soft, diffused light that minimizes harsh shadows and highlights. This even illumination is ideal for capturing subtle details, textures, and colors, creating a gentle and serene atmosphere in your images.
Backlighting and Silhouettes
Positioning your subject against the light, whether the sun or another natural light source, can create dramatic silhouettes and ethereal halos, adding a sense of mystery and intrigue to your photographs. This technique allows you to play with contrast and shape, resulting in visually striking and evocative compositions.
Dynamic Shadows
Embracing the interplay of light and shadow within your compositions adds depth, drama, and visual interest to your photographs. The juxtaposition of light and shadow can create compelling patterns, textures, and mood, enhancing the overall storytelling and impact of your images.
Indoor and Outdoor Opportunities
Whether shooting indoors or outdoors, understanding how natural light interacts with your surroundings enables you to adapt and manipulate its qualities to suit your creative vision. From soft window light for portraits to dappled sunlight filtering through foliage for nature photography, natural light presents endless opportunities for evocative and captivating imagery.
By mastering the art of utilizing natural light, you can elevate your photography to new heights, infusing your images with emotion, atmosphere, and visual resonance that captivate and inspire viewers.
Using White Balance to Capture True Colors
White balance is a crucial aspect of photography that directly impacts the accurate representation of colors in your images. By understanding and adjusting white balance settings, you can ensure that the colors in your photographs appear true to life, regardless of the lighting conditions in which they were captured.
Color Temperature and White Balance
Color temperature, measured in Kelvin, characterizes the warmth or coolness of light. Different light sources, such as natural daylight, incandescent bulbs, and fluorescent lighting, emit varying color temperatures. White balance adjustments allow you to neutralize these color casts, ensuring that whites appear white and colors are rendered accurately in your photographs.
Presets and Custom White Balance
Most digital cameras offer white balance presets, including daylight, cloudy, shade, tungsten, fluorescent, and flash, designed to compensate for specific lighting conditions. Additionally, custom white balance allows you to manually calibrate the white balance settings based on the unique lighting environment, ensuring precise color reproduction in your images.
Creative White Balance Effects
Intentionally manipulating white balance settings can produce creative and artistic effects, such as warming or cooling the overall tone of your photographs. This technique can evoke specific moods and atmospheres, adding a distinct visual character to your images and expanding your creative expression as a photographer.
White Balance and Raw Image Format
When shooting in raw image format, white balance adjustments can be fine-tuned during post-processing without degrading the image quality. This flexibility allows for comprehensive color correction and refinement, ensuring that the true colors of the scene are faithfully preserved and enhanced in the final photographs.
By mastering the use of white balance, you can accurately capture the true colors of your subjects and surroundings, ensuring that your photographs authentically reflect the visual richness and vibrancy of the scenes you have captured.
Tips for Focusing and Sharpness
Obtaining precise focus and optimal sharpness is essential for creating impactful and visually engaging photographs. Implementing effective focusing techniques and understanding the factors that influence sharpness empowers you to capture images with clarity, detail, and compelling visual depth.
Utilize Single Point Autofocus
When shooting still subjects or portraits, utilizing the single-point autofocus mode allows you to pinpoint the exact area of focus, ensuring that your subject’s eyes, for example, are sharp and well-defined. This level of control over the focus point enhances the overall sharpness and visual impact of your images.
Continuous Autofocus for Moving Subjects
When photographing dynamic or moving subjects, such as wildlife, sports, or events, employing the continuous autofocus mode enables your camera to track and maintain focus on the subject as it moves within the frame. This ensures that critical moments are captured with precision and sharpness, preserving the energy and vitality of the scene.
Manual Focus for Precision
In situations where autofocus may struggle, such as low-contrast scenes or macro photography, engaging manual focus provides you with complete control over the focusing process. Fine-tuning the focus manually allows for meticulous precision, ensuring that the most important elements in your composition are impeccably sharp.
Optimizing Depth of Field
Understanding the relationship between aperture, focal length, and distance to the subject is crucial for achieving the desired depth of field. By selecting the appropriate aperture and focusing distance, you can control the zone of sharpness in your images, ensuring that both the subject and the background are rendered with the desired level of clarity.
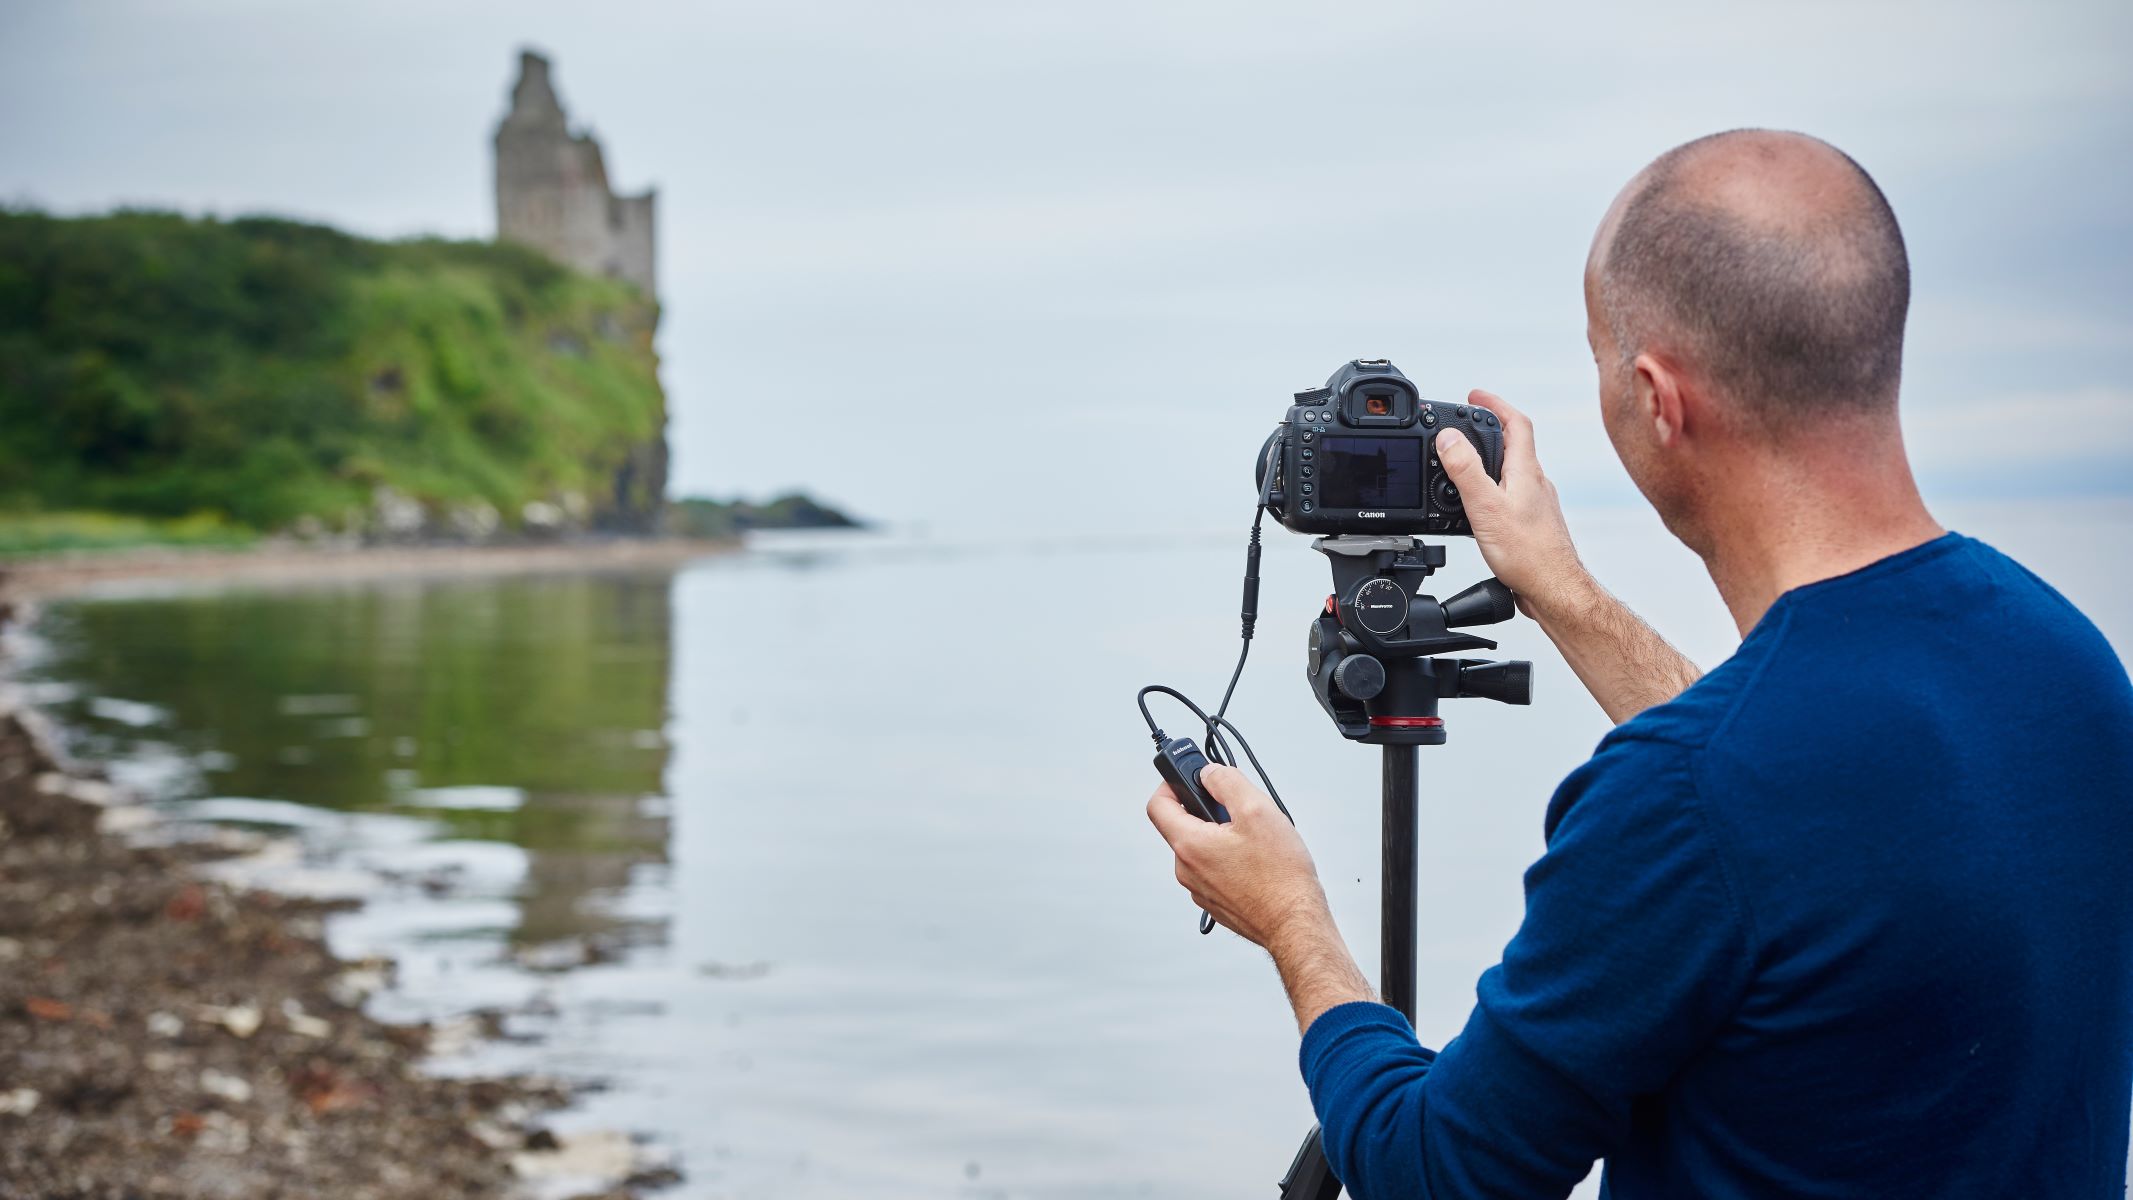
Stabilization for Sharpness
Utilizing stable shooting techniques, such as using a tripod, bracing against a solid surface, or employing image stabilization features, minimizes camera shake and contributes to overall image sharpness. This is particularly important when shooting at slower shutter speeds or with telephoto lenses, where even minor movements can impact the sharpness of the final image.
By implementing these focusing and sharpness tips, you can elevate the technical quality of your photographs, ensuring that each image is rendered with precision, detail, and compelling visual clarity.
Post-Processing Tips for Polishing Your Photos
Post-processing is a critical phase in photography that allows you to refine and enhance your images, bringing out their full potential and ensuring that they resonate with your creative vision. By applying effective post-processing techniques, you can elevate the visual impact and aesthetic appeal of your photographs, transforming them into compelling works of art.
Adjusting Exposure and Contrast
Fine-tuning the exposure and contrast levels in your photographs can significantly enhance their visual appeal. Balancing the exposure ensures that the image is well-lit and retains detail in both highlights and shadows, while adjusting contrast adds depth and dimension, accentuating textures and shapes within the frame.
Color Correction and White Balance Refinement
Correcting color casts and fine-tuning white balance during post-processing ensures that the colors in your images are accurate and true to life. This step is particularly important when shooting in challenging lighting conditions, allowing you to restore the natural vibrancy and balance of the scene.
Sharpening and Detail Enhancement
Utilizing sharpening tools and detail enhancement techniques refines the overall sharpness and clarity of your images, bringing out intricate details and textures. Careful application of these adjustments ensures that your photographs are rendered with precision and visual impact, drawing viewers into the scene with compelling detail.
Noise Reduction and Clarity Adjustment
Addressing digital noise and optimizing image clarity contributes to the overall quality of your photographs. Noise reduction techniques minimize unwanted grain and artifacts, particularly in low-light or high-ISO images, while clarity adjustments enhance mid-tone contrast, adding depth and definition to your compositions.
Cropping and Composition Refinement
During post-processing, you can fine-tune the composition of your images through cropping and framing adjustments. This allows you to eliminate distractions, improve the overall balance of the composition, and emphasize the most impactful elements within the frame, enhancing the visual storytelling of the photograph.
By applying these post-processing tips, you can refine and polish your photographs, ensuring that each image authentically reflects your artistic vision and resonates with viewers on a profound visual and emotional level.