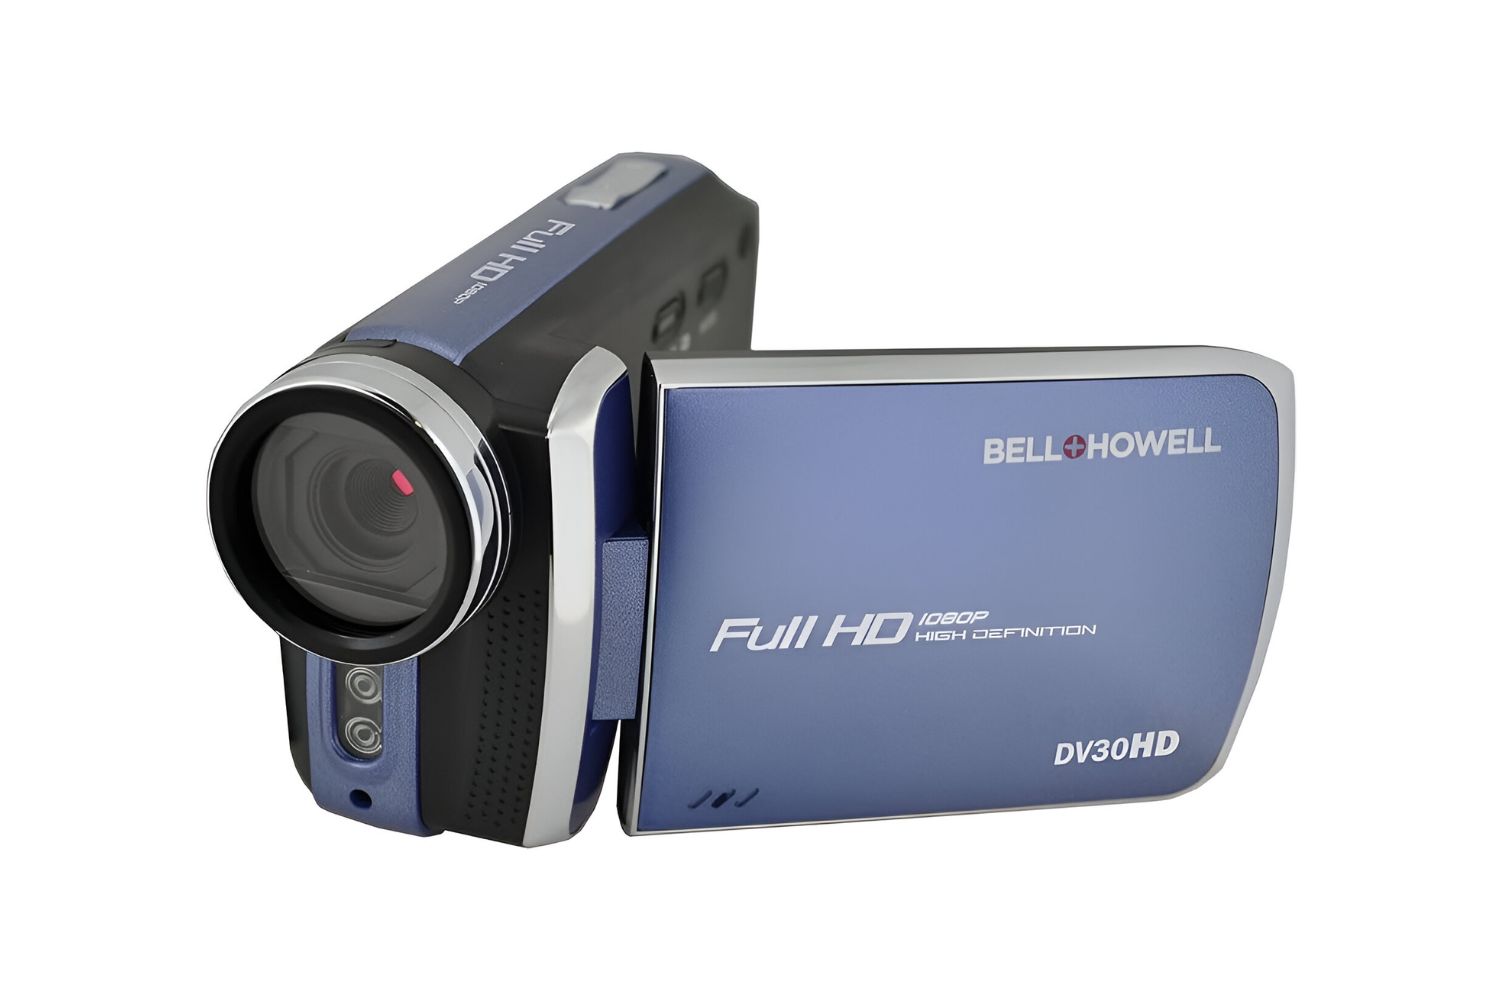
Introduction
Are you eager to enhance the sound quality of your Bell and Howell DV30 camcorder? Whether you're a vlogger, filmmaker, or simply someone who loves capturing life's precious moments, optimizing the audio output of your camcorder can significantly elevate the overall viewing experience. By following a few simple steps, you can effectively boost the sound on your Bell and Howell DV30 camcorder, ensuring that your recordings are accompanied by clear and crisp audio.
In this comprehensive guide, we will explore various techniques to increase the sound on your Bell and Howell DV30 camcorder. From adjusting the volume settings to utilizing an external microphone and cleaning the built-in microphone, we will cover all the essential methods to help you achieve superior audio quality in your recordings. Additionally, we will delve into the importance of firmware updates and how they can contribute to optimizing the sound performance of your camcorder.
By the end of this article, you will have a thorough understanding of the practical steps you can take to elevate the audio output of your Bell and Howell DV30 camcorder, empowering you to capture high-quality videos with exceptional sound clarity. Let's embark on this audio-enhancing journey and unlock the full potential of your camcorder's sound capabilities.
Check the Volume Settings
One of the initial steps in optimizing the sound output of your Bell and Howell DV30 camcorder involves checking and adjusting the volume settings. This simple yet crucial process can significantly impact the audio quality of your recordings. To begin, locate the volume controls on your camcorder. These controls are typically situated on the side or near the display screen, allowing you to adjust the input and output volume levels.
Once you have identified the volume controls, ensure that the input and output levels are appropriately configured. By increasing the input volume, you can capture sound more effectively, especially in environments with low ambient noise. Conversely, adjusting the output volume allows you to control the playback sound, ensuring that it is audible and balanced when reviewing your recordings.
It is essential to conduct test recordings while adjusting the volume settings to gauge the impact of these adjustments on the audio output. By monitoring the sound levels during recording and playback, you can fine-tune the volume settings to achieve optimal sound quality. Additionally, familiarize yourself with the camcorder’s manual or online resources to understand the recommended volume configurations for different recording scenarios.
By conscientiously reviewing and adjusting the volume settings of your Bell and Howell DV30 camcorder, you can effectively optimize the sound output, resulting in recordings that boast clear, well-balanced audio. This foundational step sets the stage for further enhancements, ensuring that your camcorder delivers exceptional sound performance across various filming environments.
Use an External Microphone
When seeking to elevate the sound quality of your Bell and Howell DV30 camcorder, integrating an external microphone can be a game-changing solution. External microphones are designed to capture audio with enhanced clarity and precision, offering a significant upgrade from the built-in microphone of the camcorder. By leveraging an external microphone, you can achieve professional-grade audio recordings that resonate with exceptional sound fidelity.
Before selecting an external microphone, it is imperative to assess your recording needs and the specific scenarios in which you will be filming. Different types of external microphones cater to varying environments and purposes, such as interviews, outdoor filming, or studio settings. Shotgun microphones, lapel microphones, and handheld microphones are among the popular options that offer distinct advantages based on the recording context.
Upon acquiring a compatible external microphone, connect it to your Bell and Howell DV30 camcorder, following the manufacturer’s instructions for seamless integration. Once connected, familiarize yourself with the microphone’s settings and features, such as adjustable gain levels, directional capabilities, and wind noise reduction. These functionalities empower you to customize the audio capture process, ensuring that your recordings encapsulate the desired sound characteristics.
By incorporating an external microphone into your recording setup, you can capture nuanced audio details, minimize ambient noise interference, and achieve a heightened sense of sonic immersion in your videos. Whether you are documenting live events, conducting interviews, or capturing nature’s sounds, an external microphone serves as a valuable tool for elevating the audio output of your Bell and Howell DV30 camcorder.
Clean the Built-in Microphone
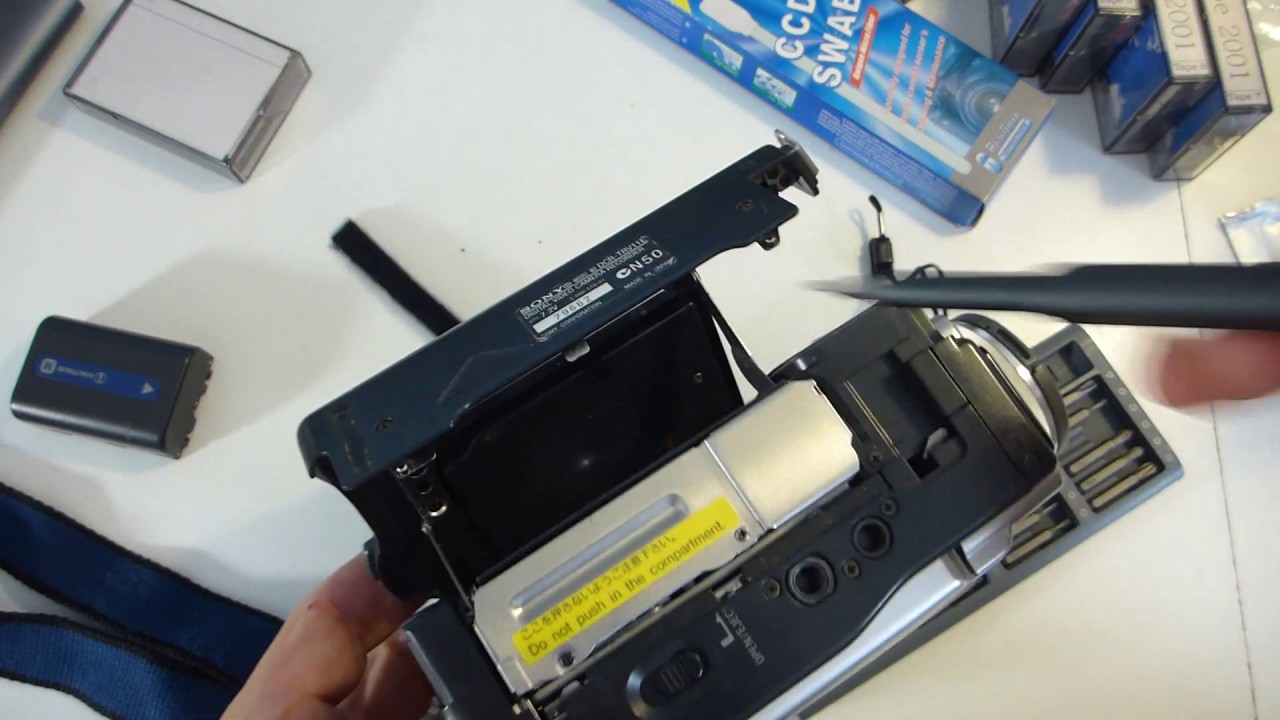
The built-in microphone of your Bell and Howell DV30 camcorder plays a pivotal role in capturing audio during recordings. Over time, dust, debris, and environmental factors can affect the microphone’s performance, potentially leading to diminished sound quality. To ensure optimal audio output, it is essential to regularly clean the built-in microphone, preserving its functionality and enhancing the overall sound clarity of your recordings.
Before commencing the cleaning process, power off your camcorder and remove any external accessories or attachments. Inspect the microphone area for any visible dirt, lint, or obstructions that may impede sound capture. Utilize a soft, lint-free cloth or a small brush to gently remove any debris from the microphone’s exterior, taking care not to apply excessive pressure that could damage the microphone components.
For more thorough cleaning, consider using a can of compressed air to dislodge any stubborn particles that may be lodged near the microphone. Exercise caution and maintain a safe distance to prevent the force of the compressed air from causing damage. Additionally, if the microphone grille or openings appear clogged, carefully remove any accumulated debris using a fine brush or a specialized cleaning tool designed for electronic devices.
It is important to approach the cleaning process with delicacy and precision, ensuring that the built-in microphone is free from any impediments that could compromise its performance. By maintaining a clean and unobstructed microphone, you can uphold the integrity of the audio capture capabilities of your Bell and Howell DV30 camcorder, resulting in recordings that boast pristine sound quality.
Regularly incorporating this cleaning regimen into your camcorder maintenance routine can significantly contribute to sustaining the built-in microphone’s functionality and optimizing its sound output, allowing you to consistently produce high-quality audio recordings across various filming scenarios.
Update the Firmware
Keeping the firmware of your Bell and Howell DV30 camcorder up to date is a crucial yet often overlooked aspect of optimizing its overall performance, including the audio output. Firmware updates are designed to address software-related issues, enhance functionality, and in some cases, improve the camcorder’s audio processing capabilities. By ensuring that your camcorder’s firmware is current, you can potentially unlock new features and enhancements that contribute to superior sound quality in your recordings.
Before initiating the firmware update process, it is advisable to visit the official Bell and Howell website or consult the camcorder’s user manual to obtain detailed instructions and the latest firmware release notes. Familiarize yourself with the update procedure and any prerequisites, such as ensuring a fully charged battery or using a specific type of memory card for the update process.
Once you have verified the necessary steps and preparations, proceed to download the latest firmware update onto a compatible memory card as per the provided instructions. Insert the memory card into your camcorder and access the firmware update option in the settings or setup menu. Follow the on-screen prompts to initiate the update process, ensuring that the camcorder remains powered and undisturbed until the update is successfully completed.
After the firmware update is installed, restart your camcorder and navigate to the settings menu to confirm that the update was applied successfully. Take this opportunity to explore any new audio-related settings or features that may have been introduced or enhanced through the firmware update. Adjust the audio settings as needed, leveraging any new options to optimize the sound output based on your recording preferences.
By regularly updating the firmware of your Bell and Howell DV30 camcorder, you can stay abreast of the latest advancements and improvements that contribute to an enriched audio recording experience. Whether it involves audio processing algorithms, noise reduction capabilities, or expanded audio customization features, firmware updates can play a pivotal role in elevating the sound quality of your recordings, ensuring that your camcorder remains primed for exceptional audio performance.
Conclusion
Embarking on the journey to enhance the sound output of your Bell and Howell DV30 camcorder has equipped you with valuable insights and practical techniques to elevate the audio quality of your recordings. By exploring the fundamental steps of adjusting volume settings, integrating an external microphone, cleaning the built-in microphone, and updating the firmware, you have gained a comprehensive understanding of the strategies that can significantly impact the sound performance of your camcorder.
Through conscientious adjustments to the volume settings, you can fine-tune the audio input and output levels, ensuring that your recordings capture clear, well-balanced sound. The integration of an external microphone presents an opportunity to harness professional-grade audio capture capabilities, enabling you to achieve exceptional sound fidelity across diverse recording environments and scenarios.
Additionally, the maintenance of the built-in microphone through regular cleaning practices is essential for preserving its functionality and optimizing sound clarity. By upholding a clean and unobstructed microphone, you can consistently produce high-quality audio recordings that resonate with pristine sound quality.
Furthermore, staying abreast of firmware updates and ensuring that your camcorder’s firmware is current can unlock new audio-related features and enhancements, contributing to an enriched audio recording experience. By embracing the latest advancements through firmware updates, you can harness the full potential of your camcorder’s audio capabilities, ensuring that it remains primed for exceptional sound performance.
Armed with these insights and practical strategies, you are well-equipped to embark on your audio-enhancing endeavors, capturing life’s moments with superior sound clarity and immersion. By implementing these techniques and incorporating them into your recording practices, you can elevate the audio output of your Bell and Howell DV30 camcorder, resulting in captivating recordings that resonate with exceptional sound quality.
As you continue to explore the art of audio optimization, remember that each recording presents an opportunity to refine your techniques and unleash the full potential of your camcorder’s sound capabilities. Embrace the journey of audio enhancement with enthusiasm and creativity, and let the captivating soundscapes you create enrich your storytelling and visual narratives.