Introduction
Understanding Analog Camcorders
Analog camcorders were once the epitome of cutting-edge technology, allowing users to capture precious moments on magnetic tape. While digital camcorders have largely supplanted their analog counterparts, many individuals still possess cherished recordings on analog tapes. If you find yourself in possession of an analog camcorder and wish to preserve or digitize its contents, this guide will walk you through the process of extracting video and audio from these tapes and transferring them to your computer.
In the following sections, we will delve into the intricacies of analog camcorders, explore the steps to connect your device to a computer, and detail the process of capturing and editing the video and audio content. By the end of this guide, you will be equipped with the knowledge and skills to breathe new life into your analog recordings and safeguard them for the digital age.
Whether you're a nostalgic hobbyist seeking to revisit old memories or a professional archivist tasked with digitizing analog archives, this comprehensive guide will provide you with the essential know-how to unlock the potential of your analog camcorder. Let's embark on this journey to bridge the gap between analog and digital technologies, preserving the invaluable moments captured on these aging tapes.
Understanding Analog Camcorders
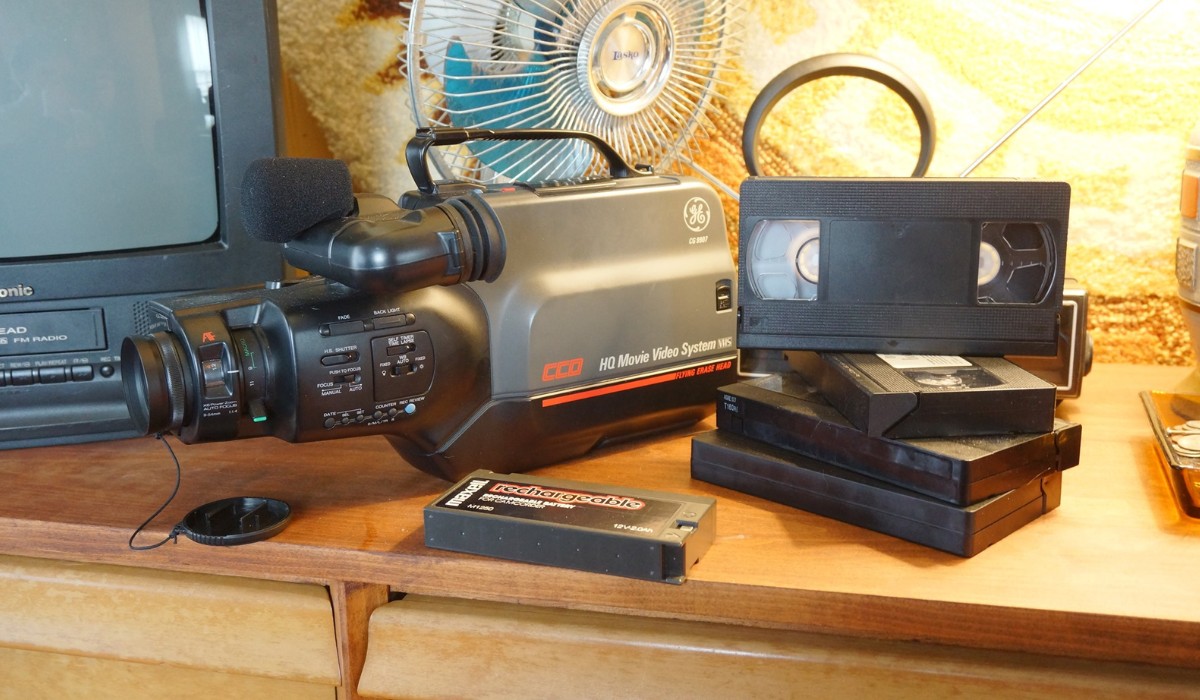
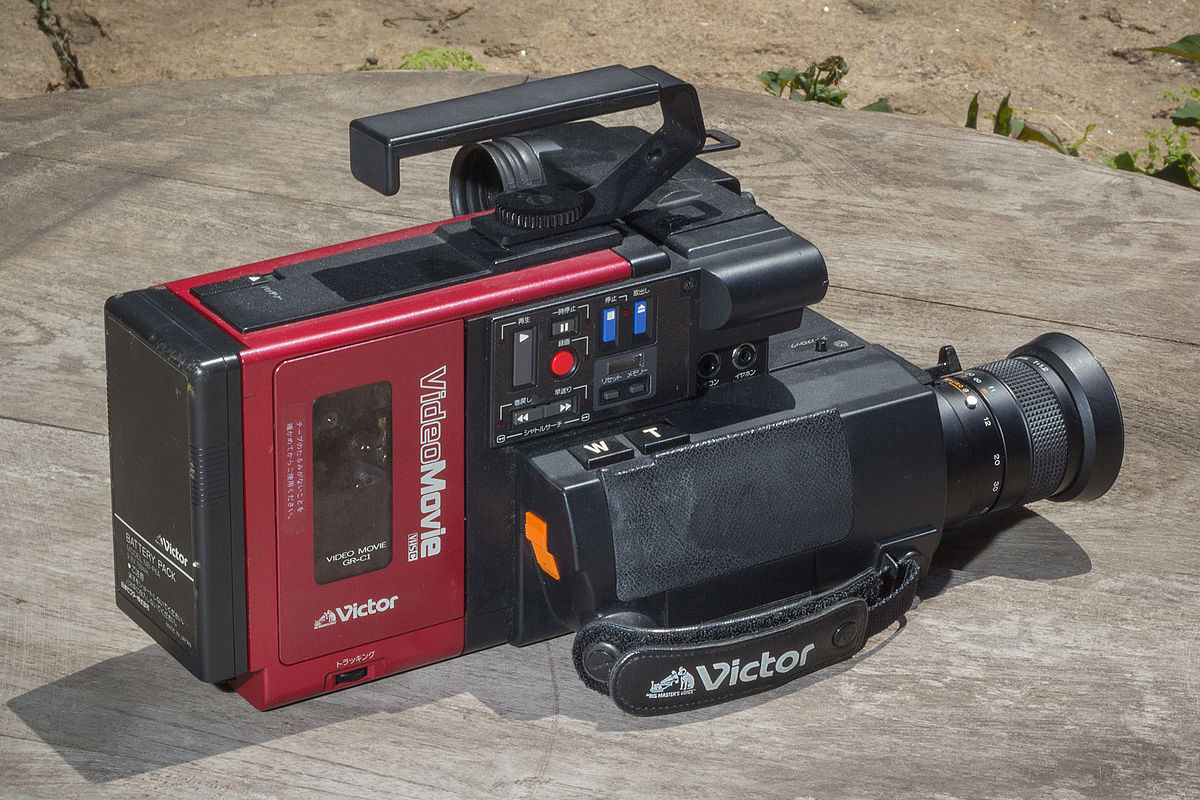
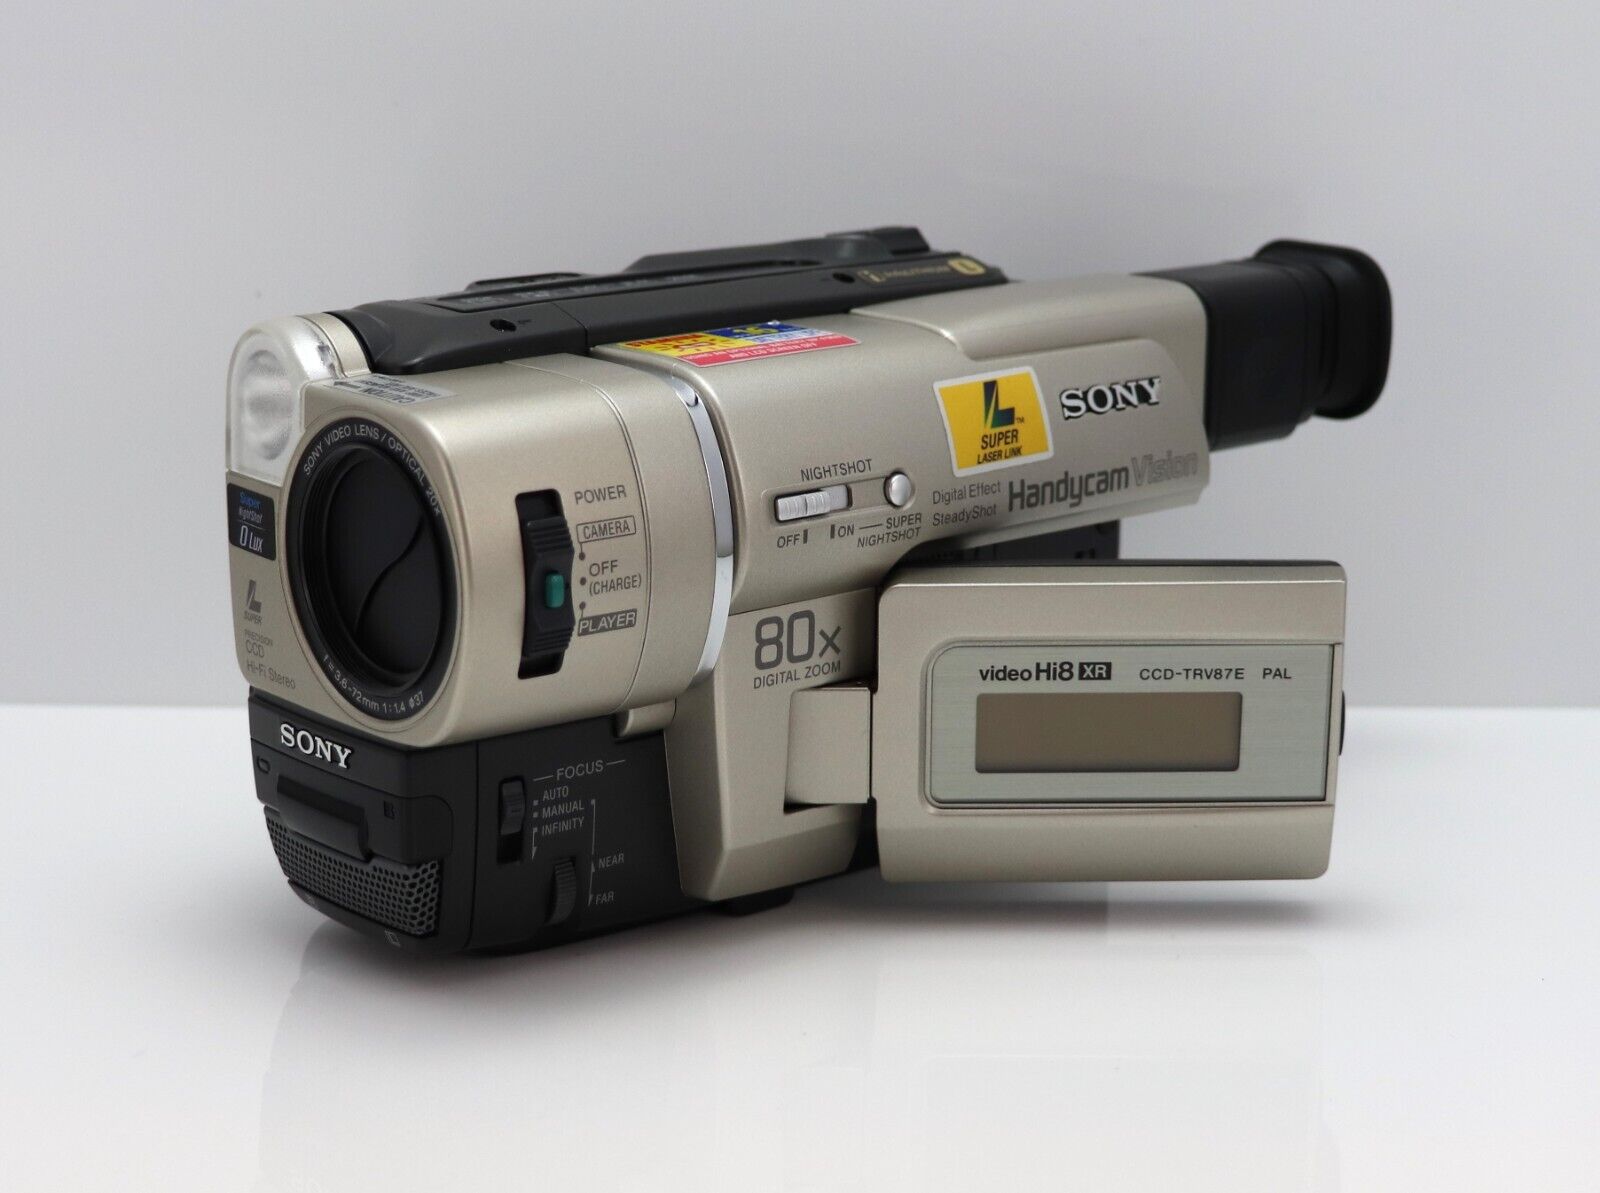
Analog camcorders, once the hallmark of home videography, utilized magnetic tape to record video and audio. These devices typically employed formats such as VHS, Video8, Hi8, or MiniDV, capturing footage in standard definition. Unlike modern digital camcorders that store data in electronic files, analog camcorders record and playback audio and video signals through a physical medium, namely magnetic tape.
The analog recording process involves translating visual and auditory information into electrical signals, which are then stored on the magnetic tape in an analog format. When playing back the recorded content, the camcorder reads the analog signals from the tape and converts them into audio and video output. This mechanism differs significantly from digital recording, where data is stored as discrete numerical values.
Analog camcorders are characterized by their mechanical components, including spinning tape heads and moving parts within the cassette mechanism. These physical processes are integral to the recording and playback functions of analog camcorders, distinguishing them from the solid-state, non-mechanical operation of digital devices.
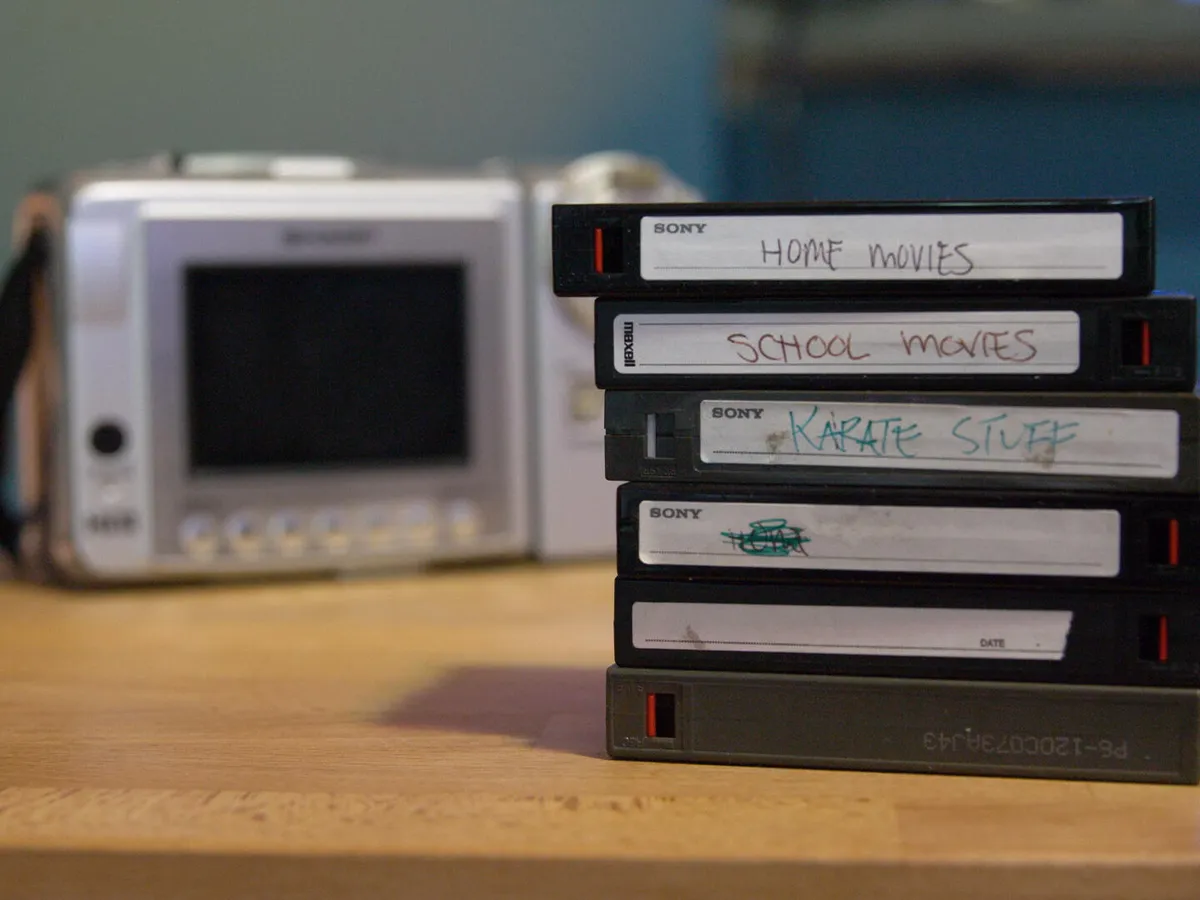
While analog camcorders have been largely supplanted by digital technology, they remain a repository of cherished memories for countless individuals. Preserving the content stored on analog tapes often involves digitizing the recordings, ensuring that they can be accessed, shared, and enjoyed in the digital realm. This necessitates the transfer of analog audio and video to a computer, where the content can be edited, stored, and safeguarded for future generations.
Understanding the fundamental principles of analog camcorders is crucial for effectively extracting and preserving their audio and video content. By gaining insight into the inner workings of these devices, individuals can navigate the process of connecting their analog camcorders to modern computer systems and capturing the invaluable footage contained within these aging tapes.
Connecting Your Analog Camcorder to Your Computer
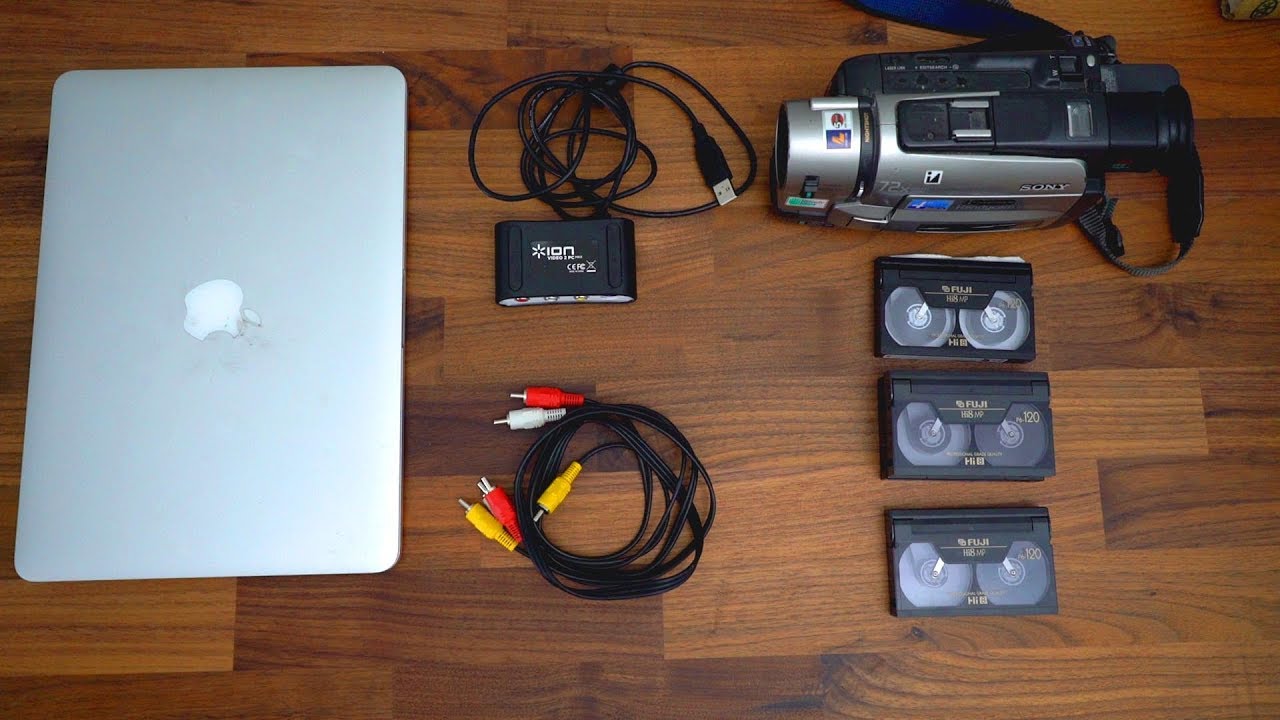
Connecting an analog camcorder to a computer for the purpose of digitizing its audio and video content requires the use of specialized hardware and software. The process involves establishing a direct connection between the camcorder and the computer, enabling the transfer of analog signals to the digital realm. Here's a step-by-step guide to help you navigate this essential stage of preserving your analog recordings:
-
Identifying the Output Port: Analog camcorders typically feature output ports that facilitate the transmission of audio and video signals to external devices. Common output ports include RCA, S-Video, and FireWire (IEEE 1394). Identify the specific output port on your camcorder, as this will determine the type of cable or adapter needed to connect it to your computer.
-
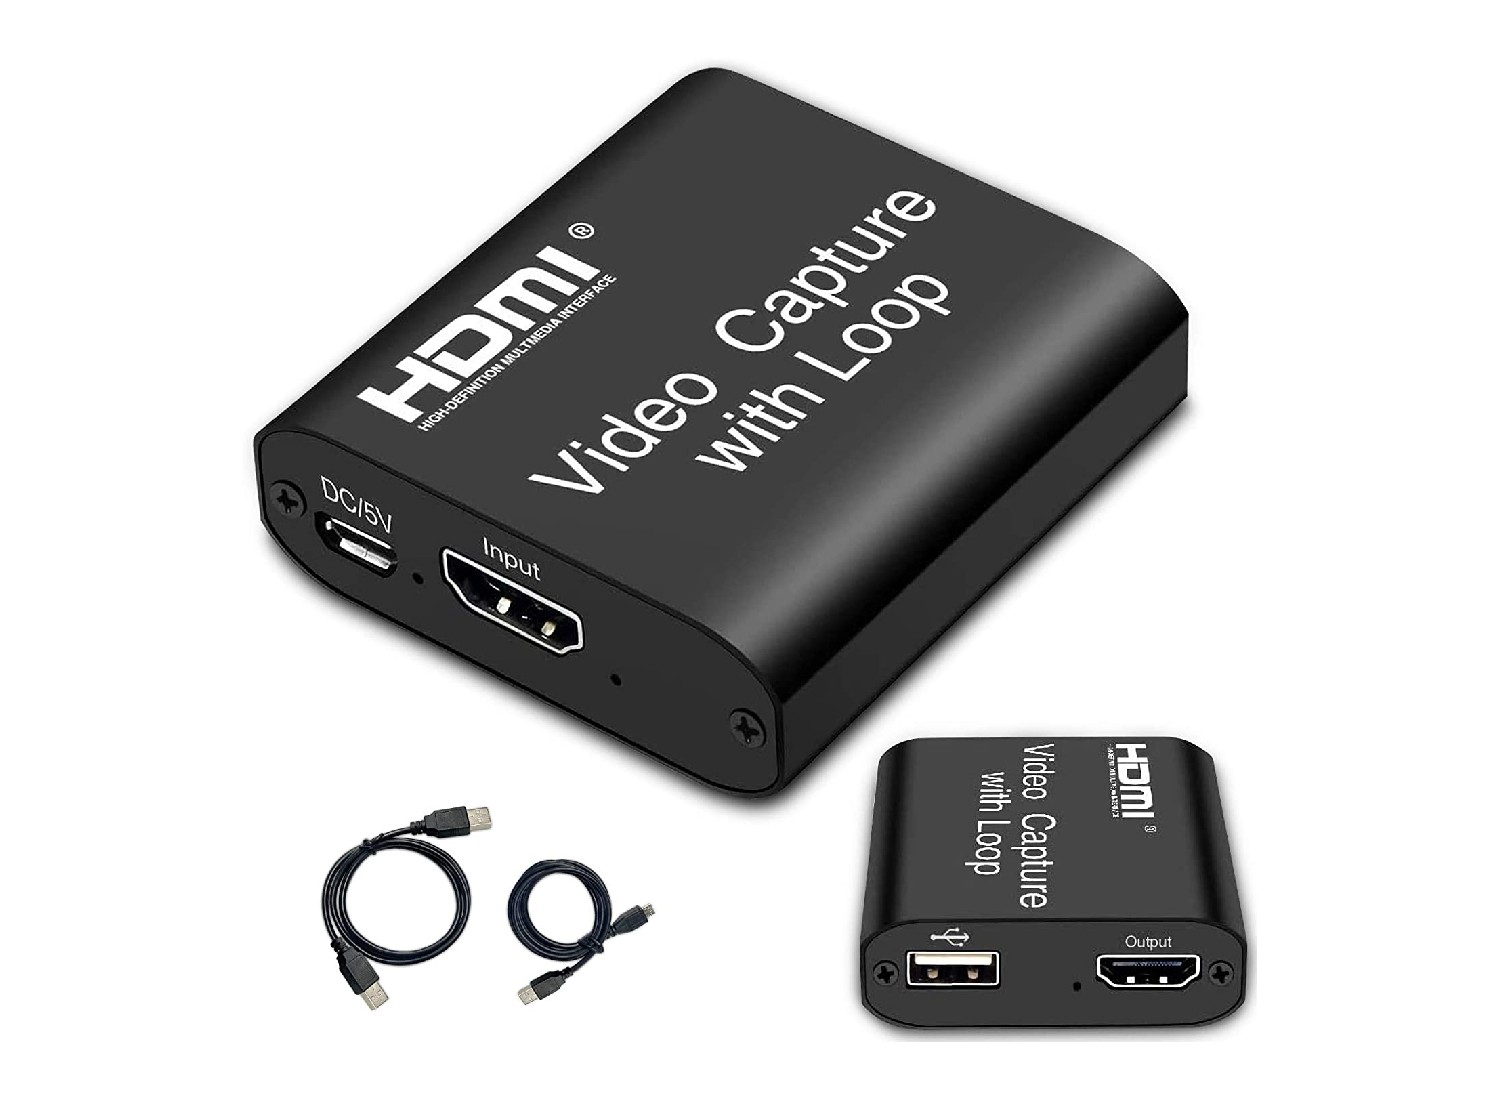
Selecting the Connection Method: Depending on the output port of your analog camcorder, you may need to use a corresponding cable or adapter to establish a connection with your computer. For example, if your camcorder features RCA output, you can use a composite video capture device that connects to your computer via USB. Alternatively, if your camcorder has a FireWire port, ensure that your computer is equipped with a FireWire input or use a FireWire to USB adapter if necessary.
-
Installing Capture Software: Once the physical connection is established, install the appropriate capture software on your computer. This software will facilitate the transfer of analog audio and video signals from the camcorder to your computer, where they can be digitized and saved as digital files. Popular capture software options include Adobe Premiere, Final Cut Pro, and Windows Movie Maker.
-
Configuring Audio and Video Settings: Launch the capture software and configure the audio and video input settings to match the specifications of your analog camcorder. This may involve selecting the appropriate input source, adjusting audio levels, and specifying the video format and resolution. These settings ensure that the captured content maintains its original quality during the digitization process.
-
Initiating the Capture Process: With the hardware and software in place, initiate the capture process within the software interface. Start playback on your analog camcorder, and the capture software will begin recording the audio and video signals in real time, converting them into digital files that are stored on your computer.
By following these steps, you can successfully connect your analog camcorder to your computer and initiate the process of digitizing its audio and video content. This pivotal stage sets the foundation for capturing, editing, and preserving your cherished analog recordings in the digital domain.
Capturing Video and Audio
Once your analog camcorder is successfully connected to your computer, you can proceed with capturing the video and audio content stored on its tapes. The capturing process involves transferring the analog signals from the camcorder to your computer, where they are converted into digital files. Here’s a detailed guide to help you navigate the crucial stage of capturing the invaluable video and audio from your analog recordings:
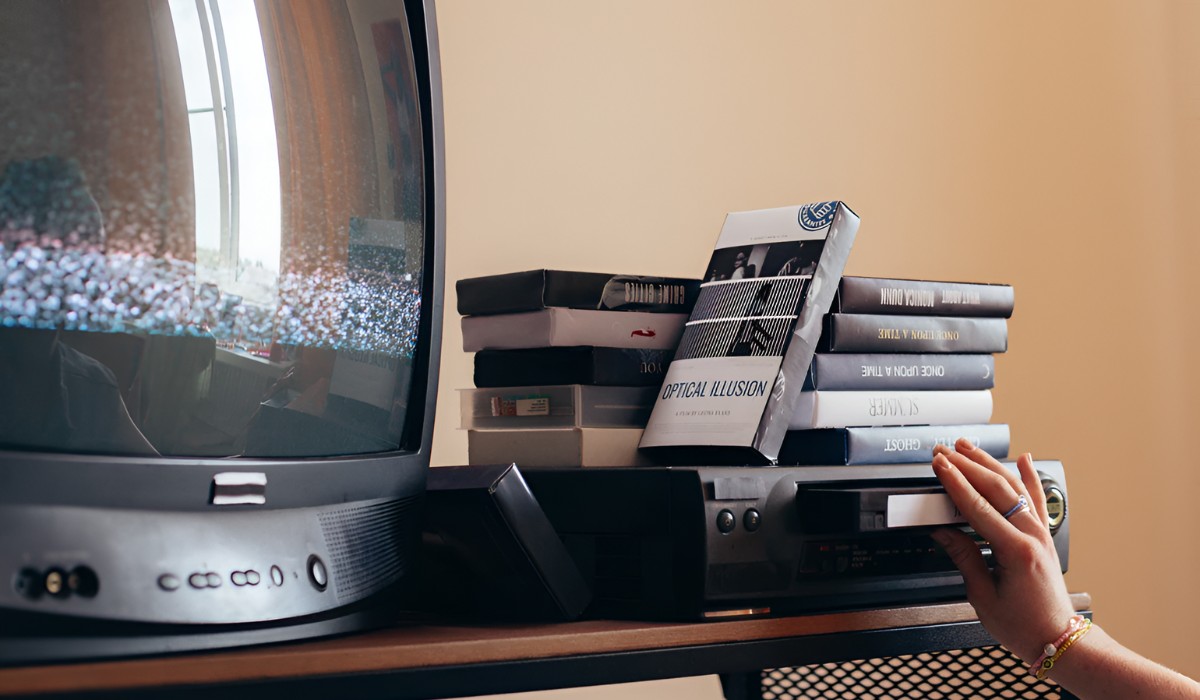
- Playback Control: Use the playback controls on your analog camcorder to cue the specific footage you wish to capture. The camcorder’s playback functionality allows you to navigate through the recorded tapes and locate the desired segments for digitization.
- Monitoring the Capture: As the analog content plays back on your camcorder, monitor the capture process on your computer screen. The capture software interface will display the incoming video and audio signals in real time, enabling you to verify the quality and integrity of the captured content.
- Managing Storage Space: Ensure that your computer has sufficient storage space to accommodate the captured video and audio files. Analog recordings can consume a considerable amount of storage, especially when digitized at high resolutions. Monitor the available storage capacity on your computer to prevent interruptions during the capture process.
- Real-Time Conversion: The capture software will convert the incoming analog signals into digital files in real time. This conversion process involves encoding the video and audio data into digital formats that can be stored and edited on your computer. Depending on the software settings, you may have the option to capture the content in various file formats and resolutions.
- Quality Assurance: Throughout the capture process, pay attention to the quality of the captured content. Ensure that the video and audio signals are being faithfully translated into digital form without any distortions or discrepancies. The capture software may include tools for adjusting audio levels, video brightness, and color balance to enhance the overall quality of the captured content.
By following these steps, you can effectively capture the video and audio content from your analog camcorder, preserving it in a digital format that can be easily accessed, edited, and shared. This pivotal stage marks the transition of your analog recordings into the digital realm, ensuring their longevity and accessibility in the modern age.
Editing and Saving Your Captured Video and Audio
Once the video and audio content from your analog camcorder has been successfully captured and digitized on your computer, you can proceed with editing and saving the files to preserve and enhance their quality. The editing process allows you to refine the captured content, apply enhancements, and create a polished rendition of your analog recordings. Here’s a comprehensive guide to editing and saving your captured video and audio:
- Importing into Editing Software: Transfer the captured video and audio files to your preferred editing software. Popular editing programs such as Adobe Premiere, Final Cut Pro, and iMovie provide comprehensive tools for editing and enhancing audiovisual content.
- Organizing the Content: Organize the imported files within the editing software’s interface. Create a structured timeline that allows you to arrange and sequence the video and audio tracks according to your desired presentation.
- Trimming and Cutting: Use the editing software’s tools to trim and cut the captured footage. Remove unwanted segments, adjust the duration of scenes, and refine the pacing of the video content to create a cohesive narrative or presentation.
- Enhancements and Effects: Apply enhancements and effects to the video and audio content. This may include color correction, audio equalization, transitions, visual effects, and other creative adjustments to elevate the quality and impact of the captured footage.
- Adding Audio Elements: Incorporate additional audio elements such as background music, sound effects, or voiceovers to complement the captured audio from the analog camcorder. This step allows you to enrich the auditory experience and create a dynamic audiovisual composition.
- Exporting the Final Edit: Once the editing process is complete, export the final edited video and audio composition from the editing software. Choose the appropriate file format, resolution, and compression settings based on your intended use and distribution of the content.
- Backup and Archiving: Safeguard the edited video and audio files by creating backup copies and establishing an organized archival system. Store the files on reliable storage devices and cloud-based platforms to prevent loss and ensure long-term accessibility.
By diligently following these steps, you can transform the captured video and audio from your analog camcorder into refined, edited compositions that are ready for sharing, archiving, or further creative endeavors. The editing process empowers you to breathe new life into your analog recordings, preserving them in a digital format that can be cherished and enjoyed for years to come.