Introduction
Connecting your camera drone to your phone opens up a world of possibilities, allowing you to capture breathtaking aerial footage and control your drone with ease. Whether you’re a photography enthusiast, a videographer, or simply a tech-savvy individual looking to explore the wonders of drone technology, this guide will walk you through the process step by step. By the end of this tutorial, you’ll be ready to take to the skies and unleash your creativity.
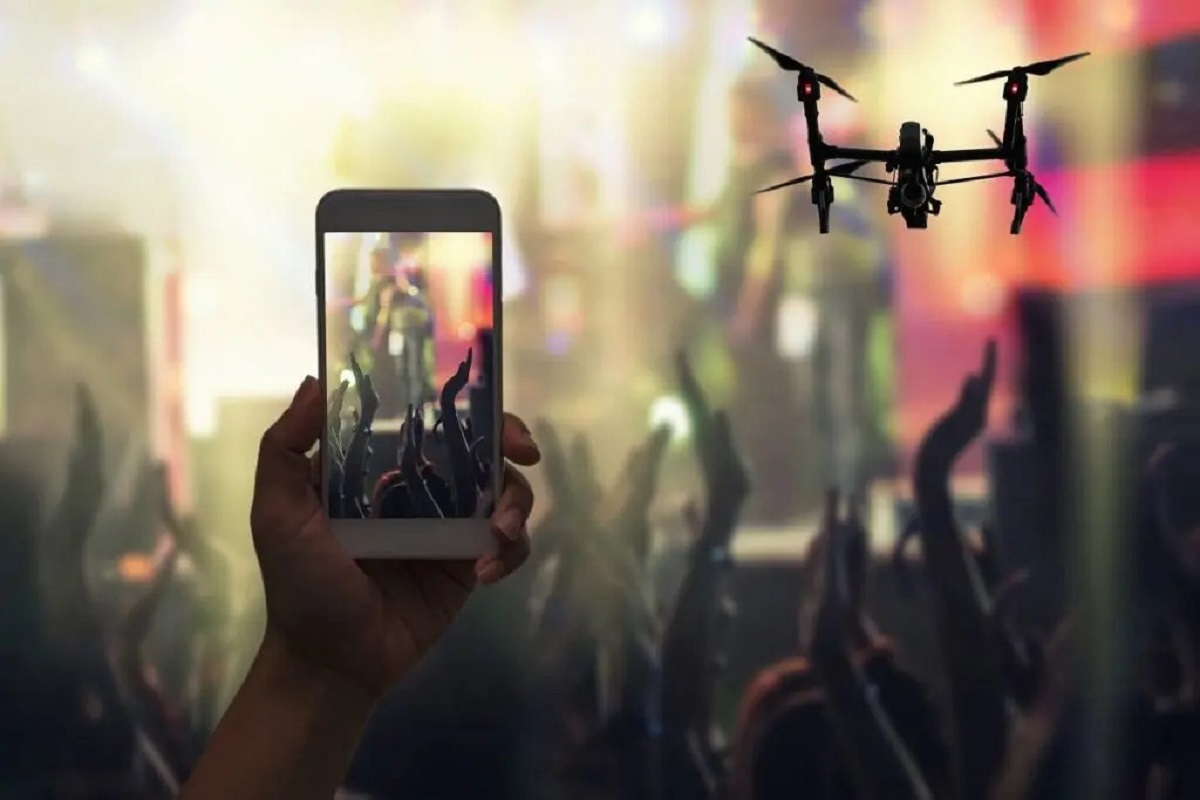
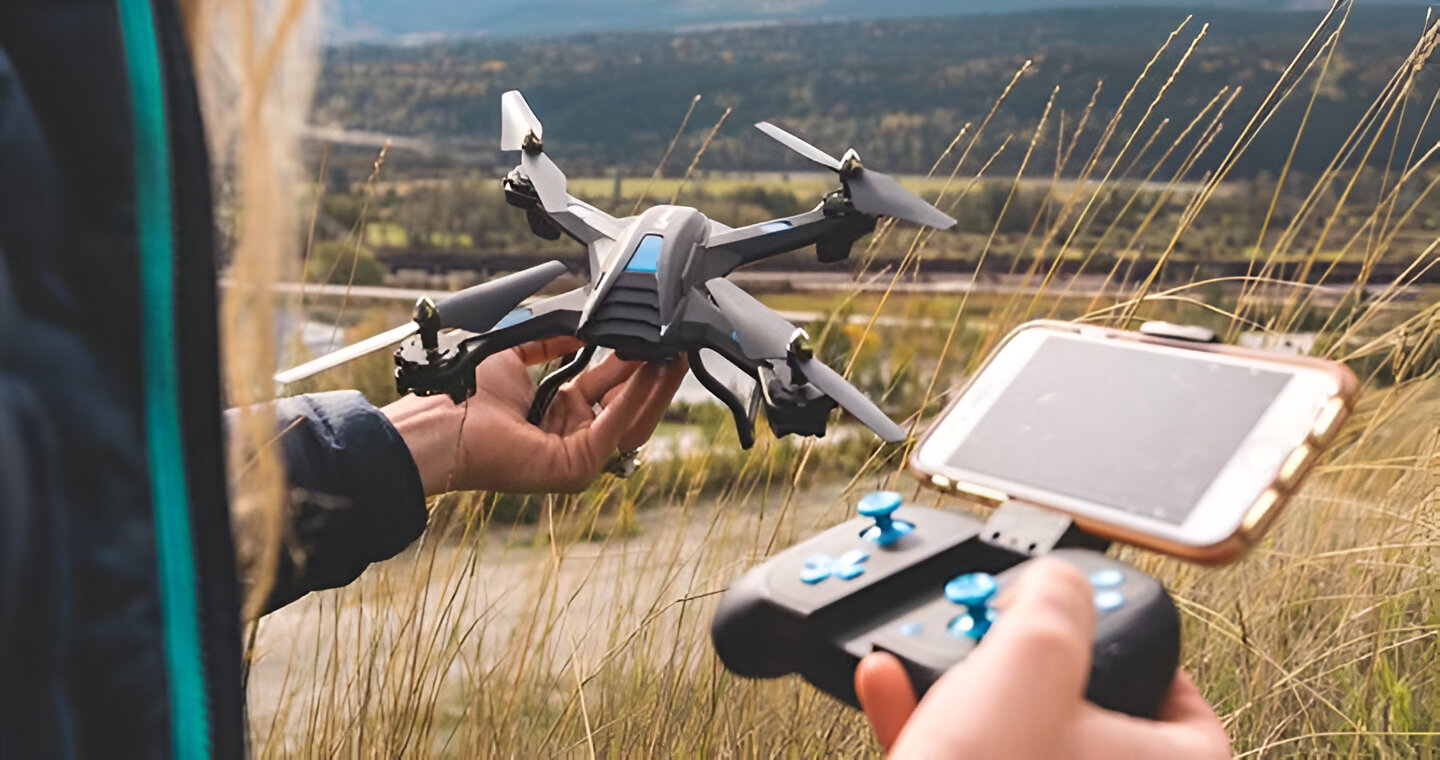
With the advancements in drone technology and the widespread use of smartphones, the ability to connect your camera drone to your phone has become an essential feature for many drone enthusiasts. This connection not only provides a convenient way to control and monitor your drone but also offers a seamless means of capturing stunning aerial imagery and videos.
Whether you’re using a DJI, Parrot, or another popular drone brand, the process of connecting your drone to your phone generally follows a few common steps. In this guide, we’ll focus on the fundamental steps that apply to most camera drones, ensuring that you can easily connect your device and start enjoying the incredible capabilities it offers.
Step 1: Download the App
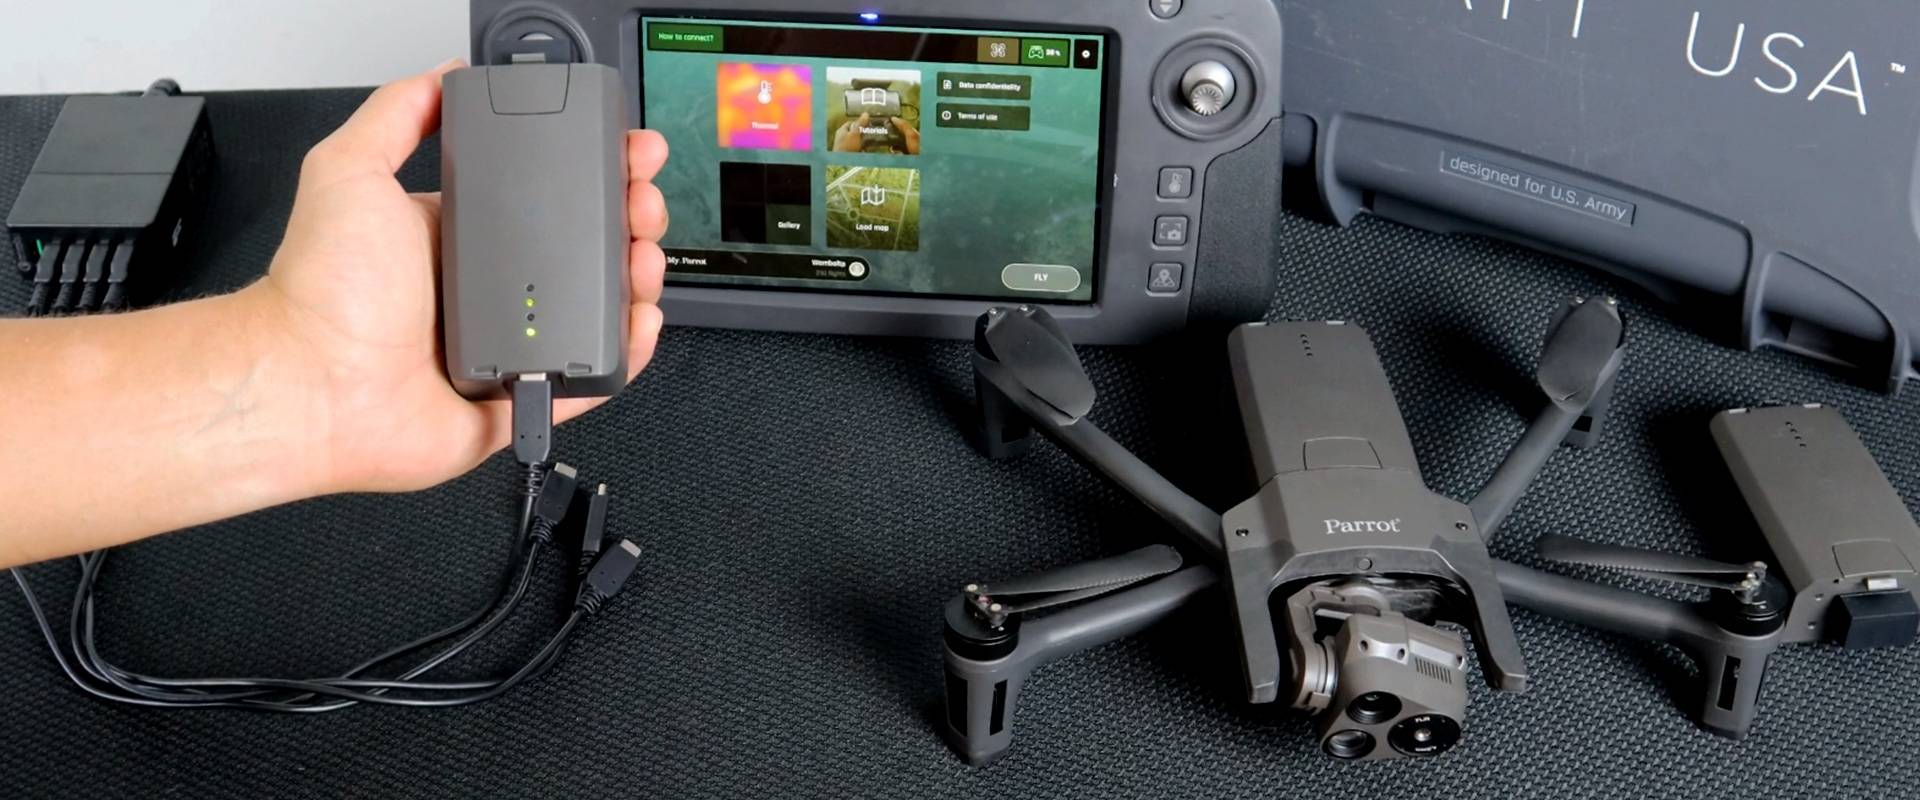
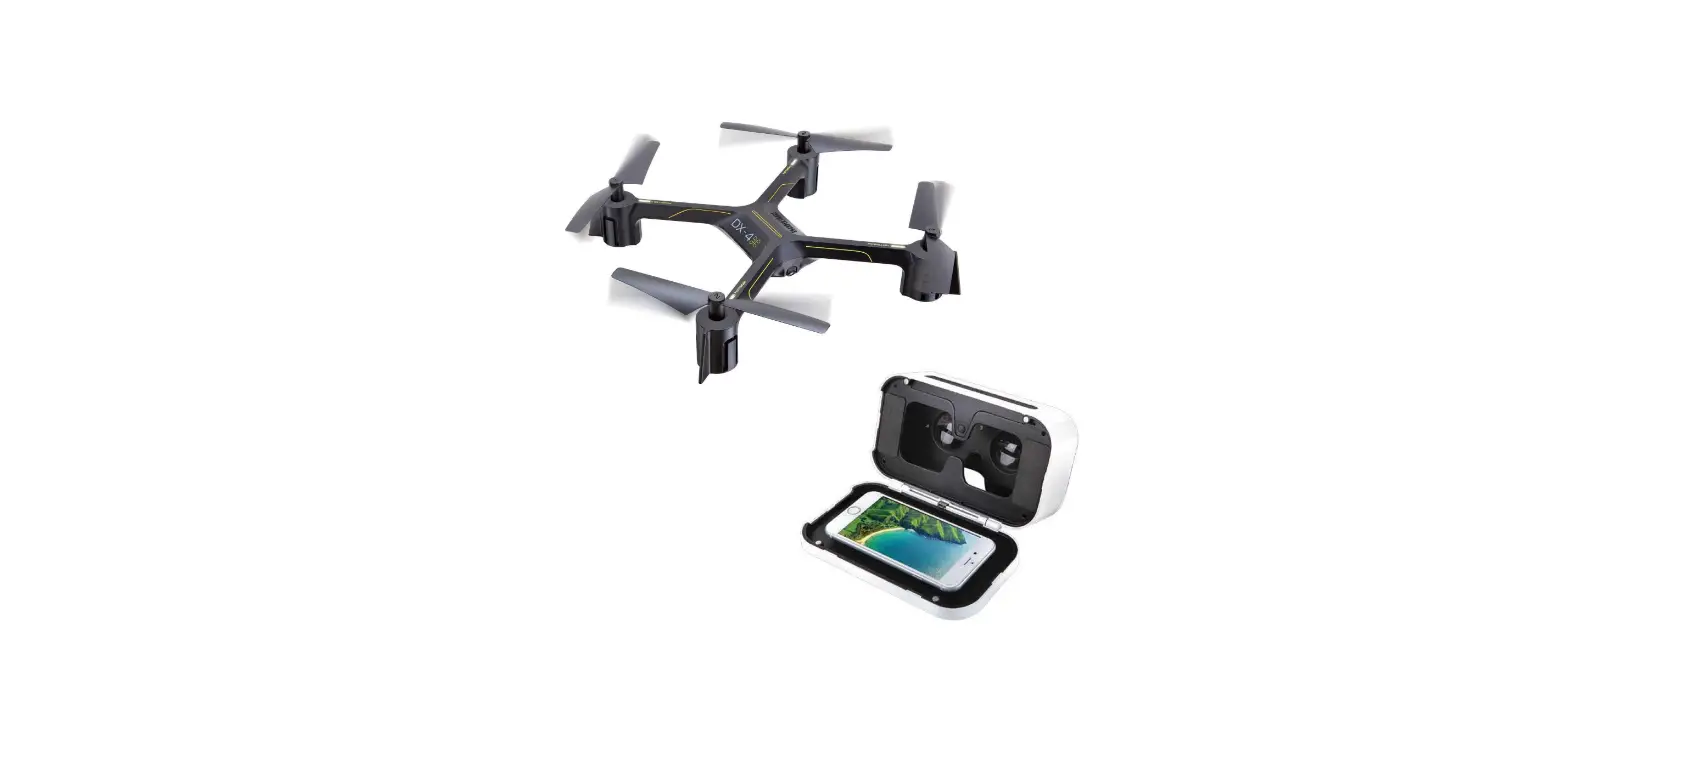
Before you can connect your camera drone to your phone, you’ll need to download the corresponding app for your specific drone model. Most drone manufacturers offer dedicated mobile apps that are designed to work seamlessly with their products. These apps typically provide a user-friendly interface, essential controls, and advanced features to enhance your drone flying experience.
To get started, head to the app store on your smartphone – whether you’re using an iPhone or an Android device – and search for the official app associated with your drone. For instance, if you own a DJI drone, you’ll want to download the DJI Fly or DJI GO 4 app, depending on your specific model. Similarly, if you have a Parrot drone, look for the FreeFlight app in the app store.
Once you’ve located the app, simply download and install it on your phone. Ensure that you’re downloading the official app from the legitimate developer to guarantee compatibility and access to the latest features and updates. After the installation is complete, take a moment to familiarize yourself with the app’s interface and features, as this will prepare you for the next steps in the connection process.
Downloading the app is a crucial initial step, as it serves as the bridge between your camera drone and your phone, enabling seamless communication and control. With the app installed and ready to go, you’re one step closer to unlocking the full potential of your drone and capturing stunning aerial imagery.
Step 2: Power on the Drone
Once you have the app installed on your phone, it’s time to prepare your camera drone for the connection process. Start by ensuring that the drone’s battery is sufficiently charged to avoid any interruptions during the setup. Most drones have a power button or a specific sequence of actions to power them on, so refer to your drone’s user manual for detailed instructions.
After confirming that the battery is charged, locate the power button or switch on your drone. Depending on the model, you may need to press and hold the power button for a few seconds until you see the indicator lights or hear a startup sound. Typically, the indicator lights will flash or change color to indicate that the drone is powering on and initializing its systems.
While the drone is powering on, it’s essential to place it on a stable surface to ensure a safe startup. Avoid any obstacles or uneven terrain that could interfere with the initialization process. Additionally, make sure that the drone is in an open area with sufficient space for takeoff, as this will be necessary once the connection process is complete.
As the drone completes its startup sequence, you may hear calibration sounds or see the gimbal and camera adjusting. This is a normal part of the initialization process, and it signifies that the drone’s systems are coming online and preparing for flight. Once the drone has powered on and completed its startup routine, it’s ready to be connected to your phone using the dedicated app.
Step 3: Connect to the Drone’s Wi-Fi
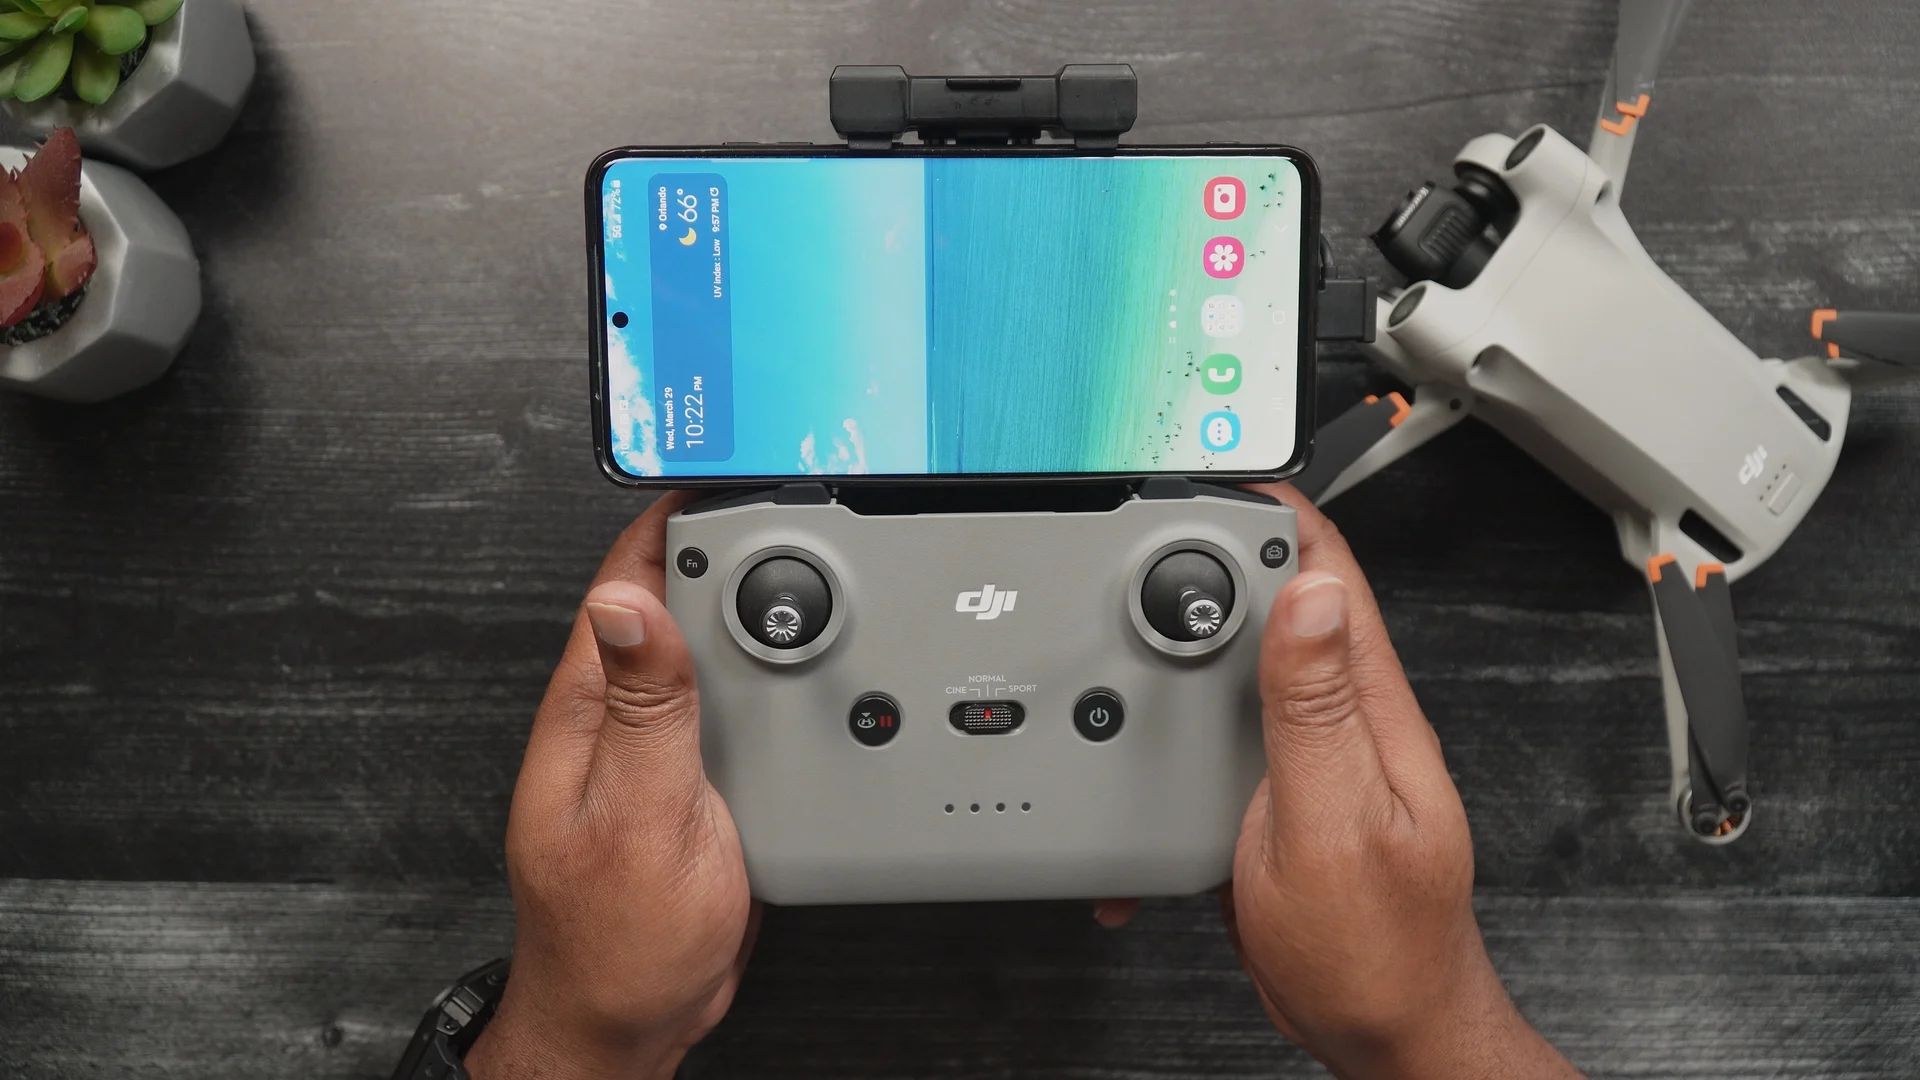
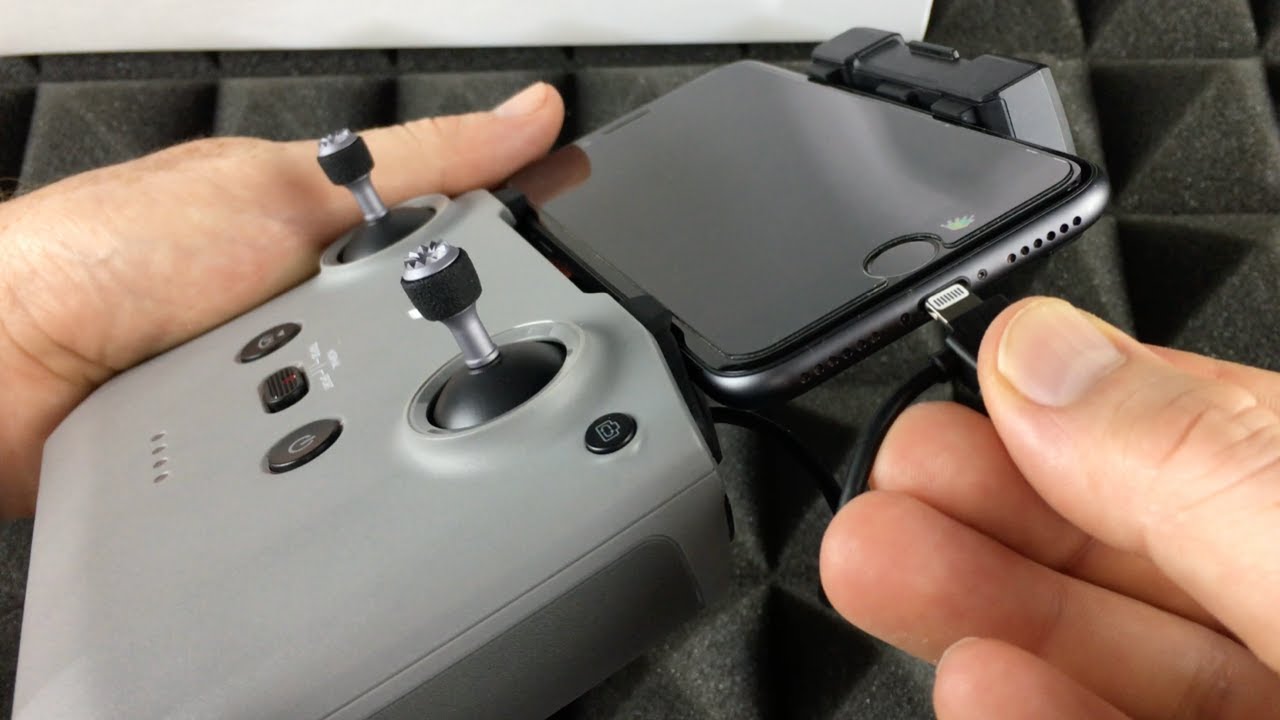
With your drone powered on and ready, the next step is to establish a Wi-Fi connection between your phone and the drone. Camera drones create their own Wi-Fi network to facilitate communication with the dedicated app, allowing you to control the drone and receive real-time video feeds. To begin this process, access the Wi-Fi settings on your phone.
Once in the Wi-Fi settings menu, look for the list of available networks. Your drone’s Wi-Fi network should appear in this list, typically identified by the drone’s model name or a specific Wi-Fi network name associated with the drone. For example, a DJI Mavic Air 2 might broadcast a Wi-Fi network named “Mavic Air 2_xxxxxx,” with the x’s representing a unique identifier for that drone.
Select the drone’s Wi-Fi network from the list, and if prompted, enter the password or passphrase associated with the network. The password can usually be found in the drone’s user manual or on a sticker attached to the drone itself. Once the correct password is entered, your phone will establish a connection to the drone’s Wi-Fi network, enabling seamless communication between the two devices.
It’s important to note that during this process, your phone will be temporarily disconnected from your regular Wi-Fi network, as it switches over to the drone’s network. This is a normal part of the connection process and is essential for the app to communicate effectively with the drone. Once the connection is established, you’re ready to proceed to the next step and open the dedicated app to complete the setup.
Step 4: Open the App and Connect
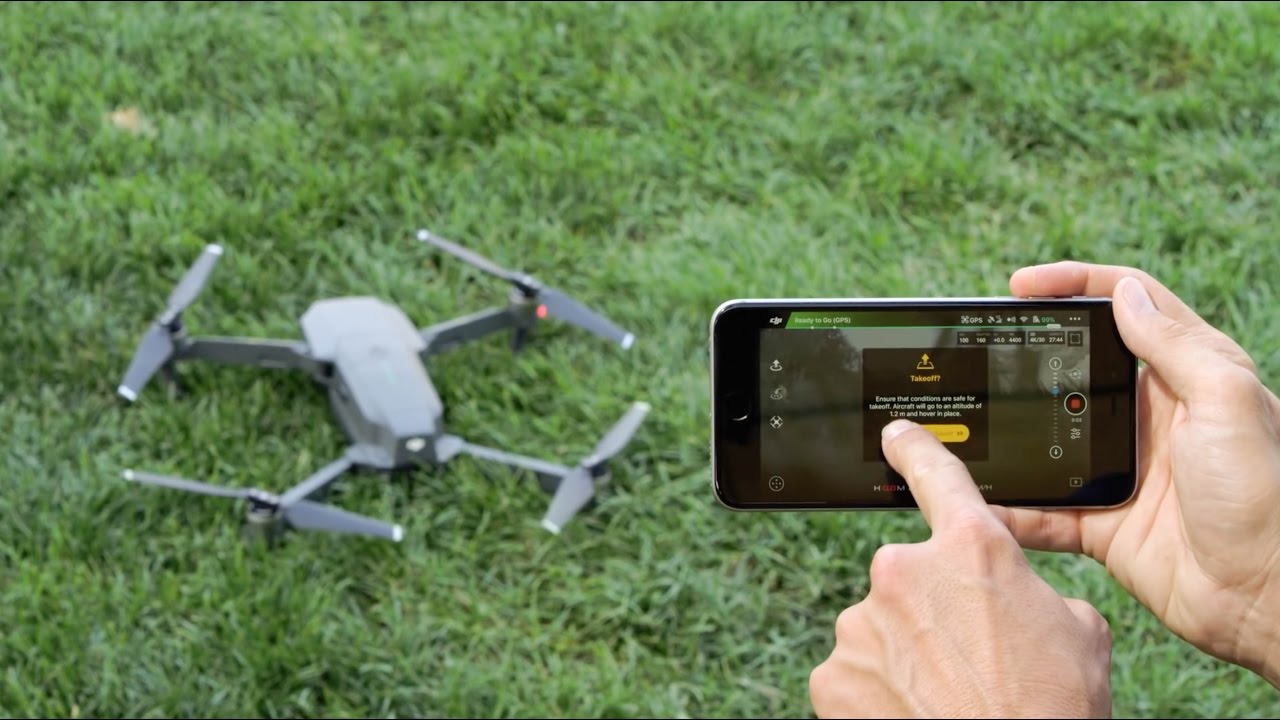
Now that your phone is connected to the drone’s Wi-Fi network, it’s time to open the dedicated app you downloaded in Step 1. Locate the app icon on your phone’s home screen or in the app drawer, and tap to open it. Once the app launches, you’ll be greeted by the app’s interface, which may display a variety of features and settings depending on the drone model and app design.
Upon opening the app, you will typically encounter a prompt to connect to your drone. This may involve tapping a “Connect” or “Start” button within the app’s interface. The app will then initiate the connection process, establishing a link between your phone and the drone’s systems. Depending on the app and drone model, you may see a live video feed from the drone’s camera on your phone’s screen, providing a real-time view from the drone’s perspective.
As the app establishes the connection, it may also perform system checks and updates, ensuring that the drone’s firmware and app software are compatible and up to date. This is a crucial step to guarantee a smooth and safe flying experience, as it ensures that any potential issues or software discrepancies are addressed before takeoff.
Once the app confirms a successful connection to the drone, you’ll have access to a range of controls and settings, including flight modes, camera settings, and telemetry data. Take a moment to explore the app’s interface and familiarize yourself with its features, as this will empower you to make the most of your drone’s capabilities and capture stunning aerial footage with ease.
Step 5: Adjust Settings and Start Flying
With the app successfully connected to your drone, you’re now ready to adjust the settings and prepare for takeoff. The app interface typically provides access to a range of settings and controls that allow you to tailor the drone’s behavior, camera settings, and flight parameters to suit your specific needs and preferences.
One of the first settings to consider is the flight mode, which determines how the drone behaves in the air. Depending on the app and drone model, you may have access to modes such as Normal, Sport, Tripod, or Cinematic, each offering distinct flight characteristics suited for different scenarios. Selecting the appropriate flight mode can enhance the stability, speed, or maneuverability of the drone, providing you with greater control over your aerial photography or videography.
Additionally, the app may offer camera settings that allow you to adjust parameters such as exposure, white balance, and resolution. These settings play a crucial role in capturing high-quality aerial imagery, enabling you to fine-tune the camera’s performance to achieve stunning results in various lighting conditions and environments.
Before taking off, it’s essential to review the drone’s telemetry data, which may include details such as GPS signal strength, battery level, and altitude. Monitoring this information ensures that you have a clear understanding of the drone’s operational status and can make informed decisions during flight to ensure a safe and enjoyable experience.
Once you’ve adjusted the settings to your satisfaction and familiarized yourself with the app’s features, it’s time to take to the skies. Depending on the app and drone model, you may have the option to initiate an automatic takeoff or manually control the drone’s ascent. Always ensure that you’re in compliance with local regulations and flying in a safe and suitable location before starting the flight.
As the drone lifts off, you’ll have the opportunity to experience the thrill of aerial exploration and capture stunning perspectives from above. Whether you’re soaring through open landscapes, capturing cinematic footage, or simply enjoying the freedom of flight, the connection between your camera drone and your phone empowers you to unlock a world of creative possibilities.
Conclusion
Connecting your camera drone to your phone opens up a realm of creativity and exploration, allowing you to capture breathtaking aerial imagery and control your drone with ease. By following the step-by-step process outlined in this guide, you’ve gained the knowledge and confidence to seamlessly connect your drone to your phone, paving the way for exhilarating flights and stunning aerial photography.
From downloading the dedicated app to adjusting settings and taking flight, each step in the process plays a vital role in ensuring a smooth and enjoyable drone flying experience. The app serves as the central hub for communication and control, providing access to a wealth of features and settings that empower you to unleash the full potential of your drone.
By establishing a Wi-Fi connection between your phone and the drone, you’ve bridged the gap between technology and creativity, opening up avenues for capturing unique perspectives and exploring the world from a new vantage point. The seamless integration of your phone with the drone’s systems empowers you to not only control the drone with precision but also to capture stunning aerial footage and imagery that was once out of reach.
As you embark on your drone flying adventures, remember to prioritize safety, comply with local regulations, and respect the privacy and airspace of others. Embrace the art of aerial photography and videography, and let your creativity soar as you capture mesmerizing scenes and share your unique perspective with the world.
With the connection between your camera drone and your phone established, the sky is no longer the limit – it’s the beginning of an exhilarating journey into the boundless possibilities of aerial exploration and visual storytelling.