Introduction
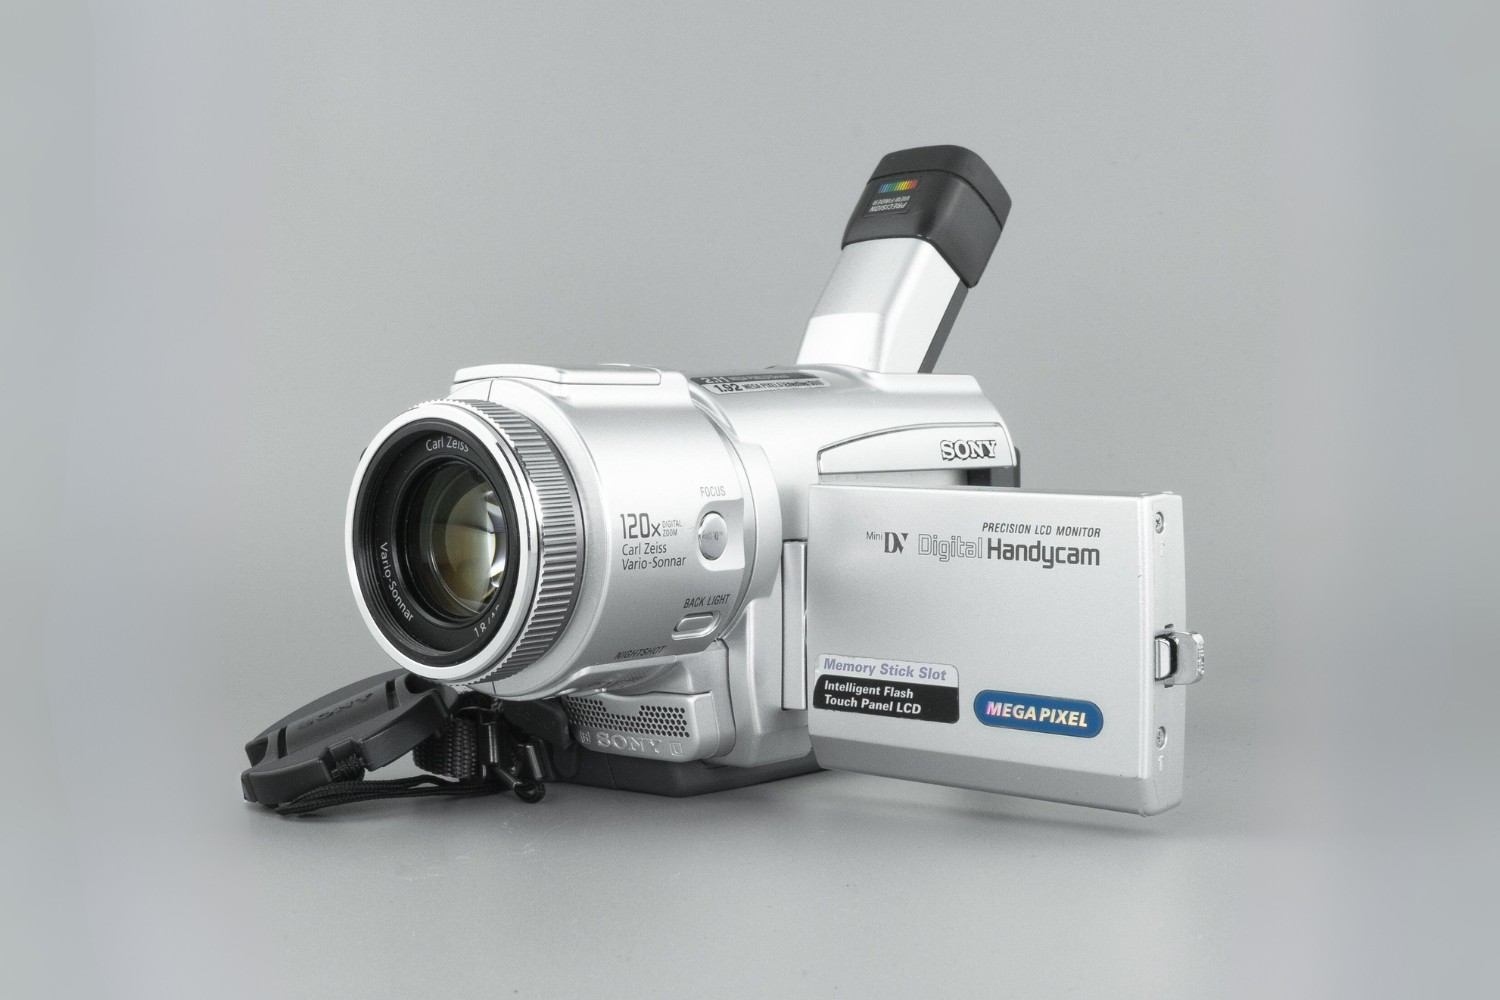
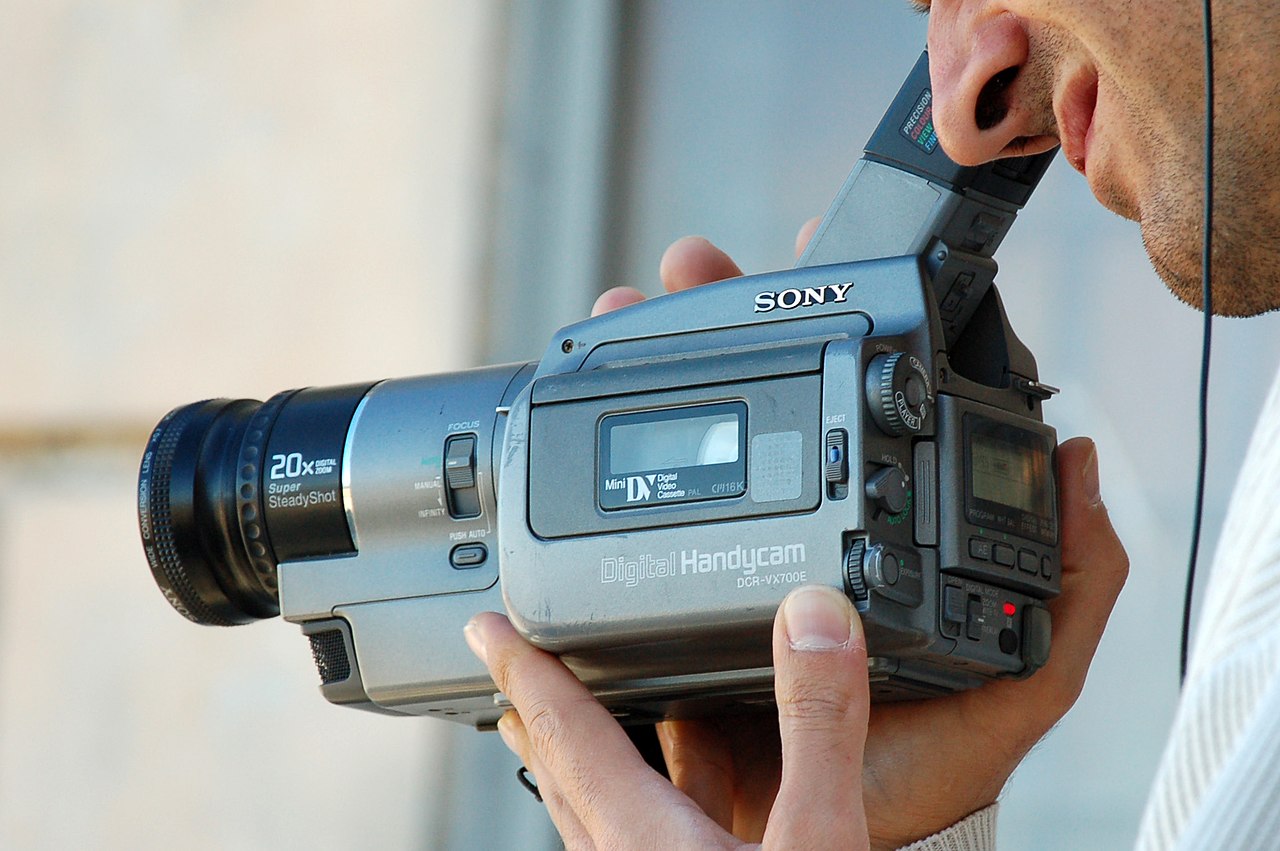
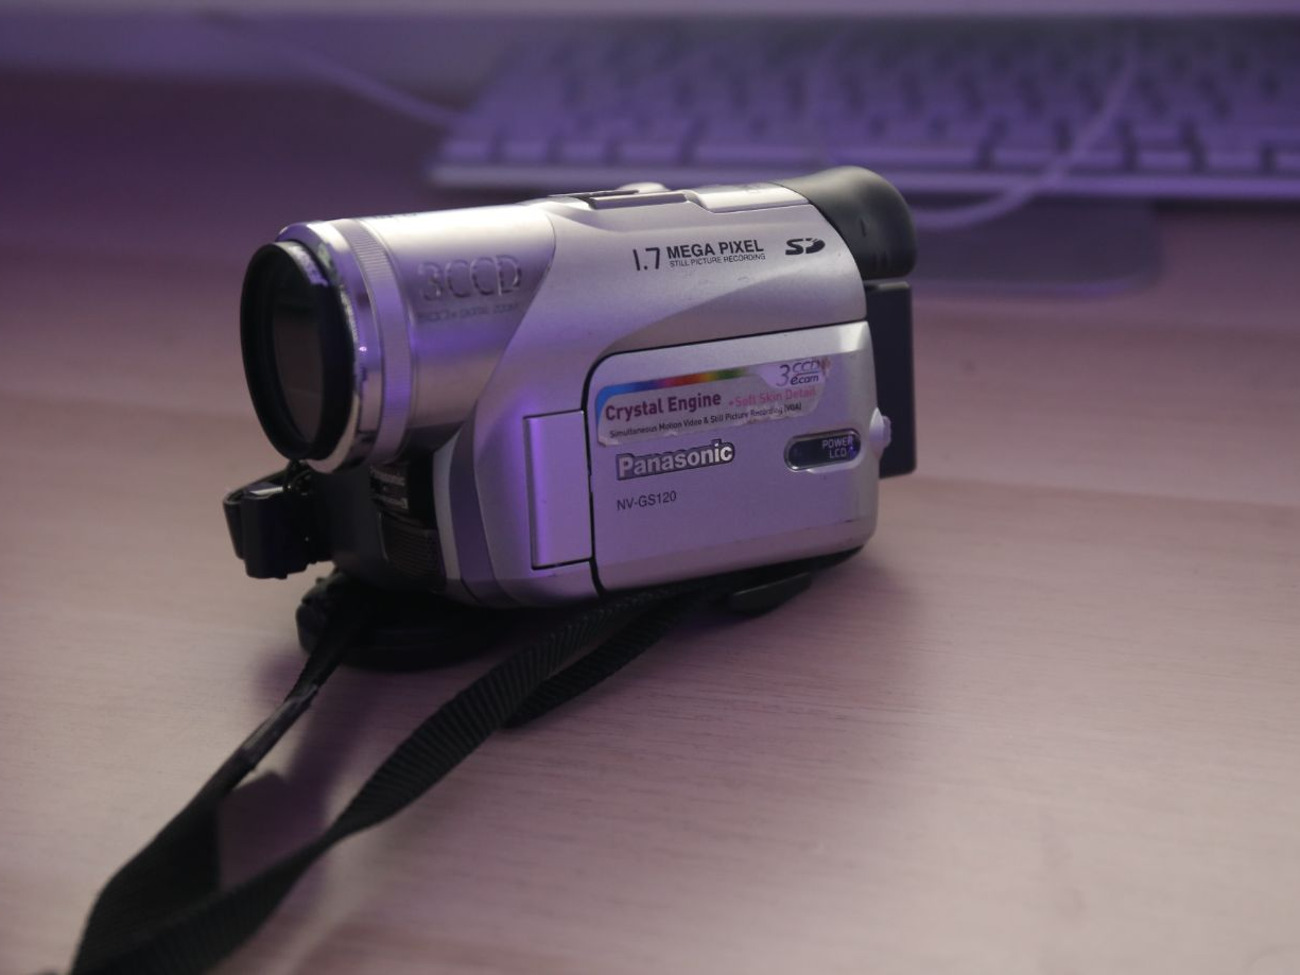
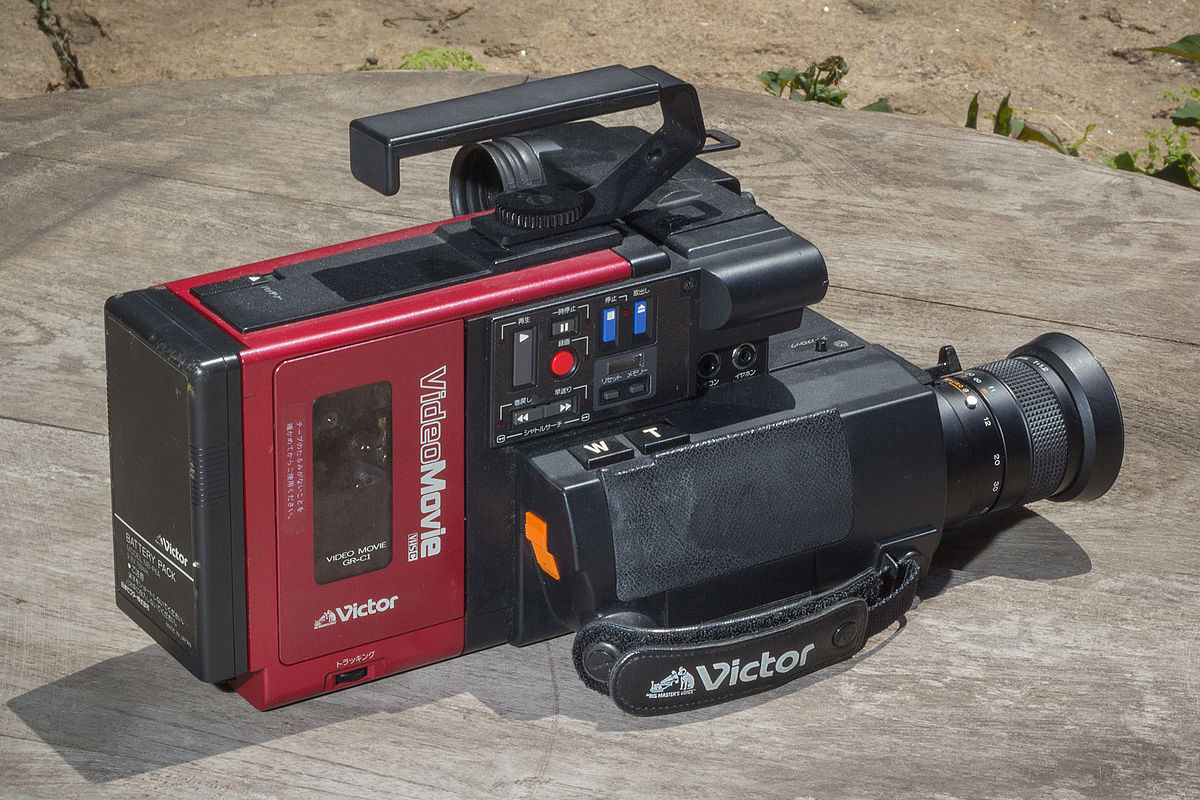
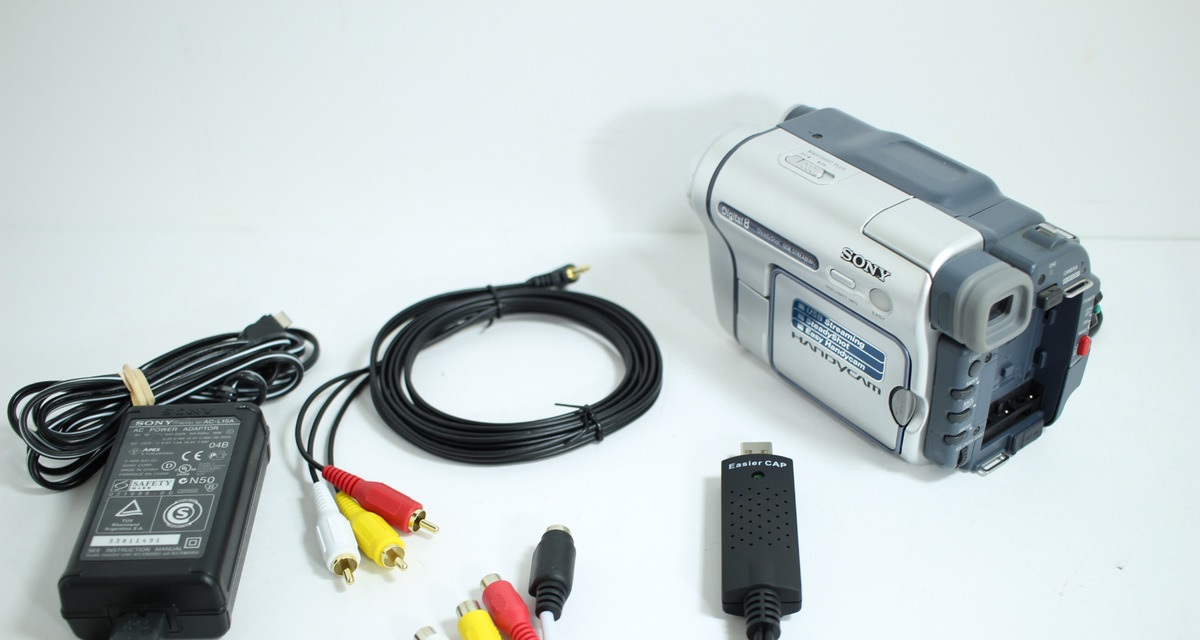
Owning a MiniDV camcorder allows you to capture life's precious moments with exceptional clarity and detail. However, over time, the camcorder's head can accumulate dust, grime, and other debris, leading to diminished recording quality. To ensure that your MiniDV camcorder continues to deliver stunning footage, it's crucial to understand how to properly clean its head.
Regular maintenance of your MiniDV camcorder head not only preserves the device's performance but also extends its lifespan. By following the correct cleaning procedures and using the appropriate tools, you can effectively remove contaminants and maintain the optimal functionality of your camcorder.
In this guide, we will delve into the essential steps for cleaning a MiniDV camcorder head, providing you with the knowledge and confidence to undertake this maintenance task. Understanding the intricacies of the camcorder head, recognizing signs of dirt buildup, and acquiring the necessary cleaning tools are all vital aspects that we will explore. Additionally, we will present a comprehensive, step-by-step cleaning process and valuable tips for preventing future contamination.
By the end of this guide, you will possess the expertise to keep your MiniDV camcorder head in pristine condition, ensuring that it continues to capture life's unforgettable moments with unparalleled clarity and precision. Let's embark on this journey to safeguard the performance of your cherished camcorder.
Understanding MiniDV Camcorder Heads
MiniDV camcorders are equipped with a sophisticated component known as the camcorder head, which plays a pivotal role in the recording process. The head is responsible for reading and writing audio and video signals onto the MiniDV tape, translating the captured moments into digital data. This intricate mechanism comprises tiny magnetic elements that interact with the tape, facilitating the transfer of information.
The camcorder head consists of two primary elements: the video head and the audio/control head. The video head reads and writes the video signal onto the tape, while the audio/control head handles the audio and control signals. These components work in unison to ensure seamless recording and playback.
Understanding the delicate nature of the camcorder head is essential for maintaining its optimal performance. The head’s precision and sensitivity make it susceptible to contamination, which can compromise recording quality. Dust, dirt, and debris can accumulate on the head, hindering its ability to accurately read and write data onto the tape. This can result in distorted images, audio dropouts, and overall degradation of the recorded footage.
Moreover, the camcorder head’s exposure to the magnetic tape makes it vulnerable to wear and tear over time. Continuous contact with the tape can lead to gradual erosion of the head, necessitating periodic cleaning and maintenance to preserve its functionality.
By comprehending the intricate workings of the MiniDV camcorder head and acknowledging its susceptibility to contamination and wear, you can appreciate the significance of regular cleaning and upkeep. In the subsequent sections, we will delve into the signs of a dirty camcorder head, the essential tools for cleaning, and a detailed step-by-step guide to ensure the longevity and performance of your MiniDV camcorder.
Signs of a Dirty MiniDV Camcorder Head
Recognizing the signs of a dirty MiniDV camcorder head is crucial for maintaining the quality of your recordings and preventing potential damage to the device. Several indicators may suggest that the camcorder head requires cleaning:
- Distorted Playback: When reviewing recorded footage, if you notice visual distortion, such as pixelation, streaks, or static lines, it may indicate that the camcorder head is contaminated. The presence of debris on the head can interfere with the accurate reading of data from the tape, resulting in compromised playback quality.
- Audio Distortions: Dirty camcorder heads can also manifest in the form of audio distortions during playback. If you detect irregularities in the audio, such as crackling sounds, dropouts, or muffled speech, it could signify that the audio/control head is affected by debris, impeding its ability to interpret and reproduce audio signals from the tape.
- Intermittent Recording Failures: A contaminated camcorder head may lead to intermittent recording failures, where the device struggles to write data onto the tape consistently. This can result in incomplete recordings, abrupt stops during the recording process, or error messages indicating recording malfunctions.
- Visual Anomalies During Recording: While using the camcorder, if you observe anomalies in the live view or electronic viewfinder, such as flickering images, color shifts, or sudden image freezing, it could be indicative of a dirty camcorder head affecting the real-time recording process.
Being vigilant about these signs enables you to promptly address any contamination issues with the camcorder head, ensuring that your recordings maintain the highest possible quality. In the subsequent sections, we will explore the essential tools and supplies required for cleaning the MiniDV camcorder head, followed by a detailed step-by-step guide to effectively remove contaminants and preserve the optimal performance of your device.
Cleaning Tools and Supplies
Properly cleaning a MiniDV camcorder head necessitates the use of specialized tools and supplies to ensure thorough and safe removal of contaminants. Here are the essential items required for effectively cleaning the camcorder head:
- Cleaning Cassette: A cleaning cassette is a specially designed tape that incorporates a cleaning mechanism to remove dust and debris from the camcorder head. It is a convenient and user-friendly tool for routine maintenance, providing a simple method to eliminate minor contamination without the need for manual intervention.
- Isopropyl Alcohol: Isopropyl alcohol, also known as rubbing alcohol, is an indispensable cleaning agent for delicate electronic components. It effectively dissolves and lifts stubborn residues without leaving behind harmful residues or moisture. When used in conjunction with cleaning swabs, it facilitates precise and targeted cleaning of the camcorder head.
- Cleaning Swabs: Lint-free cleaning swabs, typically made of soft, non-abrasive materials, are essential for applying isopropyl alcohol to the camcorder head. These swabs enable gentle and meticulous cleaning, ensuring that the delicate components of the head are not damaged during the process.
- Canned Air or Air Blower: Canned air or an air blower serves as a vital tool for dislodging loose particles and dust from the camcorder head and its surrounding areas. The controlled stream of air effectively removes lightweight contaminants without the risk of causing damage through physical contact.
- Clean Microfiber Cloth: A clean microfiber cloth is useful for wiping the exterior surfaces of the camcorder and removing any residual dust or particles that may have accumulated. It helps maintain the overall cleanliness of the device and prevents external debris from compromising the head during operation.
Equipped with these essential tools and supplies, you are prepared to embark on the comprehensive cleaning process for your MiniDV camcorder head. In the subsequent section, we will provide a detailed, step-by-step guide to effectively remove contaminants and ensure the optimal functionality and longevity of your cherished device.
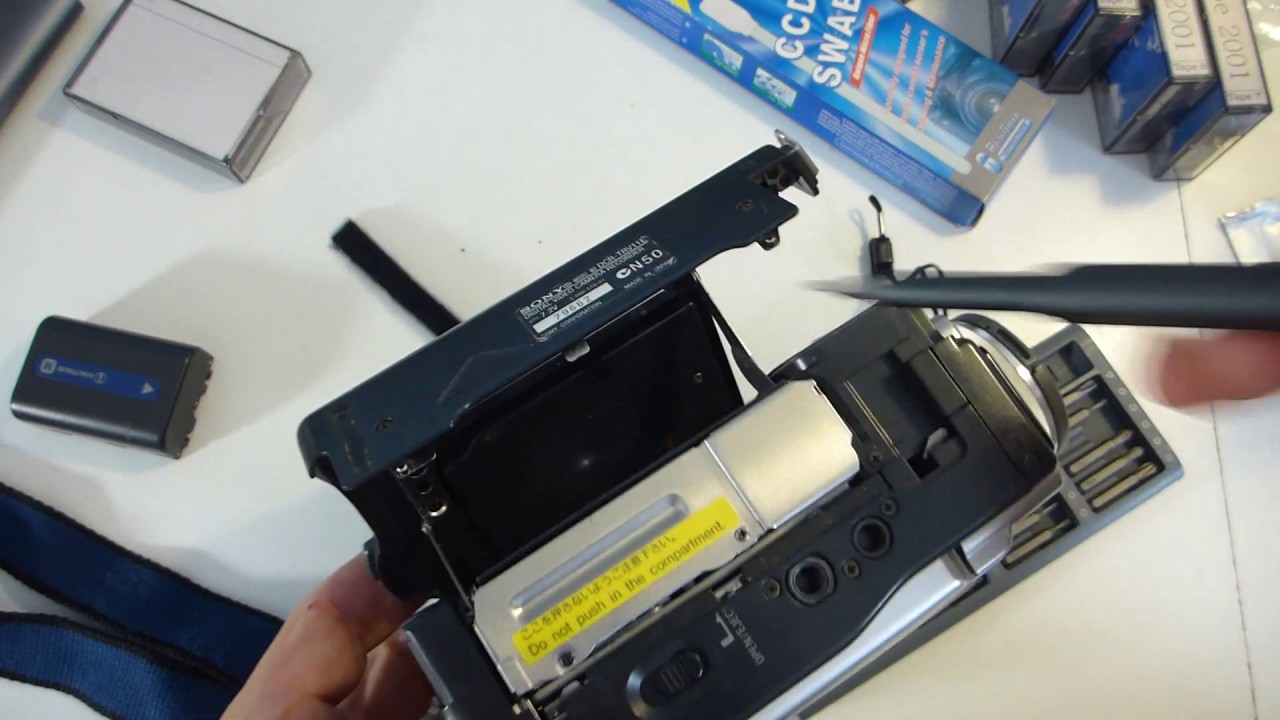
Step-by-Step Guide to Cleaning the MiniDV Camcorder Head
Follow these meticulous steps to ensure the thorough cleaning of your MiniDV camcorder head:
- Prepare the Camcorder: Power off the camcorder and remove the MiniDV tape. Ensure that the camcorder is in a clean and dust-free environment to prevent further contamination during the cleaning process.
- Insert the Cleaning Cassette: Insert the cleaning cassette into the camcorder as you would with a regular MiniDV tape. Follow the manufacturer’s instructions for the specific cleaning cassette to ensure proper usage.
- Activate the Cleaning Cycle: Start the camcorder in playback mode to activate the cleaning cycle. Allow the cleaning cassette to run for the recommended duration to effectively remove contaminants from the camcorder head.
- Remove the Cleaning Cassette: Once the cleaning cycle is complete, remove the cleaning cassette from the camcorder. Avoid reusing the cleaning cassette to prevent the transfer of loosened debris back onto the camcorder head.
- Apply Isopropyl Alcohol: Moisten a cleaning swab with isopropyl alcohol. Gently and carefully swab the camcorder head and the surrounding areas to remove any residual contaminants that may not have been eliminated by the cleaning cassette.
- Use Canned Air or Air Blower: Employ canned air or an air blower to gently dislodge any remaining particles or dust from the camcorder head and its vicinity. Ensure that the airflow is directed away from the internal components to prevent dislodged debris from resettling.
- Inspect and Reassemble: After cleaning, visually inspect the camcorder head to ensure that it is free of visible contaminants. Once satisfied, reassemble the camcorder, insert a new MiniDV tape, and power on the device to verify its functionality.
Following these meticulous steps will ensure that your MiniDV camcorder head is thoroughly cleaned, allowing it to deliver optimal performance and maintain the quality of your recordings. By adhering to this comprehensive guide, you can safeguard the longevity and functionality of your cherished camcorder.
Tips for Maintaining a Clean MiniDV Camcorder Head
Preserving the cleanliness of your MiniDV camcorder head is essential for ensuring consistent recording quality and prolonging the lifespan of your device. Implement the following tips to maintain a pristine camcorder head:
- Regular Cleaning Schedule: Establish a routine for cleaning the camcorder head to prevent the accumulation of debris. Periodic maintenance, especially after extensive use or in dusty environments, can mitigate the risk of contamination affecting the recording quality.
- Proper Storage: Store your MiniDV camcorder in a protective case or bag when not in use to shield it from dust and environmental pollutants. Additionally, store the device in a cool, dry place to minimize the risk of moisture-related issues that can exacerbate contamination.
- Minimize Tape Reinsertions: Limit the frequency of inserting and ejecting MiniDV tapes to reduce the exposure of the camcorder head to external particles. Minimizing unnecessary tape changes can mitigate the risk of contamination and prolong the cleanliness of the head.
- Handle Tapes with Care: When handling MiniDV tapes, avoid touching the exposed tape or allowing it to come into contact with surfaces that may transfer debris. Keeping the tapes clean and free of contaminants can prevent the transfer of particles to the camcorder head during operation.
- Environmental Considerations: Be mindful of the recording environment and avoid exposing the camcorder to excessive dust, smoke, or humidity. Conducting recordings in clean, well-ventilated spaces can minimize the risk of contamination and contribute to a cleaner camcorder head.
- Professional Maintenance: Consider seeking professional servicing for your MiniDV camcorder, especially if you encounter persistent recording issues or suspect significant contamination. Professional technicians can conduct thorough cleaning and maintenance to address complex contamination and ensure optimal performance.
By incorporating these proactive measures into your camcorder care routine, you can effectively preserve the cleanliness of the MiniDV camcorder head and uphold the device’s recording capabilities. Prioritizing maintenance and cleanliness will not only enhance the quality of your recordings but also contribute to the longevity and reliability of your cherished camcorder.
Conclusion
Mastering the art of cleaning and maintaining a MiniDV camcorder head is an indispensable skill for any enthusiast or professional seeking to preserve the device’s performance and recording quality. By understanding the intricacies of the camcorder head, recognizing signs of contamination, and employing the appropriate cleaning tools and supplies, you can ensure that your cherished camcorder continues to capture life’s unforgettable moments with unparalleled clarity and precision.
Regular maintenance and meticulous cleaning not only safeguard the camcorder head’s functionality but also contribute to the longevity of the device, allowing you to enjoy seamless recording experiences for years to come. Implementing a regular cleaning schedule, handling tapes with care, and being mindful of the recording environment are essential practices that can significantly reduce the risk of contamination and maintain a clean camcorder head.
Equipped with the comprehensive step-by-step guide to cleaning the MiniDV camcorder head and valuable tips for maintenance, you possess the expertise to uphold the optimal performance of your device. By integrating these practices into your camcorder care routine, you can safeguard the cleanliness of the camcorder head and uphold the device’s recording capabilities, ensuring that it continues to deliver exceptional footage with unwavering precision.
Embrace the responsibility of caring for your MiniDV camcorder, and let the knowledge and insights gained from this guide empower you to preserve the pristine condition of the camcorder head, allowing it to capture life’s precious moments with enduring clarity and brilliance.