Introduction
Welcome to the digital age, where memories are no longer confined to the limitations of analog formats. If you have a collection of cherished moments captured on camcorder tapes, you might be wondering how to preserve and modernize them. Converting your camcorder tapes to DVD is a fantastic way to ensure that your precious memories are easily accessible and preserved for years to come. Whether it’s your child’s first steps, a family vacation, or a milestone celebration, these moments deserve to be safeguarded and easily enjoyed.
While camcorder tapes have served us well in the past, they are susceptible to wear and tear, degradation, and obsolescence. By transferring the footage to DVD, you not only protect it from deterioration but also make it compatible with modern playback devices. This guide will walk you through the process of converting your camcorder tapes to DVD, allowing you to relive those special moments with ease.
Step 1: Gather Your Materials
Before embarking on the journey of converting your camcorder tapes to DVD, it’s essential to gather the necessary materials. Here’s what you’ll need:
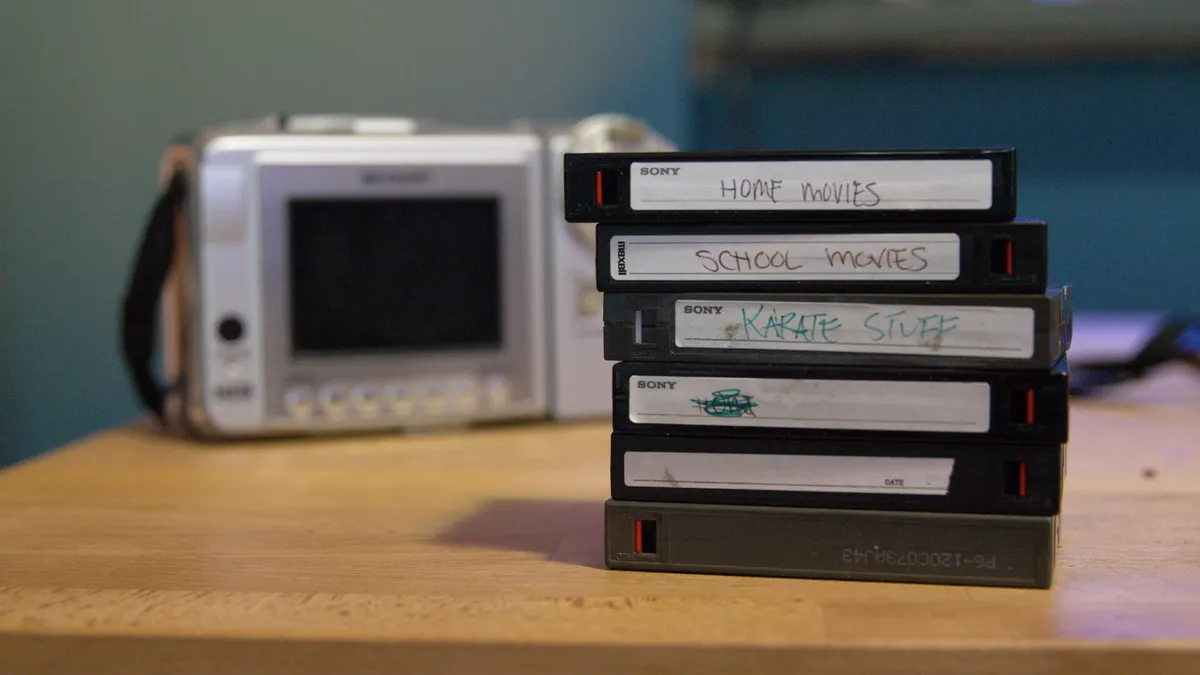
- Camcorder Tapes: Locate the camcorder tapes containing the footage you wish to transfer. Ensure they are in good condition and free from any physical damage or mold.
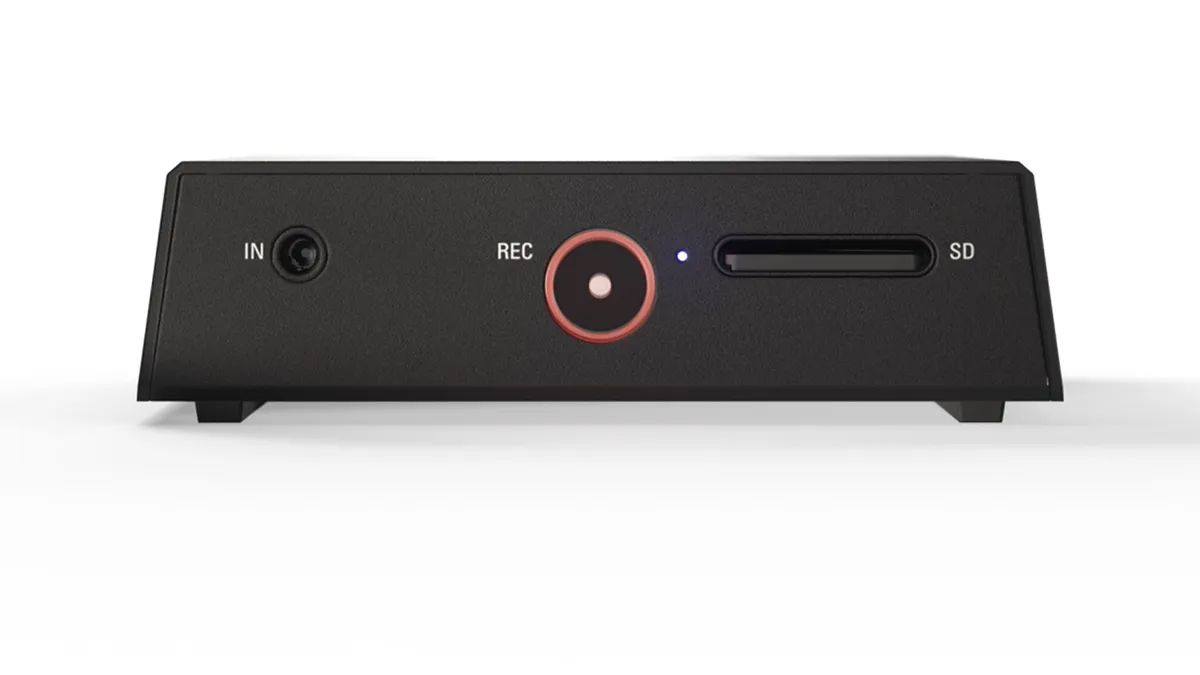
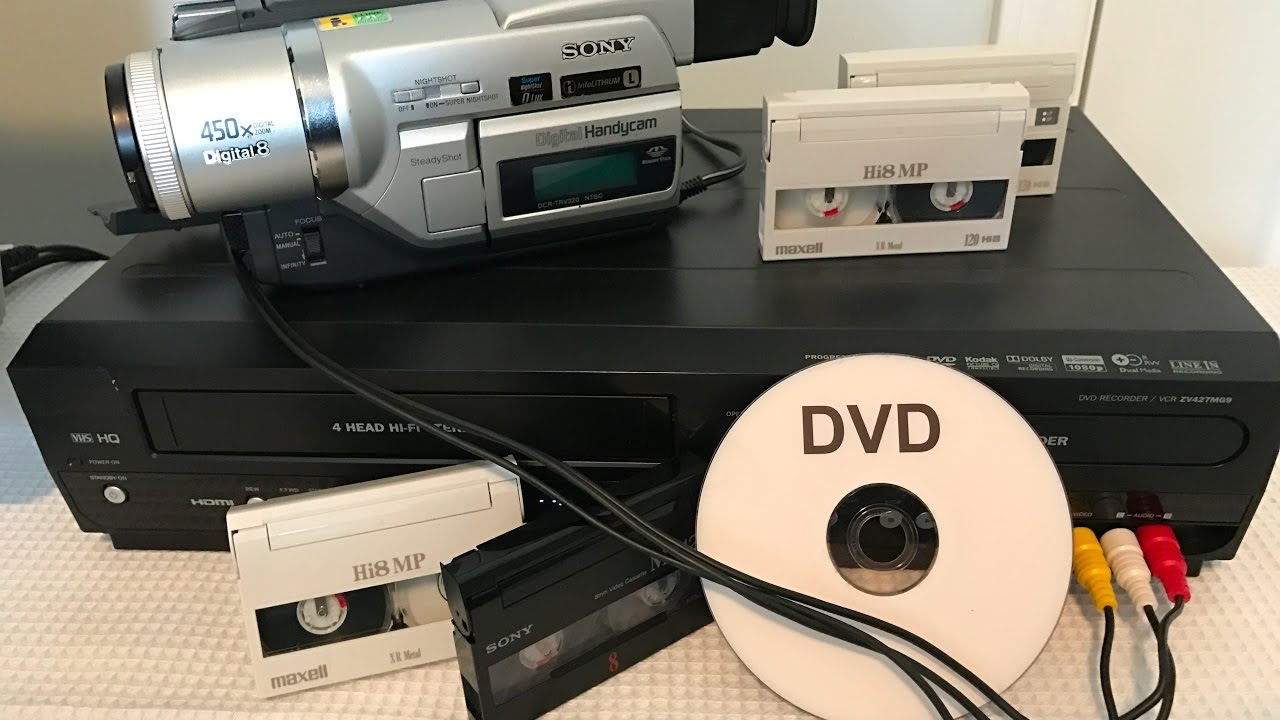
- DVD Recorder: Acquire a DVD recorder with the capability to record from external sources such as a camcorder. You may opt for a standalone DVD recorder or a computer with a DVD recorder drive, depending on your preference and equipment availability.
- Blank DVDs: Purchase high-quality blank DVDs suitable for recording. It’s advisable to choose reputable brands to ensure compatibility and longevity of the recorded content.
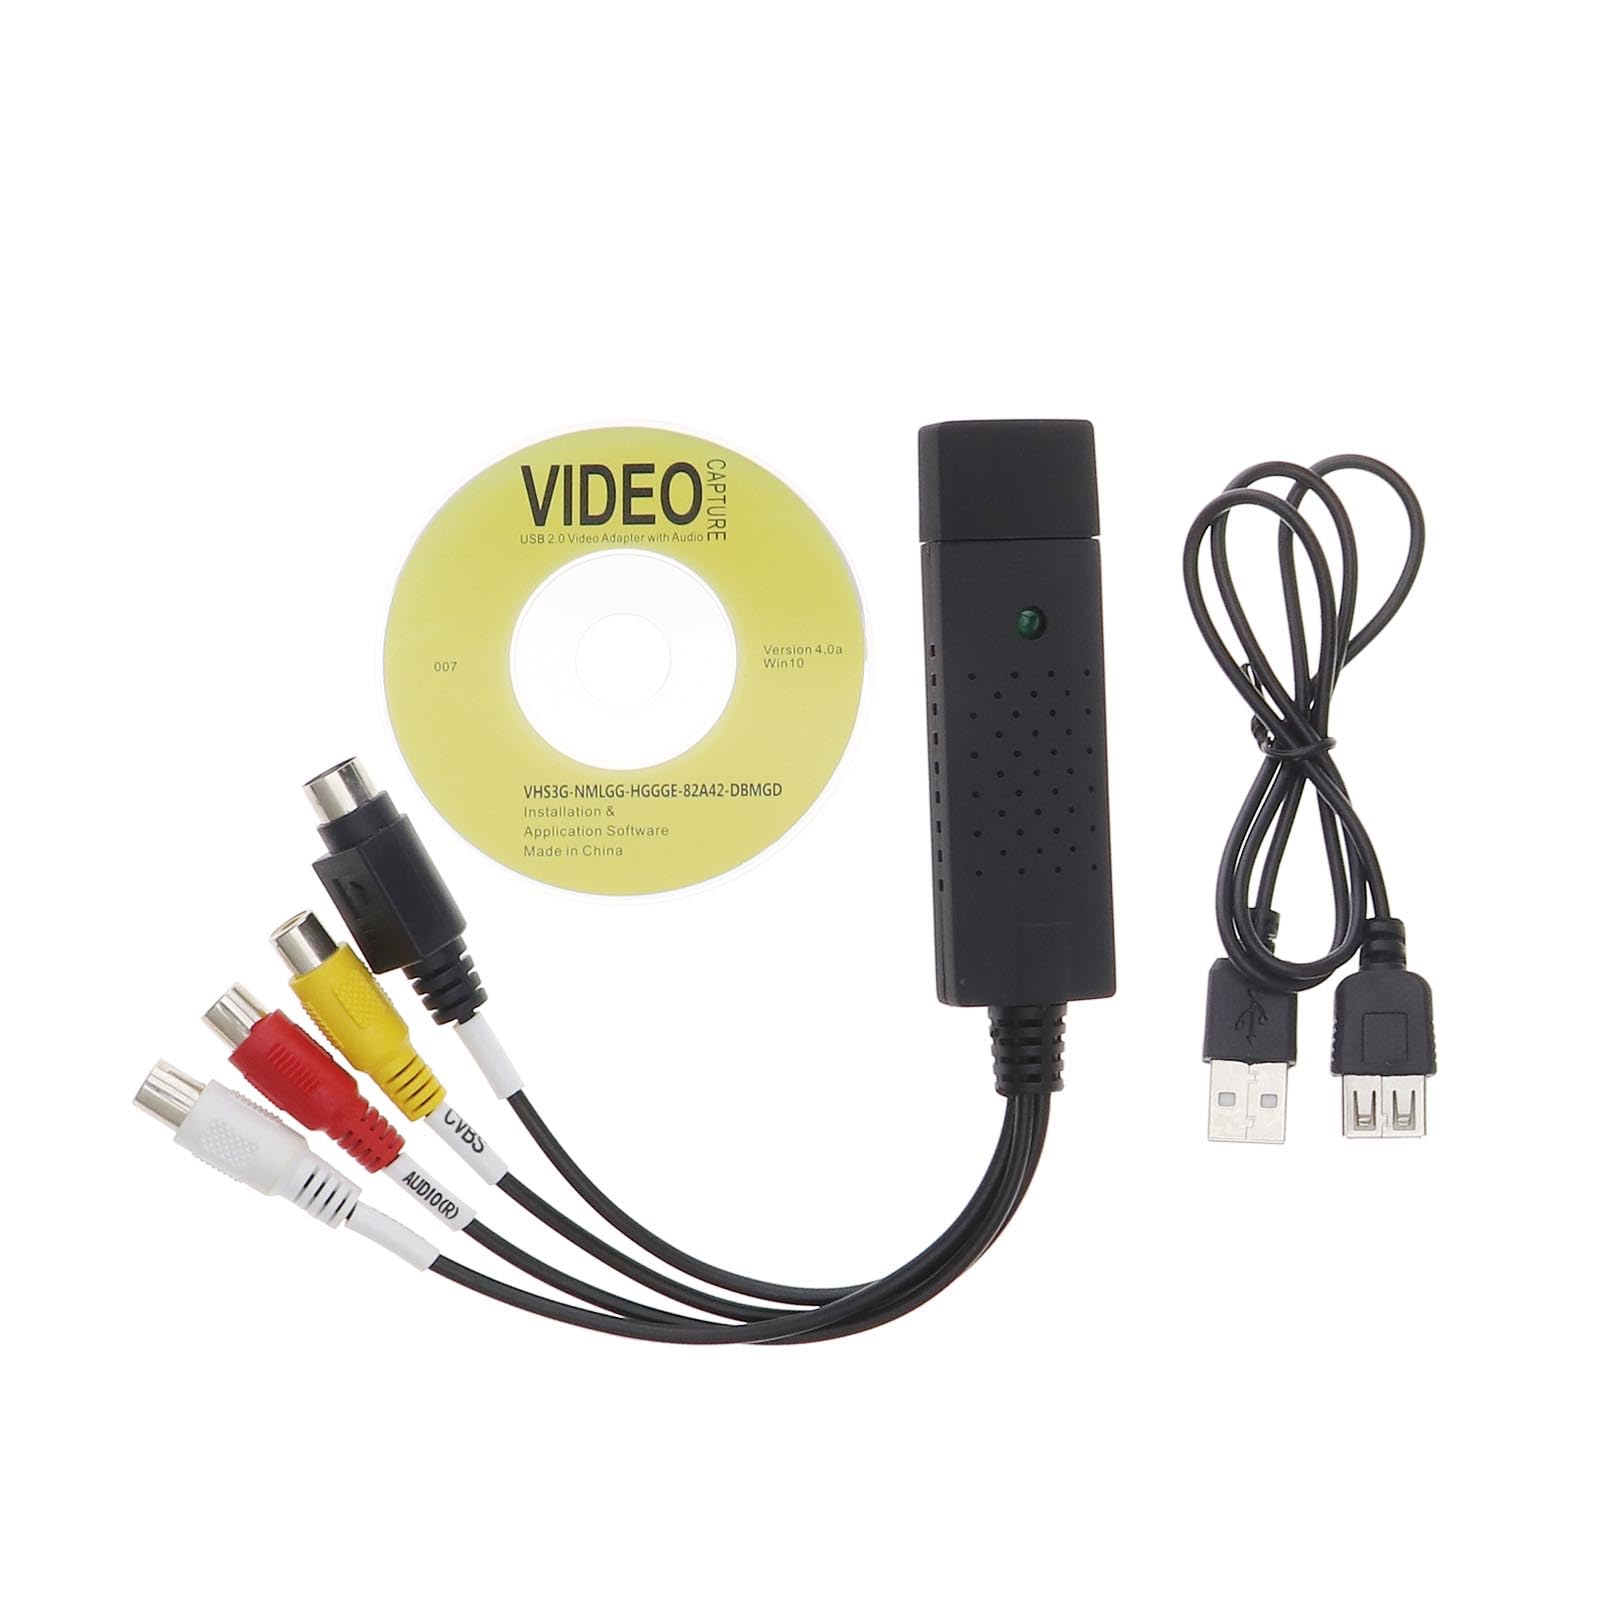
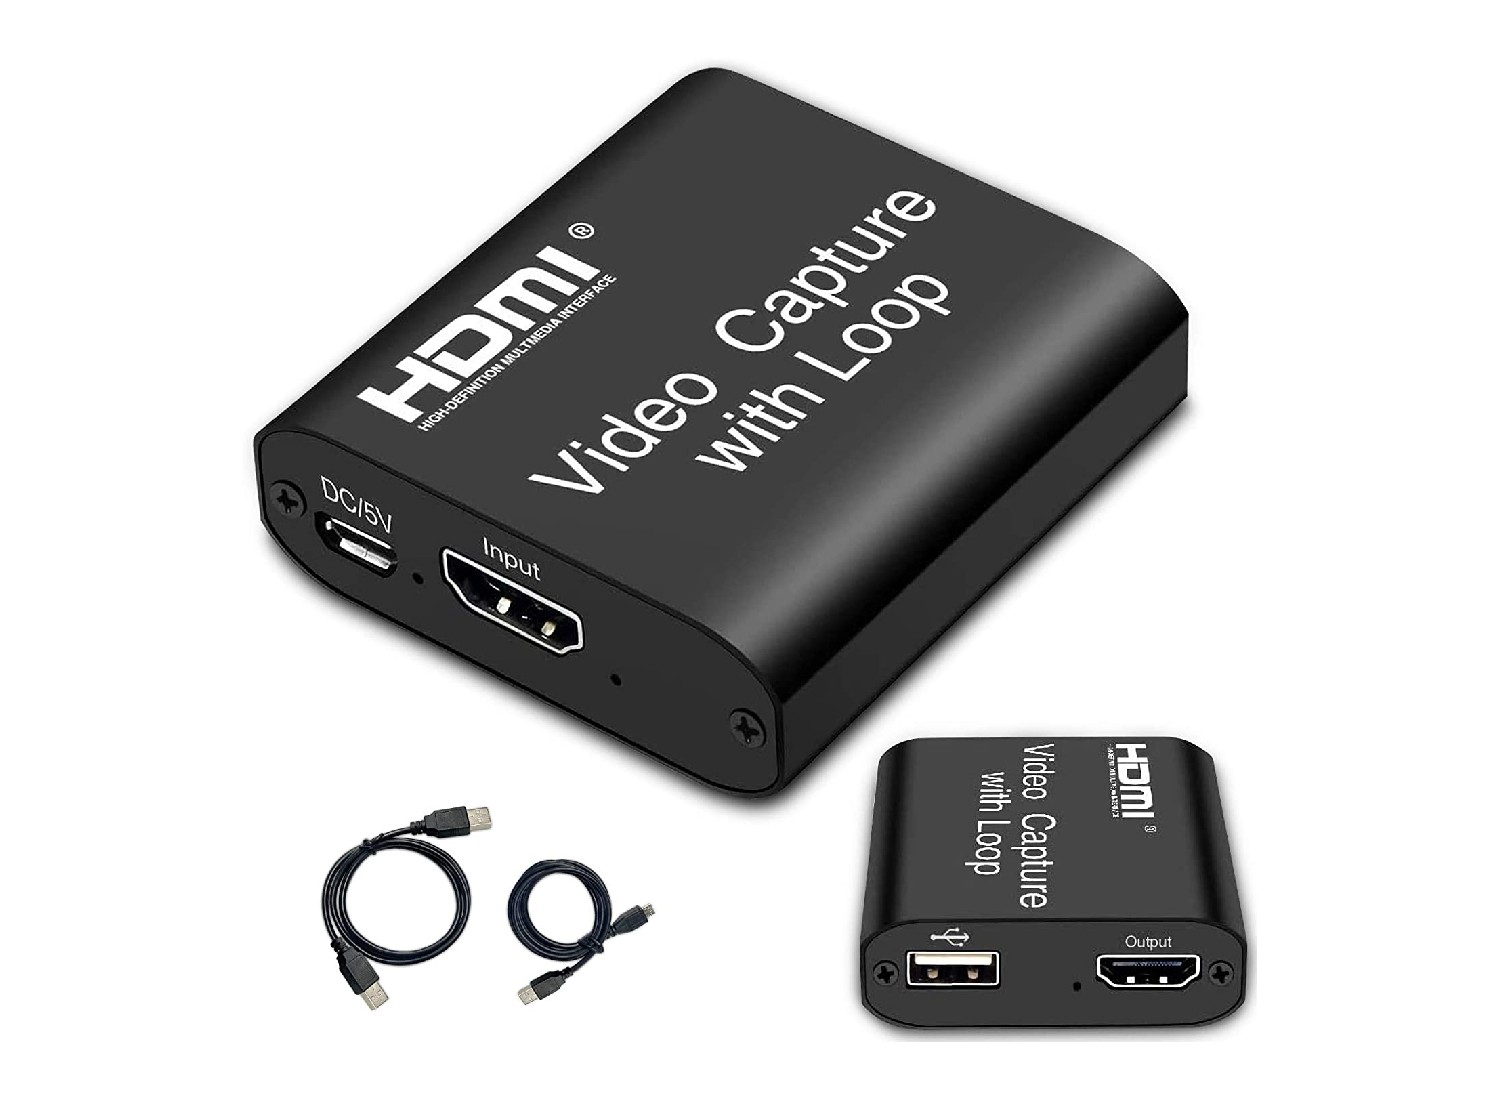
- Audio-Video Cables: Depending on the connectivity options of your camcorder and DVD recorder, you might need appropriate audio-video cables such as RCA or HDMI cables to establish a connection between the two devices.
- Clean Cloth: Have a soft, lint-free cloth on hand to gently clean the camcorder tapes and ensure they are free from dust or debris that could affect playback or recording.
- Marker: Keep a marker handy for labeling the recorded DVDs with relevant details such as dates, events, or titles for easy identification.
- Stable Surface: Set up your equipment on a stable surface to prevent any accidental movement or disruptions during the recording process.
By ensuring that you have all the necessary materials at your disposal, you can proceed with confidence to the next step of connecting your camcorder to the DVD recorder and initiating the transfer process.
Step 2: Connect Your Camcorder to a DVD Recorder
Once you have assembled all the required materials, the next step is to establish a connection between your camcorder and the DVD recorder. Follow these steps to ensure a seamless connection:
- Identify the Output Ports: Examine your camcorder to identify its output ports. Common output options include composite, S-video, or HDMI ports. Similarly, locate the input ports on your DVD recorder, ensuring compatibility with the camcorder’s output.
- Choose the Correct Cable: Select the appropriate audio-video cable based on the available output and input ports. For instance, if your camcorder and DVD recorder both support HDMI, opt for an HDMI cable to achieve high-quality digital transmission. Alternatively, use RCA or S-video cables if HDMI connectivity is unavailable.
- Connect the Devices: With the chosen cable, connect the output port of your camcorder to the input port of the DVD recorder. Ensure a secure and snug connection to prevent signal interference or disconnection during the transfer process.
- Power On and Test: Power on both the camcorder and the DVD recorder. Set the DVD recorder to the appropriate input source, corresponding to the port used for the connection. Play a short segment of the camcorder tape to verify that the video and audio signals are successfully transmitting to the DVD recorder.
- Adjust Settings: Depending on the recording options available on your DVD recorder, configure the desired recording quality, aspect ratio, and other relevant settings. Refer to the user manual of the DVD recorder for detailed instructions on adjusting recording parameters.
- Prepare for Recording: Fast forward or rewind the camcorder tape to the starting point of the footage you wish to transfer. Ensure that the tape is clean and free from any defects that could impede the recording process.
By carefully connecting your camcorder to the DVD recorder and verifying the signal transmission, you are ready to proceed to the next crucial step: transferring the footage to DVD.
Step 3: Transfer the Footage to DVD
With the connection between your camcorder and DVD recorder established, it’s time to initiate the transfer of the cherished footage to a more durable and accessible format. Follow these steps to ensure a successful transfer:
- Initiate Recording: On the DVD recorder, begin the recording process as the camcorder plays the desired footage. Ensure that the recording commences at the appropriate point to capture the entirety of the desired content.
- Monitor the Recording: Keep a close eye on the recording process during the initial few minutes to verify that the video and audio signals are being captured accurately. Address any issues such as signal loss, distortion, or audio discrepancies promptly to prevent the recording of faulty footage.
- Ensure Stability: Minimize movement and vibrations near the camcorder and DVD recorder to maintain a stable recording environment. Any sudden movements or disruptions could impact the quality of the recorded footage.
- Monitor Recording Time: Keep track of the recording duration to ensure that the content fits within the available space on the blank DVD. Avoid overextending the recording beyond the DVD’s capacity, which could result in incomplete or corrupted recordings.
- Pause and Resume as Needed: If the footage spans multiple segments or requires intermittent pauses, utilize the pause and resume functions on the DVD recorder to create distinct chapters or segments on the recorded DVD. This facilitates easy navigation and playback of the content.
- Label the DVD: Once the recording is complete, label the DVD with relevant details such as dates, events, or titles. This simple yet crucial step ensures that the content is easily identifiable and organized for future access.
By following these steps, you can successfully transfer the footage from your camcorder to a durable, modern format on a recordable DVD. The next step involves finalizing the DVD to ensure compatibility and proper playback on a wide range of devices.
Step 4: Finalize the DVD
After transferring the footage from your camcorder to a blank DVD, the final step involves finalizing the DVD to ensure its compatibility with various playback devices and long-term preservation. Follow these essential steps to complete the process:
- Finalize the Recording: Most DVD recorders offer an option to finalize the recorded DVD. Finalization is a crucial step that prepares the disc for playback on other devices, such as DVD players and computers. Refer to the user manual of your DVD recorder for specific instructions on finalizing the recorded disc.
- Test Playback: After finalizing the DVD, test its playback on different devices to ensure that the recorded content is accessible and plays smoothly. Verify that the audio and video quality meet your expectations and that the navigation functions, such as chapter selection, operate as intended.
- Store the DVD Properly: Once the DVD has been finalized and tested, store it in a protective case or sleeve to shield it from dust, scratches, and environmental damage. Store the DVDs in a cool, dry place away from direct sunlight to prolong their lifespan.
- Create Backup Copies: Consider creating duplicate copies of the recorded DVDs as a precaution against loss or damage. Backup copies provide added security for your precious memories and ensure that you have alternative discs in case the original becomes unusable.
- Organize and Catalog: Establish an organized catalog or index of the recorded DVDs, documenting the content and dates for easy reference. This cataloging system simplifies the process of locating specific footage when you want to revisit or share your treasured memories.
By following these steps to finalize the DVD and safeguard the recorded content, you can ensure that your cherished memories are preserved in a reliable and accessible format. Whether it’s reliving family milestones, revisiting special occasions, or sharing moments with loved ones, the converted DVDs serve as timeless keepsakes for generations to come.
Conclusion
Congratulations on successfully converting your camcorder tapes to DVD! By following the step-by-step process outlined in this guide, you have transformed your cherished memories into a modern, durable format that is readily accessible for future enjoyment. The journey from camcorder tapes to DVDs not only preserves your precious moments but also ensures their compatibility with a wide range of playback devices, allowing you to relive and share these memories with ease.
As technology continues to advance, the importance of preserving analog media in digital formats becomes increasingly evident. Converting camcorder tapes to DVD not only safeguards the content from degradation and obsolescence but also opens up new possibilities for organizing, sharing, and revisiting your personal archives.
Whether it’s the joy of watching childhood milestones, the nostalgia of reliving family vacations, or the warmth of sharing these moments with future generations, the impact of preserving these memories cannot be overstated. Each transferred DVD becomes a time capsule of irreplaceable moments, serving as a testament to the enduring value of capturing life’s fleeting but precious instances.
As you embark on this journey of preservation and modernization, remember that the process does not end with the conversion. Regularly revisit and organize your digital archives, create backup copies, and ensure proper storage to safeguard these memories for years to come. Additionally, consider sharing these moments with loved ones, creating a legacy that transcends generations and strengthens familial bonds.
By converting your camcorder tapes to DVD, you have embraced the timeless art of storytelling through visual narratives, ensuring that the chapters of your life remain vivid and accessible. As you watch these recorded DVDs, may they serve as windows to the past, illuminating the richness of your personal history and the enduring power of cherished memories.