Introduction
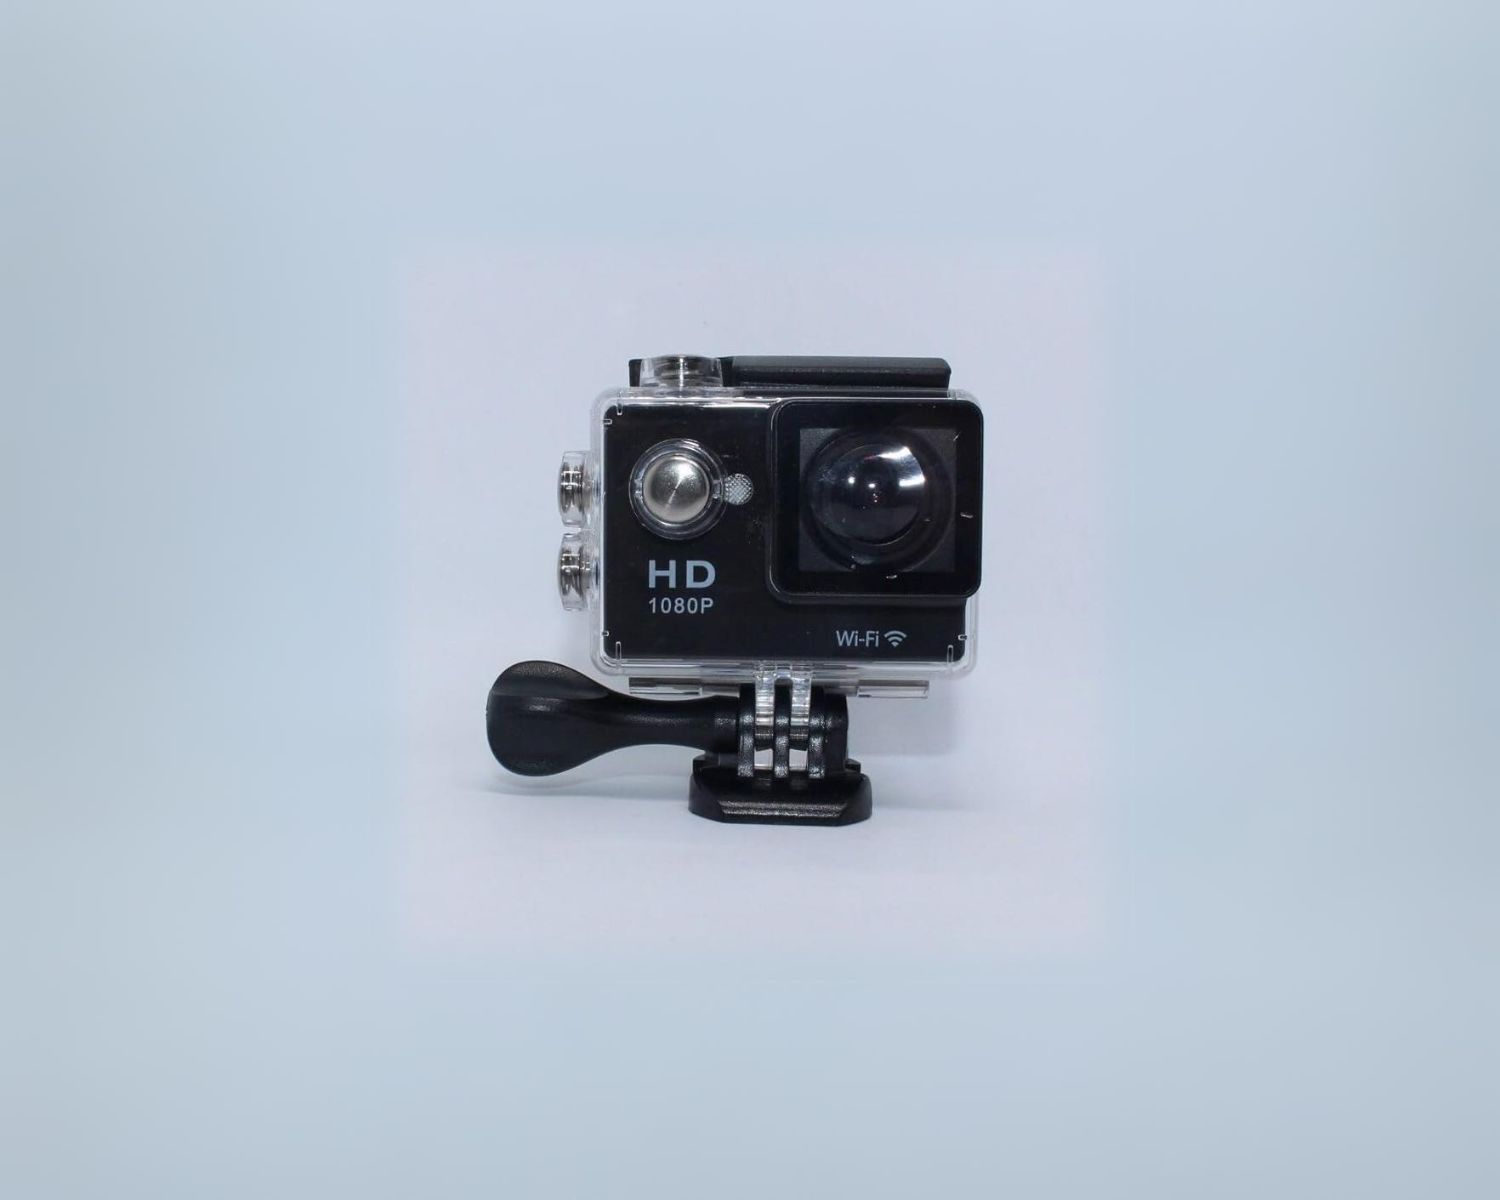
Discover the Convenience of Wi-Fi Connectivity with the Action Camera W9
Welcome to the world of seamless connectivity with the Action Camera W9! This innovative device is equipped with Wi-Fi functionality, allowing you to effortlessly transfer and share your captured moments with the touch of a button. Whether you're an adventure enthusiast, a vlogging aficionado, or simply a photography enthusiast, the Action Camera W9's Wi-Fi feature opens up a world of possibilities for sharing your experiences in real time.
The Wi-Fi capability of the Action Camera W9 empowers you to connect to your smartphone, tablet, or other compatible devices, enabling instant photo and video sharing, remote control functionality, and convenient file transfers. Say goodbye to cumbersome cable connections and hello to the freedom of wireless connectivity.
In this comprehensive guide, we will walk you through the simple and straightforward process of connecting your Action Camera W9 to a Wi-Fi network. By following the step-by-step instructions provided in this tutorial, you'll be able to harness the full potential of the camera's Wi-Fi feature, enhancing your overall user experience and streamlining the sharing of your captivating content.
Whether you're a novice user or a tech-savvy individual, this guide is designed to demystify the process of setting up and utilizing the Wi-Fi functionality of the Action Camera W9. Get ready to unlock a new level of convenience and connectivity as we delve into the seamless integration of Wi-Fi with this cutting-edge action camera.
So, without further ado, let's embark on this Wi-Fi connectivity journey and unleash the full potential of your Action Camera W9!
Step 1: Powering on the Action Camera W9
Getting Started: Powering Up Your Action Camera W9
Before diving into the Wi-Fi connectivity process, it’s essential to ensure that your Action Camera W9 is powered on and ready for setup. Follow these simple steps to initiate the device and prepare it for the Wi-Fi configuration:
1.1. Charging the Camera:
Begin by connecting the provided USB cable to the Action Camera W9 and the charging adapter or a USB port on your computer. Allow the camera to charge until the battery indicator shows that it is fully charged. This ensures that the device has sufficient power to complete the Wi-Fi setup process without any interruptions.
1.2. Powering On the Camera:
Once the camera is fully charged, press and hold the power button for a few seconds until the indicator lights illuminate, signaling that the device is powering on. Take a moment to familiarize yourself with the camera’s interface and settings, ensuring that you have a clear understanding of the location of the power button and the associated indicators.
1.3. Initial Setup:
Upon powering on the Action Camera W9, you may be prompted to complete the initial setup, including language selection, date and time configuration, and other basic settings. Follow the on-screen instructions to configure these settings as per your preferences. This foundational setup paves the way for a smooth transition into the Wi-Fi connectivity setup.
By following these initial steps, you’ll have your Action Camera W9 powered on and ready to embark on the next phase of the Wi-Fi setup process. With the device primed and prepared, you’re now poised to delve into the seamless integration of Wi-Fi connectivity, opening up a world of possibilities for sharing and controlling your camera wirelessly.
Step 2: Accessing the Wi-Fi Settings
Unlocking Wi-Fi Functionality on Your Action Camera W9
Before you can connect your Action Camera W9 to a Wi-Fi network, it’s essential to navigate to the Wi-Fi settings within the device’s interface. This pivotal step sets the stage for establishing a seamless connection to your preferred Wi-Fi network. Here’s how to access the Wi-Fi settings on your Action Camera W9:
2.1. Navigating the Menu:
Begin by accessing the camera’s menu interface, typically by pressing the designated menu button or icon on the device. Once in the menu, navigate to the settings or setup section, where you’ll find the Wi-Fi settings option. The menu layout may vary slightly based on the camera’s firmware, but the Wi-Fi settings are generally located within the connectivity or network settings menu.
2.2. Selecting Wi-Fi Settings:
Upon locating the Wi-Fi settings within the menu, select this option to initiate the Wi-Fi setup process. Depending on the camera model, you may encounter a submenu with additional Wi-Fi configuration options, such as Wi-Fi on/off, Wi-Fi network selection, or Wi-Fi setup wizard. Choose the relevant option to proceed with configuring the Wi-Fi connectivity.
2.3. Activating Wi-Fi:
Once you’ve accessed the Wi-Fi settings, activate the Wi-Fi functionality by toggling the Wi-Fi on/off switch to the “on” position. This action enables the camera’s Wi-Fi feature, allowing it to detect and connect to available Wi-Fi networks within range. Take a moment to familiarize yourself with the on-screen instructions and prompts related to the Wi-Fi activation process.
2.4. Network Selection:
After activating the Wi-Fi, the camera will typically display a list of available Wi-Fi networks in the vicinity. Select your preferred network from the list, and if prompted, enter the network’s password or security key using the camera’s interface. Ensure that the entered credentials are accurate to facilitate a successful connection to the Wi-Fi network.
By following these steps, you’ll successfully access the Wi-Fi settings on your Action Camera W9, paving the way for seamless connectivity to a Wi-Fi network. With the Wi-Fi feature activated and the network selected, you’re now ready to proceed to the next phase of the setup, where you’ll establish a secure and reliable connection to the chosen Wi-Fi network.
Step 3: Connecting to a Wi-Fi Network
Establishing a Secure Connection with Your Preferred Wi-Fi Network
With the Wi-Fi feature activated on your Action Camera W9, it’s time to initiate the process of connecting to your desired Wi-Fi network. This pivotal step enables seamless communication between the camera and the network, facilitating effortless data transfer, remote control functionality, and real-time sharing. Here’s how to connect your Action Camera W9 to a Wi-Fi network:
3.1. Network Detection:
Upon activating the Wi-Fi feature, the camera will scan for available Wi-Fi networks within range. The detected networks will be displayed on the camera’s interface, typically in the form of a list showcasing the network names (SSIDs) and signal strength indicators. Identify and select your preferred Wi-Fi network from the list to proceed with the connection process.
3.2. Entering Network Credentials:
If the selected Wi-Fi network is secured with a password or security key, the camera will prompt you to enter the necessary credentials to authenticate the connection. Using the camera’s interface, carefully input the network’s password, ensuring accuracy and attention to case-sensitive characters. Take note of any on-screen instructions or indicators guiding you through the credential entry process.
3.3. Establishing the Connection:
Once the correct network credentials have been entered, initiate the connection process by confirming the input and prompting the camera to establish a connection to the selected Wi-Fi network. Depending on the network’s configuration, the camera may display a connection status indicator, signaling the progress of the connection establishment. Exercise patience as the camera finalizes the connection process.
3.4. Verifying the Connection:
Upon successful connection to the Wi-Fi network, the camera will typically display a confirmation message or indicator, affirming the establishment of the connection. Take a moment to ensure that the camera’s interface reflects the active Wi-Fi connection status, indicating that the device is now linked to the selected network. This verification step solidifies the successful integration of your Action Camera W9 with the Wi-Fi network.
By following these steps, you’ll seamlessly connect your Action Camera W9 to a Wi-Fi network, unlocking a myriad of wireless capabilities and enhancing the overall functionality of the device. With the connection established, you’re now poised to delve into the configuration of Wi-Fi settings and the utilization of wireless features to elevate your photography and videography experience.
Step 4: Configuring Wi-Fi Settings
Customizing Wi-Fi Functionality for Enhanced Connectivity
Now that your Action Camera W9 is successfully connected to a Wi-Fi network, it’s time to explore the configuration options that further optimize the Wi-Fi functionality to suit your preferences and usage requirements. By delving into the Wi-Fi settings, you can fine-tune various parameters, enabling seamless data transfers, remote control capabilities, and streamlined connectivity. Here’s how to configure the Wi-Fi settings on your Action Camera W9:
4.1. Accessing Advanced Wi-Fi Options:
Within the camera’s menu interface, navigate to the advanced Wi-Fi settings or configuration options. These settings often encompass a range of features, including Wi-Fi direct mode, network preferences, security settings, and device pairing options. Accessing these advanced options empowers you to customize the Wi-Fi functionality to align with your specific usage scenarios.
4.2. Exploring Remote Control Capabilities:
If your Action Camera W9 supports remote control functionality via Wi-Fi, delve into the remote control settings to initiate and configure this feature. Depending on the camera model, you may have the ability to pair the camera with a dedicated mobile app or a remote control device, allowing for intuitive and convenient control of the camera’s settings and capture functions from a distance.
4.3. Fine-Tuning Data Transfer Settings:
Optimize the data transfer settings within the Wi-Fi configuration menu to streamline the process of transferring captured photos and videos to your connected devices. This may involve adjusting transfer protocols, file format compatibility, and transfer speed preferences, ensuring efficient and reliable data exchange between the camera and your designated devices.
4.4. Security and Network Management:
Take a moment to review the security settings associated with the Wi-Fi connectivity, especially if the camera will be used in public or shared network environments. Configure encryption preferences, network management options, and device visibility settings to bolster the security of the Wi-Fi connection and mitigate potential vulnerabilities.
4.5. Device Pairing and Management:
If the Action Camera W9 supports multi-device pairing or Wi-Fi direct functionality, explore the options for managing paired devices, initiating device discovery, and establishing direct connections for seamless data sharing. Familiarize yourself with the pairing process and the management of connected devices to optimize the overall Wi-Fi experience.
By engaging with these Wi-Fi configuration options, you’ll tailor the connectivity experience to align with your specific needs, preferences, and usage scenarios. The ability to customize the Wi-Fi settings empowers you to harness the full potential of the Action Camera W9’s wireless capabilities, amplifying the convenience and versatility of the device in various photography and videography applications.
Conclusion
Embark on a Seamless Wi-Fi Connectivity Journey with the Action Camera W9
As we conclude this comprehensive guide to connecting your Action Camera W9 to a Wi-Fi network, you’ve embarked on a journey that transcends traditional photography and videography experiences. By harnessing the power of Wi-Fi connectivity, the Action Camera W9 empowers you to seamlessly share, control, and enhance your captured moments with unparalleled convenience and efficiency.
From the initial steps of powering on the camera to the intricacies of configuring advanced Wi-Fi settings, you’ve gained valuable insights into the seamless integration of wireless connectivity with this cutting-edge device. The ability to access Wi-Fi settings, connect to a preferred network, and fine-tune the Wi-Fi configuration options positions you at the forefront of a wireless revolution in the realm of action cameras.
With the Wi-Fi feature activated and your camera securely linked to a chosen network, you’re now equipped to explore a myriad of possibilities, including instant sharing of captivating content, remote control functionality, and streamlined data transfers. Whether you’re capturing breathtaking landscapes, adrenaline-pumping adventures, or candid moments with loved ones, the Action Camera W9’s Wi-Fi connectivity elevates your creative pursuits to new heights.
As you navigate the Wi-Fi settings, consider the diverse applications of wireless functionality, from seamless file transfers to the convenience of remote operation. The customization options available within the Wi-Fi configuration menu further amplify the versatility and adaptability of the camera, catering to a spectrum of user preferences and usage scenarios.
By embracing the seamless Wi-Fi connectivity offered by the Action Camera W9, you’re not only embracing a new dimension of convenience and flexibility but also unlocking the potential for real-time sharing, collaborative creativity, and enhanced control over your photographic and videographic endeavors.
So, as you embark on your Wi-Fi-enabled adventures with the Action Camera W9, remember that the power of connectivity is now in your hands. Embrace the freedom of wireless control and sharing, and let your creativity soar as you capture, connect, and share your world in ways previously unimagined.
With the Wi-Fi connectivity guide at your fingertips, you’re primed to embark on a seamless and enriching journey with your Action Camera W9, where the boundaries of wireless innovation are yours to explore.