Introduction
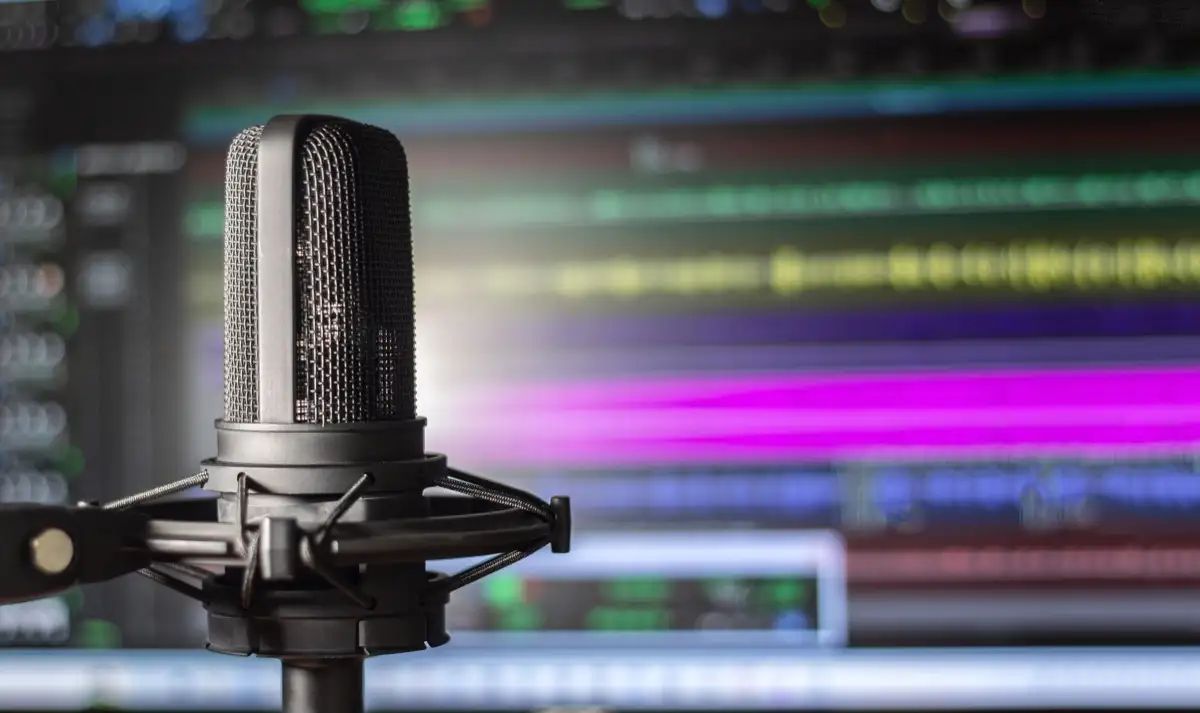
Setting up a USB microphone on your Xbox One can greatly enhance your gaming experience and communication with other players. Whether you’re streaming your gameplay, participating in online multiplayer, or simply chatting with friends, a high-quality microphone can make a world of difference in terms of sound clarity and communication effectiveness.
While the Xbox One console is designed primarily for gaming, it also supports various USB devices, including microphones. However, it’s essential to ensure that your USB microphone is compatible with the Xbox One before proceeding with the setup process.
In this article, we will guide you through the necessary steps to successfully set up a USB microphone on your Xbox One console. Whether you already have a USB microphone at hand or are considering purchasing one, this guide will help you get started quickly and easily.
So, let’s dive in and explore the steps required to connect and configure a USB microphone for your Xbox One!
Step 1: Check Compatibility
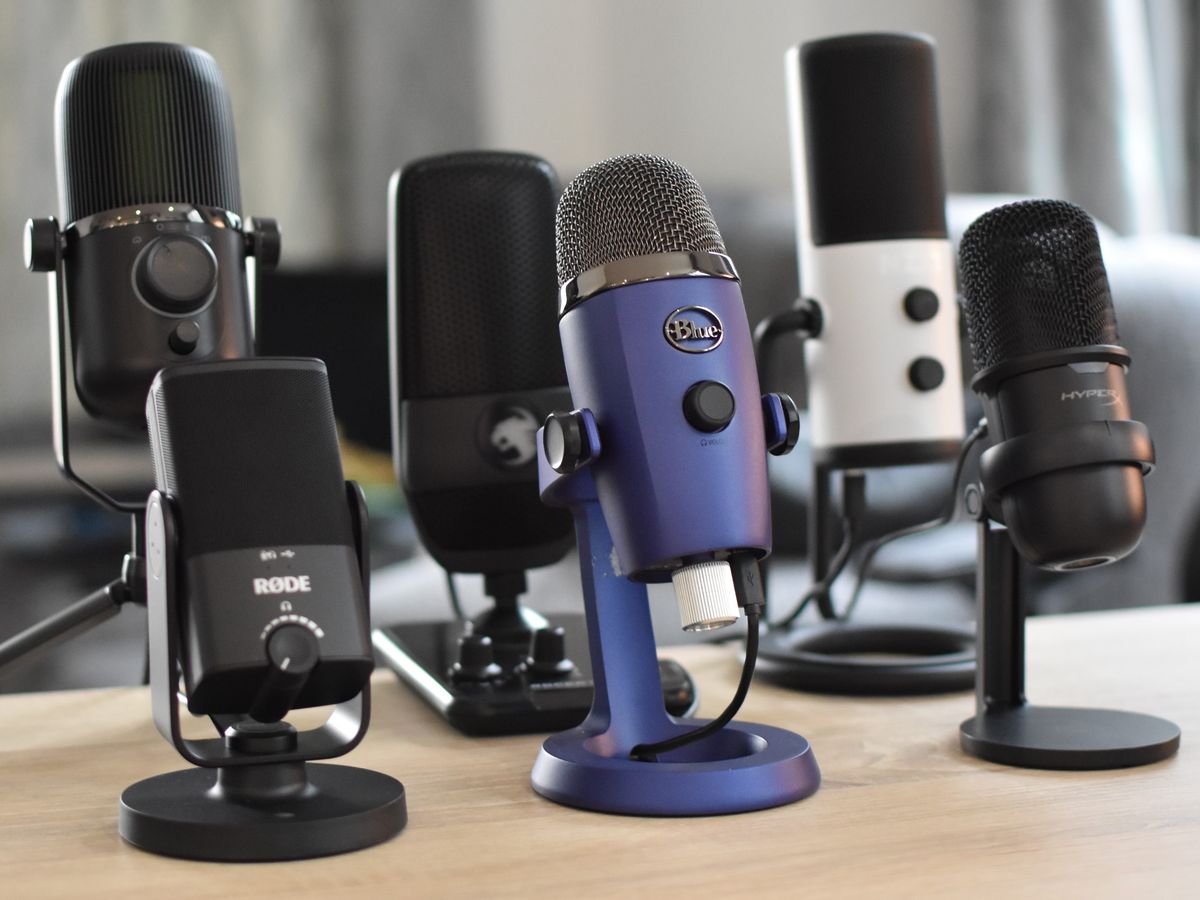
Before you start setting up a USB microphone on your Xbox One, it’s crucial to ensure that the microphone you have is compatible with the console. Not all USB microphones are supported, so it’s essential to do some research or refer to the microphone’s manual to determine its compatibility.
The Xbox One console supports specific USB microphones that meet certain requirements. These requirements typically include compatibility with USB 2.0 or higher, proper driver support, and compliance with Microsoft’s audio standards. Therefore, it’s recommended to check the official Xbox website or contact Xbox support for a list of compatible USB microphones.
Additionally, consider the type of connection required for the microphone. Some USB microphones have a direct USB connection, while others may require an adapter or a USB hub for compatibility with the Xbox One console. Ensure that you have the necessary cables or adapters to make the connection.
It’s worth noting that certain USB microphones designed for PC or Mac may not work directly with the Xbox One console. However, there are adapters available in the market that can help bridge the gap between different USB standards and make the microphone compatible.
To summarize, ensure that you have a USB microphone that meets the compatibility requirements set by the Xbox One console. Check the official Xbox resources or contact Xbox support for a list of compatible microphones. If your USB microphone is not directly compatible, consider investing in an appropriate adapter to make it work with the Xbox One.
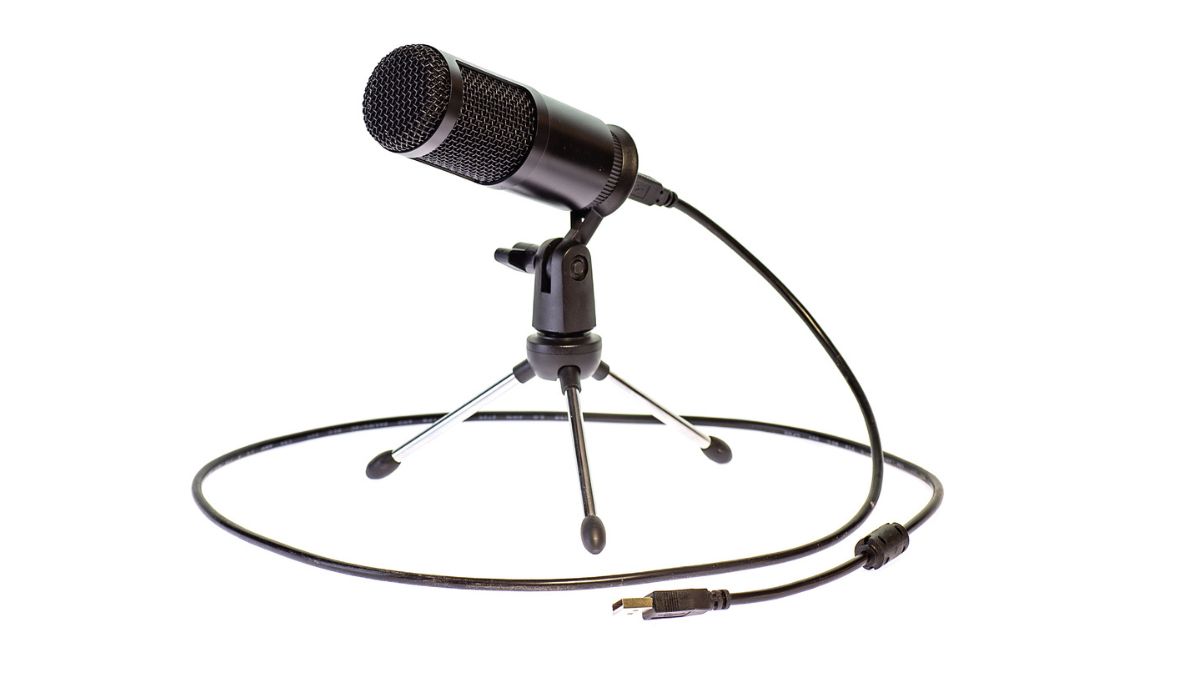
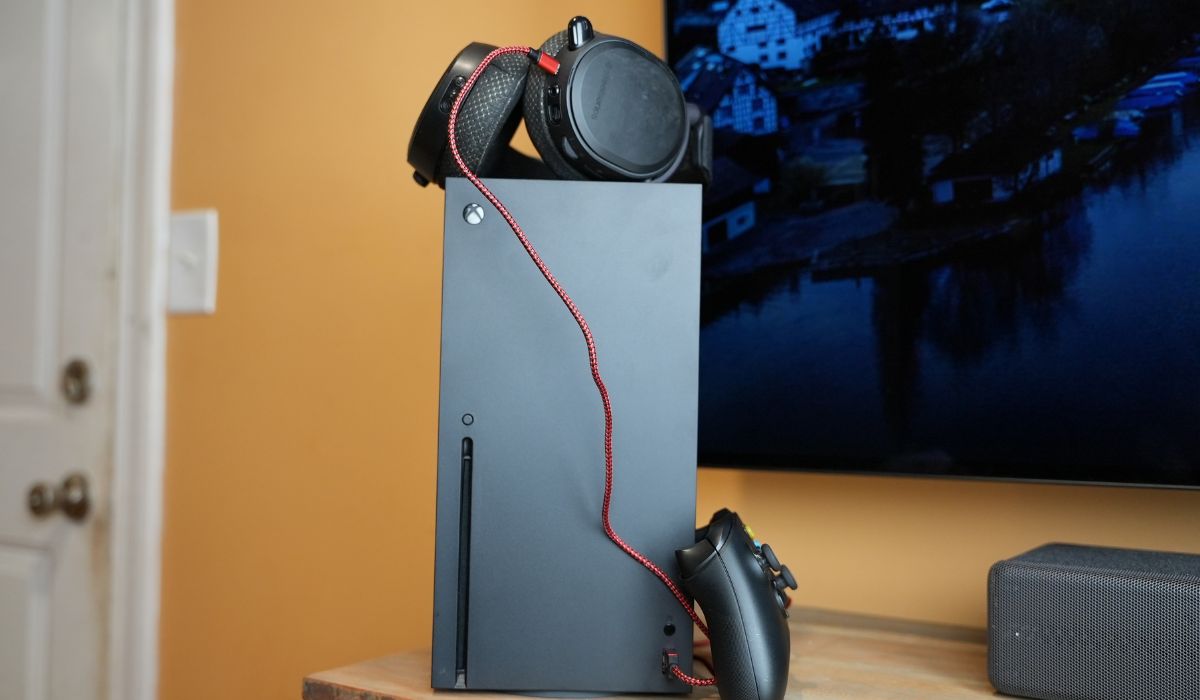
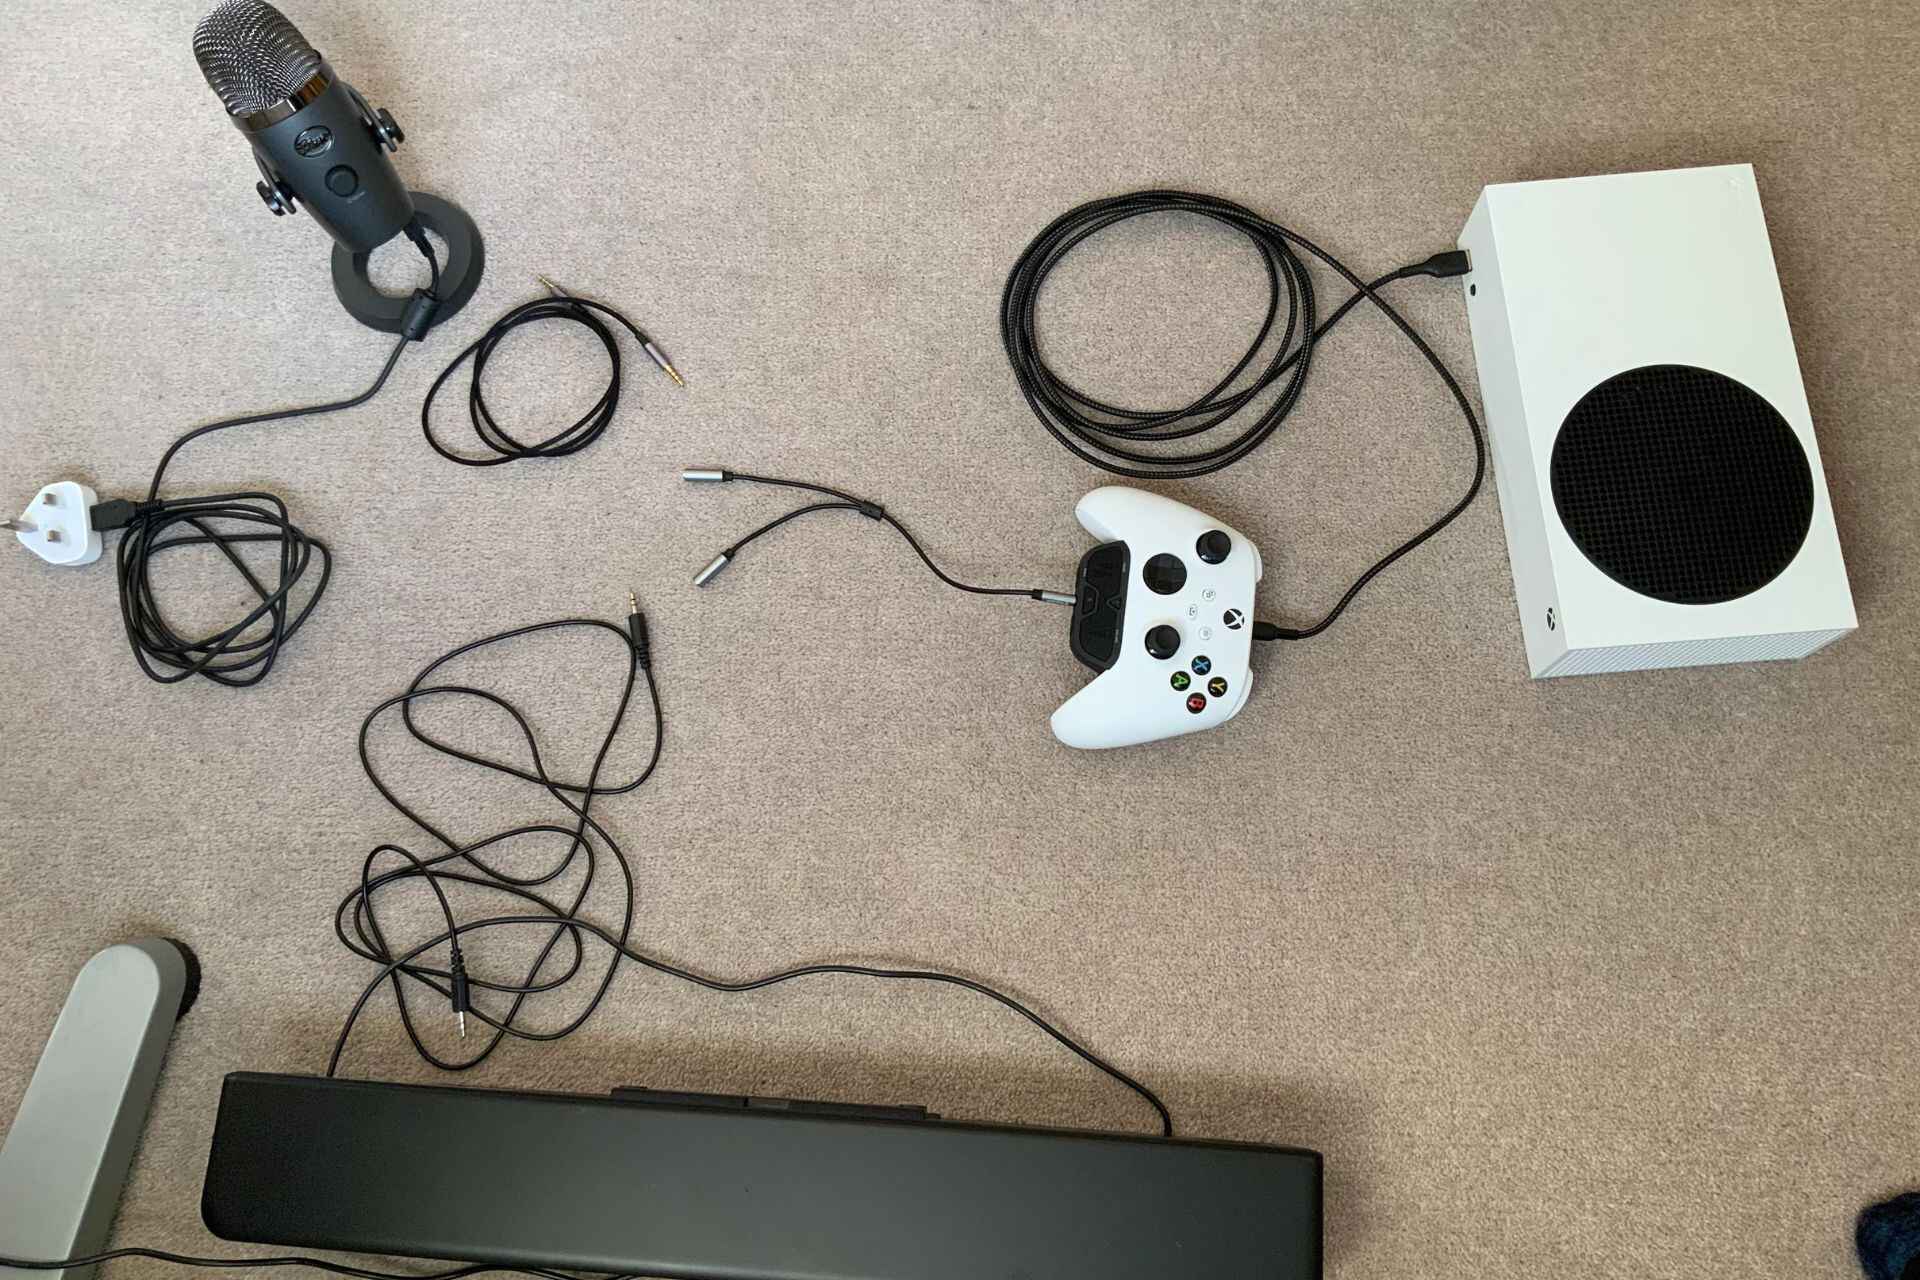
Step 2: Connect the USB Microphone
Once you have determined that your USB microphone is compatible with the Xbox One, it’s time to connect it to the console. Follow these steps to connect your USB microphone:
- Locate the USB port on your Xbox One. This is typically located on the front or back of the console.
- Plug the USB connector of your microphone into the USB port on the Xbox One. Ensure a secure connection.
- Once connected, the Xbox One should recognize the USB microphone and automatically configure it for use. You may see a notification or an indication on the screen confirming the connection.
Please note that if your USB microphone requires an adapter or hub, connect the microphone to the adapter or hub first, and then connect the adapter or hub to the USB port on the Xbox One.
It’s important to ensure that the microphone is properly connected and securely plugged into the USB port. Loose connections can result in audio issues or the microphone not being detected by the console.
With the USB microphone connected, you’re now ready to move on to the next step: adjusting the audio settings on your Xbox One. This will ensure that the microphone is configured correctly and ready to use for your gaming sessions or communication with others.
Step 3: Adjust Audio Settings
After connecting the USB microphone to your Xbox One, it’s essential to adjust the audio settings to optimize its performance. Follow these steps to adjust the audio settings:
- On your Xbox One controller, press the Xbox button to open the guide.
- Select the “Profile & system” tab.
- Choose “Settings” from the options.
- Scroll down and select “Devices & connections.”
- Under the “Devices” section, choose “Audio.”
- In the “Headset audio” section, select “USB” as the audio output.
- Next, go to the “Mic monitoring” section and adjust the slider to your desired level. Mic monitoring allows you to hear your own voice through the headset, which can be useful for controlling your voice volume.
These steps ensure that the audio is routed through the USB microphone for both input and output. Additionally, adjusting the mic monitoring level allows you to have better control over your voice volume while gaming or communicating with others.
If you have specific preferences for microphone volume or audio balance, you can further customize these settings in the “Audio” section. Explore the options and tweak the settings based on your personal preferences.
Once you have adjusted the audio settings to your liking, you’re almost ready to start using your USB microphone on the Xbox One. However, it’s essential to perform a quick test to ensure that the microphone is functioning correctly.
In the next step, we’ll guide you on how to test the USB microphone and make any necessary adjustments.
Step 4: Test the USB Microphone
Now that you have connected and adjusted the audio settings for your USB microphone on the Xbox One, it’s time to test it to ensure everything is working as expected. Follow these steps to test your USB microphone:
- Access the Xbox Guide by pressing the Xbox button on your controller.
- Select the “Profile & system” tab.
- Choose “Settings” from the options.
- Scroll down and select “Devices & connections.”
- Under the “Devices” section, choose “Audio.”
- Select the “Headset mic” option.
- Speak into the USB microphone and check the microphone level on the audio meter. You should see the meter moving in response to your voice.
- If the microphone level is too low or too high, you can adjust it using the “Mic monitoring” slider in the “Audio” section.
During the microphone test, make sure you speak at a normal volume and in a clear voice. This will help you gauge the microphone’s sensitivity and ensure that it captures your voice accurately without any distortion or background noise.
If you find that the USB microphone is not working or the microphone level is not responding to your voice, try the following troubleshooting steps:
- Ensure that the USB microphone is securely connected to the Xbox One.
- Check if the microphone is properly recognized in the audio settings.
- Try disconnecting and reconnecting the USB microphone.
- Restart your Xbox One console and repeat the microphone test.
If you have followed these troubleshooting steps and your USB microphone still doesn’t work, refer to the manufacturer’s instructions or contact their customer support for further assistance.
Once you have successfully tested the USB microphone and confirmed that it’s working correctly, you’re ready to enjoy crystal-clear audio and seamless communication on your Xbox One!
Step 5: Troubleshooting Tips
While setting up a USB microphone on your Xbox One is usually a straightforward process, it’s not uncommon to encounter some issues along the way. Here are some troubleshooting tips to help you overcome common problems:
- Check your USB cable: Ensure that the USB cable you’re using to connect the microphone is in good condition and not damaged. Faulty cables can disrupt the connection and cause audio issues.
- Restart your Xbox One: Sometimes, a simple restart can resolve minor issues. Try restarting your Xbox One console and reconnecting the USB microphone to see if that solves the problem.
- Update your Xbox One firmware: Keeping your Xbox One console up to date with the latest firmware can help address compatibility issues and improve overall performance. Check for any available system updates and install them if necessary.
- Check microphone permissions: If your USB microphone is not working, check if you have granted the necessary permissions for the microphone to be used on Xbox One. Go to “Settings” > “Privacy & online safety” > “Microphone” and ensure that the microphone permission is enabled.
- Try a different USB port: If you’re experiencing issues with the USB microphone, try connecting it to a different USB port on your Xbox One. Sometimes, certain USB ports may have compatibility or power issues.
- Test the USB microphone on another device: To rule out any potential hardware issues with the microphone itself, try connecting it to another device, such as a PC or laptop. If it works fine on another device, the problem may lie with your Xbox One console.
If you have tried these troubleshooting tips and are still experiencing difficulties with your USB microphone on the Xbox One, it’s recommended to reach out to Xbox support or the manufacturer of the microphone for further assistance. They may be able to provide more specific guidance and solutions tailored to your situation.
By following these troubleshooting tips, you can overcome common issues and ensure that your USB microphone works seamlessly with your Xbox One, allowing you to enjoy high-quality audio and clear communication during your gaming sessions.
Conclusion
Setting up a USB microphone on your Xbox One can greatly enhance your gaming experience by providing clear, high-quality audio and smooth communication with other players. By following the steps outlined in this guide, you can easily connect and configure a compatible USB microphone for your Xbox One console.
Throughout the setup process, it’s crucial to ensure that your USB microphone meets the compatibility requirements set by the Xbox One. Checking compatibility, connecting the microphone, adjusting the audio settings, conducting a microphone test, and troubleshooting common issues are all important steps to successfully set up and use your USB microphone.
Remember to verify the compatibility of your USB microphone by referring to official resources or contacting Xbox support. Ensure a secure connection by properly plugging in the USB microphone to the Xbox One console. Adjust the audio settings according to your preferences, and perform a microphone test to confirm that everything is functioning correctly.
If you encounter any issues during the setup process, the troubleshooting tips provided can help you resolve them and get your USB microphone working as intended. However, if you’ve exhausted all troubleshooting options and the problem persists, contacting Xbox support or the microphone manufacturer is recommended for further assistance.
Once your USB microphone is set up and working seamlessly, you can enjoy clear audio, engage in smooth communication with other players, and elevate your overall gaming experience on the Xbox One.