Setting Up Your MIDI Keyboard
Setting Up Your MIDI Keyboard
Setting up your MIDI keyboard is the first step to unlocking its full potential. Whether you’re a music enthusiast, a budding producer, or a seasoned musician, getting your MIDI keyboard up and running is essential for creating music and unleashing your creativity. Here's how to get started:
-
Unpack and Inspect Your MIDI Keyboard: When you first get your MIDI keyboard, carefully unpack it and inspect it for any visible damage. Ensure that all the necessary components, such as the USB cable and power adapter, are included.
-
Read the User Manual: While it may seem mundane, reading the user manual is crucial. It provides valuable information about the keyboard's features, functions, and setup instructions. Familiarizing yourself with the manual will help you understand how to connect the keyboard and troubleshoot any issues that may arise.
-
Connect the Power: If your MIDI keyboard requires external power, connect the power adapter to the keyboard and plug it into a power outlet. Some MIDI keyboards are USB-powered and do not require an external power source.
-
Connect the MIDI Keyboard to Your Computer: Use a USB cable to connect your MIDI keyboard to your computer. Most modern MIDI keyboards have a USB Type-B port that connects directly to your computer's USB Type-A port. Once connected, your computer should automatically recognize the MIDI keyboard as a new device.
-
Install Necessary Drivers: In some cases, you may need to install specific drivers for your MIDI keyboard to ensure seamless communication between the keyboard and your computer. Check the manufacturer's website for the latest drivers and follow the installation instructions provided.
-
Test the MIDI Connection: After connecting the MIDI keyboard to your computer, test the connection to ensure that the keyboard is recognized and responsive. You can do this by opening a digital audio workstation (DAW) or MIDI software and pressing the keys on the keyboard to verify that they trigger sound or MIDI data in the software.
-
Adjust Keyboard Settings: Depending on your MIDI keyboard model, you may need to configure certain settings, such as MIDI channel assignments, velocity curves, and octave shifts. Refer to the user manual for instructions on adjusting these settings to suit your preferences.
Setting up your MIDI keyboard is the foundation for creating music and exploring its capabilities. Once your keyboard is set up and functioning correctly, you can move on to connecting it to MIDI software, playing and recording music, and troubleshooting any potential issues that may arise.
Connecting Your MIDI Keyboard to a Computer
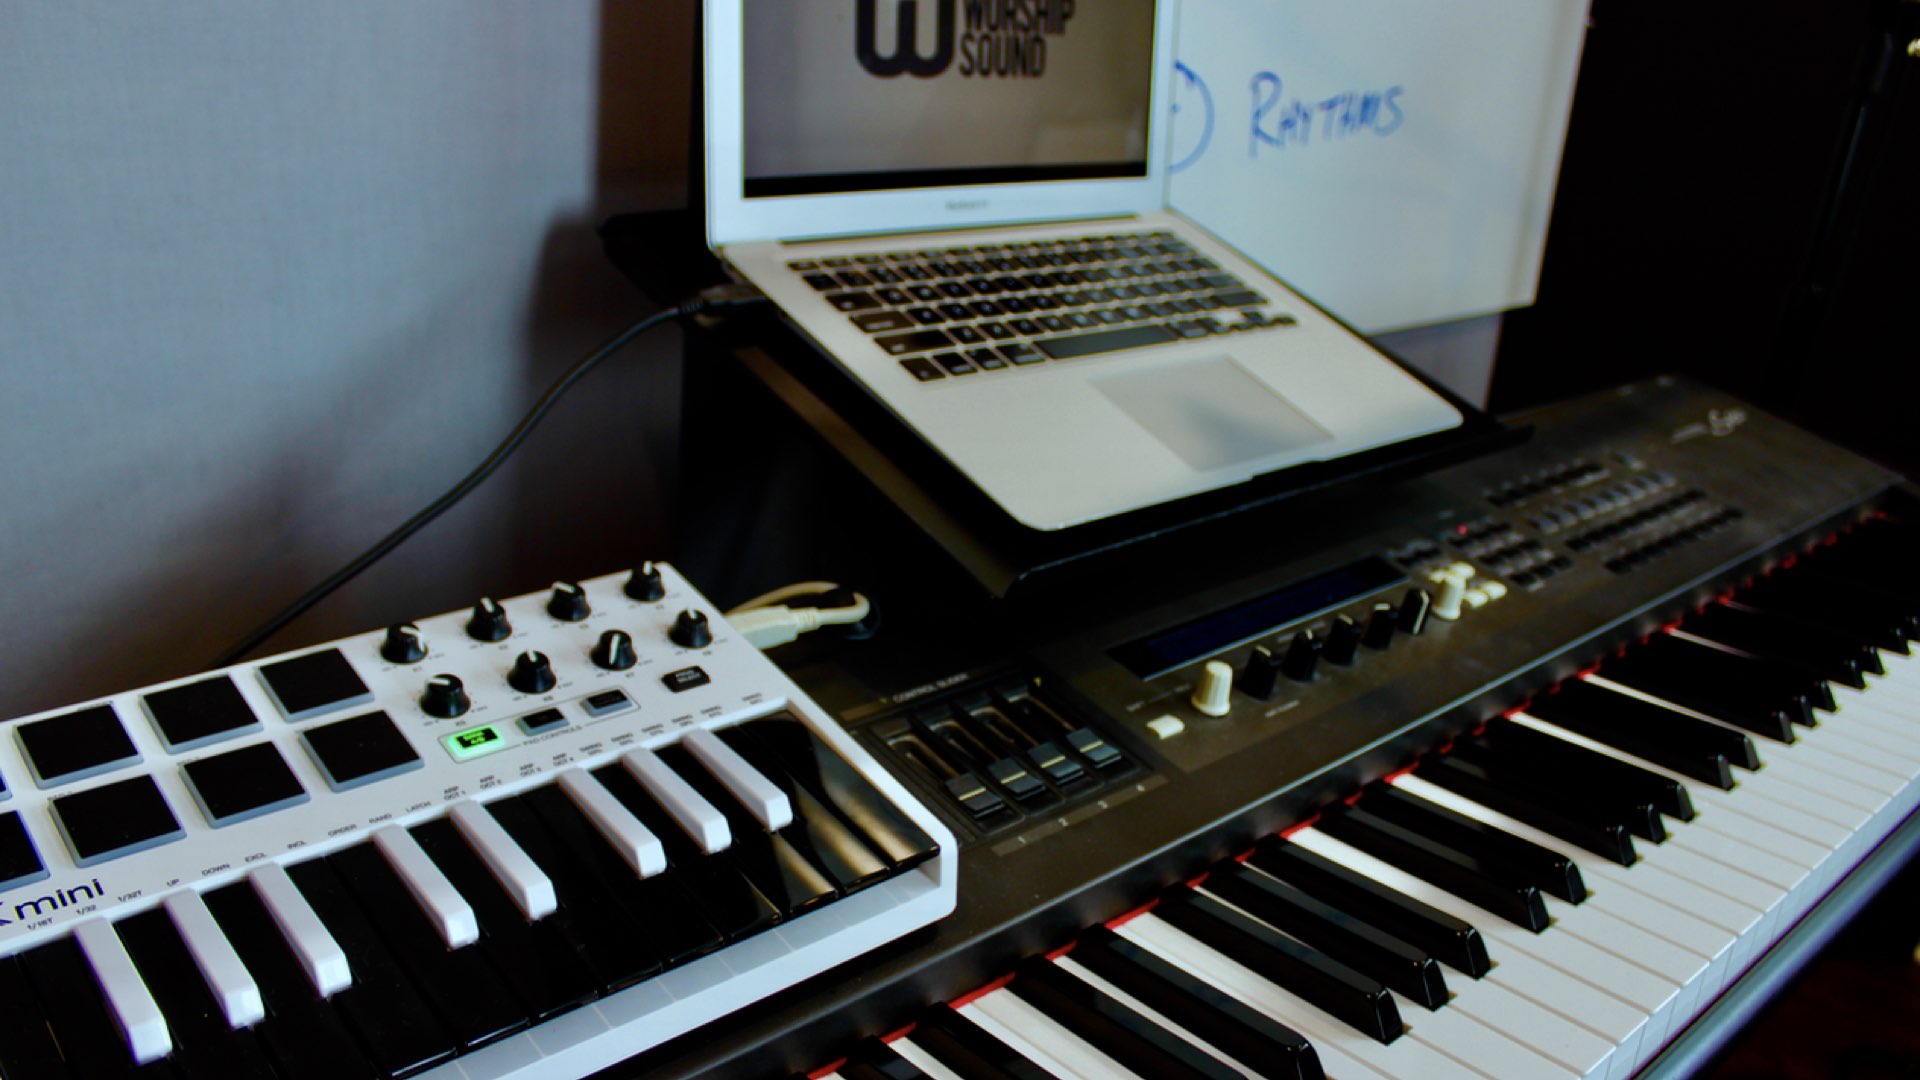
Connecting your MIDI keyboard to a computer is a crucial step in harnessing the power of digital music production. Whether you’re a beginner or an experienced musician, establishing a seamless connection between your MIDI keyboard and computer opens up a world of creative possibilities. Here’s how to do it:
- Locate the USB Port: Most MIDI keyboards feature a USB Type-B port for connecting to a computer. Locate this port on your keyboard – it is typically found on the back panel.
- Connect the USB Cable: Use a USB Type-A to Type-B cable to connect your MIDI keyboard to a USB port on your computer. Ensure that the cable is securely inserted into both the keyboard and the computer.
- Power On the MIDI Keyboard: If your MIDI keyboard requires external power, ensure that it is powered on before connecting it to the computer. Some keyboards are USB-powered and will turn on automatically when connected to the computer.
- Computer Recognition: Once the MIDI keyboard is connected, your computer should recognize it as a new device. It may automatically install the necessary drivers or prompt you to do so. Follow any on-screen instructions to complete the driver installation process.
- Check the Connection: After the initial setup, verify that the MIDI keyboard is successfully connected to your computer. You can do this by opening the device manager or system preferences on your computer and checking for the MIDI keyboard in the list of connected devices.
- Configure MIDI Settings: Depending on your digital audio workstation (DAW) or MIDI software, you may need to configure the MIDI input settings to recognize your MIDI keyboard. Refer to the software’s documentation for instructions on setting up MIDI input devices.
Connecting your MIDI keyboard to your computer establishes a vital link for music creation and production. Once the connection is established, you can explore a myriad of software options, play and record music, and delve into the world of MIDI-based music production.
Choosing and Using MIDI Software
When it comes to unleashing the full potential of your MIDI keyboard, the choice and utilization of MIDI software play a pivotal role. MIDI software empowers musicians and producers to create, edit, and manipulate musical compositions with precision and creativity. Here’s how to select and utilize MIDI software effectively:
- Explore DAW Options: Digital Audio Workstations (DAWs) are versatile software platforms that offer comprehensive MIDI functionality. Research and explore different DAW options such as Ableton Live, Pro Tools, Logic Pro, FL Studio, and others to find the one that best suits your workflow and musical style.
- Consider MIDI Controller Compatibility: Ensure that the MIDI software you choose is compatible with your MIDI keyboard. Some software may have specific integration features tailored to certain MIDI controllers, providing enhanced functionality and seamless integration.
- Understand MIDI Capabilities: Familiarize yourself with the MIDI capabilities of the software, including MIDI mapping, recording, editing, and playback features. Understanding these capabilities will enable you to leverage the full potential of your MIDI keyboard within the software environment.
- Learn MIDI Editing Tools: MIDI software offers a range of editing tools for manipulating musical data. Familiarize yourself with functions such as quantization, velocity adjustment, note length manipulation, and MIDI effects to refine and enhance your musical compositions.
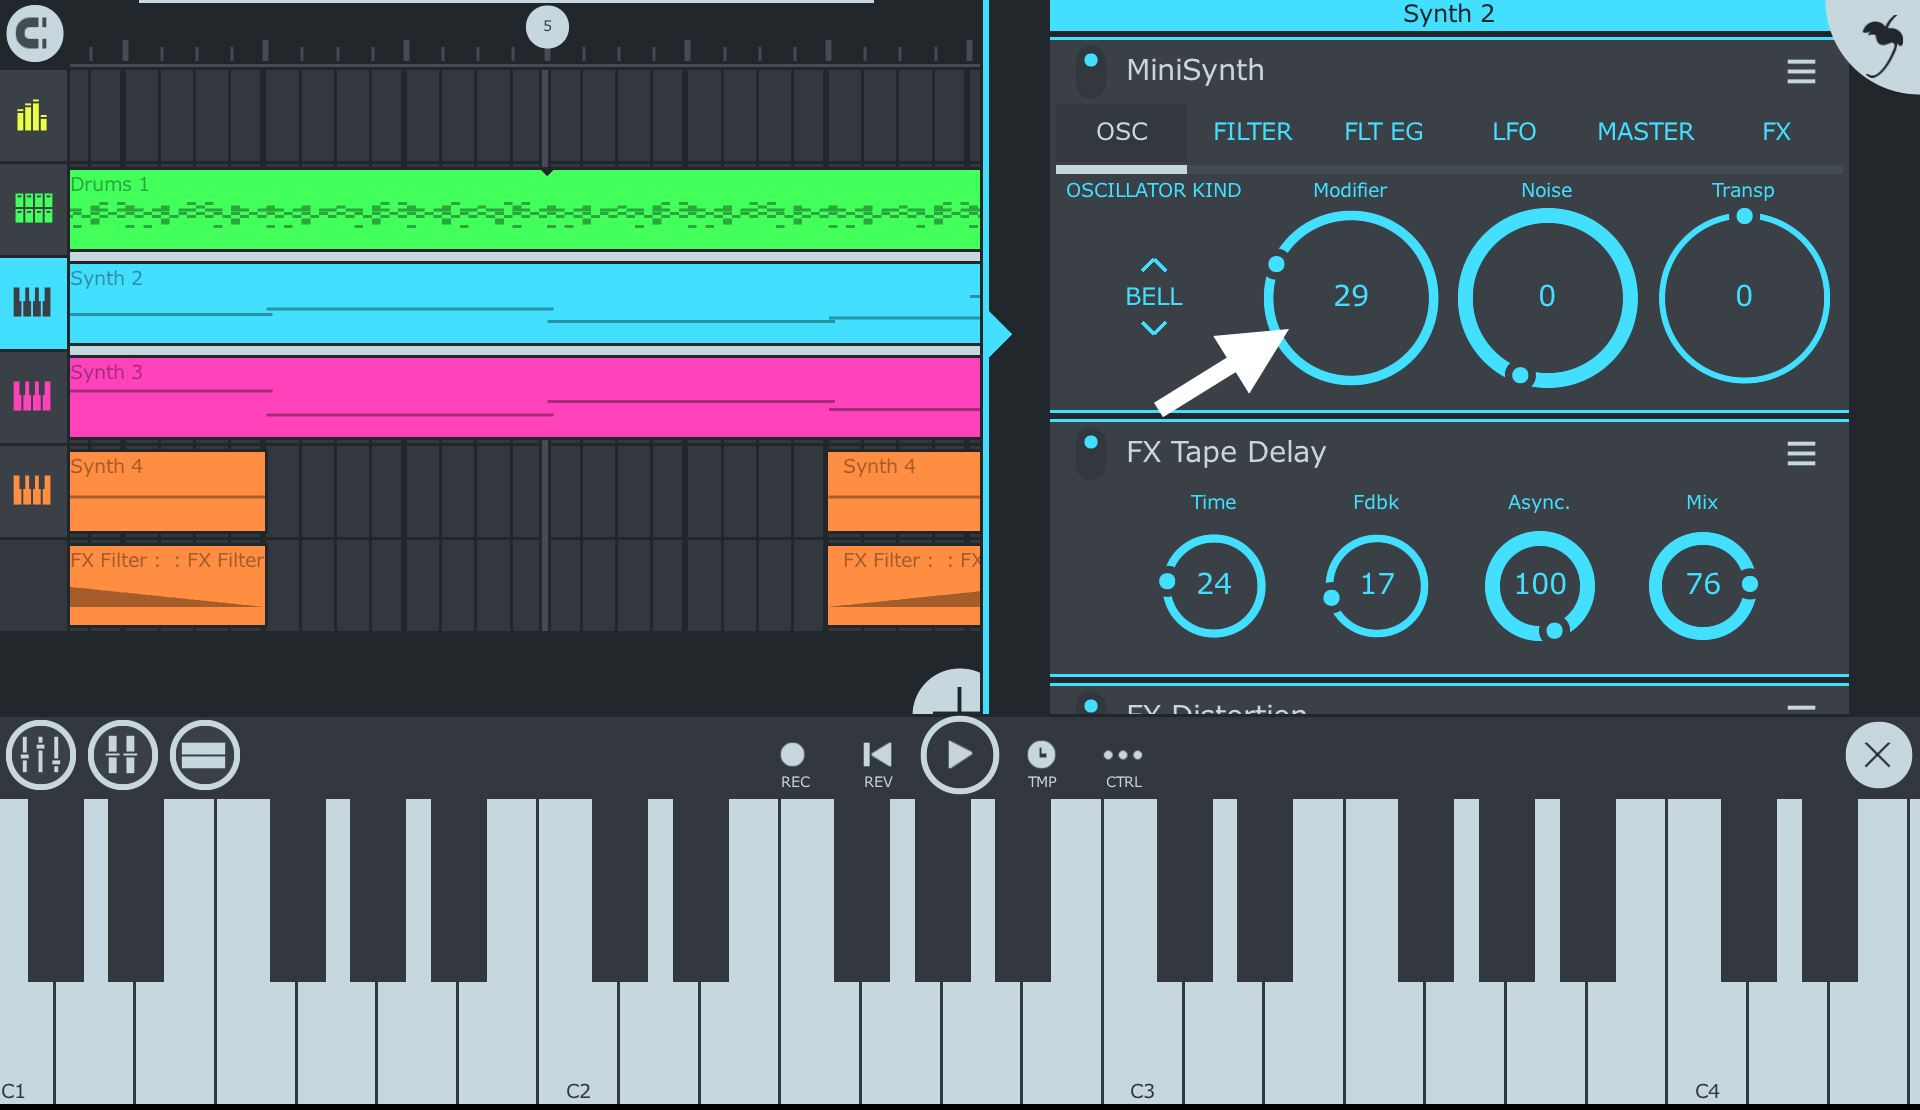
- Experiment with Virtual Instruments: Many MIDI software packages include a diverse array of virtual instruments and synthesizers. Experiment with these virtual instruments to expand your sonic palette and create unique sounds using your MIDI keyboard as a controller.
- Utilize MIDI Effects and Processing: MIDI software often includes a variety of MIDI effects and processing tools such as arpeggiators, chord generators, and MIDI plugins. Explore these tools to add depth and complexity to your musical arrangements.
Choosing the right MIDI software and mastering its features are essential steps in maximizing the creative potential of your MIDI keyboard. By selecting software that aligns with your musical goals and delving into its intricacies, you can elevate your music production capabilities and unleash your artistic vision.
Playing and Recording with Your MIDI Keyboard
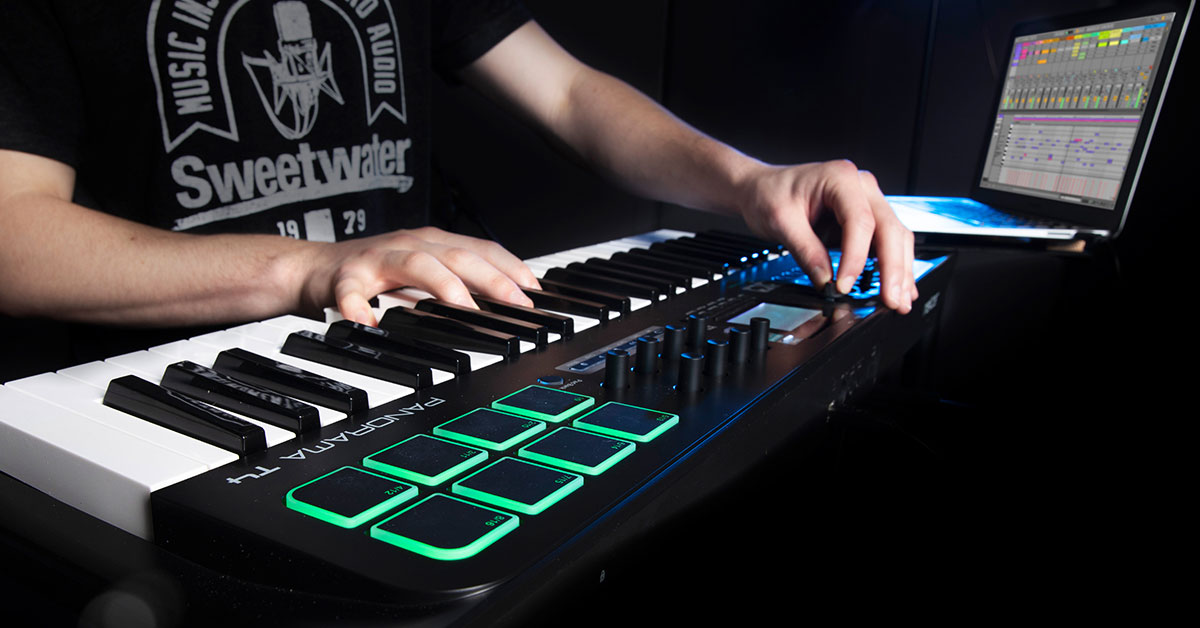
Playing and recording with your MIDI keyboard opens up a world of musical expression and creativity. Whether you’re a performer, composer, or producer, leveraging the capabilities of your MIDI keyboard for live playing and studio recording is essential for bringing your musical ideas to life. Here’s how to make the most of playing and recording with your MIDI keyboard:
- Setting Up MIDI Channels: Some MIDI keyboards offer multiple MIDI channels, allowing you to control different instruments or sounds within your MIDI software. Familiarize yourself with MIDI channel settings to access a variety of sounds during performance and recording.
- Exploring Performance Techniques: Experiment with different performance techniques on your MIDI keyboard, including dynamic playing, pitch bending, modulation, and utilizing the keyboard’s aftertouch functionality to add expressive nuances to your performances.
- Utilizing MIDI Mapping: Many MIDI software applications allow for MIDI mapping, enabling you to assign specific parameters and controls on your MIDI keyboard to various functions within the software. This customization enhances your ability to manipulate and control your virtual instruments and effects during live performances and recording sessions.
- Recording MIDI Data: Use your MIDI keyboard to record MIDI data directly into your DAW or MIDI software. This allows you to capture your performances, including note sequences, dynamics, and controller movements, for further editing and manipulation.
- Layering and Multitracking: Take advantage of your MIDI keyboard’s multitimbral capabilities to layer multiple instrument sounds and create rich, textured arrangements. Multitrack recording with your MIDI keyboard allows you to build complex compositions by recording and layering different musical elements.
- Quantization and Editing: After recording MIDI data, utilize quantization and editing tools within your MIDI software to refine the timing and note accuracy of your performances. This ensures that your recorded MIDI data aligns precisely with the desired musical grid and tempo.
- Real-Time Performance Recording: Many MIDI software applications offer real-time performance recording, allowing you to capture your MIDI keyboard performances directly into the software in a seamless and intuitive manner.
Playing and recording with your MIDI keyboard is a dynamic and rewarding process that empowers you to express your musical ideas with precision and artistry. By exploring performance techniques, leveraging MIDI mapping, and embracing the recording capabilities of your MIDI keyboard, you can elevate your musical creations to new heights.
Troubleshooting Common MIDI Keyboard Issues
While MIDI keyboards are powerful tools for music creation, they can occasionally encounter technical issues that may disrupt your workflow. Understanding common MIDI keyboard issues and how to troubleshoot them is essential for maintaining a seamless music production experience. Here’s how to address common MIDI keyboard issues:
- Unresponsive Keys or Controls: If certain keys or controls on your MIDI keyboard are unresponsive, check the physical connections, including the USB cable and power supply. Additionally, inspect the MIDI settings in your software to ensure that the keyboard is recognized and properly configured.
- Latency and Delay: Latency, or the delay between pressing a key and hearing the sound, can be a common issue. Adjust the buffer settings in your DAW or MIDI software to minimize latency, and consider optimizing your computer’s performance to reduce processing delays.
- Incorrect Note Triggering: If your MIDI keyboard is triggering incorrect notes or experiencing stuck notes, check for MIDI channel conflicts or overlapping MIDI signals. Ensure that the MIDI channels on your keyboard and software are properly aligned and not conflicting with other MIDI devices.
- Power and Connectivity Issues: Verify that the power supply, if required, is functioning correctly, and that the USB connection between the keyboard and computer is secure. Troubleshoot any power or connectivity issues to ensure stable operation.
- Driver and Firmware Updates: Check for driver and firmware updates for your MIDI keyboard on the manufacturer’s website. Keeping your keyboard’s drivers and firmware up to date can resolve compatibility issues and improve overall performance.
- Intermittent MIDI Signal: If the MIDI signal from your keyboard is intermittent or unstable, inspect the MIDI cables and connections for any signs of damage or interference. Additionally, consider using high-quality MIDI cables and avoiding excessive cable length to maintain signal integrity.
- Software Configuration Errors: Review the MIDI input and output settings in your DAW or MIDI software to ensure that your keyboard is selected as the primary MIDI input device. Verify that the software is configured to receive and transmit MIDI data from your keyboard accurately.
By familiarizing yourself with these troubleshooting techniques, you can effectively address common MIDI keyboard issues and maintain a smooth and productive music production environment. Troubleshooting technical challenges empowers you to focus on creating music without the impediment of technical obstacles.