Introduction
Introduction
Are you a musician or music producer looking to harness the power of digital audio workstations (DAWs) to record and manipulate your music? If so, you've likely come across Reaper, a versatile and powerful DAW that offers a wide range of features for recording, editing, and mixing audio. One of the key functionalities of Reaper is its ability to record MIDI (Musical Instrument Digital Interface) data from external MIDI keyboards, allowing you to capture your musical ideas and performances with ease.
In this comprehensive guide, we will walk you through the process of recording MIDI keyboard in Reaper, from setting up your MIDI keyboard to recording and editing MIDI data. Whether you're a seasoned Reaper user or a newcomer to the world of digital music production, this step-by-step tutorial will equip you with the knowledge and skills to make the most of your MIDI keyboard within the Reaper environment.
Throughout this guide, we will cover everything from configuring MIDI input settings in Reaper to recording MIDI performances and editing MIDI data. By the end of this tutorial, you will have a solid understanding of how to seamlessly integrate your MIDI keyboard into your music production workflow using Reaper.
So, grab your MIDI keyboard, fire up Reaper, and let's dive into the exciting world of recording and manipulating MIDI data in one of the most flexible and user-friendly DAWs available.
Are you a musician or music producer looking to harness the power of digital audio workstations (DAWs) to record and manipulate your music? If so, you’ve likely come across Reaper, a versatile and powerful DAW that offers a wide range of features for recording, editing, and mixing audio. One of the key functionalities of Reaper is its ability to record MIDI (Musical Instrument Digital Interface) data from external MIDI keyboards, allowing you to capture your musical ideas and performances with ease.
In this comprehensive guide, we will walk you through the process of recording MIDI keyboard in Reaper, from setting up your MIDI keyboard to recording and editing MIDI data. Whether you’re a seasoned Reaper user or a newcomer to the world of digital music production, this step-by-step tutorial will equip you with the knowledge and skills to make the most of your MIDI keyboard within the Reaper environment.
Throughout this guide, we will cover everything from configuring MIDI input settings in Reaper to recording MIDI performances and editing MIDI data. By the end of this tutorial, you will have a solid understanding of how to seamlessly integrate your MIDI keyboard into your music production workflow using Reaper.
So, grab your MIDI keyboard, fire up Reaper, and let’s dive into the exciting world of recording and manipulating MIDI data in one of the most flexible and user-friendly DAWs available.
Setting Up Your MIDI Keyboard in Reaper
Before you can start recording MIDI with your keyboard in Reaper, you need to ensure that your MIDI keyboard is properly set up within the software. Here’s a step-by-step guide to help you get your MIDI keyboard up and running in Reaper:
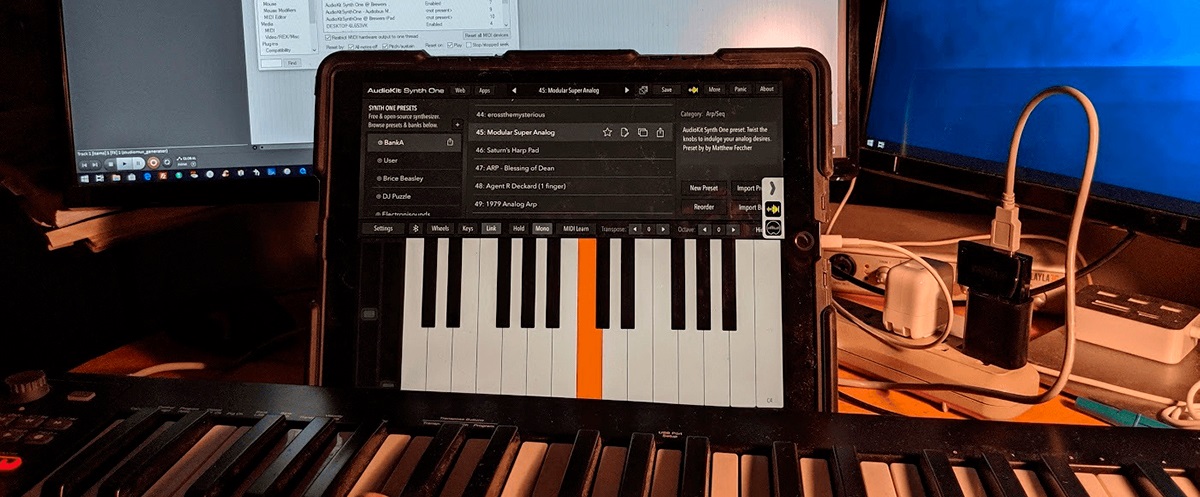
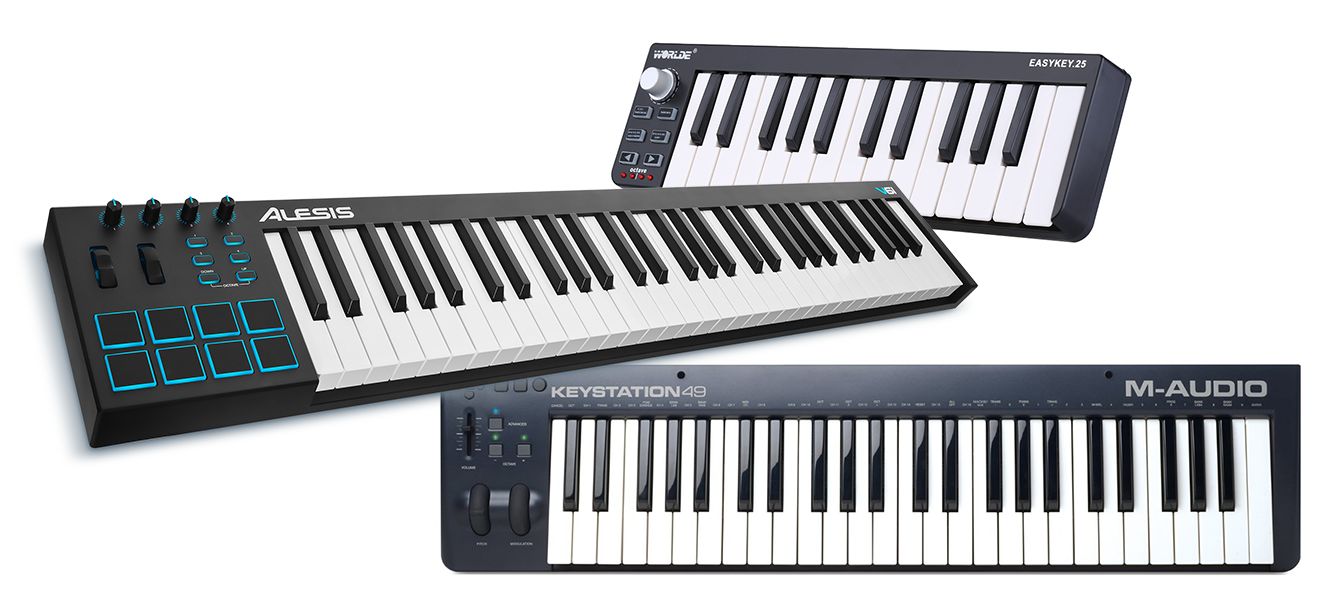
- Connecting Your MIDI Keyboard: Begin by connecting your MIDI keyboard to your computer using a MIDI-to-USB interface or a USB cable, depending on the connectivity options available on your keyboard.
- Launching Reaper: Once your MIDI keyboard is connected, launch Reaper on your computer. If you haven’t already done so, install the necessary drivers for your MIDI keyboard to ensure seamless communication between the hardware and Reaper.
- Accessing Preferences: In Reaper, navigate to the “Options” menu and select “Preferences.” This will open the Preferences window, where you can configure various settings related to your MIDI keyboard and other hardware devices.
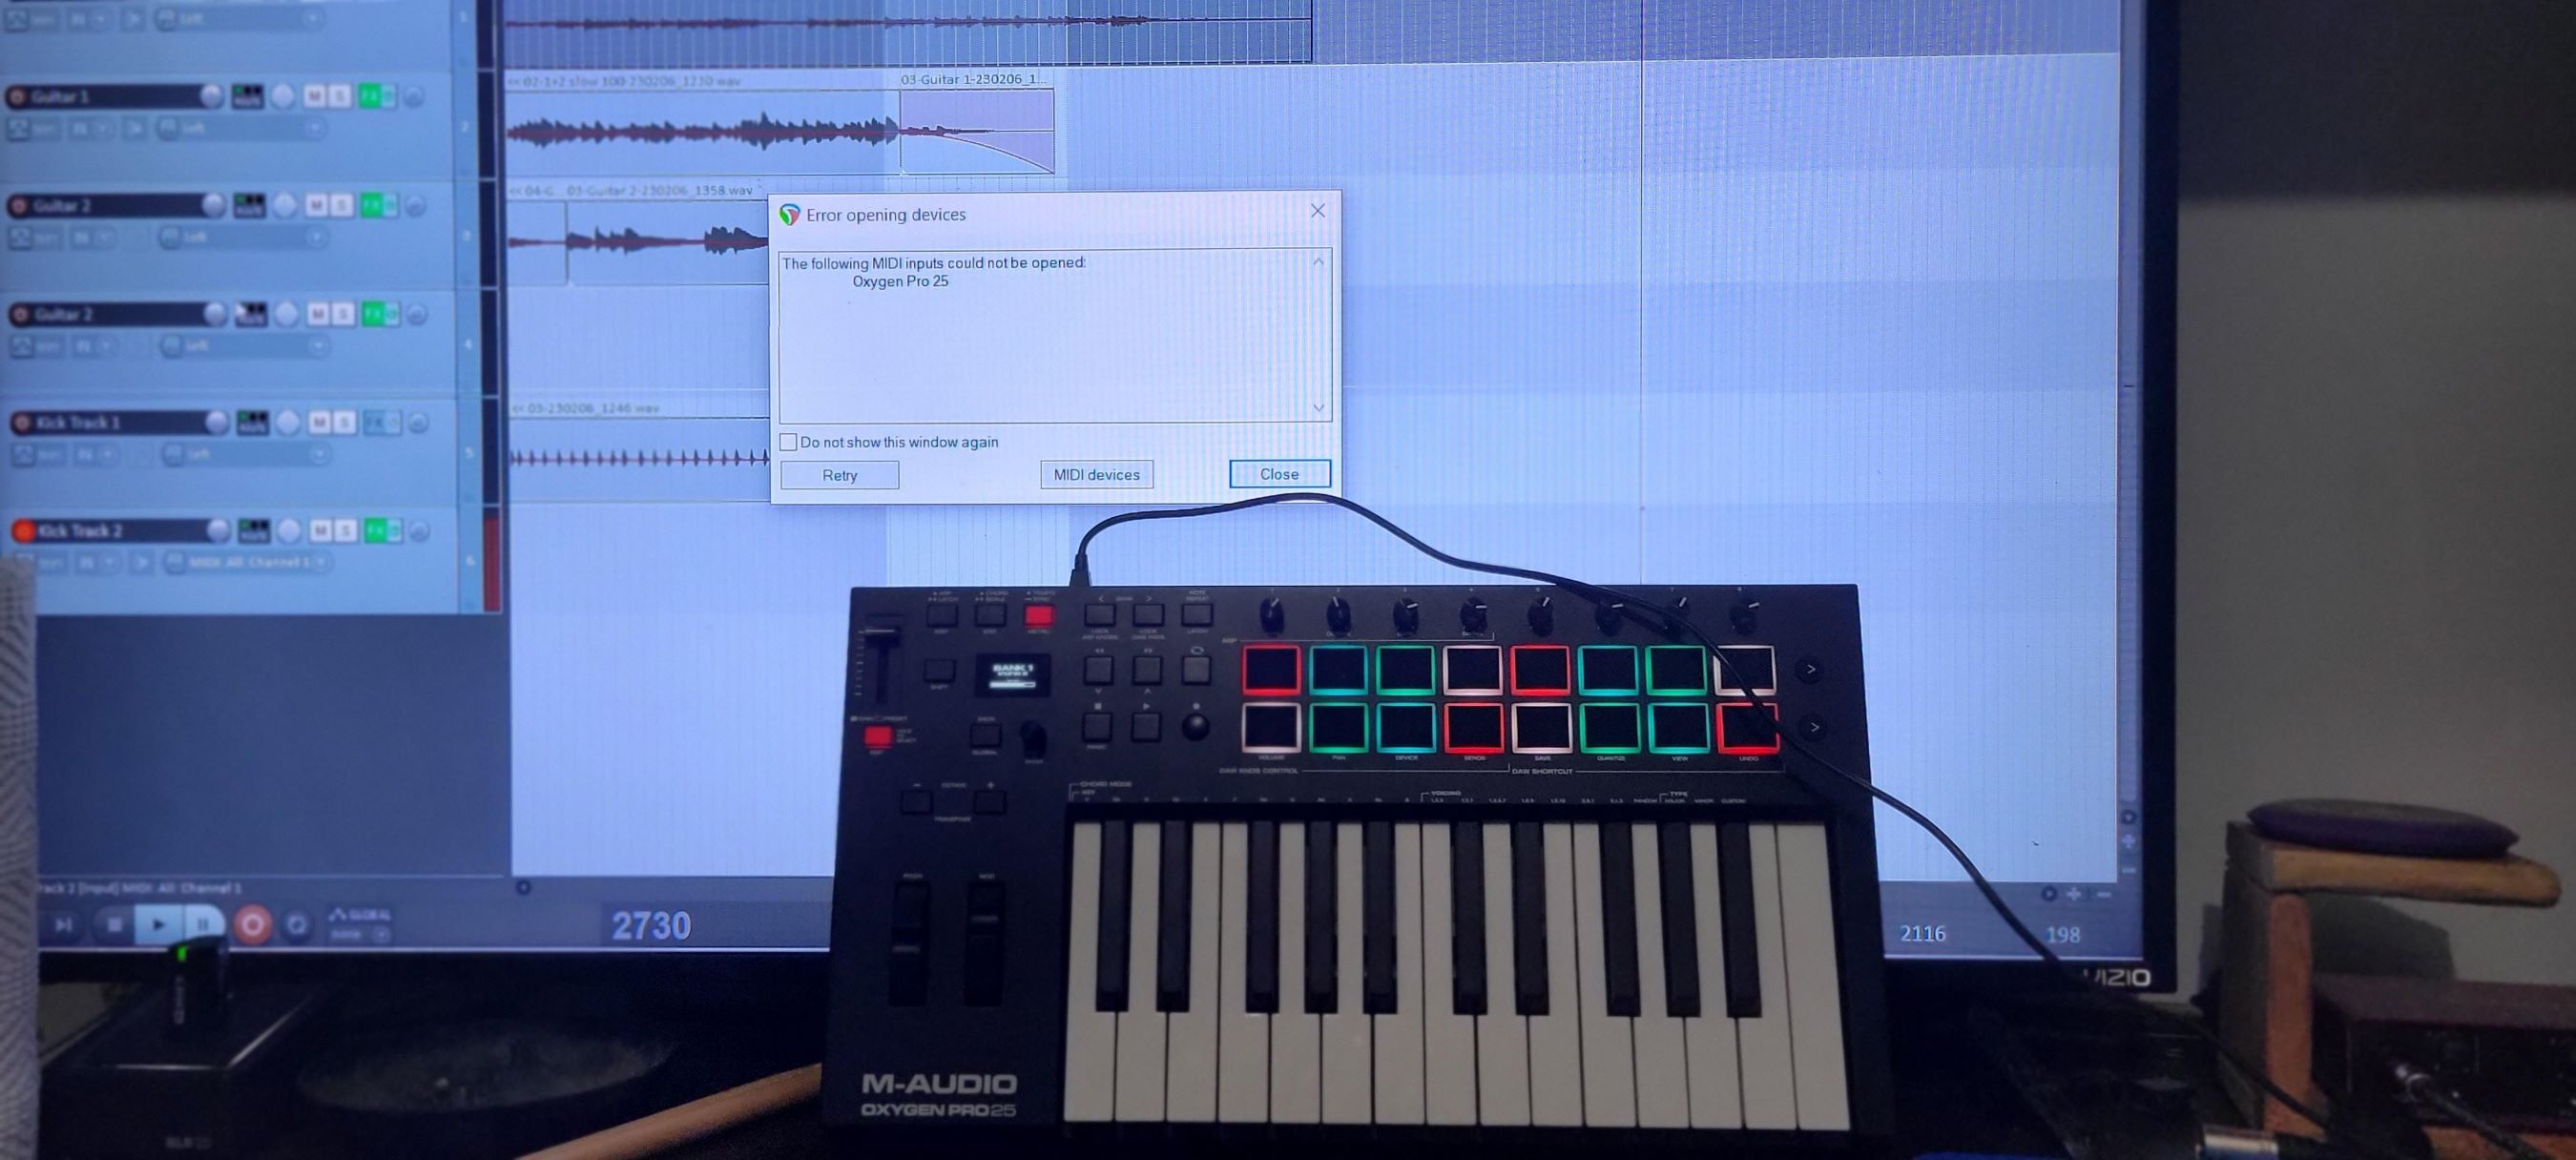
- Configuring MIDI Devices: Within the Preferences window, click on the “MIDI Devices” tab. Here, you can select your MIDI keyboard from the list of available input devices. Ensure that the “Enable input from this device” option is checked to activate MIDI input from your keyboard.
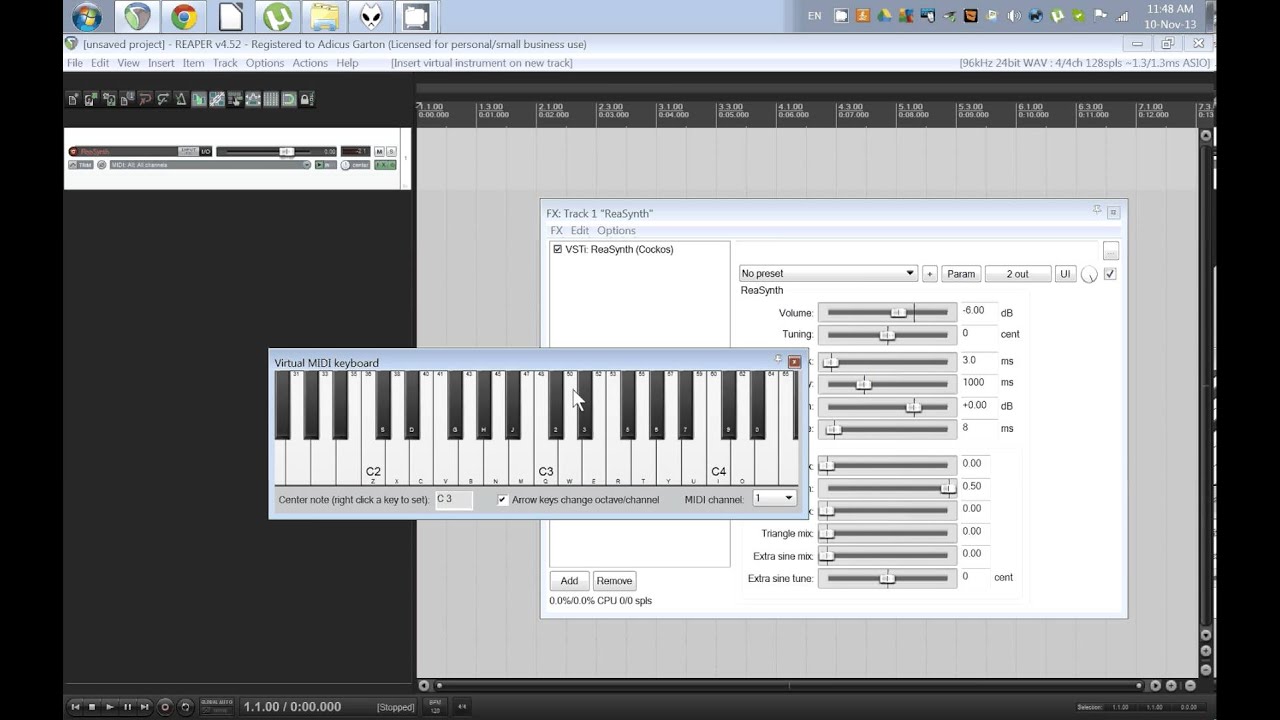
- Testing MIDI Input: To verify that your MIDI keyboard is properly set up, play some notes on the keyboard and observe the MIDI input indicator in Reaper. You should see visual feedback in the form of MIDI signal activity, indicating that Reaper is receiving input from your keyboard.
By following these steps, you can establish a seamless connection between your MIDI keyboard and Reaper, allowing you to begin recording MIDI data with ease. Once your MIDI keyboard is set up and recognized by Reaper, you’re ready to move on to the next steps in the process of recording MIDI performances and harnessing the full creative potential of your musical ideas.
Configuring MIDI Input in Reaper
Once your MIDI keyboard is physically connected to your computer and recognized by Reaper, the next step is to configure the MIDI input settings within the software. This crucial step ensures that Reaper accurately interprets and records the MIDI data transmitted by your keyboard. Here’s how to configure MIDI input in Reaper:
- Accessing Track Inputs: In Reaper, create a new track or select an existing track where you want to record MIDI data from your keyboard. Right-click on the track and choose “Input: MIDI” to access the input settings for the track.
- Selecting MIDI Input: Within the track input settings, click on the “Input: MIDI” dropdown menu and choose your MIDI keyboard from the list of available input devices. This directs Reaper to receive MIDI input from your keyboard on the selected track.
- Enabling Record Arm: To enable recording of MIDI data from your keyboard, click on the record arm button for the track. This prepares the track to receive MIDI input and record performances from your keyboard.
- Adjusting MIDI Settings: If necessary, you can further refine MIDI input settings by accessing the MIDI editor within Reaper. Here, you can configure parameters such as input channel, velocity sensitivity, and other MIDI-related options to tailor the recording setup to your specific preferences.
By following these steps, you can ensure that your MIDI keyboard is properly configured as the input source for recording MIDI data in Reaper. Once the MIDI input settings are in place, you’re ready to start capturing your musical performances and ideas directly from your keyboard into the digital realm of Reaper.
Recording MIDI in Reaper
With your MIDI keyboard set up and the MIDI input configured in Reaper, you’re now ready to start recording MIDI performances. Whether you’re laying down melodies, crafting intricate harmonies, or capturing complex rhythms, Reaper provides a user-friendly platform for capturing your musical ideas in MIDI format. Here’s how to record MIDI in Reaper:
- Arming the Track: Ensure that the track where you want to record MIDI is armed for recording. Click on the record arm button for the track to prepare it for capturing MIDI input from your keyboard.
- Setting the Recording Mode: Choose the appropriate recording mode for MIDI input in Reaper. You can opt for normal recording mode, overdub mode to layer additional MIDI data, or any other recording mode that suits your creative workflow.
- Commencing Recording: Once the track is armed and the recording mode is selected, simply start playing your MIDI keyboard to begin recording MIDI data into Reaper. Your performances will be captured in real-time as MIDI events on the selected track.
- Monitoring MIDI Input: While recording, you can monitor the MIDI input in Reaper to ensure that the captured performances align with your musical intentions. The MIDI input indicator provides visual feedback, allowing you to gauge the intensity and timing of your MIDI input.
- Stopping and Reviewing: When you’ve completed your MIDI performance, stop the recording in Reaper. You can then review and edit the recorded MIDI data to refine and enhance your musical ideas within the software.
By following these steps, you can seamlessly capture your MIDI performances using your keyboard within the Reaper environment. Whether you’re working on intricate compositions or spontaneous improvisations, Reaper empowers you to record MIDI with precision and flexibility, preserving the nuances of your musical expression for further manipulation and refinement.
Editing and Quantizing MIDI in Reaper
Once you’ve recorded MIDI performances with your keyboard in Reaper, the software offers a range of powerful tools for editing and refining the captured MIDI data. Whether you need to correct timing inconsistencies, adjust note velocities, or fine-tune the musical phrasing, Reaper’s MIDI editing capabilities provide a comprehensive suite of features to elevate your compositions. Here’s how to edit and quantize MIDI in Reaper:
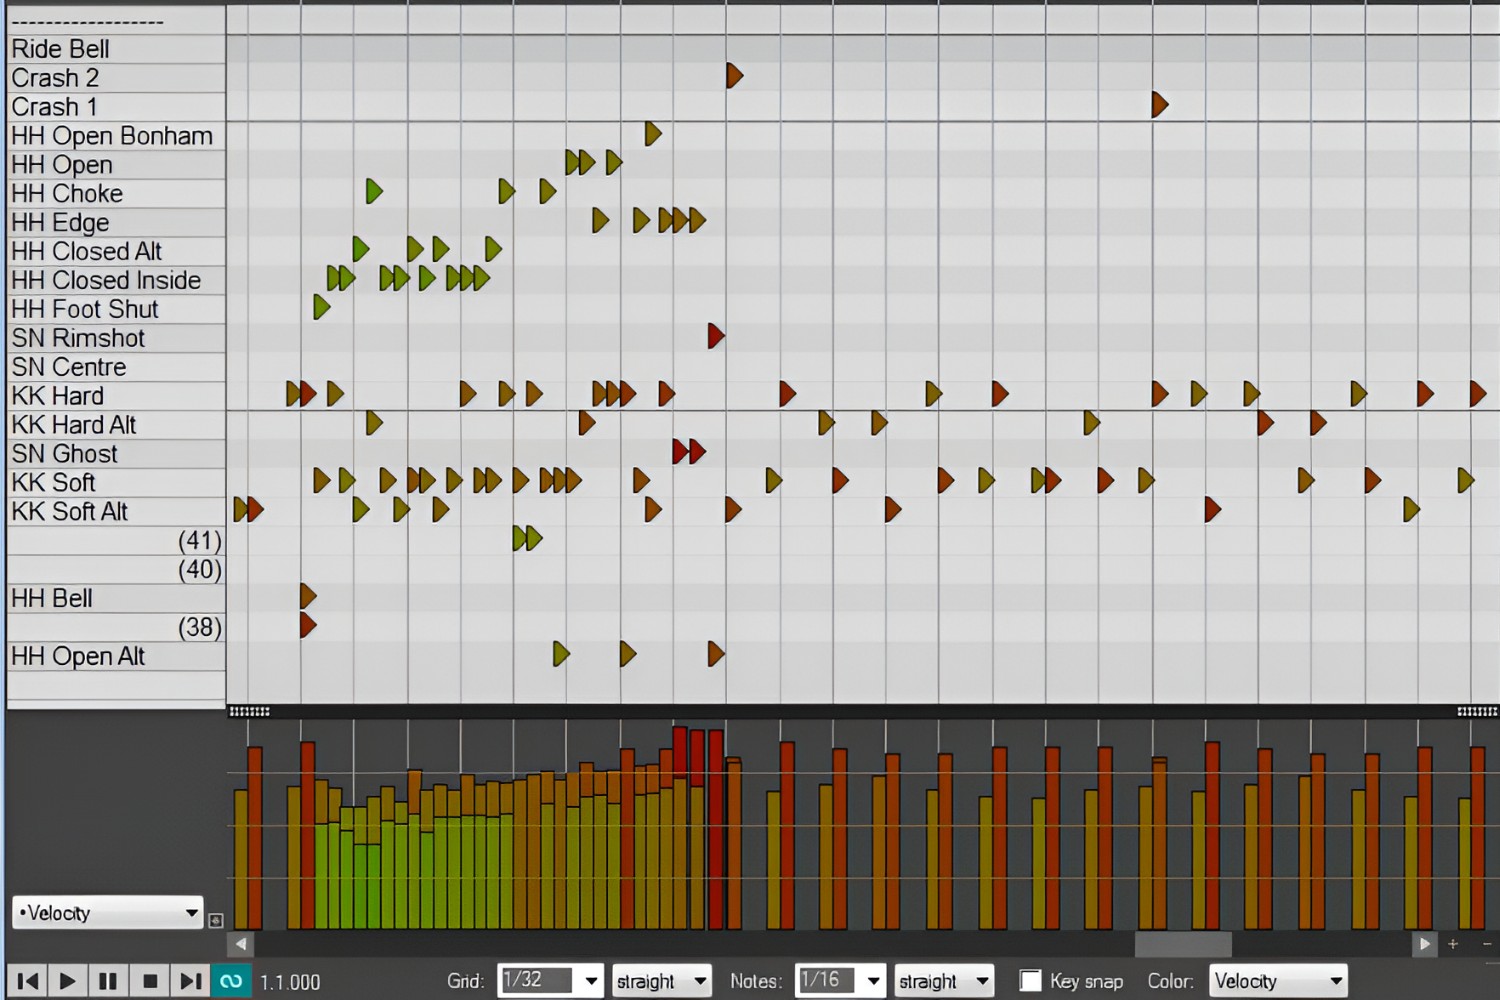
- Accessing the MIDI Editor: Select the MIDI item representing your recorded performance in Reaper, and open it in the MIDI editor by double-clicking on the item. This grants you access to the individual MIDI events and parameters for detailed editing.
- Correcting Timing: In the MIDI editor, you can adjust the timing of individual notes or entire passages by dragging MIDI events to align with the desired rhythmic grid. Reaper’s snap functions facilitate precise alignment, allowing you to correct timing discrepancies with ease.
- Modifying Note Velocities: Tailor the dynamics of your MIDI performances by adjusting note velocities within the MIDI editor. This enables you to sculpt the expressive qualities of your music, emphasizing certain notes and creating dynamic contrasts throughout the composition.
- Quantizing MIDI: Utilize Reaper’s quantization features to automatically align MIDI events to the rhythmic grid, ensuring that your performances adhere to a specific timing quantization scheme. This helps to achieve a tighter, more synchronized feel in your MIDI recordings.
- Exploring MIDI Effects: Reaper offers a diverse array of MIDI effects and processing tools that can be applied to your MIDI data. From arpeggiators and chord generators to humanization and groove templates, these MIDI effects enrich your compositions with creative possibilities.
By leveraging these editing and quantization capabilities in Reaper, you can refine your MIDI performances, correct imperfections, and enhance the musicality of your compositions. Whether you’re aiming for pristine precision or expressive fluidity, Reaper equips you with the tools to sculpt and shape your MIDI recordings with precision and artistry.
Conclusion
Recording MIDI keyboard performances in Reaper opens up a world of creative possibilities for musicians and producers. By following the steps outlined in this guide, you’ve learned how to seamlessly integrate your MIDI keyboard into the Reaper environment, configure MIDI input settings, record performances, and harness the powerful editing and quantization tools available in the software. As a result, you’re well-equipped to capture your musical ideas with precision and finesse, leveraging the full potential of your MIDI keyboard within the versatile framework of Reaper.
With Reaper’s intuitive interface and robust feature set, you have the freedom to explore diverse musical styles, experiment with intricate compositions, and express your musical identity with confidence. Whether you’re a solo artist, a band member, or a music producer, the ability to record MIDI keyboard performances in Reaper empowers you to bring your musical visions to life with unparalleled flexibility and control.
As you continue your journey in music production and composition, remember that Reaper serves as a dynamic canvas for your creativity, offering a wealth of tools and capabilities to support your artistic endeavors. Whether you’re capturing the emotive nuances of a piano performance, crafting intricate electronic arrangements, or exploring the boundless realm of MIDI-driven music, Reaper stands as a steadfast companion in your quest for musical excellence.
Embrace the artistry of MIDI recording in Reaper, and let your musical aspirations flourish within the boundless landscape of digital music production. With your MIDI keyboard as a conduit for your creative expression and Reaper as your trusted companion, the possibilities are endless, and the journey is yours to shape and savor.


