Introduction
So, you've got a MIDI keyboard and you're ready to take your music production skills to the next level with Garageband. Programming samples onto a MIDI keyboard in Garageband can unlock a world of creative possibilities, allowing you to play and manipulate a wide range of sounds with the touch of a key.
Garageband is a powerful digital audio workstation (DAW) that offers a user-friendly interface and a plethora of features for music production. By incorporating samples into your projects, you can add depth, texture, and personality to your compositions. Whether you're a seasoned producer or just starting out, learning how to program samples onto your MIDI keyboard in Garageband can elevate your music to new heights.
In this guide, we'll walk through the process of setting up your MIDI keyboard in Garageband, importing samples, and programming them onto your keyboard. Additionally, we'll explore how to adjust sample settings to achieve the desired sound. By the end of this tutorial, you'll be well-equipped to harness the full potential of your MIDI keyboard and create captivating music using Garageband's sample programming capabilities.
Let's dive into the exciting world of MIDI keyboard programming in Garageband and unleash your creativity!
Setting up your MIDI keyboard in Garageband
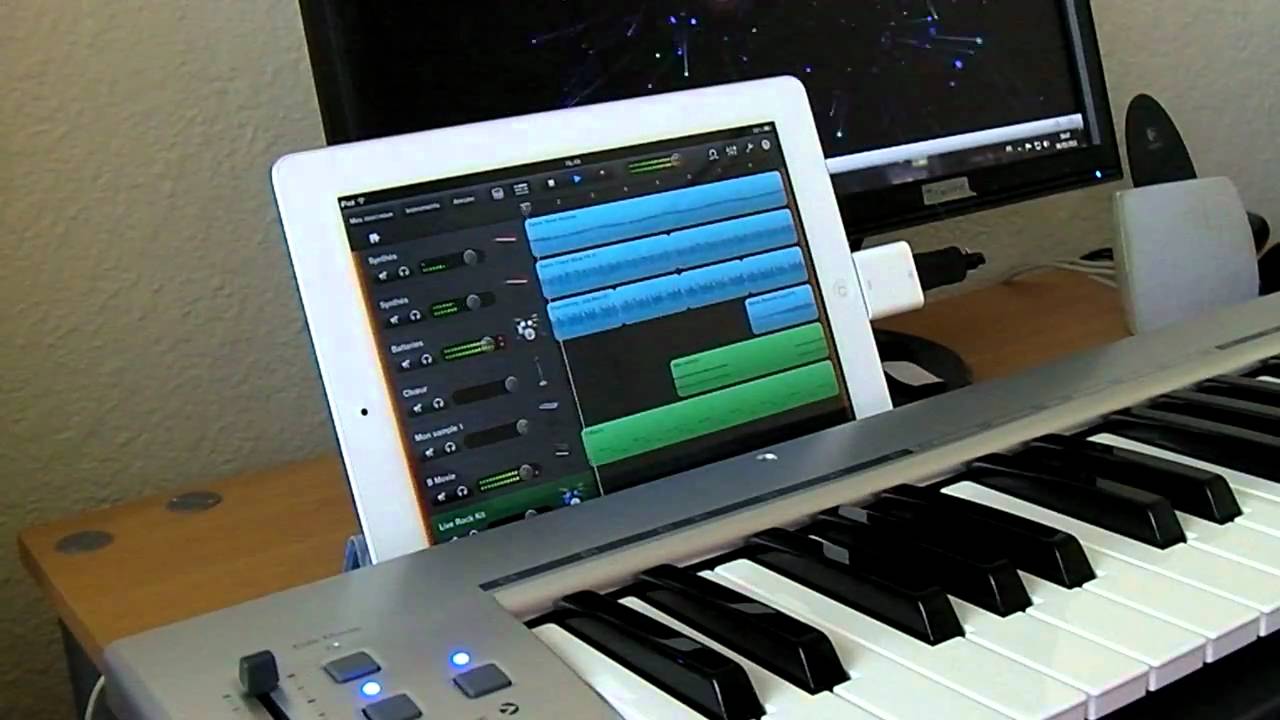
Before you can start programming samples onto your MIDI keyboard in Garageband, it’s crucial to ensure that your MIDI keyboard is properly set up and recognized by the software. Follow these steps to seamlessly integrate your MIDI keyboard with Garageband:
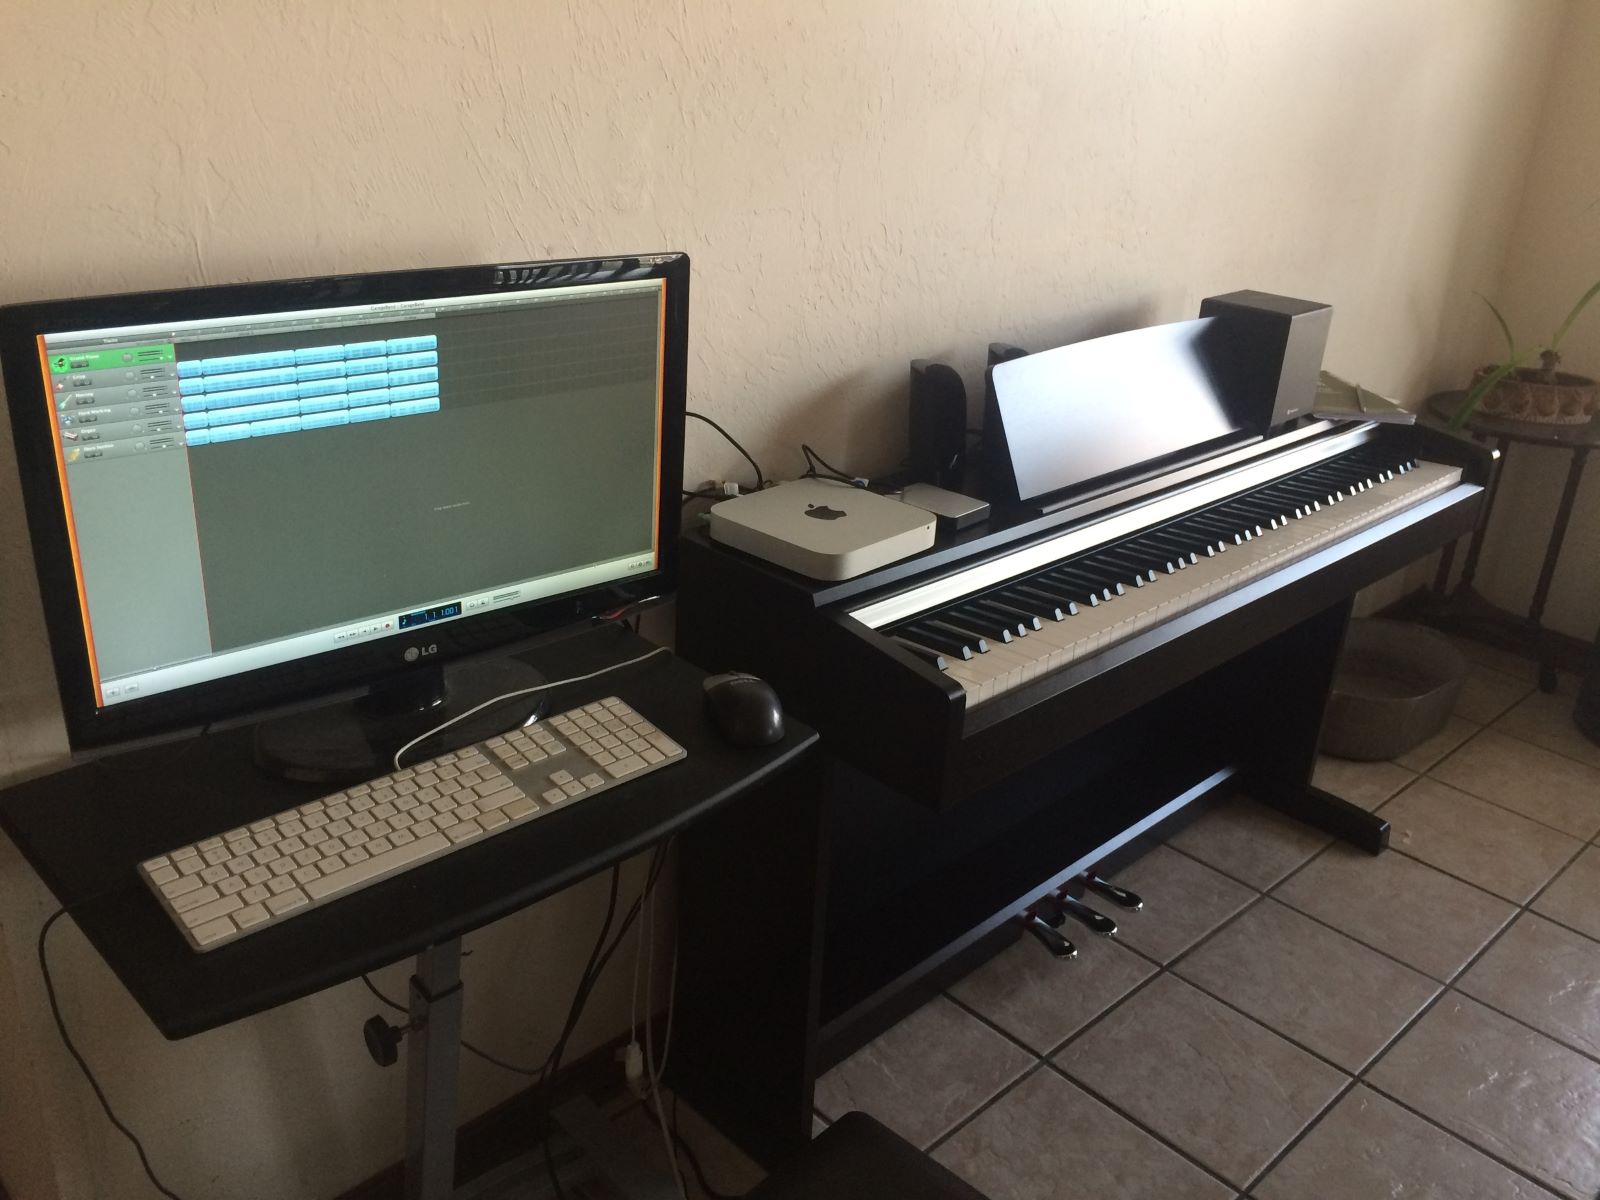
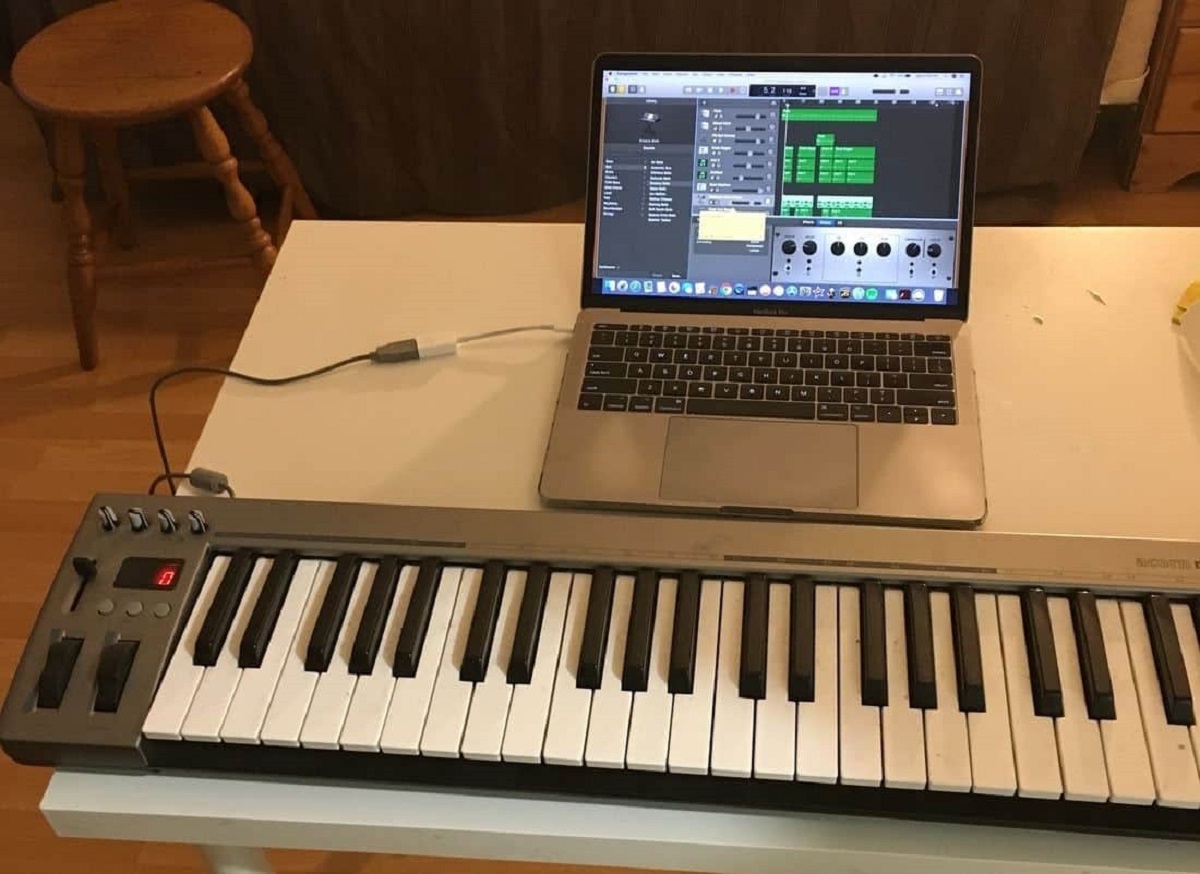
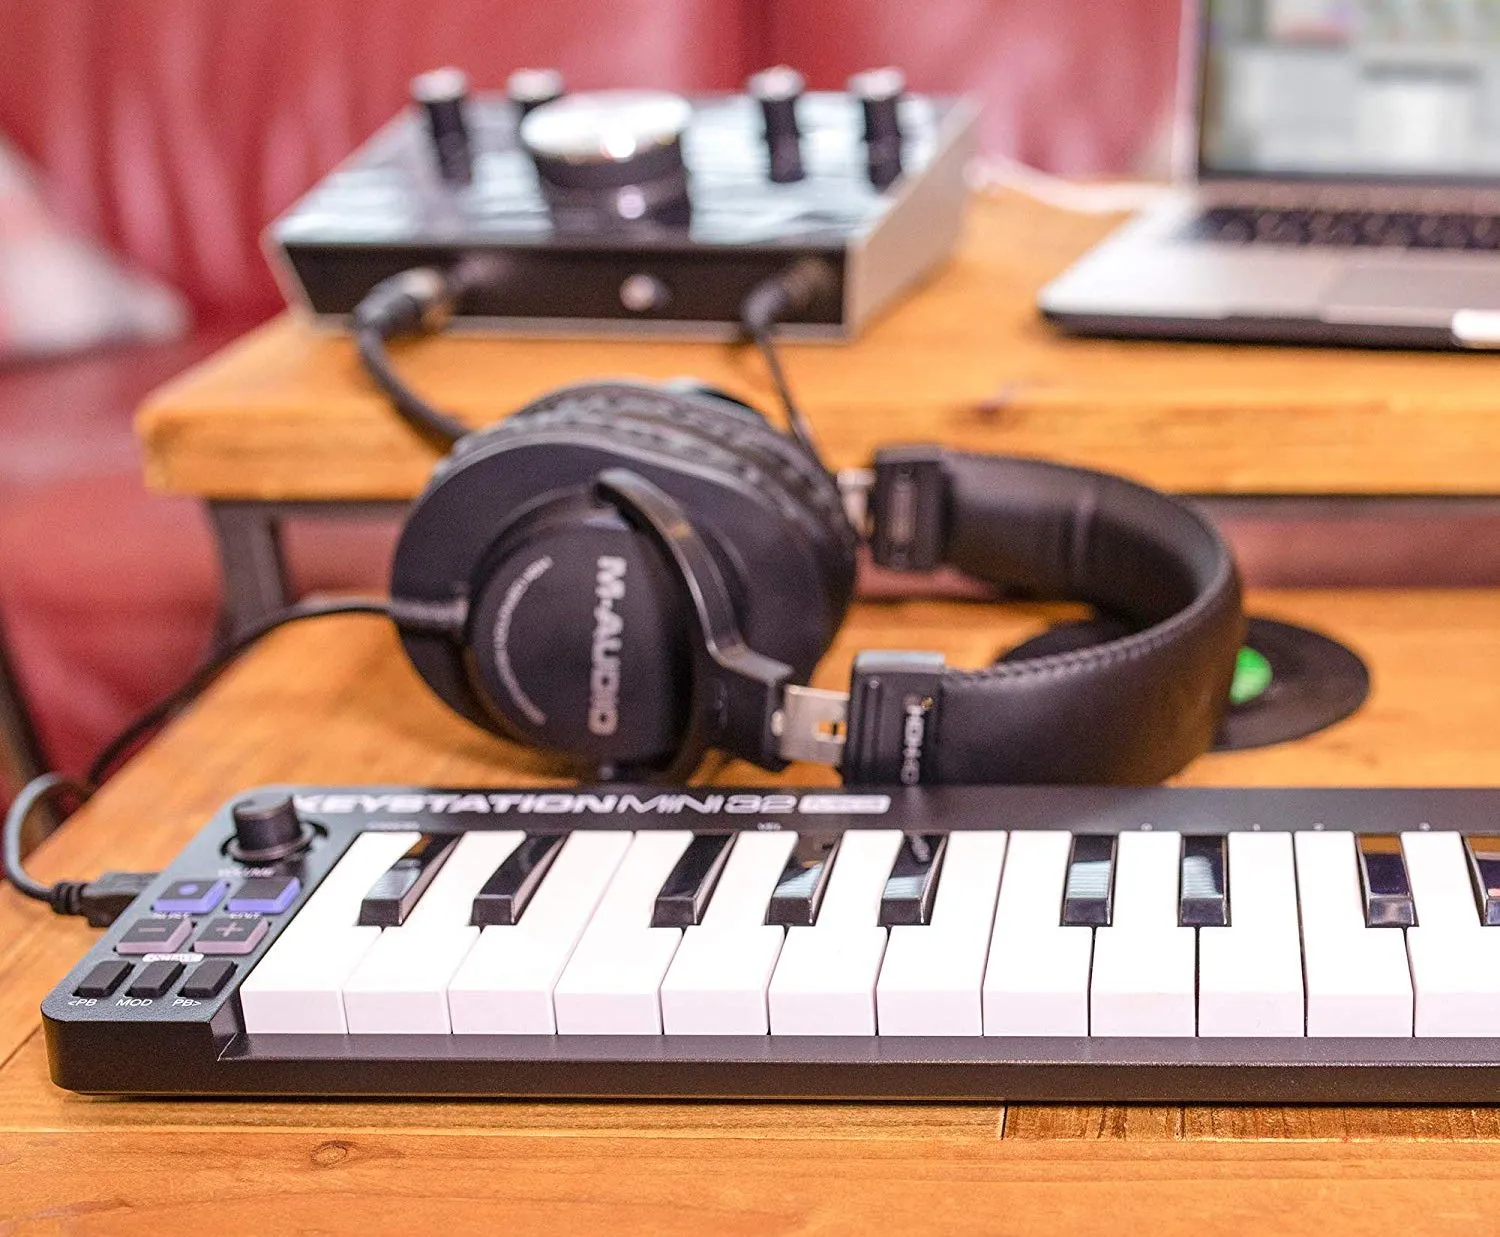
- Connect your MIDI keyboard: Begin by connecting your MIDI keyboard to your computer using a USB cable or MIDI interface. Once connected, power on your MIDI keyboard.
- Launch Garageband: Open Garageband on your computer. If you’re using a Mac, you can find Garageband in the Applications folder or launch it from the dock.
- Access Garageband preferences: Click on the Garageband menu at the top-left corner of the screen and select “Preferences.” In the Preferences window, click on the “Audio/MIDI” tab.
- Configure MIDI settings: In the Audio/MIDI tab, make sure that your MIDI keyboard is recognized under the MIDI section. You should see your MIDI keyboard listed as an available input device. If it’s not listed, ensure that your keyboard is properly connected and powered on.
- Select your MIDI keyboard as the input device: Once your MIDI keyboard is detected, you can select it as the input device for Garageband. This allows Garageband to receive MIDI data from your keyboard.
With these steps completed, your MIDI keyboard should now be successfully set up in Garageband, ready to receive and transmit MIDI data. This seamless integration paves the way for effortless sample programming and musical exploration.
Now that your MIDI keyboard is configured in Garageband, let’s move on to the next step: importing samples into the software.
Importing samples into Garageband
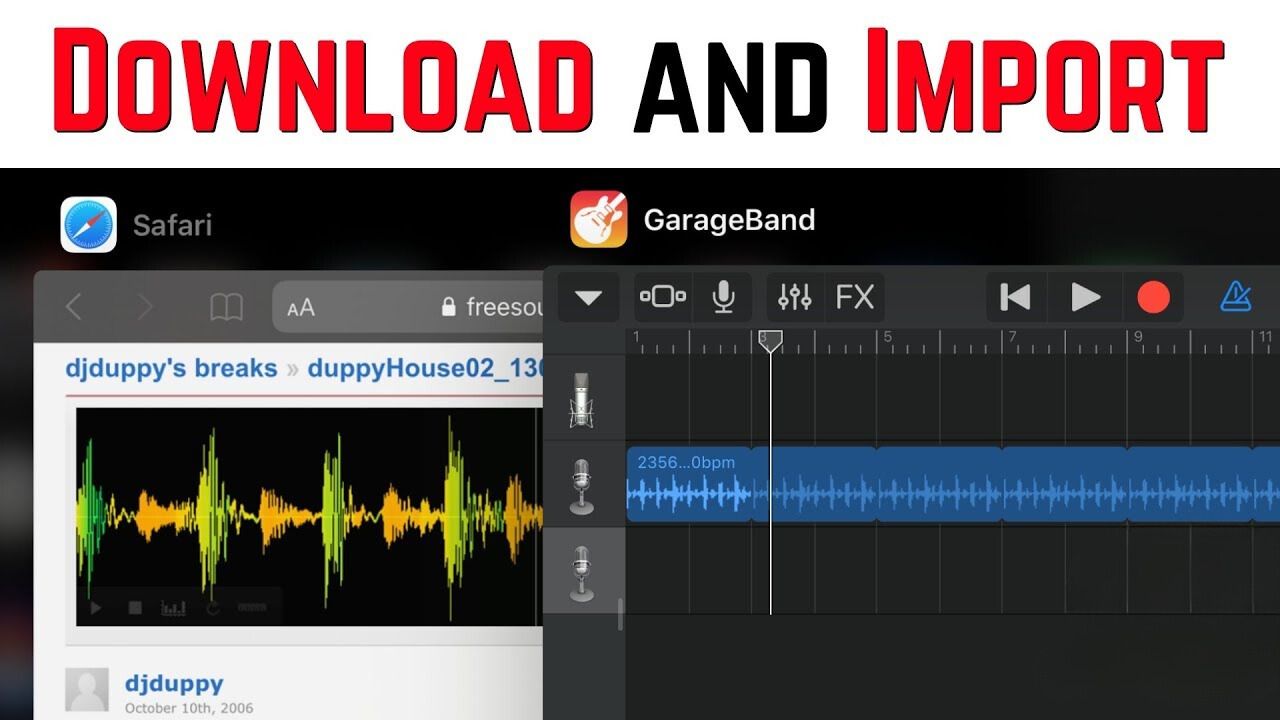
Garageband offers a straightforward process for importing samples, allowing you to enrich your music with a diverse array of sounds. Whether you’re working with drum loops, vocal samples, or melodic elements, incorporating samples into your projects can add depth and creativity to your compositions. Here’s how you can seamlessly import samples into Garageband:
- Locate your samples: First, gather the samples you wish to import into Garageband. These samples may be stored on your computer’s hard drive or an external storage device.
- Open Garageband: Launch Garageband on your computer. Once the software is open, create a new project or open an existing one where you want to import the samples.
- Access the loop browser: In Garageband, you can access the loop browser by clicking on the “Loop Browser” icon in the control bar at the top of the screen. The loop browser provides access to a wide range of pre-installed loops and allows you to import your own samples.
- Import your samples: To import your own samples, simply drag and drop the audio files from your storage location into the Garageband timeline or workspace. You can also use the “Import” option in the loop browser to navigate to the location of your samples and add them to your project.
- Organize and categorize: Once your samples are imported, you can organize and categorize them within Garageband to streamline your workflow. Assigning relevant tags and labels to your samples can help you quickly locate and utilize them in your compositions.
By following these steps, you can effortlessly import samples into Garageband, expanding your sonic palette and enhancing the creative possibilities within your music projects. With your samples now integrated into Garageband, it’s time to delve into the exciting process of programming them onto your MIDI keyboard.
Programming samples onto your MIDI keyboard
Once your MIDI keyboard is set up and your samples are imported into Garageband, you’re ready to program the samples onto your MIDI keyboard for performance and manipulation. This process allows you to trigger the samples using the keys of your MIDI keyboard, offering a hands-on approach to music creation. Here’s how you can program samples onto your MIDI keyboard in Garageband:
- Select the sample: Begin by choosing the sample you want to program onto your MIDI keyboard. You can select the sample from the imported files in your Garageband project.
- Assign the sample to a track: Drag the selected sample onto a new or existing track in the Garageband workspace. This assigns the sample to the track, allowing you to manipulate and program it using your MIDI keyboard.
- Enable MIDI control: In Garageband, ensure that MIDI control is enabled for the track containing the sample. This allows your MIDI keyboard to trigger the sample when you play the corresponding keys.
- Map the sample to keys: With MIDI control enabled, you can map the sample to specific keys on your MIDI keyboard. This mapping determines which keys trigger the sample during playback or recording.
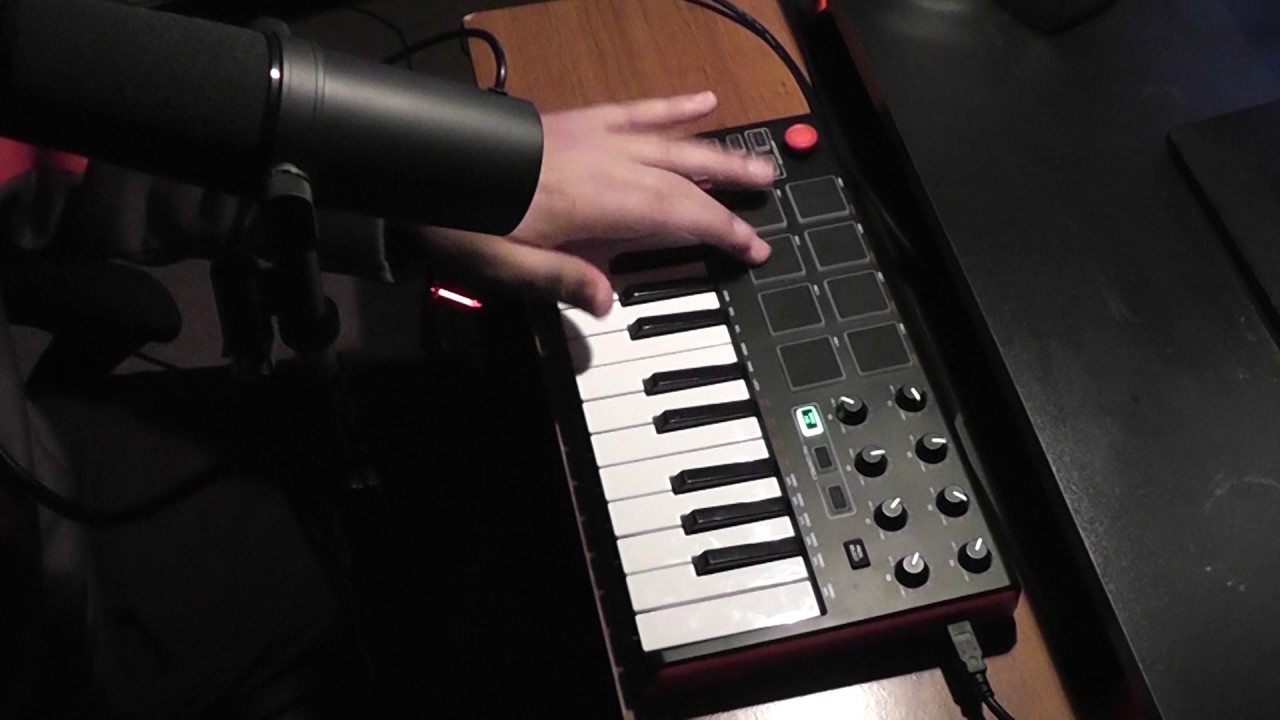
- Experiment with performance: Once the sample is mapped to your MIDI keyboard, experiment with performing the sample using different keys and techniques. You can use the keyboard’s velocity sensitivity to modulate the dynamics of the sample, adding expressive nuances to your performance.
By following these steps, you can effectively program samples onto your MIDI keyboard in Garageband, unlocking a dynamic and interactive approach to incorporating samples into your music. This hands-on method of triggering and manipulating samples through your MIDI keyboard empowers you to infuse your compositions with personalized musical expressions and textures.
With the samples programmed onto your MIDI keyboard, you’re now equipped to explore further customization by adjusting the sample settings within Garageband.
Adjusting sample settings
Once you’ve programmed samples onto your MIDI keyboard in Garageband, you have the flexibility to adjust various settings to tailor the sound and behavior of the samples to your preferences. These settings allow you to refine the sonic characteristics and performance attributes of the samples, enhancing their integration into your music projects. Here’s how you can adjust sample settings in Garageband:
- Editing the sample: Garageband provides tools for editing the samples directly within the software. You can trim, loop, and apply effects to the samples to modify their sonic properties and create custom variations.
- Applying MIDI effects: Utilize MIDI effects within Garageband to manipulate the behavior of the samples triggered by your MIDI keyboard. MIDI effects can include quantization, arpeggiation, and modulation, offering creative possibilities for transforming the sample playback in real-time.
- Adjusting velocity sensitivity: Garageband allows you to adjust the velocity sensitivity of the samples triggered by your MIDI keyboard. This parameter influences the dynamic response of the samples to the varying key velocities, enabling expressive performance nuances.
- Modifying pitch and modulation: Explore pitch-shifting and modulation controls to alter the pitch, timbre, and modulation characteristics of the samples. These adjustments can introduce sonic variations and enrich the musical expression of the programmed samples.
- Experimenting with automation: Garageband’s automation features enable you to automate parameter changes over time, such as volume, panning, and effect parameters. This dynamic control adds movement and evolution to the programmed samples, enhancing their impact within your compositions.
By leveraging these sample settings and customization options in Garageband, you can sculpt the samples programmed onto your MIDI keyboard to align with your artistic vision and musical intentions. The ability to fine-tune the sonic and performance attributes of the samples empowers you to create compelling and distinctive musical arrangements.
Conclusion
Congratulations! You’ve embarked on a journey through the creative realm of programming samples onto a MIDI keyboard in Garageband. By following the steps outlined in this guide, you’ve gained the knowledge and skills to seamlessly integrate your MIDI keyboard with Garageband, import samples, program them onto your keyboard, and adjust their settings to elevate your music production endeavors.
As you delve into the world of MIDI keyboard programming, remember that experimentation and exploration are key components of the creative process. Embrace the opportunity to combine different samples, experiment with performance techniques, and fine-tune the sonic characteristics to craft unique and captivating musical compositions.
Programming samples onto your MIDI keyboard in Garageband opens up a world of possibilities, allowing you to infuse your music with personality, depth, and innovation. Whether you’re crafting infectious beats, emotive melodies, or intricate soundscapes, the ability to program and manipulate samples through your MIDI keyboard empowers you to express your musical vision with unparalleled creativity.
As you continue your musical journey, don’t hesitate to push the boundaries of conventional sounds and techniques. Embrace the freedom to experiment, blend genres, and sculpt sonic landscapes that resonate with your artistic sensibilities. Your MIDI keyboard, coupled with the versatile capabilities of Garageband, serves as a gateway to boundless musical expression and sonic storytelling.
Now, armed with the expertise to harness the potential of your MIDI keyboard in Garageband, you’re poised to embark on a captivating musical odyssey. So, plug in your MIDI keyboard, import your favorite samples, and let your creativity soar as you embark on the exhilarating adventure of MIDI keyboard programming in Garageband.