Introduction
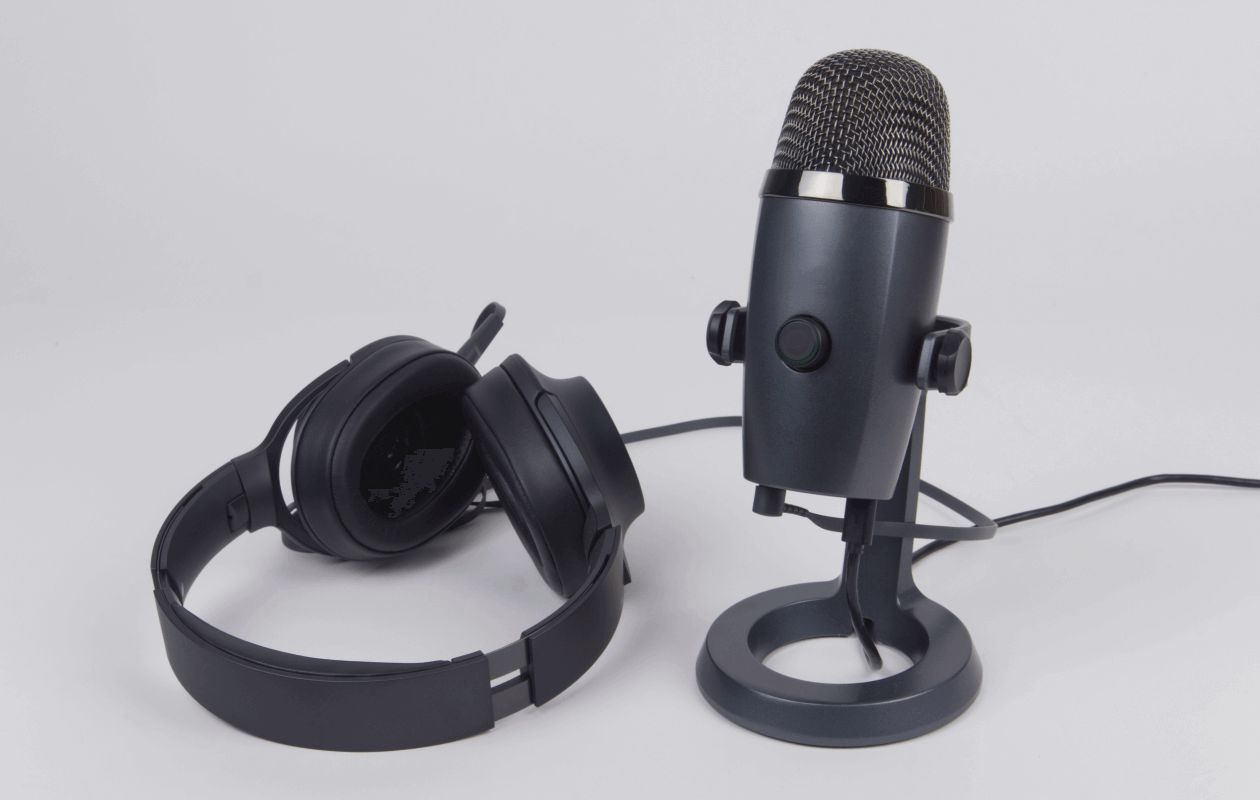
Welcome to this guide on how to make a USB microphone the default option on your computer. USB microphones are becoming increasingly popular due to their convenience and ease of use. Whether you are a content creator, a podcaster, or simply someone who wants to improve their audio quality during online meetings or gaming sessions, setting your USB microphone as the default device is essential.
By making your USB microphone the default option, you ensure that all audio input from your computer, including voice recordings and online calls, is directed through your USB microphone. This allows for better recording quality and eliminates the need to switch between different audio devices every time you want to use your microphone.
In this guide, we will walk you through the step-by-step process of setting your USB microphone as the default device on both Windows and macOS operating systems. We will also provide additional tips on adjusting microphone settings and testing the microphone to ensure everything is functioning properly.
If you’re ready to maximize the functionality of your USB microphone and improve your overall audio experience, then let’s get started with the first step – plugging in your USB microphone.
Step 1: Plug in your USB Microphone
The first step in making your USB microphone the default device is to ensure it is properly connected to your computer. Before plugging in your USB microphone, make sure to check the manufacturer’s instructions for any specific guidelines.
To plug in your USB microphone, locate an available USB port on your computer. USB ports are typically found on the sides or back of your computer tower or on the sides of your laptop. Once you’ve located the USB port, gently insert the USB connector of your microphone into the port. You should feel it firmly slide into place.
After plugging in your USB microphone, give your computer a moment to recognize the new device. You may hear a sound prompt or see a notification indicating that a new audio device has been connected.
It’s important to note that some USB microphones may require additional drivers to be installed before they can work properly. If your microphone came with a driver installation CD or instructions, follow them accordingly to ensure compatibility.
Once your USB microphone is connected and recognized by your computer, you’re ready to proceed to the next step, which involves accessing the sound settings to make necessary adjustments.
Step 2: Access Sound Settings
Now that your USB microphone is connected to your computer, it’s time to access the sound settings to make the necessary adjustments. The process may slightly vary depending on whether you are using a Windows or macOS operating system.
If you are using Windows:
- Click on the “Start” menu located in the bottom-left corner of your screen.
- Search for “Control Panel” and click on it to open the Control Panel window.
- Within the Control Panel, locate and click on the “Hardware and Sound” option.
- Under the “Sound” section, click on “Manage audio devices.”
- A window will appear showing the available audio devices. Look for your USB microphone in the list.
- Right-click on the USB microphone and select “Set as Default Device.”
- Click “Apply” and then “OK” to save the changes.
If you are using macOS:
- Click on the Apple menu located in the top-left corner of your screen.
- Select “System Preferences” from the drop-down menu.
- In the System Preferences window, click on the “Sound” icon.
- Click on the “Input” tab to view the available audio input devices.
- Select your USB microphone from the list of input devices.
- Adjust the input volume using the slider if desired.
Once you have accessed the sound settings and set your USB microphone as the default device, you’re ready to move on to the next step – adjusting the microphone settings to optimize its performance.
Step 3: Set USB Microphone as Default Device
Now that you have accessed the sound settings, it’s time to set your USB microphone as the default device. This ensures that all audio input from your computer is directed through your USB microphone.
Follow these steps to set your USB microphone as the default device:
- If you are using Windows: In the “Manage audio devices” window, right-click on your USB microphone and select “Set as Default Device”. If there are multiple audio devices listed, ensure that your USB microphone is selected as the default.
- If you are using macOS: In the “Input” tab of the “Sound” settings, select your USB microphone as the default input device. Ensure that the input volume is appropriately adjusted to your preference.
Setting your USB microphone as the default device ensures that any application or program you use will automatically recognize and utilize the microphone for audio input. This eliminates the need to manually switch between different audio devices, providing convenience and a seamless recording experience.
Once you have set your USB microphone as the default device, you’re ready to move on to the next step – adjusting the microphone settings to optimize its performance and ensure high-quality audio recordings.
Step 4: Adjust Microphone Settings
After successfully setting your USB microphone as the default device, it’s important to fine-tune its settings to ensure optimal performance and audio quality. Adjusting the microphone settings can help eliminate background noise, enhance clarity, and customize the audio input according to your specific needs.
Here are some adjustments you can make to optimize your microphone settings:
- Volume: Adjust the microphone volume to an appropriate level. Avoid setting it too high, as it may lead to distortion or clipping. Find a balance that allows for clear and audible sound without any distortion.
- Gain: Some USB microphones have a gain control feature. You can adjust the gain to control the sensitivity of the microphone. Increase the gain if you have a soft voice or decrease it if you have a loud voice to achieve balanced audio.
- Noise Reduction: Enable any built-in noise reduction or noise-canceling features your microphone may have. This can help minimize background noise and improve the clarity of your recordings.
- Equalization (EQ): Depending on your preferred sound profile, you can experiment with the EQ settings to adjust the bass, treble, and mid-range frequencies of your microphone. This allows you to tailor the sound to your desired tone and preference.
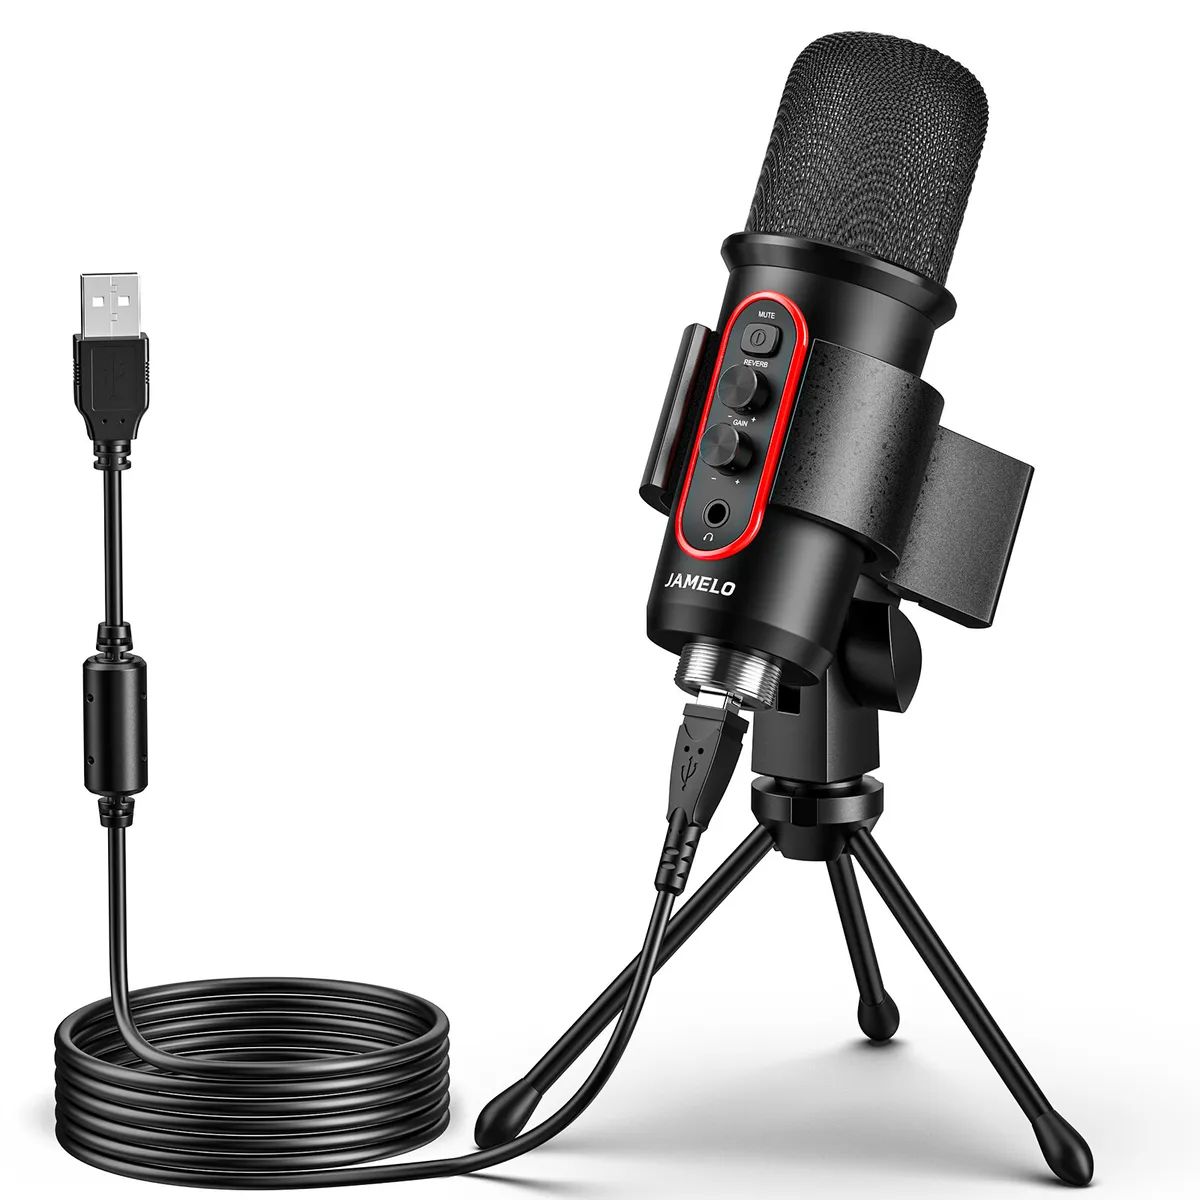
- Mute Button and LED: Familiarize yourself with the mute button on your microphone, if available. This allows you to temporarily disable the microphone’s audio input. Additionally, some microphones have LEDs that indicate the microphone’s status, such as whether it is muted or active.
Take the time to test various settings and listen to the audio output to determine the optimal configuration for your USB microphone. Remember to consider the specific requirements of your use case, whether it’s recording vocals, conducting podcasts, or participating in online meetings.
With your microphone settings adjusted, you’re now ready for the final step – testing the microphone to ensure it’s functioning properly.
Step 5: Test the Microphone
Testing your USB microphone is crucial to ensure that it’s working correctly and producing high-quality audio. By performing a quick test, you can verify that your microphone settings are properly configured and that your voice is being captured clearly. Here’s how to test your USB microphone:
- Open any application or software that allows for audio input, such as a voice recording app or video conferencing software.
- Speak into the microphone at a normal volume and observe the waveform or input level meter. It should indicate that audio is being detected.
- Listen to the playback to ensure your voice is coming through clearly without any distortion, clipping, or excessive background noise. Make any necessary adjustments to the microphone settings if needed.
- If you’re using video conferencing software, initiate a test call or join a video meeting to confirm that other participants can hear you clearly.
During the testing process, pay attention to any issues such as audio distortion, low volume, or background noise. If you encounter any problems, revisit the previous steps to ensure that your USB microphone is properly connected, set as the default device, and the settings are adjusted correctly.
Keep in mind that different applications and software may have their own audio settings that can further affect the microphone input. Explore these settings as necessary to optimize the audio quality for specific applications.
By thoroughly testing your USB microphone, you can identify and resolve any issues before they impact important recordings, meetings, or content creation sessions. Regularly testing your microphone will also allow you to maintain consistent audio quality and make adjustments as needed.
Once you’ve successfully tested your USB microphone and are satisfied with the results, you can now enjoy using it as your default audio input device for various purposes.
Conclusion
Congratulations! You have successfully learned how to make a USB microphone the default device on your computer. By following the steps outlined in this guide, you have now ensured that all audio input on your computer is directed through your USB microphone, allowing for better recording quality and a seamless audio experience.
Remember, the key steps to making a USB microphone the default device are:
- Plug in your USB microphone
- Access sound settings
- Set USB microphone as the default device
- Adjust microphone settings
- Test the microphone
With your USB microphone set as the default device, you can enjoy improved audio quality for various activities such as video calls, recording podcasts, streaming, and more. Additionally, adjusting the microphone settings gives you the flexibility to tailor the sound according to your preferences.
Don’t forget to regularly test your microphone to ensure it’s functioning properly and producing the desired audio quality. This will help you identify any issues early on, allowing for timely troubleshooting and maintenance.
Now that you have the knowledge and skills to make a USB microphone the default device, you can unlock the full potential of your audio setup and enhance your overall audio experience. Whether you’re a content creator, a professional in need of high-quality audio, or simply someone who enjoys crystal-clear sound, making your USB microphone the default device is a valuable skill to have.
So go ahead and put your USB microphone to good use, and enjoy the enhanced audio quality it brings to your computer. Happy recording!