Introduction
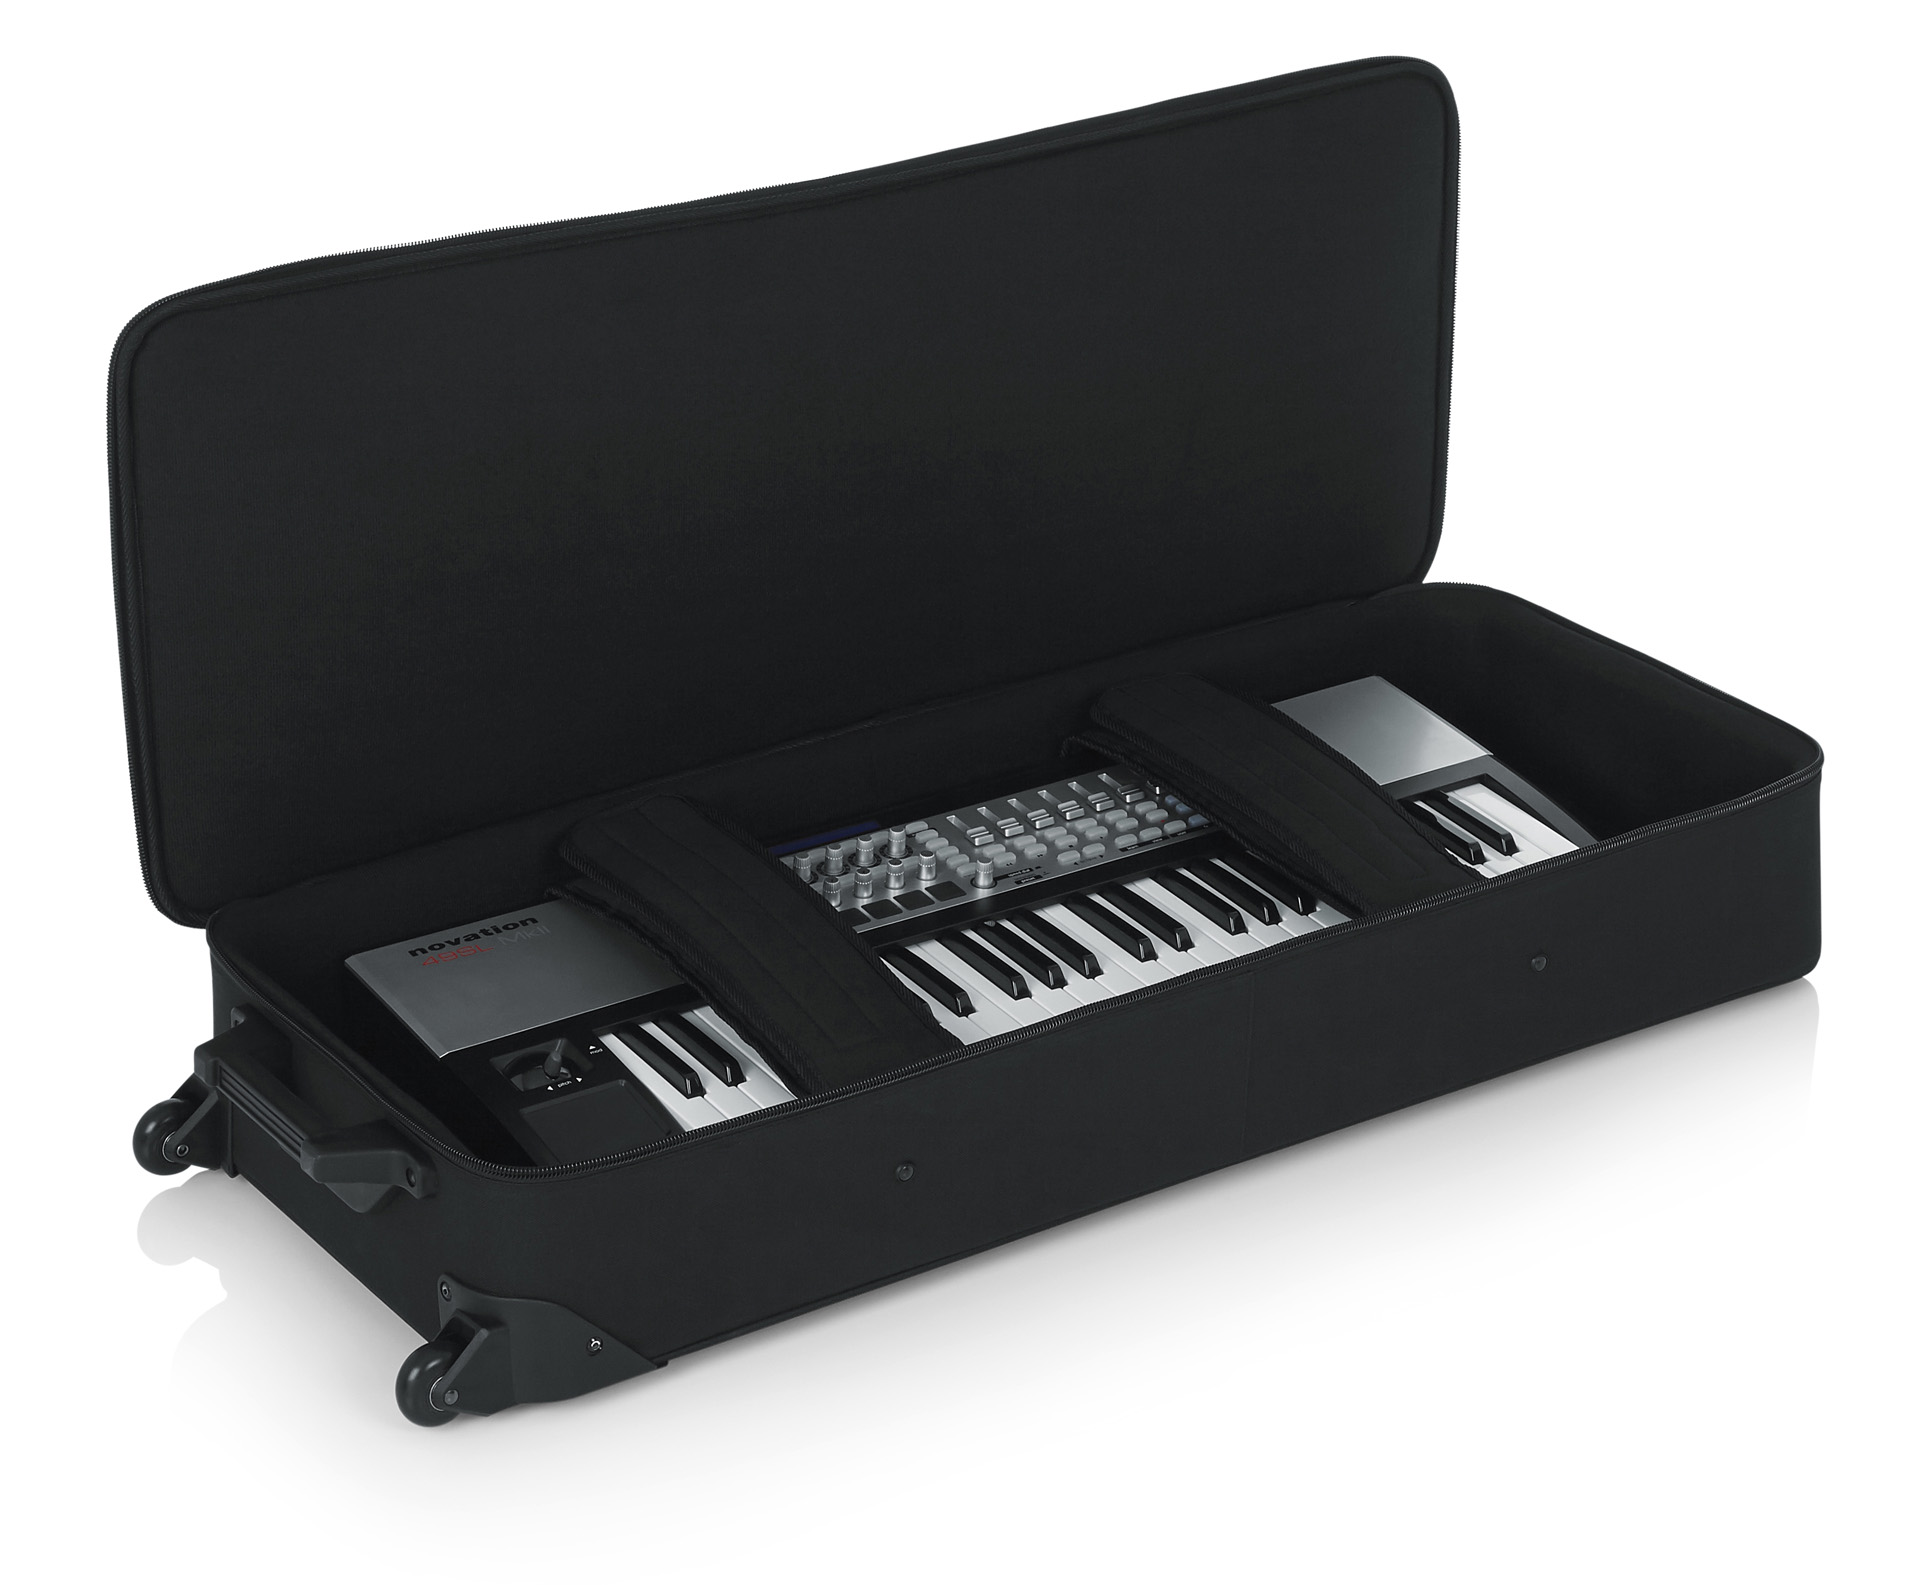
So, you've invested in a MIDI keyboard to bring your musical creations to life. Now, it's time to protect this valuable piece of equipment from the perils of everyday use. A protective case for your MIDI keyboard is essential for safeguarding it from dust, spills, and accidental bumps, whether you're transporting it to gigs or simply storing it at home.
Creating a custom protective case allows you to tailor the design to fit your specific keyboard, ensuring a snug and secure fit. Plus, you can express your creativity by choosing fabrics and embellishments that reflect your personal style. In this guide, we'll walk you through the process of crafting a protective case for your MIDI keyboard, providing step-by-step instructions to help you achieve a professional and durable result.
Whether you're an experienced seamstress or a novice DIY enthusiast, making your own protective case is a rewarding project that offers both practical and aesthetic benefits. By the end of this guide, you'll have a bespoke case that not only shields your MIDI keyboard from harm but also showcases your individuality.
Let's gather the necessary materials and embark on this fulfilling journey to create a protective case that will keep your MIDI keyboard safe and sound.
Materials Needed
Before diving into the process of making a protective case for your MIDI keyboard, it’s essential to gather all the necessary materials. Here’s a comprehensive list of items you’ll need to bring your project to life:
- Fabric: Choose a durable fabric that offers protection against dust and minor impacts. Consider using a heavy-duty canvas, nylon, or polyester material for the exterior, and a softer, padded fabric for the interior lining.
- Padding: Foam padding or quilted batting will provide cushioning to protect your keyboard from bumps and jolts. Ensure that the padding is thick enough to offer adequate protection without adding excessive bulk to the case.
- Thread: Select a high-quality, strong thread that complements the color of your chosen fabric. A durable thread will ensure that the seams of your case are securely fastened.
- Zippers or Velcro: Depending on your preferred closure method, you’ll need a suitable length of zipper or Velcro to secure the case. Opt for heavy-duty zippers or industrial-strength Velcro for longevity.
- Handles or Straps: If you plan to transport your keyboard frequently, sturdy handles or adjustable straps are essential for ease of carrying. Choose materials that are comfortable to grip and can bear the weight of the keyboard.
- Measuring Tape and Ruler: Accurate measurements are crucial for creating a well-fitting case. A flexible measuring tape and a straight ruler will aid in obtaining precise dimensions.
- Scissors and Rotary Cutter: Sharp fabric scissors and a rotary cutter will facilitate clean and accurate cutting of the fabric and padding.
- Sewing Machine (Optional): While hand-sewing is possible, a sewing machine can expedite the process and ensure uniform and sturdy stitching.
- Marking Tools: Fabric chalk or washable fabric markers will help you trace and mark the fabric for cutting and sewing.
By assembling these materials, you’ll be well-equipped to embark on the journey of creating a custom protective case for your MIDI keyboard. With these essentials in hand, you’re ready to move on to the next steps of measuring and cutting the fabric.
Measuring and Cutting the Fabric
Accurate measurements form the foundation of a well-fitting protective case for your MIDI keyboard. Before cutting into your chosen fabric, it’s crucial to take precise measurements of your keyboard to ensure a snug and secure fit. Here’s a step-by-step guide to measuring and cutting the fabric for your custom case:
- Measure the Dimensions: Begin by measuring the length, width, and height of your MIDI keyboard. Take these measurements at the widest points, including any knobs, buttons, or protruding components.
- Add Seam Allowance: Once you have the measurements of the keyboard, add seam allowance to each dimension. A standard seam allowance is typically 1/2 inch to 1 inch, depending on the thickness of the padding and your sewing preferences.
- Create a Pattern: Using the adjusted measurements, create a pattern on paper or cardboard. This pattern will serve as a template for cutting the fabric and padding. Ensure that the pattern accurately reflects the dimensions of your keyboard, accounting for the added seam allowance.
- Transfer the Pattern to Fabric: Lay out your chosen fabric on a flat surface, and carefully transfer the pattern onto the fabric using fabric chalk or washable fabric markers. Double-check the measurements and markings to avoid errors before cutting.
- Cut the Fabric and Padding: With sharp fabric scissors or a rotary cutter, cut the fabric and padding according to the marked dimensions. Take your time to maintain clean and straight edges, as precise cutting is essential for a professional-looking finish.
By meticulously following these steps, you’ll obtain fabric pieces that are tailored to encase your MIDI keyboard perfectly. The next phase involves sewing the fabric together to form the protective shell of the case, bringing you one step closer to completing your custom creation.
Sewing the Fabric Together
Once the fabric pieces have been accurately cut to size, it’s time to assemble them into a cohesive structure that will envelop your MIDI keyboard securely. The process of sewing the fabric together requires precision and attention to detail to ensure a professional and durable outcome. Follow these steps to seamlessly stitch the fabric pieces into a protective shell:
- Pin the Pieces Together: Align the fabric pieces for the exterior and interior of the case, ensuring that the right sides are facing inward. Use sewing pins to secure the pieces in place, allowing for easy removal as you progress with the sewing.
- Start Sewing: Using a sewing machine or hand-sewing needle, begin stitching along the edges of the fabric, maintaining the designated seam allowance. Reinforce the beginning and end of each seam with backstitching to prevent unraveling.
- Leave Openings: When sewing the pieces together, leave openings at strategic locations to accommodate the insertion of padding and the attachment of closures such as zippers or Velcro. These openings will be crucial for the next steps of the construction process.
- Trim Excess Seam Allowance: After sewing the pieces together, carefully trim any excess seam allowance to reduce bulk and facilitate a smooth and even finish. Take care not to cut into the stitches or compromise the structural integrity of the seams.
- Turn the Case Right-Side Out: Once the exterior and interior pieces are securely sewn together, gently turn the case right-side out through the openings. Use a blunt tool, such as a knitting needle or chopstick, to push out the corners and achieve clean, crisp edges.
By diligently following these steps, you’ll witness the transformation of individual fabric pieces into a unified case structure that is tailored to accommodate your MIDI keyboard. The next stages involve adding padding and lining to enhance the protective capabilities of the case, bringing you closer to the completion of your customized creation.
Adding Padding and Lining
With the fabric pieces sewn together to form the shell of the case, the next crucial step is to incorporate padding and lining to provide cushioning and protection for your MIDI keyboard. This phase is essential for safeguarding the instrument from impacts and ensuring a snug and secure fit within the case. Follow these steps to add padding and lining to your custom protective case:
- Measure and Cut the Padding: Using the assembled fabric shell as a guide, measure and cut the padding material to fit the interior dimensions of the case. Ensure that the padding is trimmed precisely to avoid bulges or unevenness within the case.
- Secure the Padding: Place the cut padding inside the fabric shell, ensuring that it fits snugly against the walls of the case. Use fabric adhesive or hand-sewing to secure the padding in place, preventing shifting or bunching during use.
- Add Lining: Cut a piece of fabric to serve as the lining for the interior of the case. This lining will not only protect the keyboard’s surface but also provide a polished and professional appearance to the interior. Secure the lining to the fabric shell, concealing the raw edges for a neat finish.
- Stitch the Lining in Place: Carefully stitch the lining to the interior of the fabric shell, ensuring that the seams are tidy and inconspicuous. Take your time to achieve clean and straight stitches, as the lining contributes to the overall aesthetics of the case.
- Trim Excess Lining: After securing the lining in place, trim any excess fabric to maintain a tidy and uniform interior. Pay attention to the corners and edges, ensuring that the lining complements the shape of the case without adding unnecessary bulk.
By following these steps, you’ll effectively integrate padding and lining into the protective case, elevating its functionality and visual appeal. The addition of these elements enhances the case’s ability to shield your MIDI keyboard from potential damage, ensuring that it remains well-protected during transport and storage.
Attaching Zippers or Velcro
As you near the completion of your custom protective case for the MIDI keyboard, the method of closure plays a pivotal role in ensuring the security and accessibility of the instrument within the case. Depending on your preference and skill level, you can choose to incorporate zippers or Velcro as the closure mechanism. Follow these steps to seamlessly attach zippers or Velcro to your protective case:
- Adding Zippers: If you opt for zippers, measure the length of the case opening and acquire a zipper of corresponding size. Pin the zipper along the edges of the opening, ensuring that it aligns evenly on both sides. Using a zipper foot on your sewing machine, stitch the zipper in place, taking care to maintain a straight and even seam.
- Securing Velcro Strips: Alternatively, if you choose Velcro as the closure method, measure and cut Velcro strips to match the length of the case opening. Attach one side of the Velcro to the exterior of the case and the corresponding side to the interior, ensuring that they align perfectly when closed.
- Reinforce the Attachment: Whether using zippers or Velcro, reinforce the attachment by sewing additional stitches at the beginning and end of the closure mechanism. This extra reinforcement ensures that the closure remains secure and withstands frequent use.
- Test the Closure: After attaching the zippers or Velcro, test the closure to ensure that it operates smoothly and securely. Make any necessary adjustments to the alignment or tension to achieve a seamless closure that effectively encases the MIDI keyboard.
By following these steps, you’ll successfully integrate zippers or Velcro as the closure mechanism for your protective case, providing a secure and convenient method of accessing and safeguarding your MIDI keyboard. The addition of these closures ensures that your instrument remains protected during transportation and storage, offering peace of mind and ease of use.
Adding Handles or Straps
With the structural elements of the protective case in place, the addition of handles or straps is essential for facilitating ease of transport and handling. These components not only enhance the functionality of the case but also contribute to its overall convenience and practicality. Follow these steps to seamlessly incorporate handles or straps into your custom protective case for the MIDI keyboard:
- Selecting the Handles or Straps: Choose handles or straps that are durable, comfortable to grip, and capable of bearing the weight of the keyboard. Opt for materials that offer a balance of strength and flexibility, ensuring that they can withstand regular use.
- Positioning the Handles or Straps: Determine the optimal placement of the handles or straps on the case, considering factors such as weight distribution and ease of carrying. Mark the positions where the handles or straps will be attached, ensuring symmetry and balance in their placement.
- Attaching the Handles: If using handles, sew them securely to the sides of the case, reinforcing the attachment with multiple stitches for added strength. Use a strong and durable thread to ensure that the handles remain firmly affixed to the case, even when subjected to the weight of the keyboard.
- Securing the Straps: For straps, carefully stitch them to the case, ensuring that the attachment points are reinforced to withstand the tension and weight of the keyboard. Consider using additional fabric patches or reinforcement stitches to fortify the connection between the straps and the case.
- Testing the Handles or Straps: After attaching the handles or straps, test their durability and comfort by lifting and carrying the case. Ensure that they provide a secure and comfortable grip, and make any adjustments if necessary to optimize their functionality.
By following these steps, you’ll successfully integrate handles or straps into your protective case, enhancing its portability and user-friendliness. The addition of these components ensures that you can transport your MIDI keyboard with ease and confidence, whether for rehearsals, performances, or storage.
Conclusion
Congratulations on completing the journey of crafting a custom protective case for your MIDI keyboard! By following the step-by-step process outlined in this guide, you’ve not only safeguarded your valuable instrument but also infused your creativity and personal touch into a functional and stylish accessory.
Throughout this endeavor, you’ve honed your skills in measuring, cutting, sewing, and assembling, culminating in the creation of a bespoke case tailored to the precise dimensions of your MIDI keyboard. The careful selection of materials, from durable fabrics to resilient closures and comfortable handles, has resulted in a protective case that meets your specific needs and preferences.
Moreover, the addition of padding and lining has elevated the case’s protective capabilities, ensuring that your MIDI keyboard remains shielded from potential damage during transit and storage. The incorporation of zippers or Velcro as closures, along with the integration of handles or straps, has further enhanced the case’s functionality and convenience, offering a seamless and secure carrying solution.
By embarking on this DIY project, you’ve not only acquired a practical accessory for your MIDI keyboard but also gained valuable experience in custom crafting and sewing. The satisfaction of creating a protective case that reflects your individual style and meets your exact requirements is a testament to your creativity and resourcefulness.
As you admire the finished case enveloping your MIDI keyboard, take pride in the craftsmanship and attention to detail that have gone into its making. Whether you’re a seasoned DIY enthusiast or a novice crafter, this project has allowed you to unleash your creativity and produce a functional and visually appealing protective case that complements your musical pursuits.
With your newly crafted protective case, your MIDI keyboard is now poised for safe travels, secure storage, and seamless integration into your musical endeavors. Embrace the satisfaction of a project well-executed, and revel in the knowledge that your instrument is now accompanied by a tailor-made guardian, courtesy of your own hands and ingenuity.


