Introduction
So, you've decided to take your audio recording setup to the next level by installing an overhead condenser microphone. This is a fantastic choice, as overhead microphones are ideal for capturing the full range of sound in a room, making them perfect for recording vocals, acoustic instruments, and even entire ensembles.
Whether you're setting up a home studio, a podcasting space, or a professional recording environment, installing an overhead condenser microphone can significantly enhance the quality of your audio recordings. However, the installation process can seem daunting at first, especially if you're new to audio equipment setup.
Not to worry, though! In this guide, we'll walk you through the step-by-step process of installing an overhead condenser microphone. By the end of this tutorial, you'll have the knowledge and confidence to mount and connect your microphone like a pro, ensuring that you capture pristine audio for your projects.
Before we dive into the installation process, it's important to note that every recording space is unique, and the specifics of your setup may vary. However, the general principles outlined in this guide will provide you with a solid foundation for installing your overhead condenser microphone, regardless of the particulars of your recording environment.
So, without further ado, let's gather our tools and get ready to elevate your audio recording game with a professionally installed overhead condenser microphone.
Step 1: Gather the Necessary Tools and Equipment
Before you begin the installation process, it’s essential to gather all the tools and equipment you’ll need to ensure a smooth and efficient setup for your overhead condenser microphone. Having the right tools at your disposal will not only make the installation process easier but also help you avoid potential delays and frustrations along the way.
Here’s a comprehensive list of the essential tools and equipment you should gather:
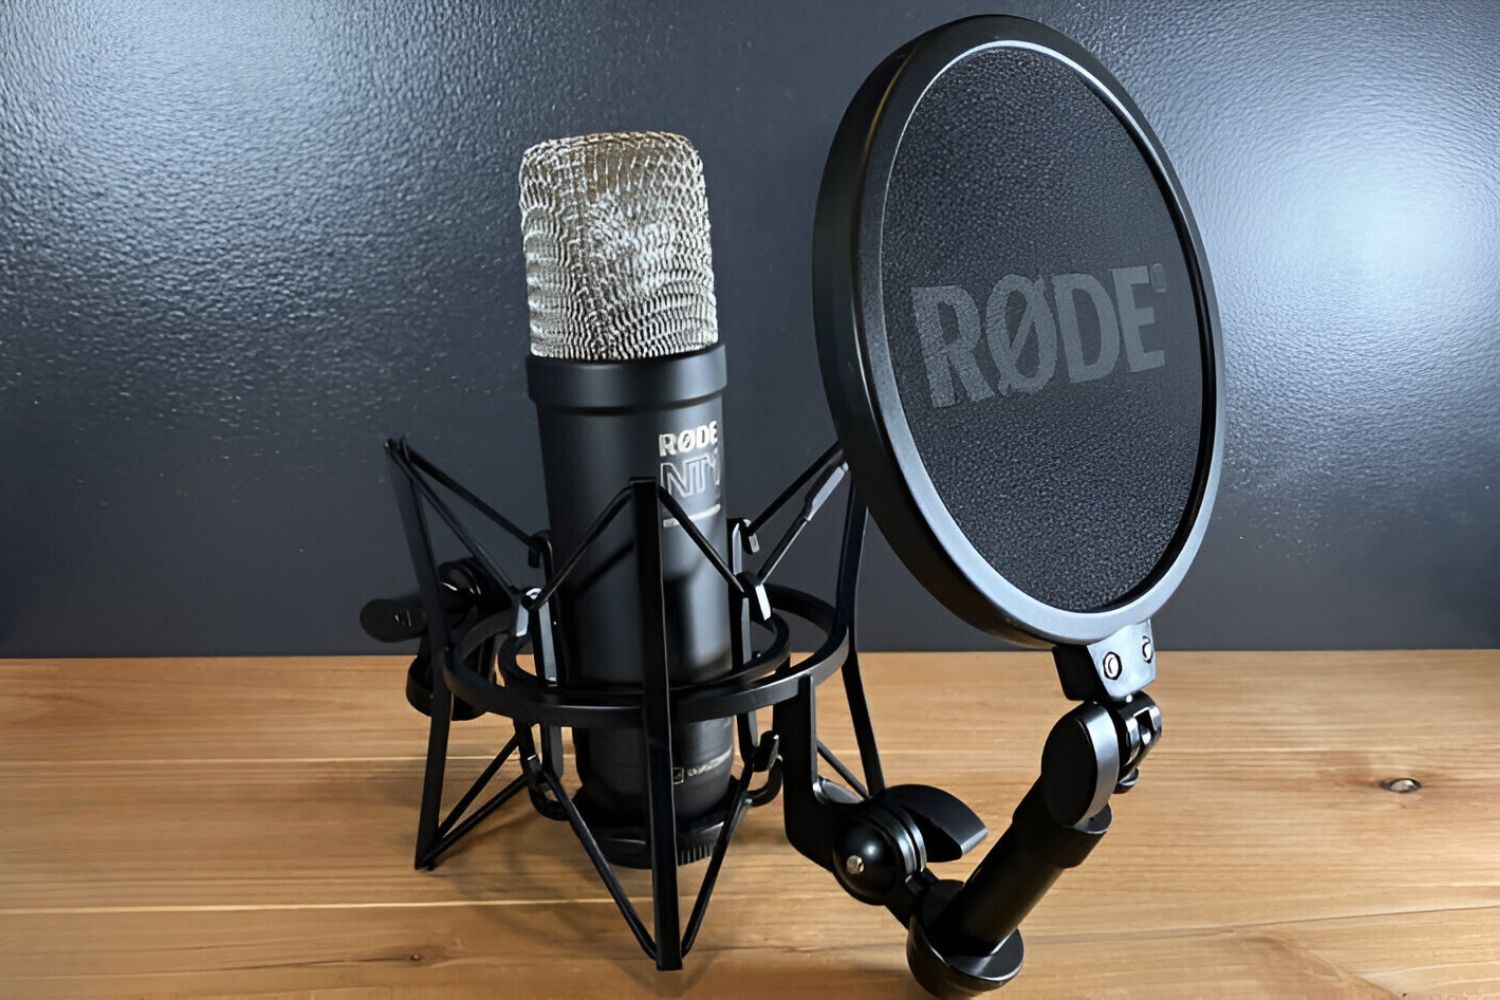
- Overhead Condenser Microphone: This is the star of the show. Make sure you have your microphone on hand, complete with any accompanying mounting hardware or brackets.
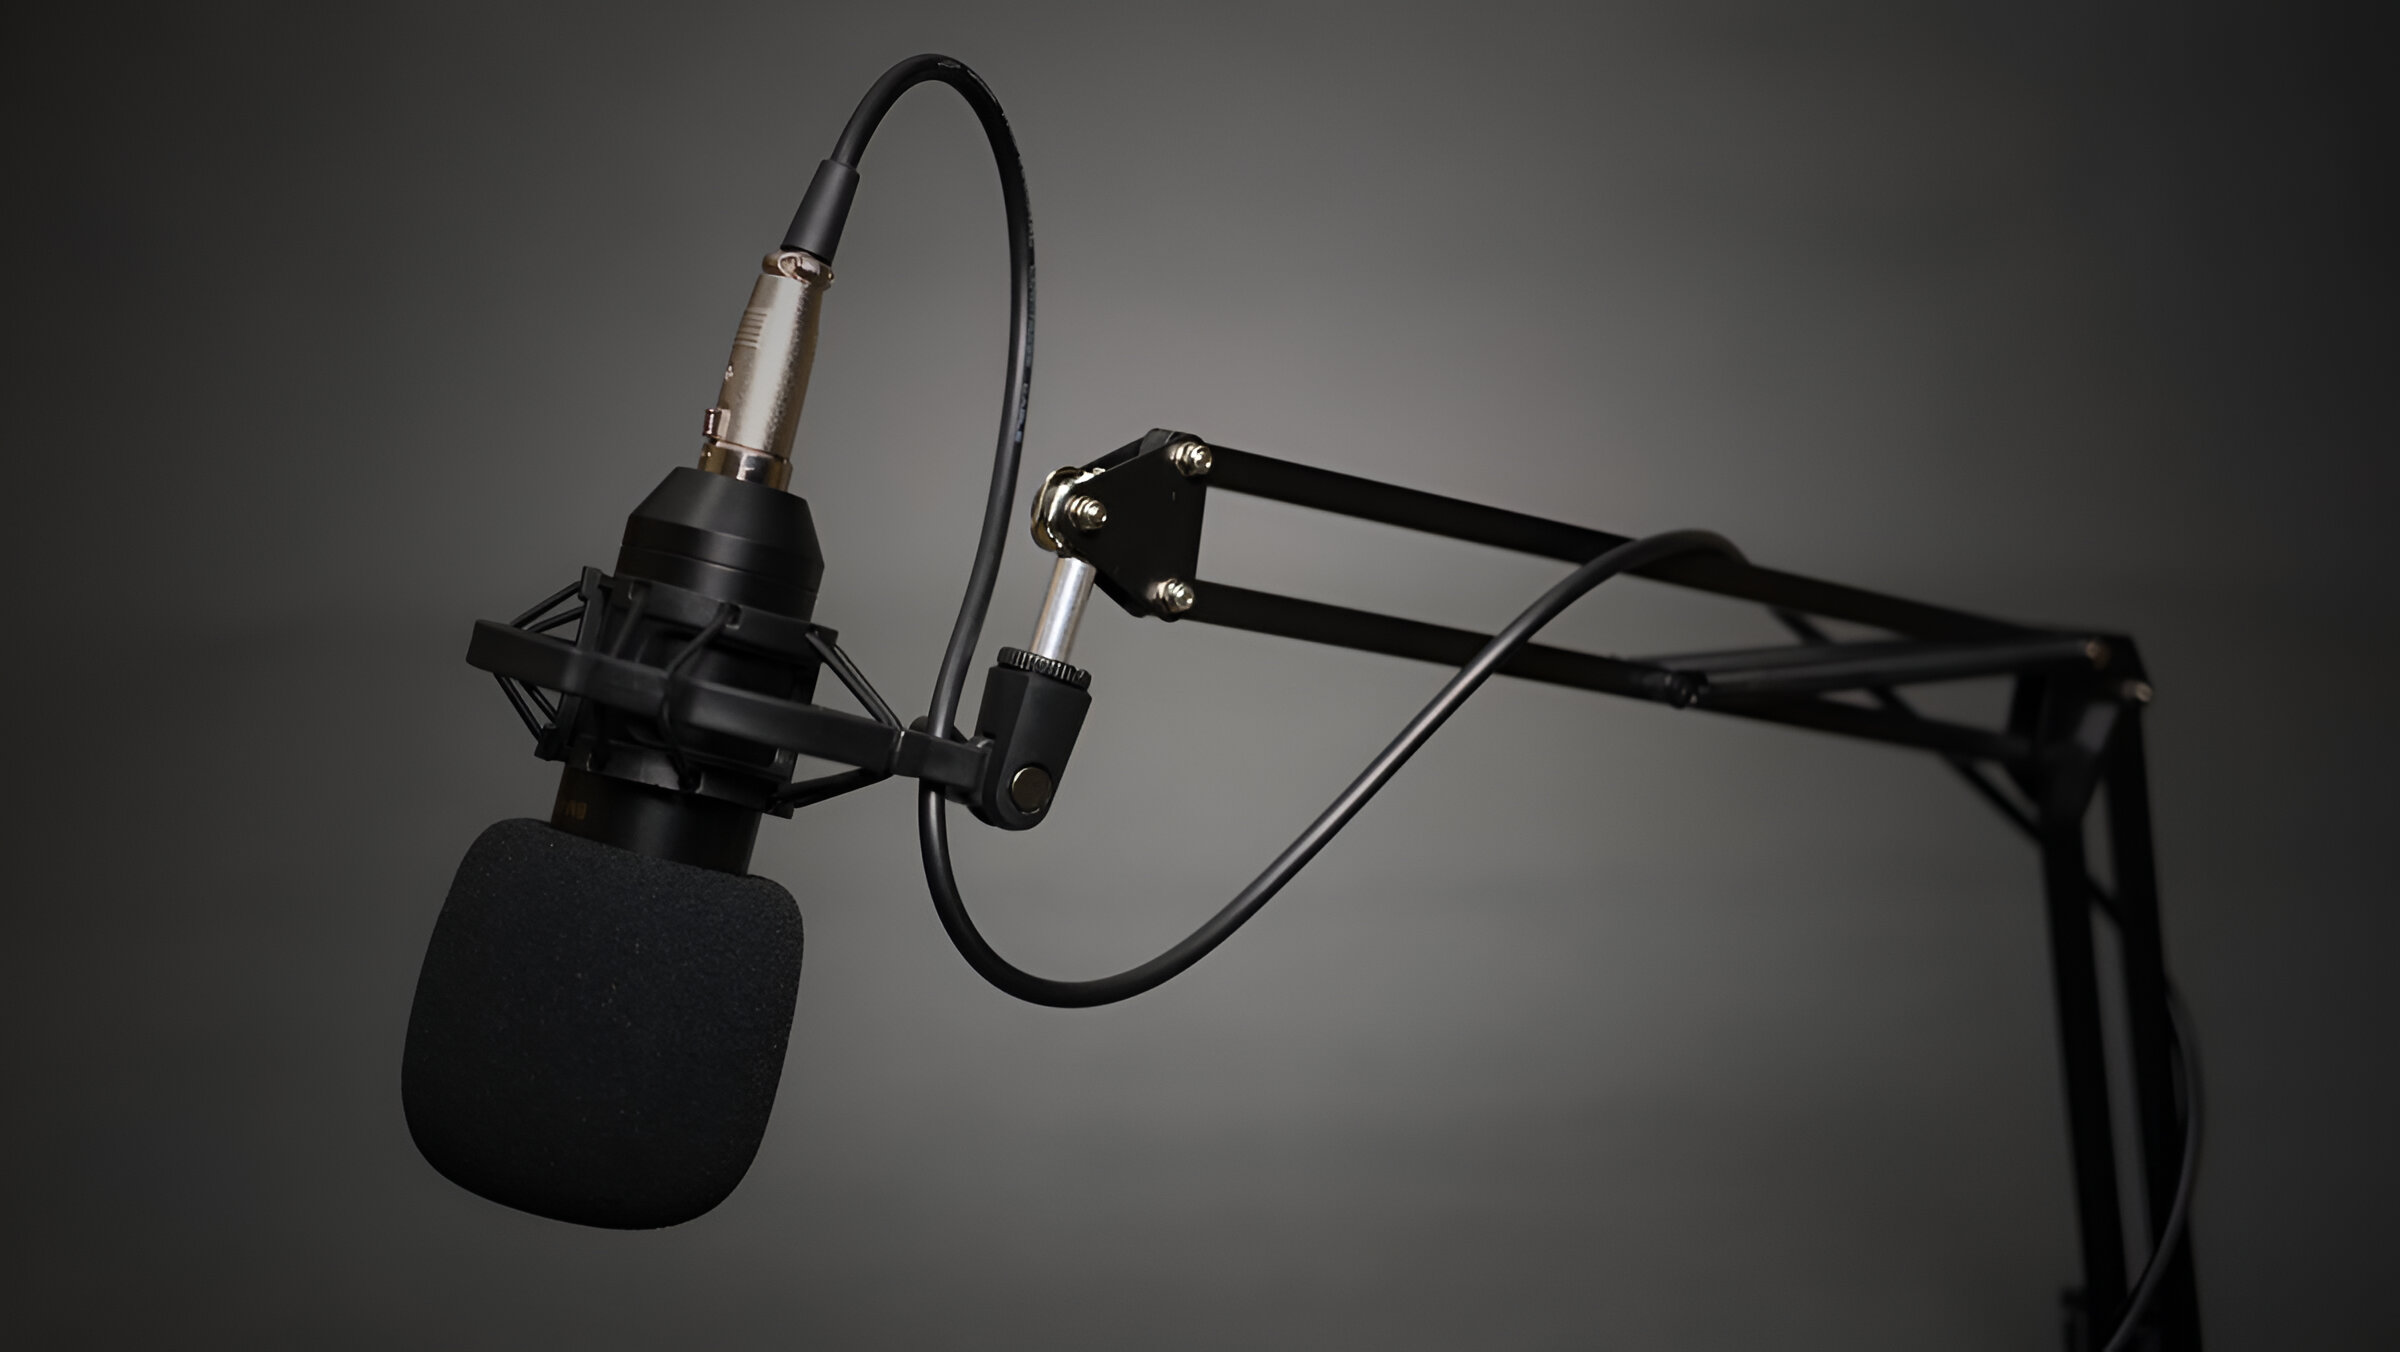
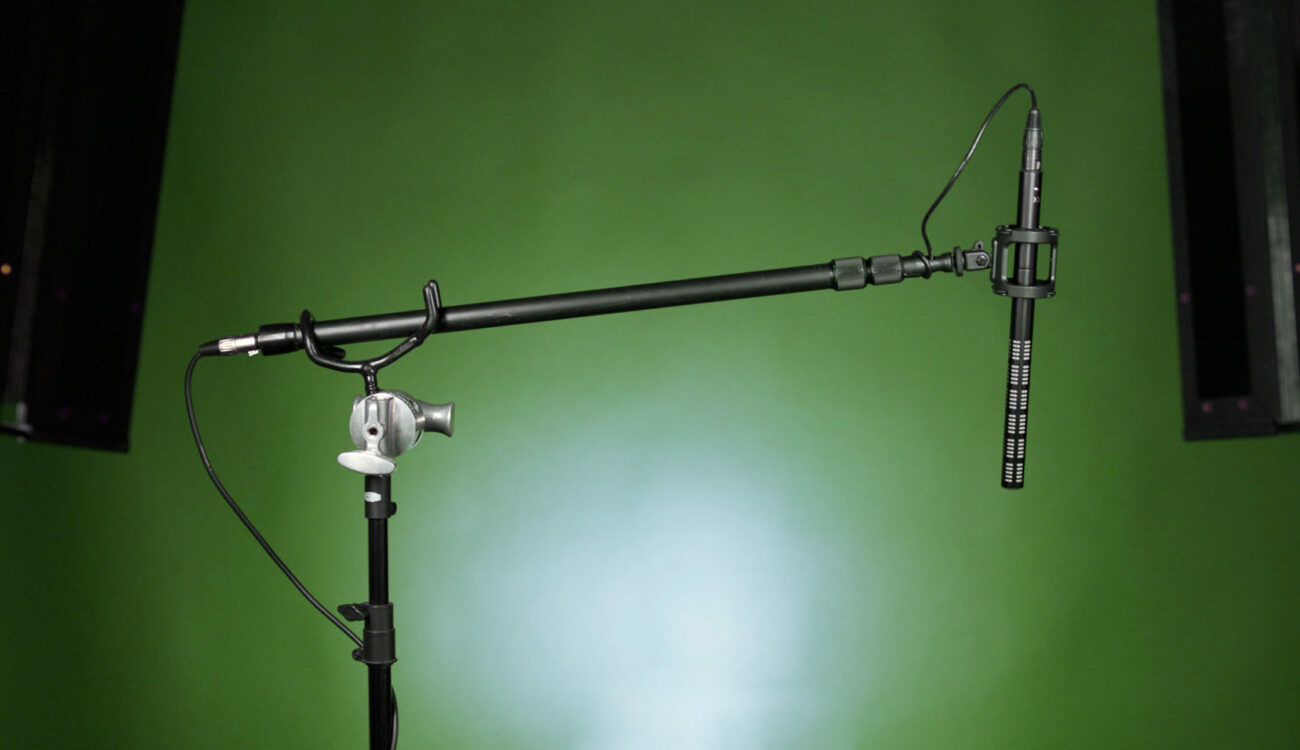
- Microphone Stand or Boom Arm: Depending on your setup, you may need a stand or boom arm to support the microphone. Ensure that it’s compatible with your microphone and offers the necessary reach and adjustability.
- Mounting Hardware: If your microphone requires specific mounting hardware for installation, such as brackets, clamps, or adapters, ensure that you have these components ready.
- Audio Interface or Mixer: You’ll need an audio interface or mixer to connect the microphone to your recording setup. Make sure it’s compatible with your microphone and has the requisite inputs and phantom power capabilities.
- XLR Cable: For connecting the microphone to the audio interface, you’ll need a high-quality XLR cable of appropriate length. Ensure that it’s in good condition and free from any damage or defects.
- Power Drill and Mounting Hardware: If you’re mounting the microphone to a ceiling or overhead structure, you may need a power drill and the corresponding hardware, such as screws, anchors, or mounting brackets, to secure the microphone in place.
- Cable Management Solutions: To keep your setup organized and free from tangled cables, consider cable management solutions such as cable clips, ties, or conduits.
- Level and Measuring Tape: For precise and professional installation, a level and measuring tape will help you ensure that the microphone is mounted accurately and aligned correctly.
- Protective Gear: Depending on the installation environment, consider using safety goggles, gloves, and other protective gear, especially if you’re working at elevated heights or in potentially hazardous conditions.
By gathering these tools and equipment, you’ll be well-prepared to embark on the installation process with confidence and efficiency. With everything in place, you’re ready to move on to the next step: choosing the right location for mounting the microphone.
Step 2: Choose the Right Location for Mounting the Microphone
When it comes to installing an overhead condenser microphone, selecting the optimal location for mounting is crucial to achieving the best possible audio capture. The right placement not only ensures excellent sound quality but also contributes to the overall aesthetics and functionality of your recording space.
Here are the key considerations for choosing the ideal location:
- Acoustic Environment: Assess the acoustic characteristics of the room where the microphone will be installed. Look for areas with balanced sound distribution and minimal acoustic anomalies, such as excessive reverberation or dead spots. Ideally, the chosen location should offer a representative sonic perspective of the recording space.
- Recording Purpose: Determine the primary use of the microphone. If it’s intended for vocal recording, positioning it directly above the primary vocalist or vocal ensemble is advisable. For capturing ambient sound or room acoustics, a central location that provides a comprehensive sonic panorama may be more suitable.
- Structural Integrity: Ensure that the chosen mounting location can support the weight of the microphone and associated mounting hardware. If mounting to a ceiling or overhead structure, verify that it’s structurally sound and capable of bearing the load without compromising safety.
- Obstruction-Free Area: Select a location that is free from obstructions and potential sources of interference. Avoid placing the microphone directly above noisy equipment, air vents, or other sound-producing elements that could compromise the audio quality.
- Accessibility: Consider the practicality of accessing the microphone for adjustments, maintenance, and cable management. While the chosen location should offer optimal sound capture, it should also allow for convenient and safe access when necessary.
- Visual Aesthetics: Take into account the visual impact of the microphone’s placement. While functionality and sound quality are paramount, the aesthetic integration of the microphone within the recording space can contribute to a cohesive and professional appearance.
Once you’ve carefully evaluated these factors, you can identify the most suitable location for mounting your overhead condenser microphone. With the location chosen, you’re ready to proceed to the next step: mounting the microphone bracket.
Step 3: Mounting the Microphone Bracket
With the ideal location selected for your overhead condenser microphone, the next step is to securely mount the microphone bracket or support arm. Proper installation of the bracket is essential for ensuring stability, safety, and optimal positioning of the microphone.
Here’s a step-by-step guide to mounting the microphone bracket:
- Pre-Installation Inspection: Before mounting the bracket, carefully inspect the mounting area to ensure it is free from any obstructions, electrical hazards, or structural weaknesses. If you’re attaching the bracket to a ceiling or overhead structure, verify the integrity of the mounting surface and use appropriate hardware for secure attachment.
- Positioning the Bracket: Based on the chosen location, position the bracket or support arm to align with the desired placement of the microphone. Use a level to ensure that the bracket is horizontally and vertically aligned, providing a stable foundation for the microphone.
- Marking Mounting Points: Once the bracket is positioned correctly, mark the mounting points using a pencil or removable adhesive tape. This will serve as a guide for drilling pilot holes or installing anchors, especially if you’re mounting the bracket to a wall, ceiling, or other surface.
- Drilling Pilot Holes: If necessary, use a power drill equipped with the appropriate drill bit to create pilot holes at the marked mounting points. Exercise caution and follow safety guidelines when using power tools, and ensure that the drilling process does not compromise the structural integrity of the mounting surface.
- Installing Mounting Hardware: Depending on the mounting surface, install the appropriate hardware, such as screws, anchors, or mounting brackets, to secure the microphone bracket in place. Use a suitable screwdriver or wrench to tighten the hardware, ensuring a firm and stable attachment.
- Attaching the Bracket: Once the mounting hardware is in place, securely attach the microphone bracket to the installed hardware. Follow the manufacturer’s guidelines for the specific bracket or support arm, ensuring that it is firmly affixed and capable of supporting the weight of the microphone.
- Final Adjustment: After the bracket is mounted, make any necessary final adjustments to ensure that it is level, stable, and aligned with the chosen location for the microphone. Use a level and measuring tape to confirm the accuracy of the installation.
By following these steps, you’ll successfully mount the microphone bracket, laying the foundation for securely attaching the overhead condenser microphone in the next phase of the installation process. With the bracket in place, you’re ready to move on to the exciting step of attaching the microphone to the bracket.
Step 4: Attaching the Microphone to the Bracket
With the microphone bracket securely mounted in the chosen location, it’s time to proceed with attaching the overhead condenser microphone to the bracket. This step requires precision and care to ensure that the microphone is firmly positioned and ready to capture pristine audio in your recording environment.
Follow these essential steps to attach the microphone to the bracket:
- Prepare the Microphone: Before attaching the microphone, ensure that it is free from any dust, debris, or potential contaminants that could affect its performance. If the microphone features a shock mount or specialized mounting mechanism, verify that it is properly assembled and ready for attachment.
- Positioning the Microphone: Carefully position the microphone on the bracket or support arm, aligning it with the designated mounting point. If the microphone utilizes a threaded mounting adapter, gently thread it onto the bracket, ensuring a snug fit without over-tightening.
- Securing the Microphone: Once the microphone is positioned correctly, secure it to the bracket using the designated locking mechanism or fastening hardware. Follow the manufacturer’s guidelines for the specific microphone model, ensuring that it is firmly attached and resistant to movement or vibration during recording sessions.
- Cable Management: With the microphone in place, carefully route the microphone cable along the bracket or support arm, ensuring that it is neatly organized and free from any potential snags or tangles. Utilize cable clips or ties to secure the cable along the path, maintaining a clean and professional appearance.
- Adjusting Microphone Position: Once the microphone is attached, make any necessary adjustments to its position and orientation, ensuring that it is optimally aligned for capturing sound in your recording space. Use a level and visual inspection to confirm that the microphone is positioned accurately.
- Testing Stability: Gently test the stability of the attached microphone by applying light pressure and verifying that it remains securely affixed to the bracket. If the microphone exhibits any unexpected movement or instability, re-evaluate the attachment and make any required adjustments to ensure a secure fit.
By carefully following these steps, you’ll successfully attach the overhead condenser microphone to the bracket, setting the stage for the next crucial phase of the installation process: connecting the microphone to the audio interface. With the microphone securely in place, you’re ready to proceed to the next step in creating your professional recording setup.
Step 5: Connecting the Microphone to the Audio Interface
Now that the overhead condenser microphone is securely mounted and positioned, the next vital step in the installation process is connecting the microphone to the audio interface. This crucial link ensures that the audio signal from the microphone is properly captured and processed, setting the stage for high-quality recordings in your studio or recording environment.
Follow these essential steps to connect the microphone to the audio interface:
- Verify Phantom Power: If your overhead condenser microphone requires phantom power to operate, ensure that your audio interface is equipped with phantom power capabilities. Activate the phantom power switch on the audio interface, providing the necessary voltage for the microphone to function.
- Select Input Channel: Identify an available input channel on your audio interface for connecting the overhead condenser microphone. Depending on the interface, this may be labeled as a microphone input, XLR input, or designated input channel with preamp capabilities.
- Prepare the XLR Cable: If not already done, prepare the XLR cable for connecting the microphone to the audio interface. Ensure that both ends of the cable are securely connected, and the cable is free from any kinks or damage that could affect signal transmission.
- Connect the Microphone: With the XLR cable in hand, carefully connect the female end of the cable to the output of the overhead condenser microphone. Secure the connection to prevent accidental disconnection during use, ensuring a reliable signal path from the microphone to the audio interface.
- Interface Input Connection: On the audio interface, connect the male end of the XLR cable to the designated input channel. Ensure that the connection is secure, and the cable is routed in a manner that minimizes the risk of accidental disconnection or interference with other equipment.
- Set Input Gain: Adjust the input gain or trim control on the audio interface to an appropriate level for the microphone. This ensures that the microphone signal is accurately amplified without introducing excessive noise or distortion, optimizing the signal-to-noise ratio for recording.
- Test Signal Flow: With the microphone connected, verify the signal flow from the microphone to the audio interface by speaking into the microphone or creating sound near its capsule. Monitor the input levels on the interface to confirm that the microphone signal is being properly received and processed.
By carefully following these steps, you’ll successfully connect the overhead condenser microphone to the audio interface, establishing a vital link in your recording setup. With the microphone seamlessly integrated into your audio interface, you’re ready to proceed to the final step: testing the microphone to ensure optimal performance and functionality.
Step 6: Testing the Microphone
With the overhead condenser microphone mounted, connected to the audio interface, and ready for action, the final step in the installation process is to thoroughly test the microphone to ensure that it is functioning as intended. This critical phase allows you to verify the audio quality, signal integrity, and overall performance of the microphone in your recording environment.
Here’s a comprehensive guide to testing the microphone:
- Audio Check: Speak or sing into the microphone to generate sound and assess the audio output. Monitor the audio signal on your recording device or audio interface to confirm that the microphone is capturing sound effectively and transmitting the signal without issues.
- Sound Quality Evaluation: Listen to the recorded audio from the microphone to evaluate the sound quality, clarity, and tonal characteristics. Pay attention to nuances in the captured sound, such as vocal articulation, instrument timbre, or room ambience, to gauge the microphone’s performance.
- Signal-to-Noise Ratio: Assess the level of background noise or hiss present in the microphone signal. A high-quality overhead condenser microphone should exhibit a low noise floor, allowing for clean and transparent audio recordings, especially during quiet passages or acoustic performances.
- Dynamic Range Testing: Test the microphone’s ability to capture both soft and loud sound sources without distortion or overload. Perform audio tests that span a wide dynamic range to evaluate the microphone’s response to varying sound levels and its capacity to faithfully reproduce the dynamics of the source material.
- Polar Pattern Analysis: If your microphone features selectable polar patterns, such as cardioid, omnidirectional, or figure-8, test each pattern to understand its sonic characteristics and suitability for different recording scenarios. Evaluate the microphone’s directional sensitivity and off-axis rejection to optimize its placement for specific recording applications.
- Room Acoustics Assessment: Consider the impact of your recording environment on the microphone’s performance. Assess how the microphone captures room reflections, reverberation, and ambient sound, taking note of any acoustic anomalies that may influence your recording techniques and microphone placement in the future.
- Feedback and Adjustments: Based on your testing, identify any potential issues or areas for improvement in the microphone’s performance. Make necessary adjustments to the microphone position, input gain, or recording setup to optimize the audio quality and ensure that the microphone meets your expectations for professional recordings.
By meticulously testing the overhead condenser microphone, you’ll gain valuable insights into its capabilities and characteristics, allowing you to harness its full potential for capturing exceptional audio in your recording endeavors. With the microphone successfully tested and validated, you’ve completed the installation process and are ready to embark on your creative journey with confidence and precision.
Conclusion
Congratulations on successfully completing the installation of your overhead condenser microphone! By following the step-by-step guide outlined in this tutorial, you’ve gained the knowledge and expertise to mount, connect, and test your microphone, setting the stage for professional-quality audio recordings in your studio or recording environment.
As you reflect on the installation process, it’s important to recognize the significance of each step in achieving a successful outcome. From gathering the necessary tools and equipment to meticulously testing the microphone’s performance, every phase contributes to the seamless integration of the microphone into your recording setup.
Furthermore, the installation process serves as an opportunity to familiarize yourself with the technical aspects of audio equipment, empowering you to optimize the performance of your microphone and leverage its capabilities to capture captivating soundscapes and performances.
With the microphone securely mounted, connected to the audio interface, and thoroughly tested, you’re now poised to unleash your creativity and embark on a journey of sonic exploration. Whether you’re recording vocals, acoustic instruments, podcasts, or live performances, your professionally installed overhead condenser microphone is ready to faithfully capture the nuances and subtleties of your audio productions.
Remember that the installation process is just the beginning of your audio recording endeavors. Continuously explore and experiment with microphone placement, recording techniques, and signal processing to refine your craft and elevate the quality of your recordings.
As you venture forward, consider the installation of your overhead condenser microphone as a foundational step in building a versatile and inspiring recording environment. Embrace the creative possibilities that your microphone unlocks and let its pristine audio capture capabilities fuel your passion for producing exceptional sound.
By mastering the installation process and harnessing the potential of your overhead condenser microphone, you’re well-equipped to embark on a sonic journey filled with artistic expression and sonic excellence.