Introduction
Welcome to the world of professional audio recording! Whether you are a podcaster, musician, or content creator, having a high-quality microphone is essential for producing top-notch audio. The CAD U1 USB Microphone is an excellent choice for beginners and enthusiasts looking to take their recordings to the next level.
In this article, we will guide you through the step-by-step process of installing the CAD U1 USB Microphone on your computer. From unboxing the microphone to adjusting the settings, we’ve got you covered. So, without further ado, let’s dive in!
The CAD U1 USB Microphone is a plug-and-play device, which means it is incredibly easy to set up and use. By simply connecting it to your computer, you’ll be ready to start recording in no time. However, there are a few essential steps and settings that you need to be familiar with in order to maximize the audio quality and ensure a smooth recording experience.
In the following sections, we will walk you through the entire installation process, including unboxing the microphone, connecting it to your computer, installing the necessary drivers, and adjusting the microphone settings on both Windows and MacOS operating systems.
Whether you are a Windows user or a MacOS user, don’t worry – we’ve got instructions for both platforms. The CAD U1 USB Microphone is compatible with a wide range of software applications, including recording software, live streaming platforms, and video conferencing tools, making it a versatile option for various recording and communication needs.
So, if you’re ready to unleash the full potential of your CAD U1 USB Microphone, let’s get started with unboxing this fantastic piece of audio equipment!
Step 1: Unboxing the CAD U1 USB Microphone
Before we begin the installation process, let’s start by unboxing the CAD U1 USB Microphone. When you receive your package, you’ll find the microphone neatly packed inside. Here’s what you need to do:
- Remove the microphone from the packaging, being careful not to damage any cables or components.
- Inspect the microphone for any visible defects or damage. If you notice anything out of the ordinary, contact the manufacturer or retailer for assistance.
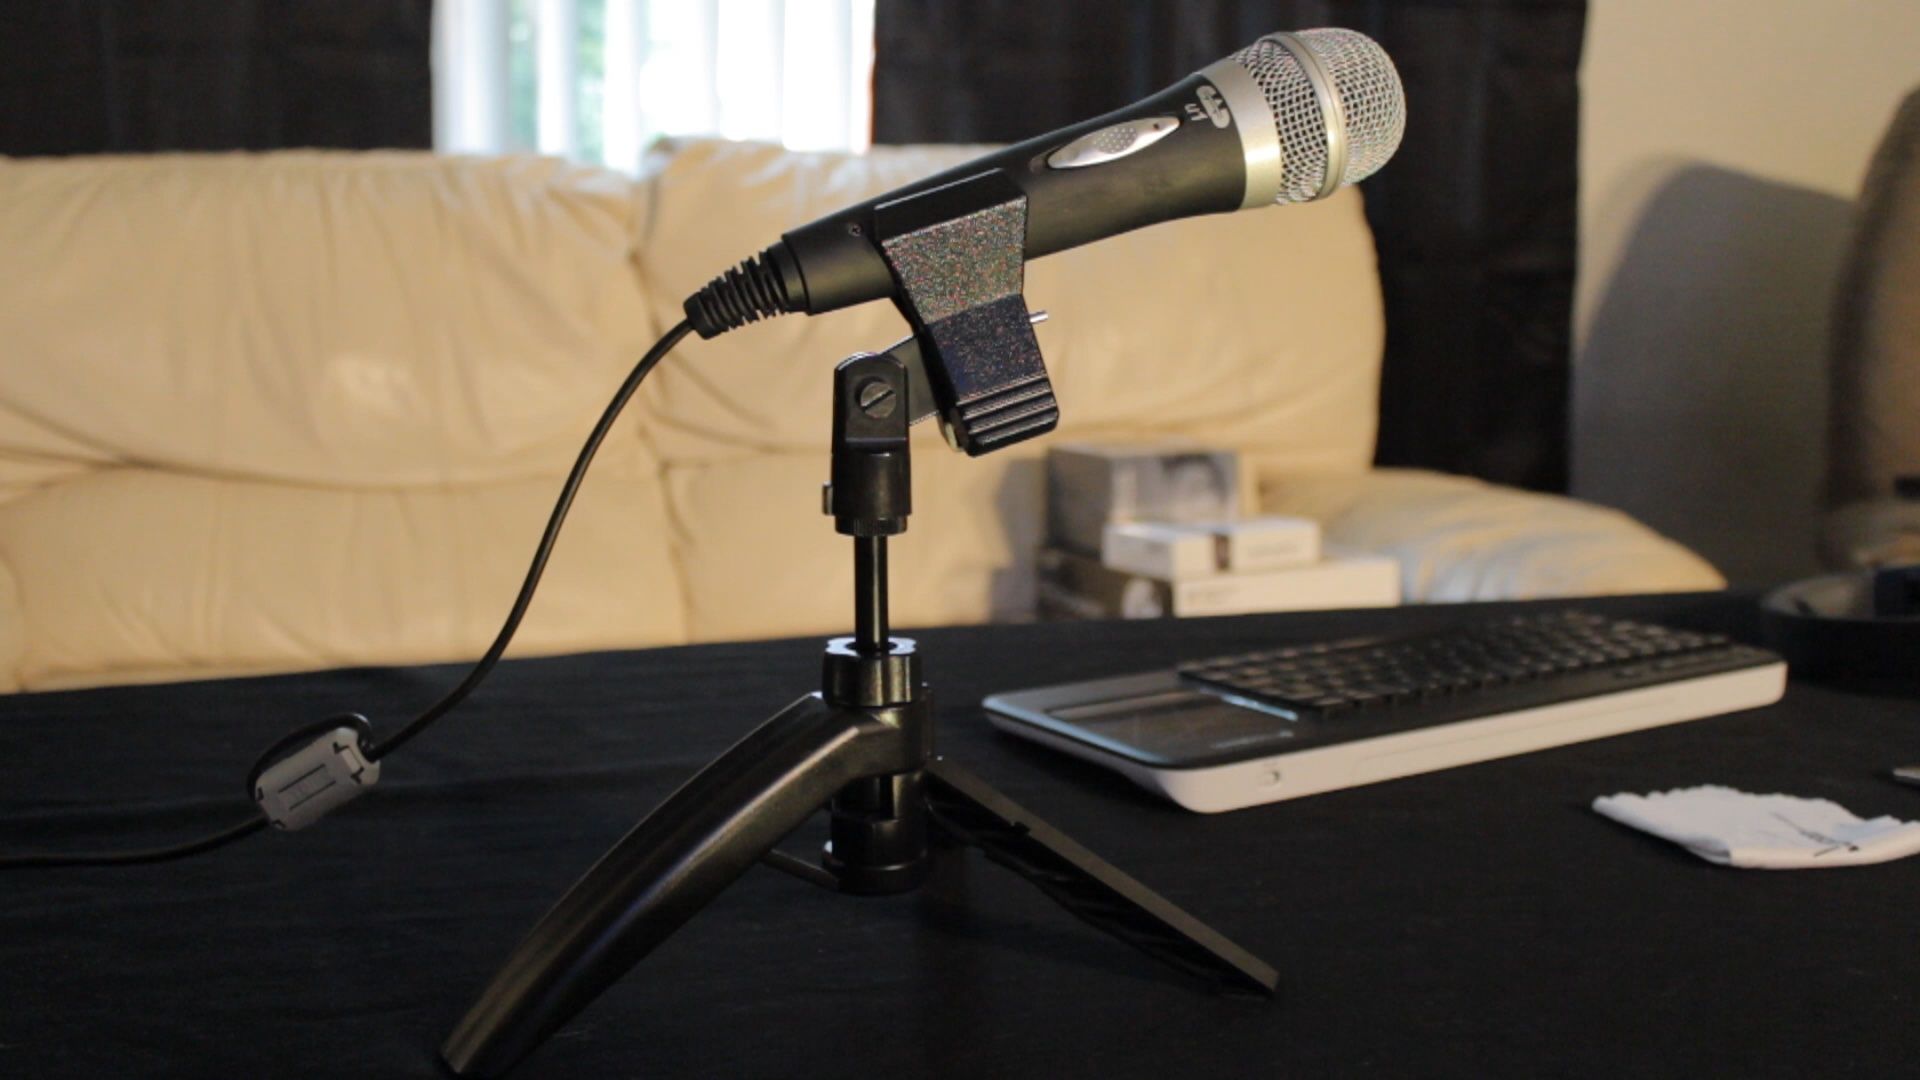
- Take a moment to appreciate the sleek and professional design of the CAD U1 USB Microphone. With its sturdy construction and stylish finish, you’re holding a reliable and visually appealing audio device.
- Check for any included accessories. The CAD U1 USB Microphone typically comes with a tripod stand, USB cable, and user manual. Make sure all the necessary items are present.
Now that you have unboxed the CAD U1 USB Microphone and ensured everything is in good condition, you’re ready to move on to the next step – connecting the microphone to your computer. Keep in mind that proper handling and care will ensure the longevity of your microphone, allowing you to enjoy high-quality recordings for years to come.
Now, let’s proceed to the exciting part – setting up and connecting your CAD U1 USB Microphone to your computer. Get ready to bring your audio recordings to life!
Step 2: Connecting the Microphone to Your Computer
Now that you have unboxed your CAD U1 USB Microphone, it’s time to connect it to your computer. Follow these simple steps to establish the connection:
- Locate an available USB port on your computer. The CAD U1 USB Microphone utilizes a USB connection, making it compatible with most modern computers.
- Take the USB cable included in the package and connect one end to the USB port on your computer.
- Next, connect the other end of the USB cable to the USB port on the bottom of the CAD U1 USB Microphone. Ensure that the connection is secure to avoid any audio interruptions.
- Once the microphone is successfully connected to your computer, you should see the indicator light on the microphone turn on. This confirms that the device is receiving power and is ready for use.
- Ensure that your computer recognizes the newly connected microphone. You can check this by going to your computer’s sound settings or control panel. If the CAD U1 USB Microphone is listed as an available input device, you’re all set.
It’s important to note that the CAD U1 USB Microphone is a plug-and-play device, meaning you don’t need to install any additional software or drivers to use it. The microphone is designed to work seamlessly with both Windows and MacOS operating systems.
By connecting your CAD U1 USB Microphone to your computer, you have completed a crucial step in the installation process. In the next section, we’ll explore how to install the necessary drivers for your microphone to ensure optimal performance and compatibility with your operating system.
Step 3: Installing the CAD U1 USB Microphone Drivers
While the CAD U1 USB Microphone is a plug-and-play device, some users may need to install the necessary drivers to ensure optimal performance and compatibility with their operating system. Follow these steps to install the drivers:
- Visit the official CAD website or check the documentation that came with your microphone to find the drivers specific to your operating system.
- Download the appropriate drivers for your operating system. Make sure you select the correct version to avoid any compatibility issues.
- Once the drivers are downloaded, locate the file on your computer and double-click on it to start the installation process.
- Follow the on-screen instructions provided by the driver installer. The process may vary depending on your operating system, but it usually involves accepting the terms of the license agreement, choosing the installation location, and confirming the installation.
- After the installation is complete, restart your computer. This will ensure that the drivers are properly loaded and integrated into your operating system.
It’s worth noting that many modern operating systems, such as Windows 10 and MacOS, automatically detect and install the necessary drivers for USB microphones. In such cases, manual installation may not be required.
If you encounter any issues during the driver installation process, it’s recommended to consult the user manual or visit the manufacturer’s website for troubleshooting guidance. They will have the most up-to-date information and support resources to assist you.
Now that you have successfully installed the CAD U1 USB Microphone drivers, you’re ready to move on to the next step – adjusting the microphone settings on your computer. This will ensure that the microphone is configured correctly and ready for recording.
Step 4: Adjusting Microphone Settings on Windows
Once you have connected and installed the CAD U1 USB Microphone on your Windows computer, it’s time to adjust the microphone settings to ensure optimal audio quality. Follow these steps to make the necessary adjustments:
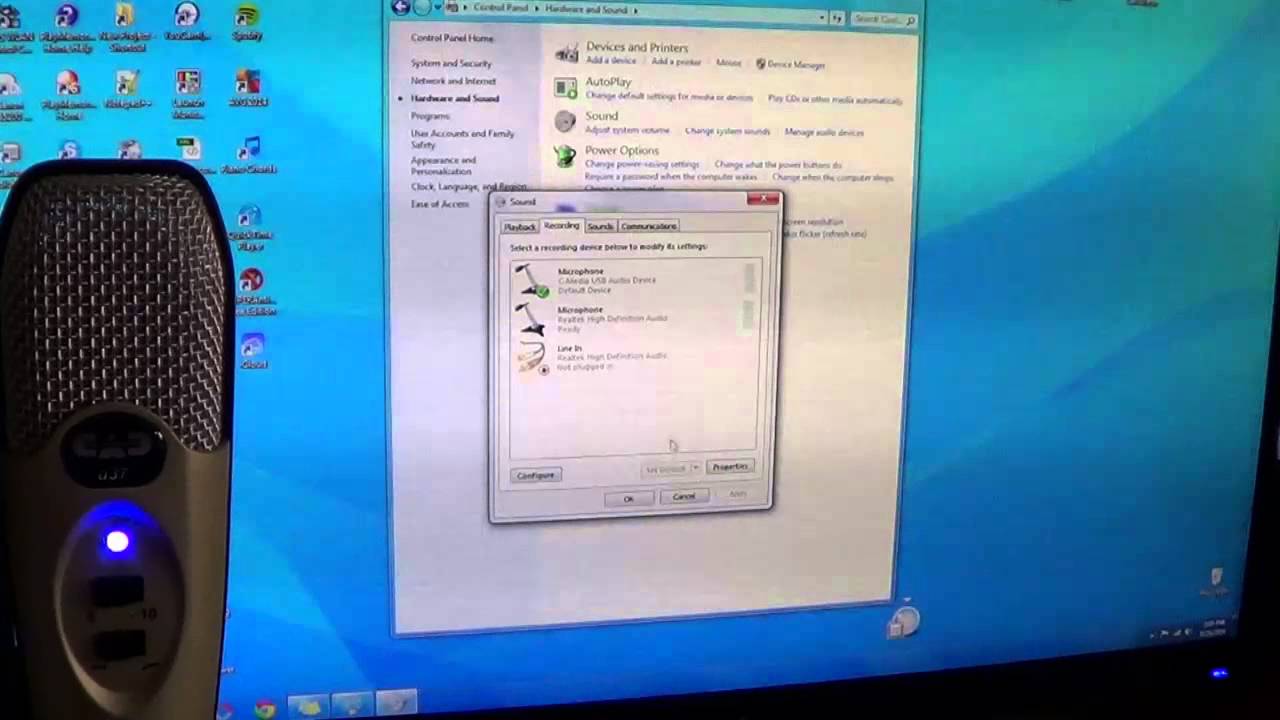
- Right-click on the speaker icon in the system tray located at the bottom-right corner of your screen. Select “Sounds” from the menu that appears.
- In the “Sounds” window, go to the “Recording” tab. You should see the CAD U1 USB Microphone listed as an available recording device.
- Select the CAD U1 USB Microphone and click on the “Properties” button below the list.
- In the microphone properties window, you can make various adjustments to enhance the audio quality. Start with the “Levels” tab, where you can adjust the microphone volume. Set it to an appropriate level that suits your recording needs.
- Next, switch to the “Enhancements” tab. Here, you can enable or disable audio enhancements like noise suppression or echo cancellation, depending on your preferences.
- Take a moment to explore the other tabs in the properties window, such as “Advanced,” where you can configure additional microphone settings and effects.
- Once you have made the necessary adjustments, click “Apply” or “OK” to save the changes.
It’s important to test the microphone after adjusting the settings to ensure everything is working as expected. You can use the “Test Microphone” feature within the microphone properties window or use any audio recording or communication software to verify the audio quality.
If you encounter any issues or need further assistance with adjusting the microphone settings on Windows, refer to the user manual or visit the CAD website for troubleshooting tips and resources.
With the microphone settings adjusted to your liking, you are now ready to unleash your creativity and start recording high-quality audio with your CAD U1 USB Microphone.
Step 5: Adjusting Microphone Settings on macOS
After connecting and installing the CAD U1 USB Microphone on your macOS computer, it’s time to adjust the microphone settings to ensure optimal audio quality. Follow these steps to make the necessary adjustments:
- Click on the Apple menu in the top-left corner of your screen and select “System Preferences” from the drop-down menu.
- In the System Preferences window, click on “Sound.”
- Next, navigate to the “Input” tab. You should see the CAD U1 USB Microphone listed as an available input device.
- Click on the CAD U1 USB Microphone to select it, and you’ll notice the input volume slider. Adjust the slider to set the desired microphone volume level for your recordings.
- Take a moment to explore the other options in the Input tab, such as “Use ambient noise reduction” or “Input level.” These settings can help enhance the audio quality and minimize background noise.
- Once you have made the necessary adjustments, close the Sound preferences window.
Now it’s time to test the microphone to ensure everything is functioning properly. You can use the built-in “Sound” application on your Mac or any recording software of your choice to verify the audio quality.
If you encounter any difficulties or need further assistance with adjusting the microphone settings on macOS, refer to the user manual or visit the CAD website for troubleshooting guidance.
With the microphone settings adjusted to your preference, you are now ready to embark on your recording journey and capture exceptional audio with your CAD U1 USB Microphone on macOS.
Conclusion
Congratulations! You have successfully completed the installation process for your CAD U1 USB Microphone. By following the step-by-step instructions in this article, you unboxed the microphone, connected it to your computer, installed the necessary drivers (if required), and adjusted the microphone settings to ensure optimal audio quality.
The CAD U1 USB Microphone is a reliable and user-friendly device that offers excellent audio capturing capabilities. Whether you are recording podcasts, creating music, or engaging in online communication, this microphone will elevate the quality of your recordings.
Remember, proper care and maintenance of your CAD U1 USB Microphone are essential to ensure its longevity. Store it in a safe place when not in use, keep the microphone clean, and handle it with care to avoid any unnecessary damage.
If you ever encounter any difficulties or have further questions about your CAD U1 USB Microphone, consult the user manual or visit the manufacturer’s website for additional support and resources. They will have the most up-to-date information and guidance to assist you.
Now that you are equipped with the knowledge of setting up and using your CAD U1 USB Microphone, it’s time to unleash your creativity and produce amazing audio content. Enjoy recording, and may your sound be crystal clear!