Introduction
Are you a music enthusiast who loves to create melodies using a MIDI keyboard? Do you use Ubuntu as your operating system and wonder how to connect and set up your MIDI keyboard? Look no further, as this guide will walk you through the process of hooking up your MIDI keyboard with Ubuntu, making it a seamless and enjoyable experience.
Ubuntu, a popular and user-friendly Linux distribution, is known for its stability, security, and open-source nature. While it offers a wide range of applications for various purposes, setting up a MIDI keyboard can be a bit challenging for beginners. However, with the right guidance, you can easily configure your MIDI keyboard to work flawlessly with Ubuntu, allowing you to unleash your musical creativity without any hassle.
In this comprehensive tutorial, you will learn how to connect your MIDI keyboard to your Ubuntu computer, install and configure essential software, and test the setup to ensure everything works as expected. By the end of this guide, you will be ready to dive into the world of music production using your MIDI keyboard and Ubuntu, empowering you to express your musical ideas with ease.
So, grab your MIDI keyboard, fire up your Ubuntu machine, and let's embark on this exciting journey of setting up your MIDI keyboard with Ubuntu. Whether you're a seasoned musician or a budding artist, this guide is designed to help you seamlessly integrate your MIDI keyboard into your Ubuntu-based music production setup. Let's get started!
Step 1: Connect the MIDI Keyboard to Your Computer
Before delving into the software configuration, it’s crucial to establish a physical connection between your MIDI keyboard and your Ubuntu computer. Follow these steps to ensure a proper connection:
- Check the MIDI Ports: Inspect your MIDI keyboard to locate its MIDI ports. Most MIDI keyboards feature MIDI input and output ports, often using 5-pin DIN connectors. Ensure that you have the necessary MIDI cables to connect the keyboard to your computer.
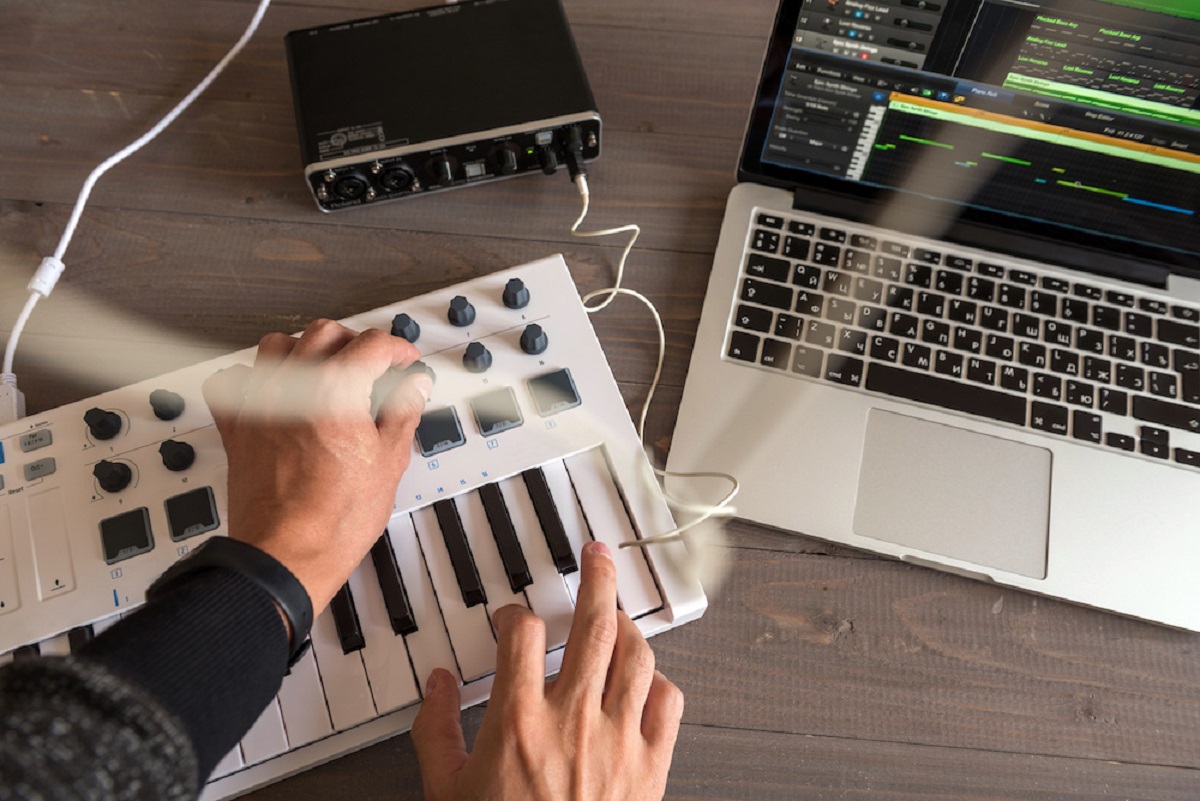
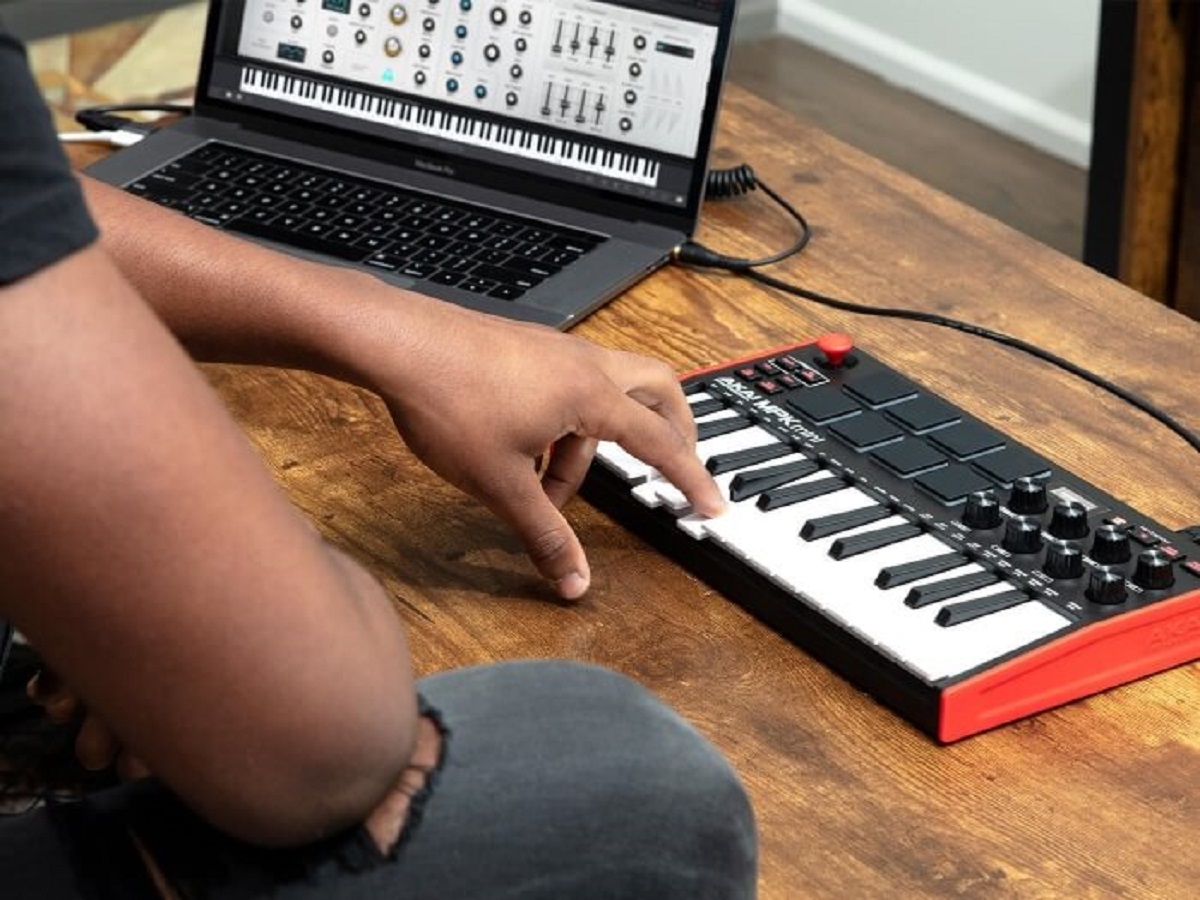
- Connect the MIDI Keyboard: Using MIDI cables, connect the MIDI output port of your keyboard to the MIDI input port on your computer’s MIDI interface. If your computer doesn’t have a built-in MIDI interface, you can use an external MIDI interface that connects to a USB port.
- Power On the MIDI Keyboard: Power on your MIDI keyboard. Some keyboards may require an external power source, while others can be powered via USB. Ensure that the keyboard is receiving power and ready to transmit MIDI data.
- Verify the Connection: Once the physical connection is established, verify that the MIDI keyboard is recognized by your computer. You can check this by inspecting the system settings or using terminal commands to list connected MIDI devices.
By following these steps, you will successfully establish a physical connection between your MIDI keyboard and your Ubuntu computer, laying the foundation for the subsequent software configuration steps. With the hardware connection in place, you’re now ready to move on to the next phase of configuring the software components necessary for your MIDI keyboard to function seamlessly with Ubuntu.
Step 2: Install and Configure ALSA and JACK
After connecting your MIDI keyboard to your Ubuntu computer, the next crucial step involves installing and configuring the ALSA (Advanced Linux Sound Architecture) and JACK (JACK Audio Connection Kit) software components. These are essential for managing audio and MIDI data, ensuring smooth communication between your MIDI keyboard and music production software. Here’s how to proceed:
- Install ALSA: Ubuntu typically comes with ALSA pre-installed. However, you can ensure that ALSA is up to date by running the necessary system updates. This can be done through the terminal using the package manager, ensuring that your system has the latest ALSA components.
- Install JACK: Use the package manager to install the JACK Audio Connection Kit. This software is crucial for handling real-time audio and MIDI data, making it an indispensable component for music production on Ubuntu.
- Configure JACK: Once installed, configure JACK to recognize and manage your MIDI keyboard. This may involve setting the appropriate MIDI input and output options within the JACK settings, ensuring that your keyboard is properly integrated into the audio and MIDI routing system.
- Test the Configuration: After configuring ALSA and JACK, test the setup by playing a few notes on your MIDI keyboard. Ensure that the MIDI input is being recognized by the system and that audio output is functioning as expected. This step validates that the ALSA and JACK configuration is correctly handling MIDI data from your keyboard.
By following these steps, you will successfully install and configure the ALSA and JACK components, laying the groundwork for seamless MIDI communication between your keyboard and Ubuntu. With these critical software components in place, you’re now ready to proceed to the next phase of configuring your MIDI keyboard within the Ubuntu environment.
Step 3: Configure Your MIDI Keyboard in Ubuntu
With the ALSA and JACK components installed and configured, the next step involves setting up and configuring your MIDI keyboard within the Ubuntu environment. This step is crucial for ensuring that your keyboard is recognized by the system and that it can be seamlessly integrated with music production software. Here’s how to proceed:
- Access System Settings: Navigate to the system settings or control panel in Ubuntu, where you can access the sound and MIDI settings. Look for the MIDI section or any related settings that allow you to manage MIDI input and output devices.
- Identify the MIDI Keyboard: In the MIDI settings, identify and select your MIDI keyboard from the list of available MIDI input devices. Ubuntu should recognize the MIDI keyboard, displaying it as an available input device for MIDI data.
- Configure MIDI Channels: If your MIDI keyboard supports multiple MIDI channels, configure the channel settings based on your preferences and the requirements of your music production software. This step ensures that your keyboard can communicate with different virtual instruments and software synthesizers.
- Test MIDI Input: Verify that the MIDI input from your keyboard is being received by the system. You can use built-in utilities or music production software to test the MIDI input, ensuring that the keyboard’s signals are accurately captured by the Ubuntu environment.
By following these steps, you will successfully configure your MIDI keyboard within the Ubuntu environment, allowing it to seamlessly communicate with music production software and other MIDI-enabled applications. This pivotal configuration step ensures that your MIDI keyboard is fully integrated into the Ubuntu ecosystem, setting the stage for a smooth and productive music creation experience.
Step 4: Test Your MIDI Keyboard
After connecting, installing, and configuring your MIDI keyboard with Ubuntu, it’s essential to perform a thorough test to ensure that the setup functions as expected. Testing your MIDI keyboard allows you to verify that it accurately communicates with the Ubuntu system and music production software, ensuring a seamless and productive music creation experience. Here’s how to proceed with the testing phase:
- Launch Music Production Software: Open your preferred music production software or digital audio workstation (DAW) on Ubuntu. This could be software such as Ardour, LMMS, or any other DAW that supports MIDI input.
- Select MIDI Input Device: Within the music production software, access the MIDI settings to select your MIDI keyboard as the input device. This step ensures that the software recognizes and receives MIDI data from your keyboard.
- Create a MIDI Track: In your music production software, create a new MIDI track and assign your MIDI keyboard as the input device for that track. This allows you to record, play, and manipulate MIDI data using your keyboard within the software environment.
- Play and Record MIDI: Test the MIDI keyboard by playing notes, chords, or melodies. Verify that the software accurately captures the MIDI input from your keyboard, allowing you to record and playback your musical performances seamlessly.
- Explore MIDI Capabilities: Experiment with the various MIDI capabilities of your keyboard, such as pitch bend, modulation, and other MIDI control messages. Ensure that the software accurately interprets and responds to these MIDI commands from your keyboard.
By following these testing steps, you can confidently verify that your MIDI keyboard functions flawlessly within the Ubuntu environment, allowing you to express your musical ideas with precision and creativity. A successful test confirms that your MIDI keyboard is fully integrated with Ubuntu, empowering you to embark on a musical journey filled with endless possibilities.
Conclusion
Congratulations! You have successfully navigated the process of connecting, configuring, and testing your MIDI keyboard with Ubuntu. By following this comprehensive guide, you have gained the knowledge and skills necessary to seamlessly integrate your MIDI keyboard into your Ubuntu-based music production setup. The ability to harness the power of your MIDI keyboard within the Ubuntu environment opens up a world of possibilities for creating, recording, and producing music with ease.
Through the systematic approach outlined in this guide, you have learned how to:
- Physically connect your MIDI keyboard to your Ubuntu computer, ensuring a solid foundation for the subsequent software configuration.
- Install and configure essential software components such as ALSA and JACK, enabling smooth communication between your MIDI keyboard and music production software.
- Configure your MIDI keyboard within the Ubuntu environment, allowing it to be recognized and seamlessly integrated with music production software and other MIDI-enabled applications.
- Thoroughly test your MIDI keyboard to verify its accurate communication with the Ubuntu system and music production software, ensuring a seamless and productive music creation experience.
As you embark on your musical journey with your MIDI keyboard and Ubuntu, remember that the knowledge and skills you have acquired through this guide serve as a solid foundation for your creative endeavors. Whether you’re a seasoned musician, a budding artist, or a music production enthusiast, the ability to harness the potential of your MIDI keyboard within the Ubuntu environment empowers you to express your musical ideas with precision and flair.
With your MIDI keyboard seamlessly integrated into your Ubuntu-based music production setup, you are now well-equipped to explore the realms of music creation, composition, and performance, leveraging the power of technology and creativity to bring your musical visions to life. Embrace the endless possibilities that await you, and let the harmonious synergy of your MIDI keyboard and Ubuntu inspire your musical pursuits.


