Introduction
So, you've got a Yamaha digital piano and a Roland SC-55 Sound Canvas Sound Module, and you're eager to connect the two to create some amazing music. Fortunately, the process is not as complicated as it may seem at first. By following a few simple steps, you'll be able to link your digital piano to the sound module and unlock a world of musical possibilities.
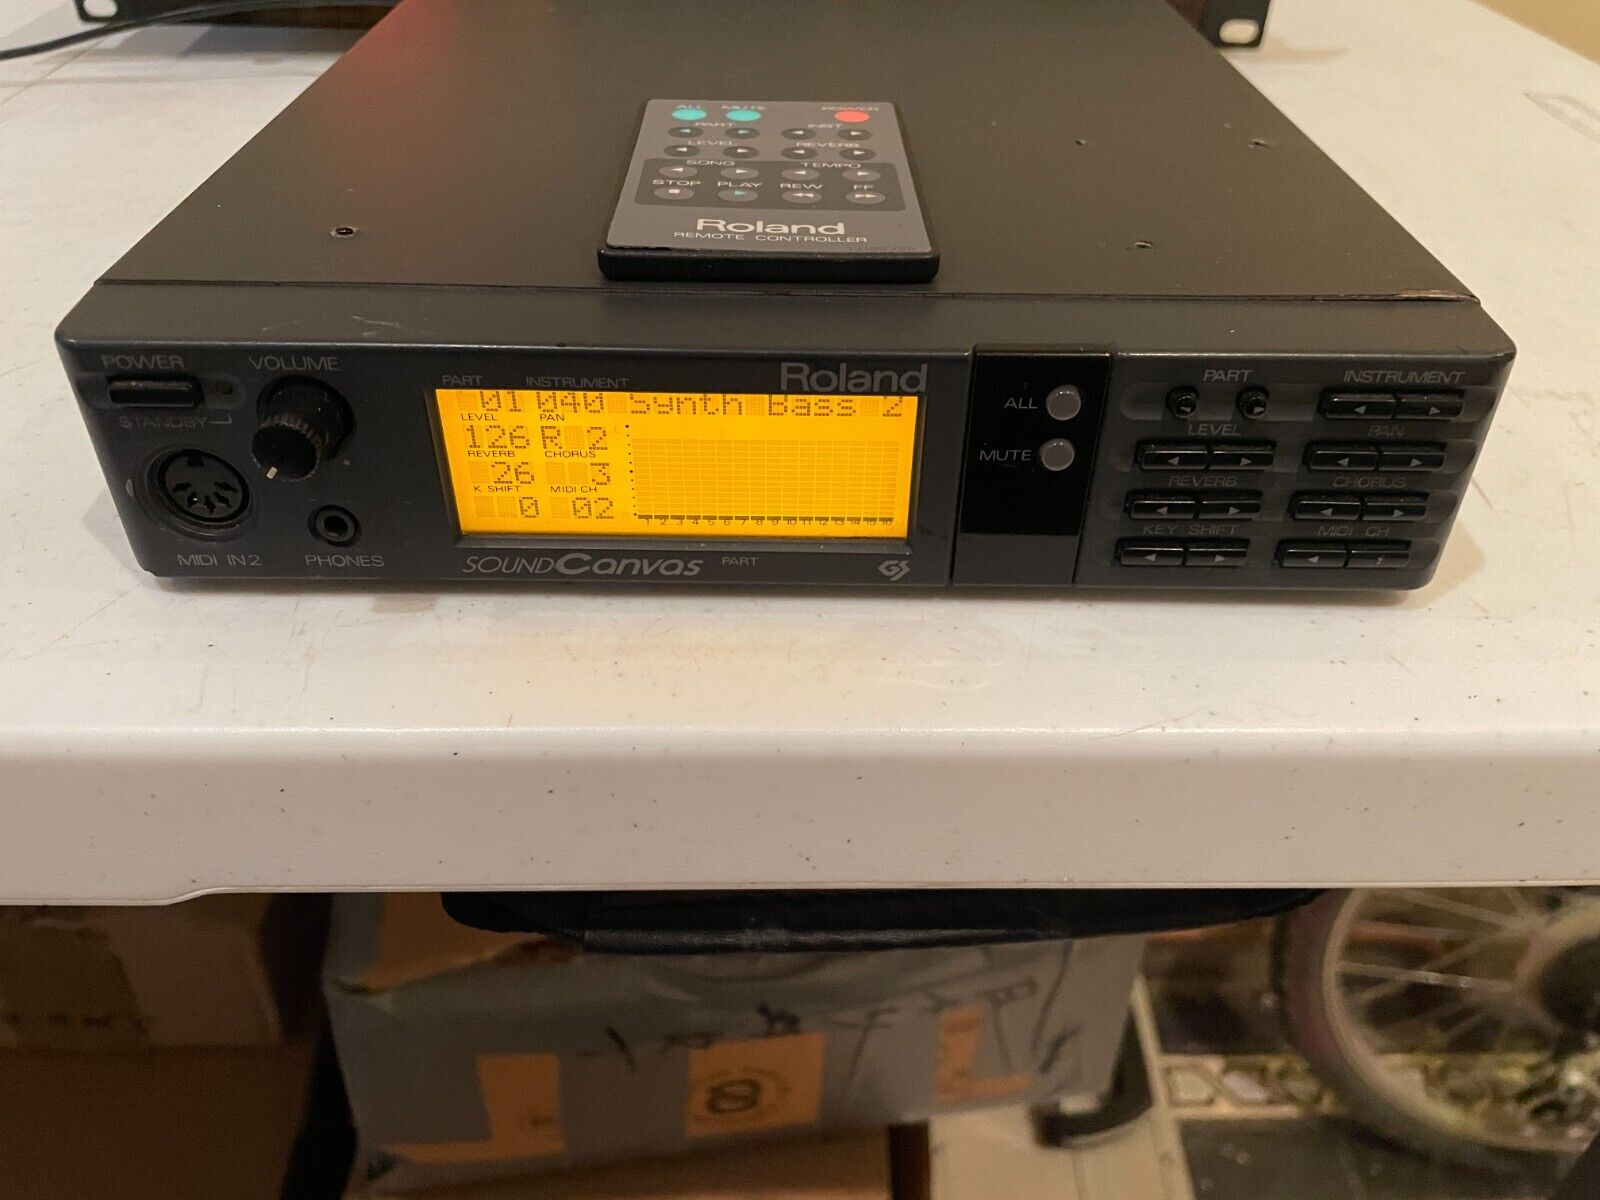
Connecting your Yamaha digital piano to a Roland SC-55 Sound Canvas Sound Module allows you to expand your musical repertoire by accessing a wide range of high-quality sounds and effects. The Roland SC-55 is renowned for its authentic instrument sounds and is a popular choice for musicians seeking to enhance their performances.
In this guide, we'll walk you through the process of connecting your Yamaha digital piano to the Roland SC-55 Sound Canvas Sound Module. You'll learn how to gather the necessary cables and adapters, connect the MIDI output of the digital piano to the MIDI input of the sound module, power on the devices, and configure the MIDI settings. Once the setup is complete, you'll be able to test the connection and start making music right away.
Whether you're a seasoned musician or just starting out, this guide will help you harness the full potential of your musical equipment, allowing you to create captivating compositions and explore new sonic landscapes. So, let's dive in and get your Yamaha digital piano and Roland SC-55 Sound Canvas Sound Module working together harmoniously.
Step 1: Gather the Necessary Cables and Adapters
Before you begin connecting your Yamaha digital piano to the Roland SC-55 Sound Canvas Sound Module, it’s essential to gather the required cables and adapters. Here’s what you’ll need:
- MIDI Cables: Ensure you have MIDI cables with the appropriate connectors for both your digital piano and the sound module. These cables will facilitate the transmission of MIDI data between the two devices.
- Adapter (if necessary): Depending on the specific MIDI connectors on your digital piano and the Roland SC-55, you may need MIDI adapters to ensure compatibility and a secure connection.
- Power Cables: If your Roland SC-55 requires a separate power source, make sure you have the necessary power cables and access to power outlets.
Once you’ve gathered these essential components, you’ll be ready to move on to the next step of the process. Having the right cables and adapters on hand will ensure a smooth and efficient setup, allowing you to focus on the creative aspects of making music without any unnecessary delays or interruptions.
Step 2: Connect the MIDI Output of the Yamaha Digital Piano to the MIDI Input of the Roland SC-55
With the necessary cables and adapters in hand, it’s time to establish the physical connection between your Yamaha digital piano and the Roland SC-55 Sound Canvas Sound Module. Follow these steps to ensure a proper and secure connection:
- Locate the MIDI Ports: Identify the MIDI output port on your Yamaha digital piano and the MIDI input port on the Roland SC-55. These ports are typically labeled for easy identification.
- Connect the MIDI Cables: Take one end of the MIDI cable and insert it into the MIDI output port of your digital piano, ensuring a firm connection. Then, connect the other end of the cable to the MIDI input port of the Roland SC-55.
- Secure the Connections: Double-check that the MIDI cables are securely plugged into both devices to prevent any accidental disconnections during use.
By completing this step, you establish a direct link between your Yamaha digital piano and the Roland SC-55 Sound Canvas Sound Module, enabling the transmission of MIDI data between the two devices. This connection forms the foundation for integrating the capabilities of both instruments, allowing you to access the diverse sounds and features of the sound module while playing your digital piano.
Step 3: Power on the Devices and Configure the MIDI Settings
Once the physical connection between your Yamaha digital piano and the Roland SC-55 Sound Canvas Sound Module is established, it’s time to power on the devices and configure the MIDI settings to ensure seamless communication. Follow these steps to power on the devices and make the necessary MIDI settings:
- Power On the Devices: Ensure that both your digital piano and the Roland SC-55 are powered off before proceeding. Connect the power cables to the respective devices and switch them on.
- Access the MIDI Settings: On your Yamaha digital piano, navigate to the MIDI settings menu using the instrument’s control panel or digital interface. Similarly, access the MIDI settings on the Roland SC-55.
- Set MIDI Channels: Assign MIDI channels to the digital piano and the sound module to specify how MIDI data will be transmitted between the two devices. Ensure that the MIDI channels are configured to match each other for proper communication.
- Adjust Other MIDI Parameters: Depending on your specific setup and preferences, you may need to adjust additional MIDI parameters, such as MIDI clock settings, MIDI through, or other relevant options to optimize the connection.
By powering on the devices and configuring the MIDI settings as outlined, you establish the necessary communication protocols between your Yamaha digital piano and the Roland SC-55 Sound Canvas Sound Module. This ensures that MIDI data is transmitted accurately and efficiently, allowing you to harness the full potential of both instruments seamlessly.
Step 4: Test the Connection and Play Some Music
With the physical and MIDI connections established, it’s time to test the setup and unleash the musical capabilities of your linked Yamaha digital piano and Roland SC-55 Sound Canvas Sound Module. Follow these steps to test the connection and start creating music:
- Power On and Sync: Ensure that both devices are powered on and that the MIDI settings are appropriately configured as per the previous steps.
- Play a Note: Press a key on your Yamaha digital piano and listen for the sound output from the Roland SC-55. The sound module should respond to the MIDI data transmitted from the digital piano, producing the selected instrument sound or effect.
- Explore Sound Options: Experiment with different instrument sounds and effects available on the Roland SC-55 to get a feel for the diverse sonic possibilities now at your fingertips.
- Create Music: Use the combined capabilities of the digital piano and the sound module to create music, whether it’s composing original pieces, playing covers, or exploring new musical genres.
By following these steps, you can ensure that the connection between your Yamaha digital piano and the Roland SC-55 Sound Canvas Sound Module is functioning as intended. This enables you to fully utilize the rich sound palette and features offered by the sound module, enhancing your musical expression and performance.
Conclusion
Congratulations! You’ve successfully connected your Yamaha digital piano to the Roland SC-55 Sound Canvas Sound Module, opening up a world of musical possibilities. By following the steps outlined in this guide, you’ve established a seamless integration between your digital piano and the sound module, allowing you to access a diverse range of high-quality instrument sounds and effects.
With the physical and MIDI connections in place, you now have the ability to explore new sonic landscapes, create captivating compositions, and enhance your musical performances. The combined capabilities of your digital piano and the Roland SC-55 provide a versatile platform for musical expression and creativity.
Whether you’re a professional musician, a passionate hobbyist, or an aspiring composer, the connection between your Yamaha digital piano and the Roland SC-55 Sound Canvas Sound Module empowers you to elevate your musical endeavors. From classic piano tones to a myriad of instrument sounds and effects offered by the sound module, your musical toolkit has expanded significantly.
As you continue to explore the potential of this connected setup, don’t hesitate to experiment, innovate, and push the boundaries of your musical expression. The seamless integration of your digital piano and the sound module paves the way for inspiring performances, engaging compositions, and new sonic discoveries.
So, grab your digital piano, fire up the Roland SC-55, and let your creativity flow. The harmonious connection you’ve established promises an enriching musical journey filled with endless opportunities for artistic exploration and expression.