Introduction
Are you looking to breathe new life into your electric guitar's sound? Upgrading the pickups can significantly alter its tonal characteristics, allowing you to achieve a more personalized and professional sound. Whether you're seeking a brighter tone, a heavier distortion, or a smoother, more articulate sound, changing your electric guitar pickups can make a world of difference.
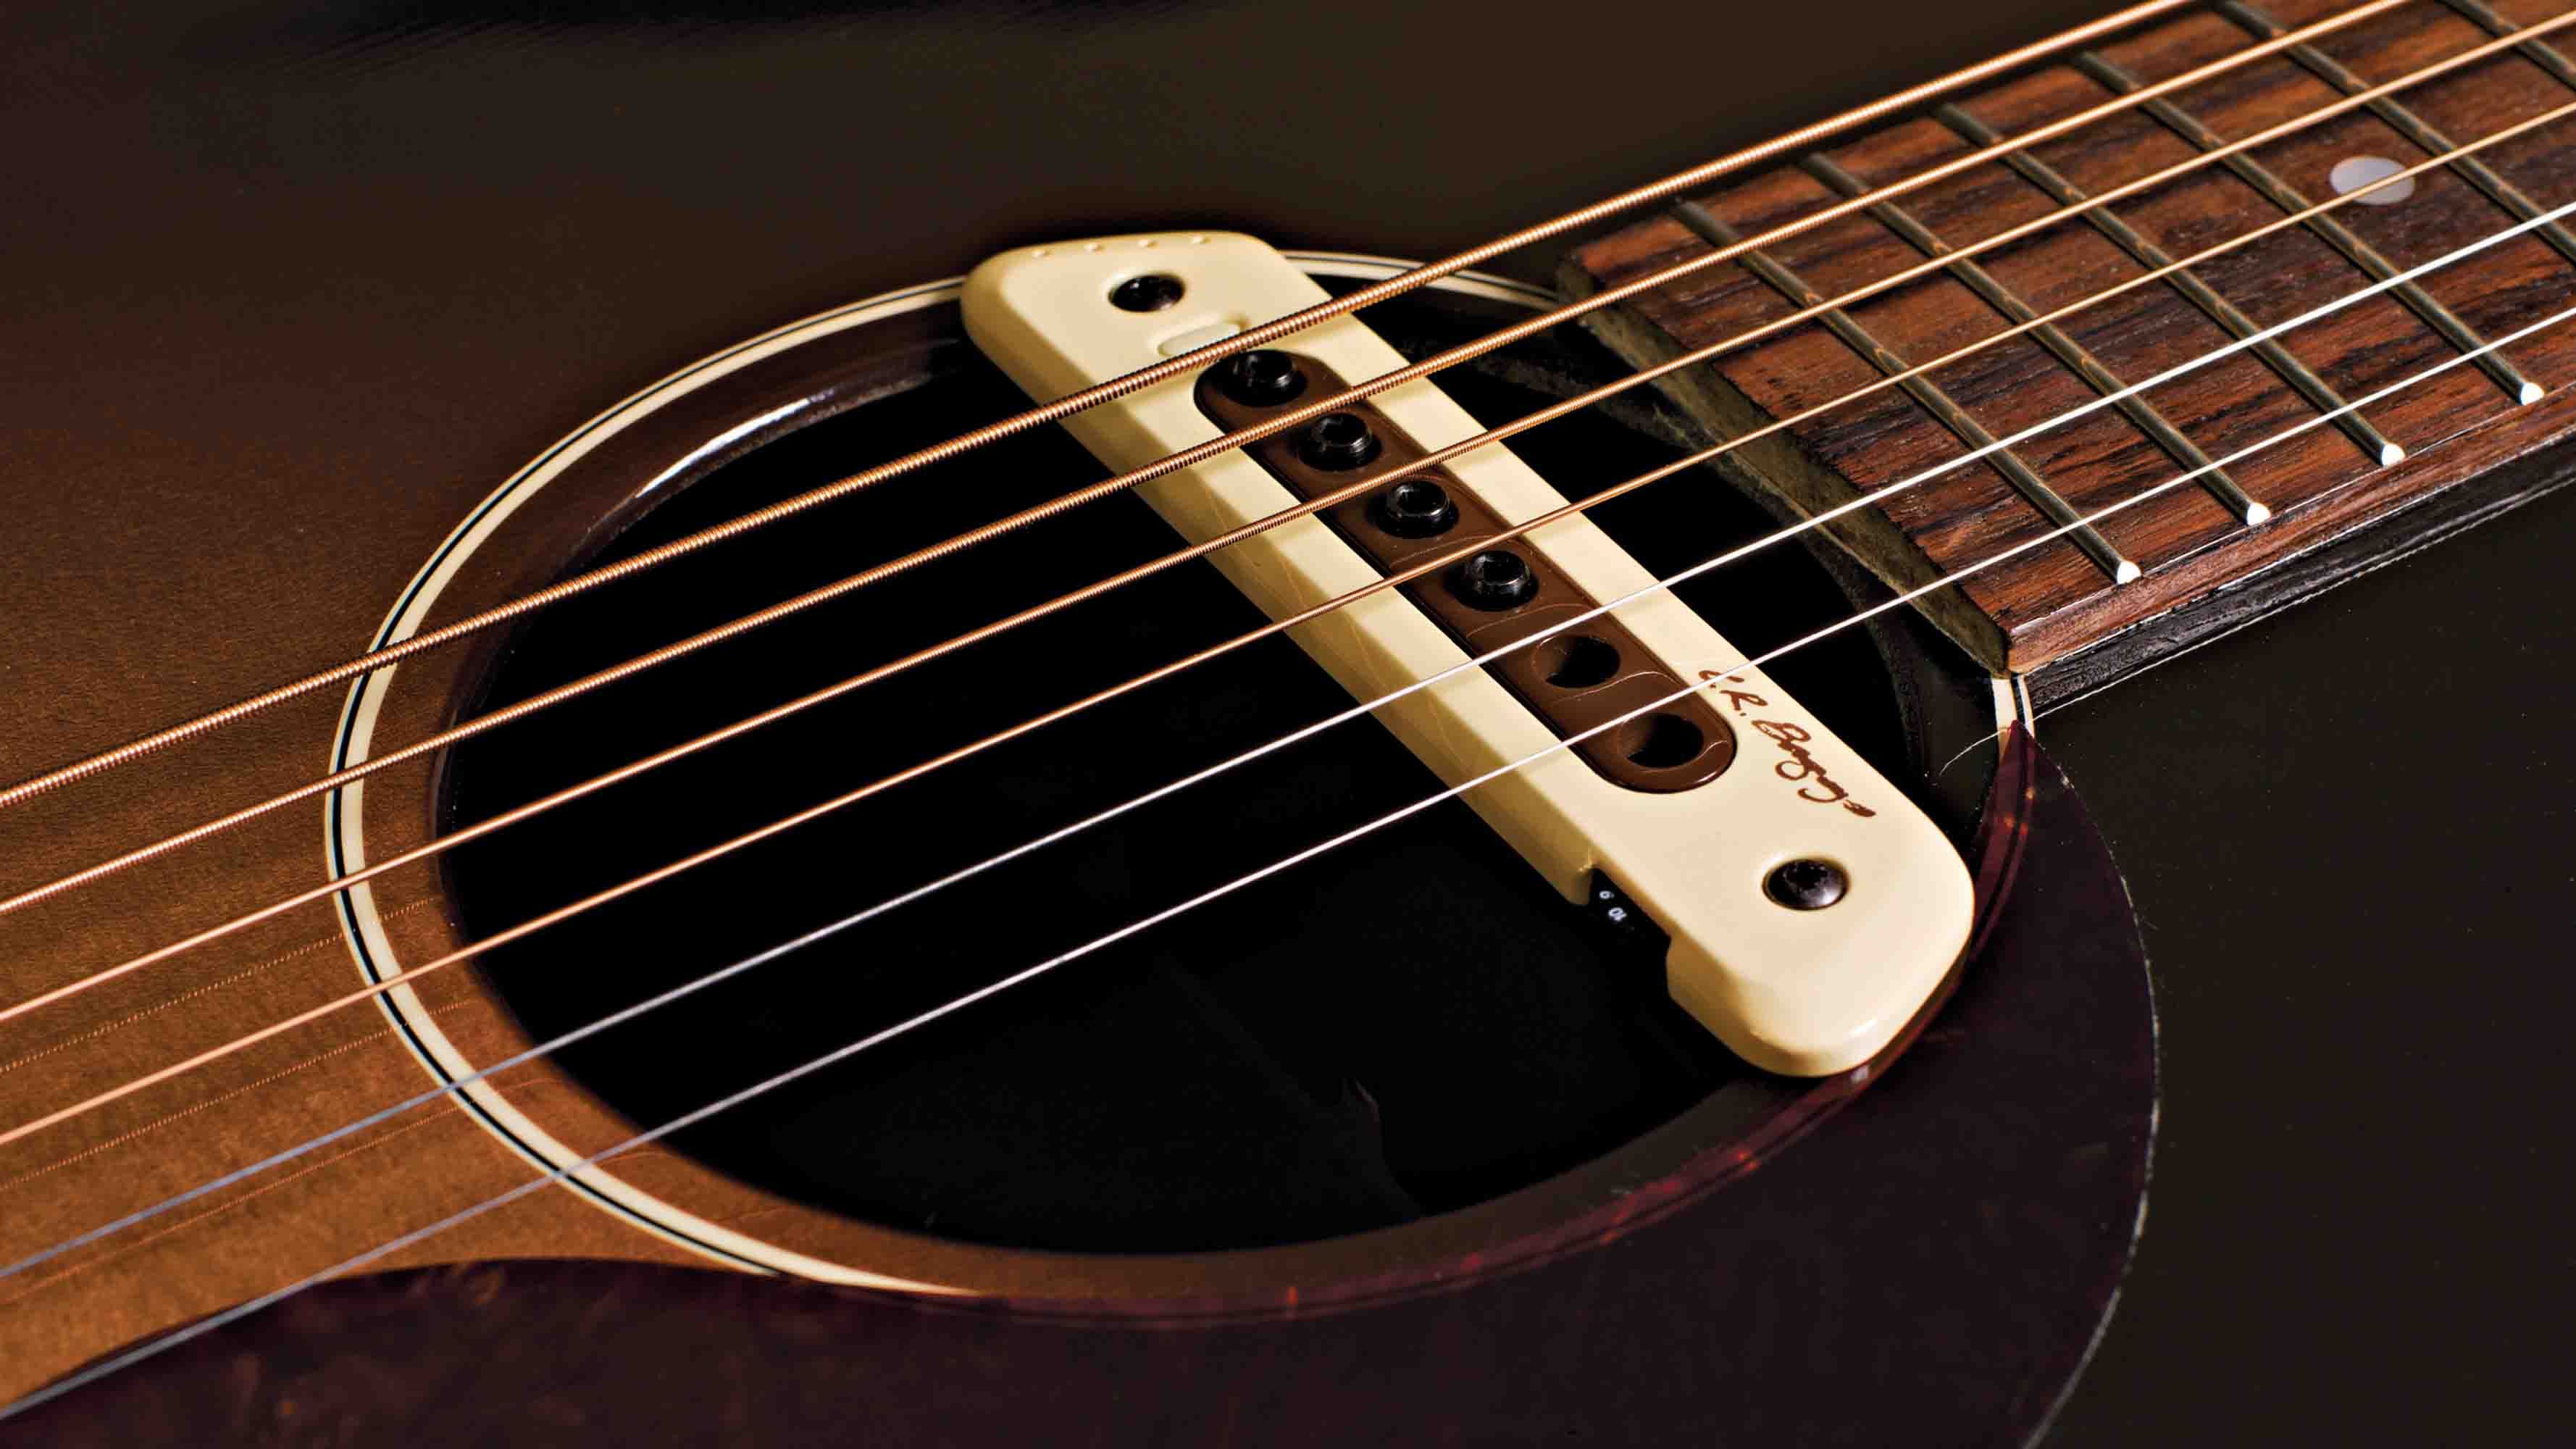
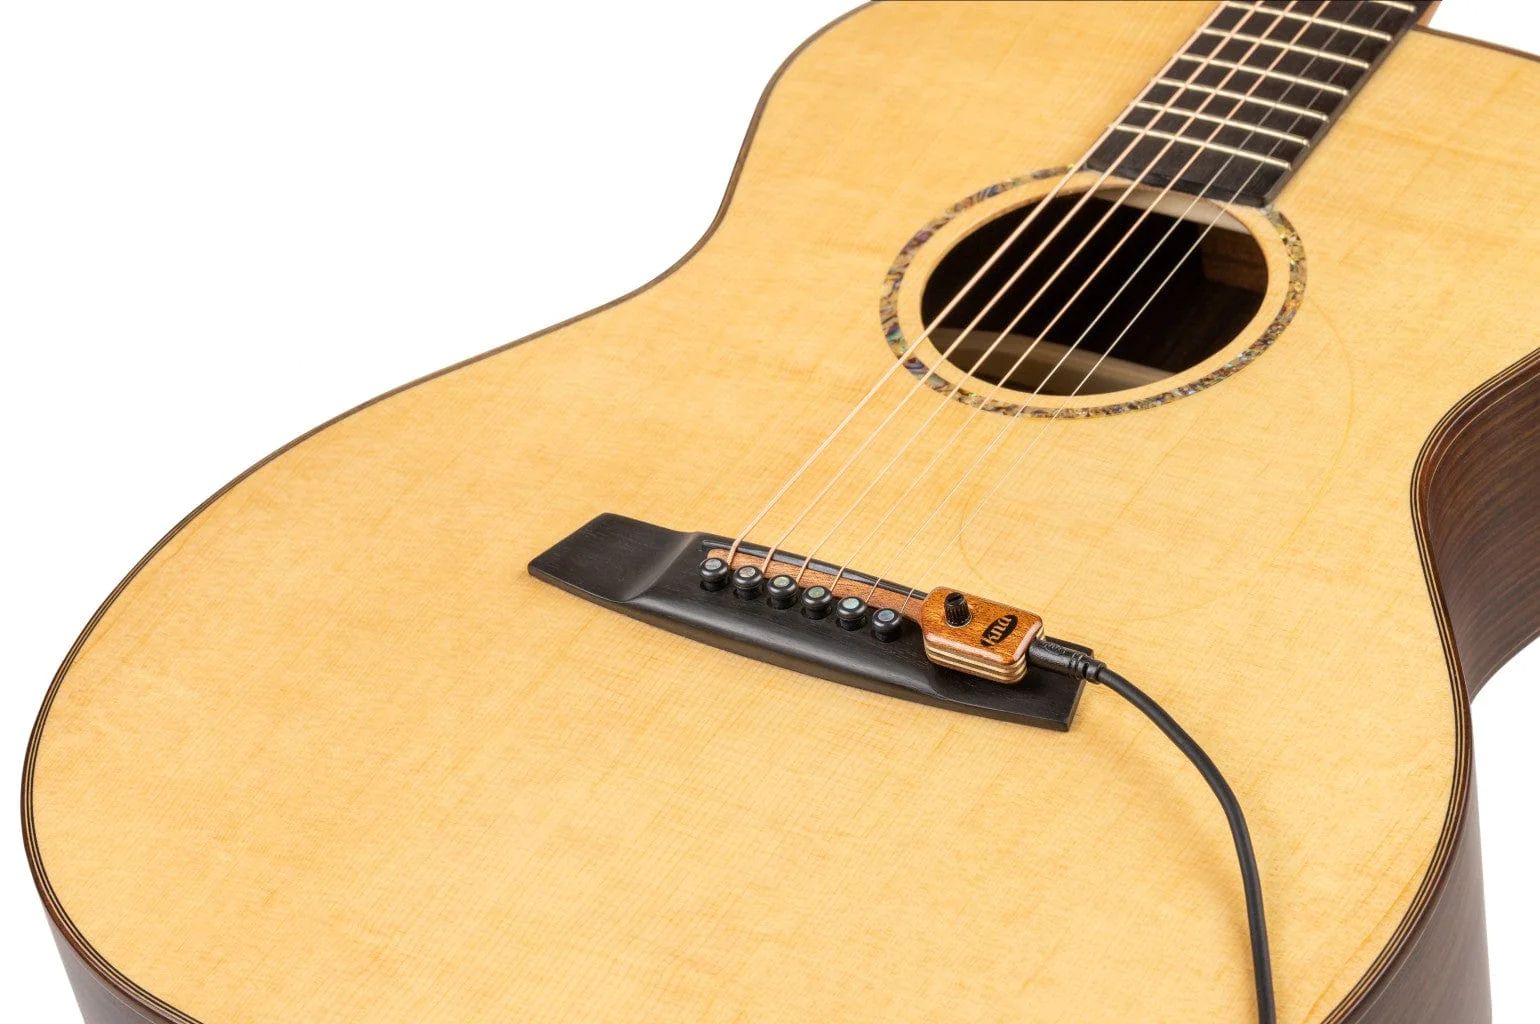
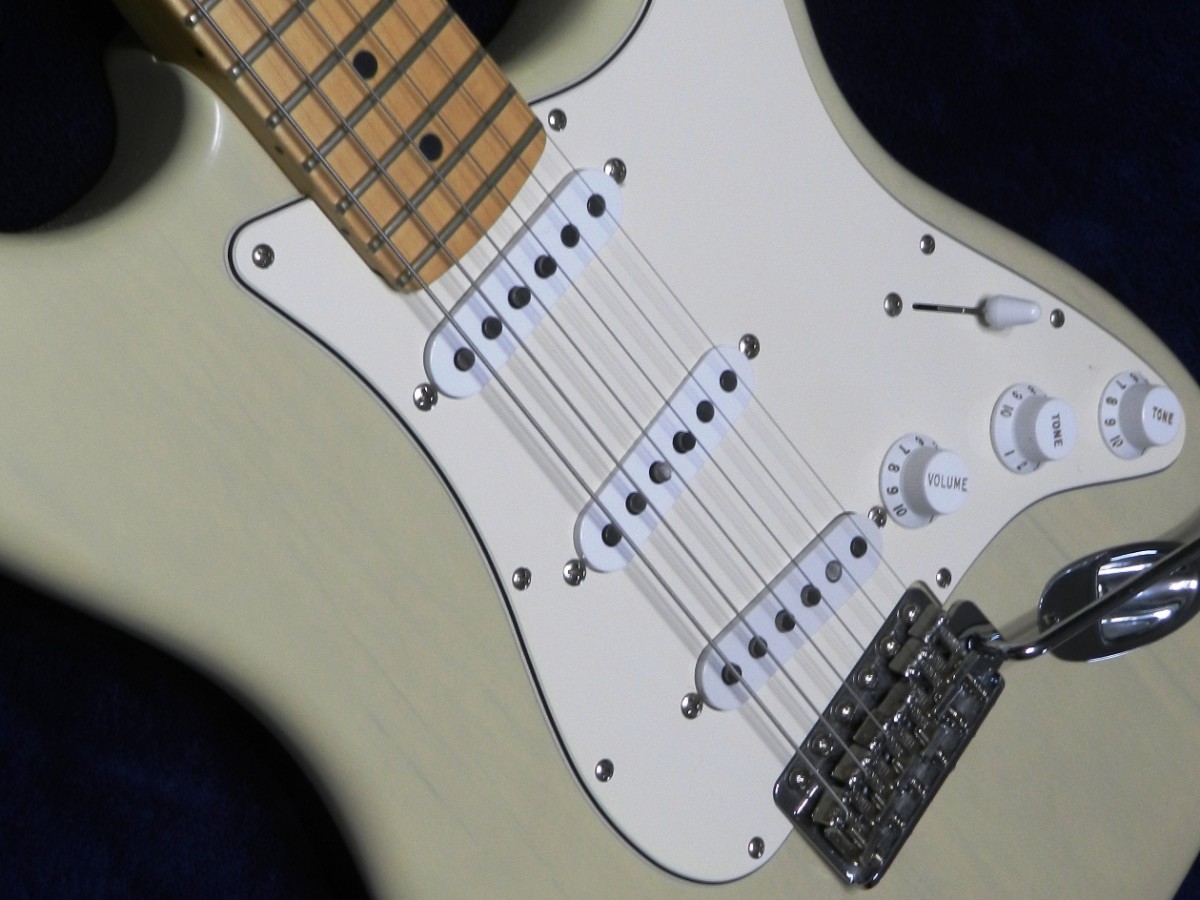
The pickups, also known as "humbuckers" or "single-coils," are the heart of an electric guitar's sound production. They capture the vibrations of the guitar strings and convert them into electrical signals, which are then amplified and projected through the speakers. By understanding how to change electric guitar pickups, you can tailor your instrument's sound to your preferences and musical style.
In this guide, we'll walk you through the process of changing electric guitar pickups. From the necessary tools and materials to the step-by-step installation procedure, you'll gain the knowledge and confidence needed to embark on this rewarding endeavor. Whether you're a seasoned guitarist or a passionate beginner, this guide will equip you with the essential know-how to transform your instrument's sonic capabilities.
Stay tuned as we delve into the tools and materials required for this project. By the end of this guide, you'll be ready to unleash the full potential of your electric guitar with a personalized and upgraded pickup system.
Tools and Materials Needed
Before diving into the process of changing electric guitar pickups, it’s essential to gather the necessary tools and materials. Having the right equipment at your disposal will streamline the installation process and ensure a successful outcome. Here’s a comprehensive list of what you’ll need:
- Screwdrivers: Both Phillips and flathead screwdrivers will be necessary for removing the pickguard and accessing the internal components of the guitar.
- Soldering Iron and Solder: A soldering iron and high-quality solder are vital for securely connecting the new pickups to the guitar’s electronics.
- Wire Cutters and Strippers: These tools will enable you to trim and strip the wires, ensuring clean and precise connections.
- New Pickups: Select pickups that align with your desired tonal characteristics and fit the specifications of your guitar.
- Masking Tape: Utilize masking tape to mark the position of the existing pickups and secure the guitar’s finish during the installation process.
- Multimeter: A multimeter is helpful for testing the continuity and proper functioning of the electrical connections.
- Work Mat: A padded work mat provides a soft, protective surface for your guitar during the pickup replacement process.
- Wire and Soldering Wick: Additional wire and soldering wick may be required for making modifications to the guitar’s wiring and addressing any unforeseen issues.
Ensuring that you have these tools and materials on hand will set the stage for a smooth and efficient pickup replacement process. With these items at your disposal, you’ll be well-prepared to tackle the upcoming steps with confidence.
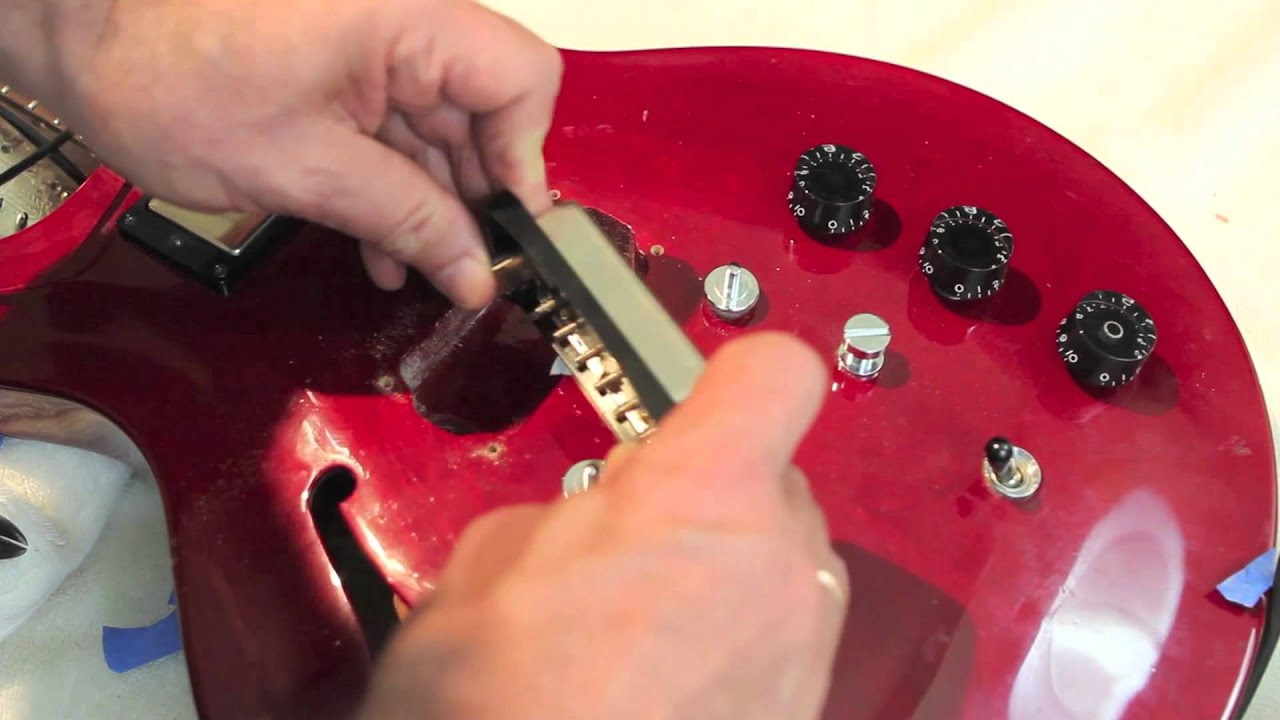
Removing the Old Pickups
Before installing new pickups, it’s crucial to remove the existing ones carefully. This process requires attention to detail and precision to avoid damaging the guitar’s components. Here’s a step-by-step guide to removing the old pickups:
- Prepare the Work Area: Find a well-lit and spacious area to work on your guitar. Lay down a padded work mat to protect the guitar’s finish and provide a comfortable surface for the procedure.
- Loosen the Strings: Begin by loosening the tension of the guitar strings to create easier access to the pickups. You can either remove the strings entirely or simply loosen them enough to maneuver around the pickups.
- Remove the Pickguard or Back Cover: Depending on the guitar’s design, you may need to unscrew the pickguard or remove the back cover to access the internal electronics. Use the appropriate screwdriver to carefully remove the screws and set them aside in a secure location.
- Identify the Pickup Connections: Take note of how the existing pickups are connected to the guitar’s wiring. You may want to take a photograph or make a diagram to reference during the reinstallation process.
- Desolder the Pickup Connections: Use the soldering iron to carefully desolder the connections between the pickups and the guitar’s electronics. Take your time to avoid damaging the wires or surrounding components.
- Remove the Pickups: Once the connections are desoldered, carefully lift the pickups out of their cavities. Be gentle to avoid scratching the guitar’s finish or causing any unnecessary strain on the components.
- Clean the Pickup Cavities: With the old pickups removed, take the opportunity to clean the cavities with a soft, dry cloth. This will ensure a clean surface for installing the new pickups.
By following these steps, you’ll successfully remove the old pickups from your electric guitar, paving the way for the installation of new pickups. With the old pickups out of the way, you’re now ready to proceed with the exciting process of installing the new pickups to elevate your guitar’s sonic potential.
Installing the New Pickups
With the old pickups removed, it’s time to embark on the exhilarating process of installing the new pickups. This step is pivotal in shaping the sonic character of your electric guitar, and attention to detail is paramount. Here’s a detailed guide to installing the new pickups:
- Prepare the New Pickups: Before installation, carefully inspect the new pickups to ensure they are free of any defects or damage. Verify that the pickup’s dimensions align with the cavities in your guitar.
- Positioning the Pickups: Place the new pickups in their respective cavities, aligning them according to the manufacturer’s specifications. Use masking tape to temporarily secure the pickups in place while you make the necessary connections.
- Connect the Pickup Wires: Refer to the diagram or photograph you took during the removal process to guide you in connecting the new pickups to the guitar’s wiring. Use the soldering iron and solder to establish secure and reliable connections.
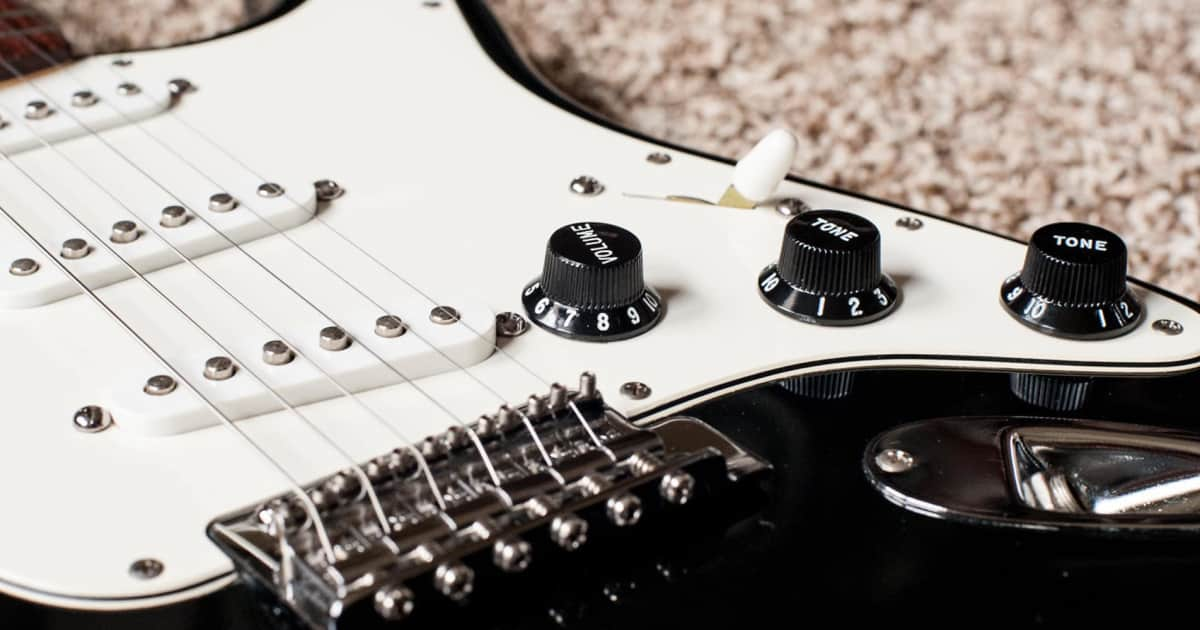
- Adjust Pickup Height: Once the pickups are connected, adjust their height to achieve the desired distance from the guitar strings. This adjustment can influence the pickups’ sensitivity and the overall tonal response of your guitar.
- Replace the Pickguard or Back Cover: If applicable, reattach the pickguard or back cover using the appropriate screws and a screwdriver. Ensure that the cover is securely fastened without over-tightening the screws.
- Reinstall the Strings: If you loosened or removed the guitar strings earlier, restring the guitar and tune it to the desired pitch. This step allows you to evaluate the new pickups’ performance under normal playing conditions.
By following these steps, you’ll successfully install the new pickups, setting the stage for a transformed sonic experience with your electric guitar. The installation process is a pivotal moment that can unleash the full potential of your instrument, allowing you to explore a new realm of tonal possibilities and sonic expression.
Testing and Adjusting the New Pickups
After installing the new pickups, it’s essential to thoroughly test and fine-tune their performance to ensure optimal sound quality and responsiveness. This crucial step allows you to make any necessary adjustments and guarantees that your electric guitar achieves its full sonic potential. Here’s a comprehensive guide to testing and adjusting the new pickups:
- Inspect the Connections: Carefully examine the soldered connections to ensure they are secure and free of any soldering flaws. Any loose connections should be addressed promptly to prevent potential performance issues.
- Check for Grounding Issues: Use a multimeter to test for proper grounding and continuity in the pickup connections. Address any grounding issues to eliminate unwanted noise or interference in the signal.
- Test the Pickup Functionality: Plug your guitar into an amplifier and test each pickup individually. Listen for any irregularities in the sound and assess whether the pickups are functioning as intended.
- Adjust Pickup Height: Fine-tune the pickup height to achieve the desired balance between output level and tonal characteristics. Experiment with different heights to find the optimal position for each pickup.
- Assess Tonality and Responsiveness: Play various musical passages and test the pickups’ tonal qualities, responsiveness to dynamics, and overall sonic character. Pay attention to how the pickups capture different playing styles and adjust as needed.
- Evaluate for Consistency: Ensure that the pickups deliver consistent performance across all strings and fretboard positions. Address any inconsistencies in output or tonal balance to achieve uniformity in sound.
- Make Fine Adjustments: If necessary, make fine adjustments to the pickup connections, height, or other parameters to optimize their performance. Small tweaks can make a significant difference in the overall sound quality.
By meticulously testing and adjusting the new pickups, you’ll fine-tune your electric guitar’s sonic characteristics to align with your musical preferences and playing style. This process allows you to harness the full potential of the new pickups and ensures that your instrument delivers a captivating and expressive sonic experience.
Conclusion
Congratulations on successfully navigating the process of changing electric guitar pickups. By embarking on this endeavor, you’ve taken a significant step toward customizing and enhancing the sonic capabilities of your instrument. The journey from removing the old pickups to testing and adjusting the new ones has been both rewarding and enlightening.
As you reflect on this experience, it’s important to recognize the transformative impact that new pickups can have on your electric guitar’s sound. Whether you’ve sought to achieve a more vibrant, articulate tone or a heavier, more aggressive sound, the installation of new pickups opens up a world of tonal possibilities.
Furthermore, the skills and knowledge you’ve gained throughout this process have empowered you to take a hands-on approach to optimizing your instrument’s performance. The meticulous attention to detail, from soldering connections to adjusting pickup height, has not only shaped the sound of your guitar but has also deepened your understanding of its inner workings.
As you strum the strings and unleash the full potential of your newly installed pickups, take pride in the craftsmanship and artistry that have gone into this transformation. Your electric guitar has evolved into a personalized sonic canvas, ready to convey your musical expression with newfound clarity and resonance.
Remember that the journey of refining and customizing your instrument is an ongoing one. As you continue to explore and evolve as a musician, the process of changing pickups serves as a testament to your dedication to honing your craft and sculpting your signature sound.
So, as you embark on your musical endeavors, may the resonance of your electric guitar, now equipped with new pickups, inspire and elevate your artistic journey, amplifying the emotive power of your music for years to come.