Introduction
Welcome to the exciting world of DIY MIDI keyboards! If you’re a music enthusiast with a penchant for hands-on projects, building your own MIDI keyboard can be a rewarding and fulfilling endeavor. Not only does it allow you to customize the keyboard to suit your specific preferences, but it also provides a deeper understanding of the technology behind these versatile musical instruments.
Whether you’re a seasoned musician or a curious hobbyist, embarking on this journey will give you the opportunity to delve into the intricacies of MIDI (Musical Instrument Digital Interface) technology and gain valuable insights into the construction of electronic musical devices.
Throughout this guide, we’ll explore the step-by-step process of assembling a MIDI keyboard, from selecting the right components to troubleshooting any potential issues. By the end of this journey, you’ll have a fully functional MIDI keyboard that you can proudly call your own.
So, roll up your sleeves, unleash your creativity, and let’s dive into the fascinating realm of DIY MIDI keyboards!
Choosing the Right Components
Before embarking on the construction of your MIDI keyboard, it’s crucial to carefully select the components that will form the foundation of your instrument. Each component plays a pivotal role in determining the functionality, durability, and overall performance of the keyboard.
Here are the key components you’ll need to consider:
- Keyboard Mechanism: The heart of your MIDI keyboard, the keyboard mechanism, dictates the tactile feel and responsiveness of the keys. Choose between various options, such as synth-action, semi-weighted, or fully weighted keys, based on your playing style and preferences.
- Microcontroller: The brain of the MIDI keyboard, the microcontroller processes the key presses and sends MIDI data to your computer or external sound module. Popular choices include Arduino-based boards or Teensy microcontrollers, known for their reliability and flexibility.
- Enclosure: Select a sturdy and spacious enclosure to house the keyboard mechanism and electronics. This could be a custom-built wooden case or a modified enclosure from a pre-existing keyboard.
- Buttons, Knobs, and Sliders: These components allow for additional control and customization of your MIDI keyboard. Decide on the number and configuration based on your desired level of modulation and expression.
- MIDI Controller Board: An essential component for translating key presses into MIDI data. Opt for a reputable MIDI controller board that aligns with your technical proficiency and project requirements.
- Power Supply: Determine the power requirements of your MIDI keyboard and select a suitable power supply to ensure stable and reliable operation.
When sourcing these components, consider factors such as compatibility, quality, and ease of integration. Additionally, explore online communities and forums to gather insights from fellow DIY enthusiasts and musicians who have embarked on similar projects. Their experiences can offer valuable guidance in selecting the most suitable components for your MIDI keyboard.
With the right components in hand, you’re one step closer to bringing your custom MIDI keyboard to life.
Assembling the Keyboard
Now that you’ve carefully chosen the components for your MIDI keyboard, it’s time to roll up your sleeves and begin the exciting process of assembling the instrument. This hands-on phase is where individual components come together to form a cohesive unit, culminating in a fully functional MIDI keyboard tailored to your preferences.
Here’s a step-by-step guide to assembling your MIDI keyboard:
- Prepare the Enclosure: If you’re using a custom-built enclosure, ensure that it is well-constructed and provides ample space for the keyboard mechanism, microcontroller, and additional components. If repurposing an existing keyboard enclosure, disassemble it carefully and prepare it for the integration of your custom components.
- Mount the Keyboard Mechanism: Secure the chosen keyboard mechanism into the enclosure, ensuring a stable and ergonomic positioning. Pay close attention to the alignment and spacing of the keys to guarantee a comfortable playing experience.
- Install the Microcontroller: Place the microcontroller in a central location within the enclosure, allowing for easy access to its ports and connectors. Secure it in place and ensure that it is well-insulated to prevent any electrical interference.
- Integrate Control Components: If your MIDI keyboard includes buttons, knobs, or sliders, carefully integrate these components into the enclosure, considering their accessibility and ergonomic placement for seamless control during performances.
- Establish Electrical Connections: Connect the keyboard mechanism, microcontroller, and control components using reliable and appropriately rated wiring. Pay meticulous attention to the wiring layout to prevent tangling and ensure a tidy internal arrangement.
- Secure and Insulate Components: Once all components are in place, secure them within the enclosure using suitable fasteners and insulate any exposed wiring to prevent short circuits and ensure electrical safety.
- Test the Keybed and Controls: Before sealing the enclosure, conduct thorough testing of the keybed and control components to verify their functionality. Address any issues or anomalies before proceeding to the next phase.
Throughout the assembly process, meticulous attention to detail and precision is paramount to ensure the reliable and enduring performance of your custom MIDI keyboard. By following these steps diligently, you will soon witness the transformation of individual components into a cohesive musical instrument that reflects your unique style and preferences.
Installing the MIDI Controller
With the physical assembly of your MIDI keyboard complete, the next crucial step is to install and configure the MIDI controller, the central component responsible for translating key presses into MIDI data that can be interpreted by your music software or external sound modules.
Here’s a detailed guide to installing the MIDI controller:
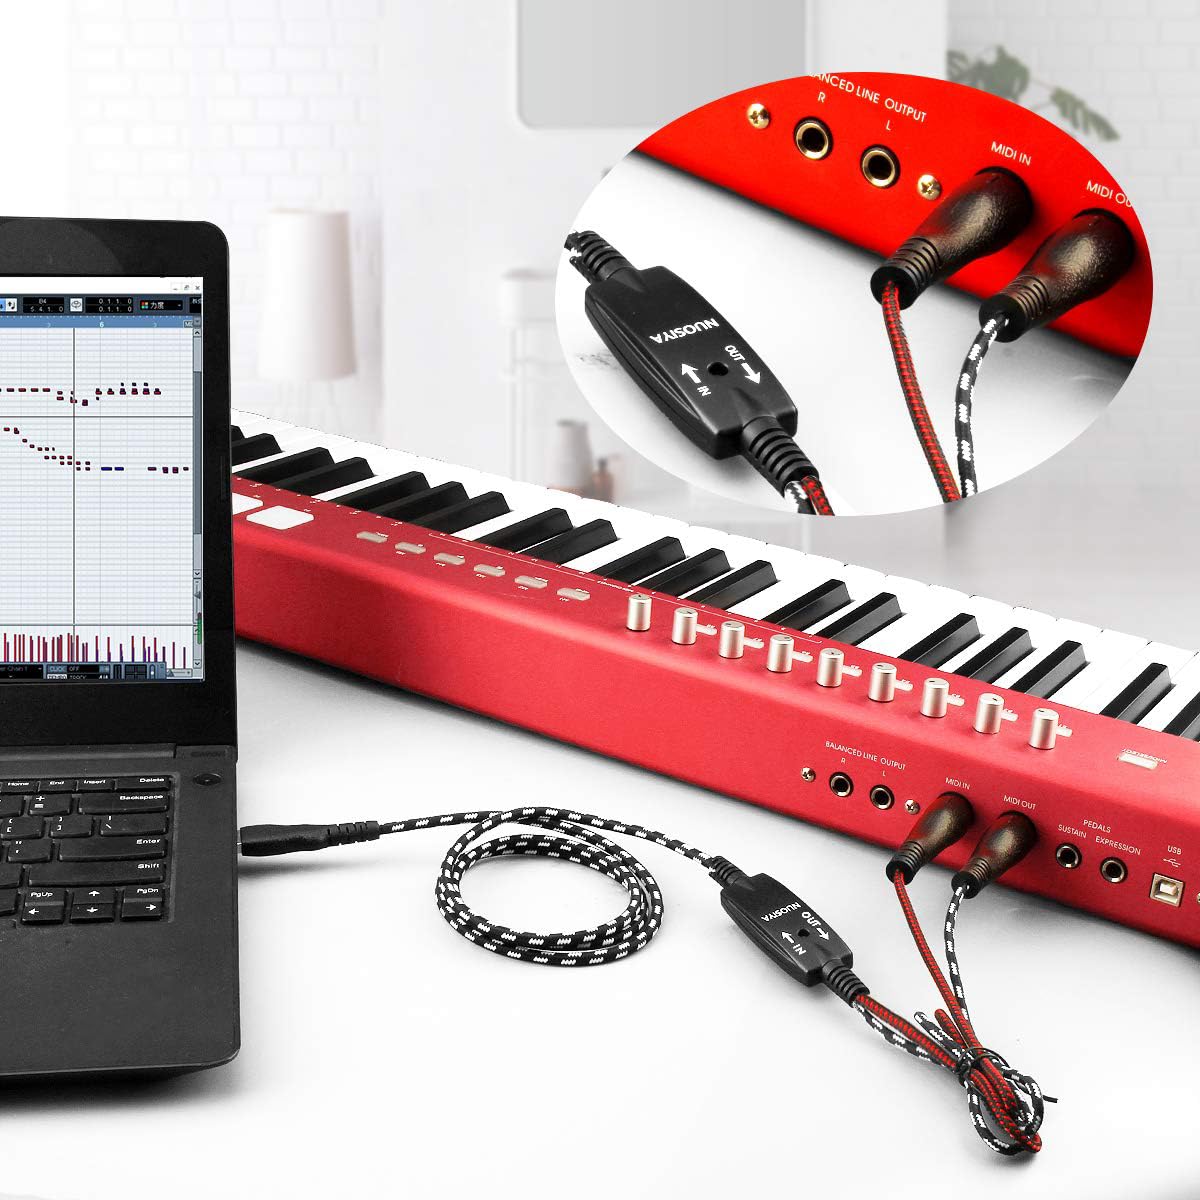
- Identify MIDI Connections: Familiarize yourself with the MIDI connections on your microcontroller and MIDI controller board. Typically, these connections include MIDI input, output, and through ports, which facilitate communication between your MIDI keyboard and external devices.
- Establish MIDI Connections: Using standard MIDI cables, connect the MIDI output of your MIDI controller board to the MIDI input of your sound module or computer interface. If your MIDI keyboard includes additional MIDI through functionality, you can utilize it to daisy-chain multiple MIDI devices for expanded control.
- Configure MIDI Settings: Access the configuration settings of your MIDI controller board to ensure that it is set to the appropriate MIDI channel and parameters that align with your music software or sound module. This step is crucial for seamless communication and accurate interpretation of key presses.
- Test MIDI Communication: Once the connections and settings are in place, perform a comprehensive test of the MIDI communication between your keyboard and external devices. Verify that key presses are accurately transmitted as MIDI data and that the communication is free from latency or errors.
- Calibrate Control Components: If your MIDI keyboard incorporates control components such as knobs or sliders, calibrate them to ensure smooth and accurate modulation of MIDI parameters. This may involve assigning specific MIDI control messages to these components based on your performance requirements.
- Integrate with Music Software: If using your MIDI keyboard with music production software, integrate it with your preferred digital audio workstation (DAW) or MIDI-compatible software. Configure the MIDI input settings within the software to recognize and respond to the MIDI data transmitted by your keyboard.
By meticulously following these steps, you will seamlessly integrate the MIDI controller into your custom MIDI keyboard, unlocking its full potential as a versatile and expressive musical instrument. The successful installation of the MIDI controller sets the stage for exploring a myriad of creative possibilities and unleashing your musical creativity.
Testing and Troubleshooting
As you near the completion of your DIY MIDI keyboard project, thorough testing and troubleshooting are essential to ensure that the instrument functions reliably and meets your performance expectations. This phase allows you to identify and address any potential issues, fine-tune the keyboard’s performance, and validate its seamless integration with external devices and music software.
Here’s a comprehensive approach to testing and troubleshooting your MIDI keyboard:
- Functional Testing: Conduct a comprehensive functional test of the keyboard mechanism, ensuring that each key responds accurately and consistently to key presses. Verify that the velocity sensitivity (if applicable) and aftertouch functionality, if present, perform as expected.
- MIDI Data Transmission: Test the MIDI data transmission from your keyboard to external devices or software. Confirm that all key presses are translated into MIDI data without latency or inaccuracies, and that the MIDI controller board reliably communicates with connected devices.
- Control Component Validation: If your MIDI keyboard incorporates control components such as knobs, sliders, or buttons, validate their functionality and responsiveness. Ensure that they modulate MIDI parameters smoothly and accurately, enhancing your expressive control over the instrument.
- Power and Stability Checks: Verify the stability and reliability of the power supply to your MIDI keyboard, ensuring that it operates consistently without unexpected power fluctuations or interruptions. Address any power-related issues promptly to prevent potential damage to electronic components.
- Compatibility Testing: If interfacing with music software or external sound modules, perform compatibility testing to confirm seamless integration and communication. Test the MIDI keyboard with a variety of software and devices to ensure universal compatibility and consistent performance across different platforms.
- Troubleshooting: In the event of any anomalies or issues identified during testing, employ systematic troubleshooting techniques to diagnose and resolve the underlying causes. This may involve inspecting wiring connections, reviewing configuration settings, and consulting relevant technical resources for guidance.
By meticulously conducting these tests and addressing any identified issues, you can fine-tune the performance of your DIY MIDI keyboard, ensuring that it operates flawlessly and meets your musical requirements. The meticulous testing and troubleshooting process culminates in the transformation of individual components into a cohesive and reliable musical instrument.
Conclusion
Congratulations on successfully navigating the exhilarating journey of building your own MIDI keyboard! Through careful component selection, meticulous assembly, and thorough testing, you’ve brought to life a custom musical instrument that reflects your unique style and preferences. This hands-on endeavor has not only provided you with a personalized MIDI keyboard but has also deepened your understanding of MIDI technology and electronic instrument construction.
As you embark on your musical adventures with your newly crafted MIDI keyboard, you’ll find boundless opportunities for creative expression and exploration. Whether you’re composing music, performing live, or delving into the realms of sound design and production, your DIY MIDI keyboard stands ready to be your trusted companion on this sonic journey.
Moreover, the knowledge and skills you’ve gained throughout this project serve as a solid foundation for future endeavors in electronic music instrument customization and construction. The hands-on experience and technical insights acquired during the process equip you with the confidence to innovate and expand your musical toolkit in the future.
Remember that the DIY spirit that fueled this project can continue to inspire and drive your musical pursuits. Embrace the creativity, ingenuity, and passion that led you to embark on this endeavor, and let it propel you toward new horizons in music and technology.
As you revel in the joy of playing and creating music with your custom MIDI keyboard, take pride in the fact that you’ve not only built a musical instrument but have also woven a tapestry of creativity and craftsmanship that resonates with your unique musical identity.
May your DIY MIDI keyboard be a source of inspiration, innovation, and endless sonic possibilities, empowering you to craft captivating melodies and shape the soundscape of your musical endeavors.


