Introduction
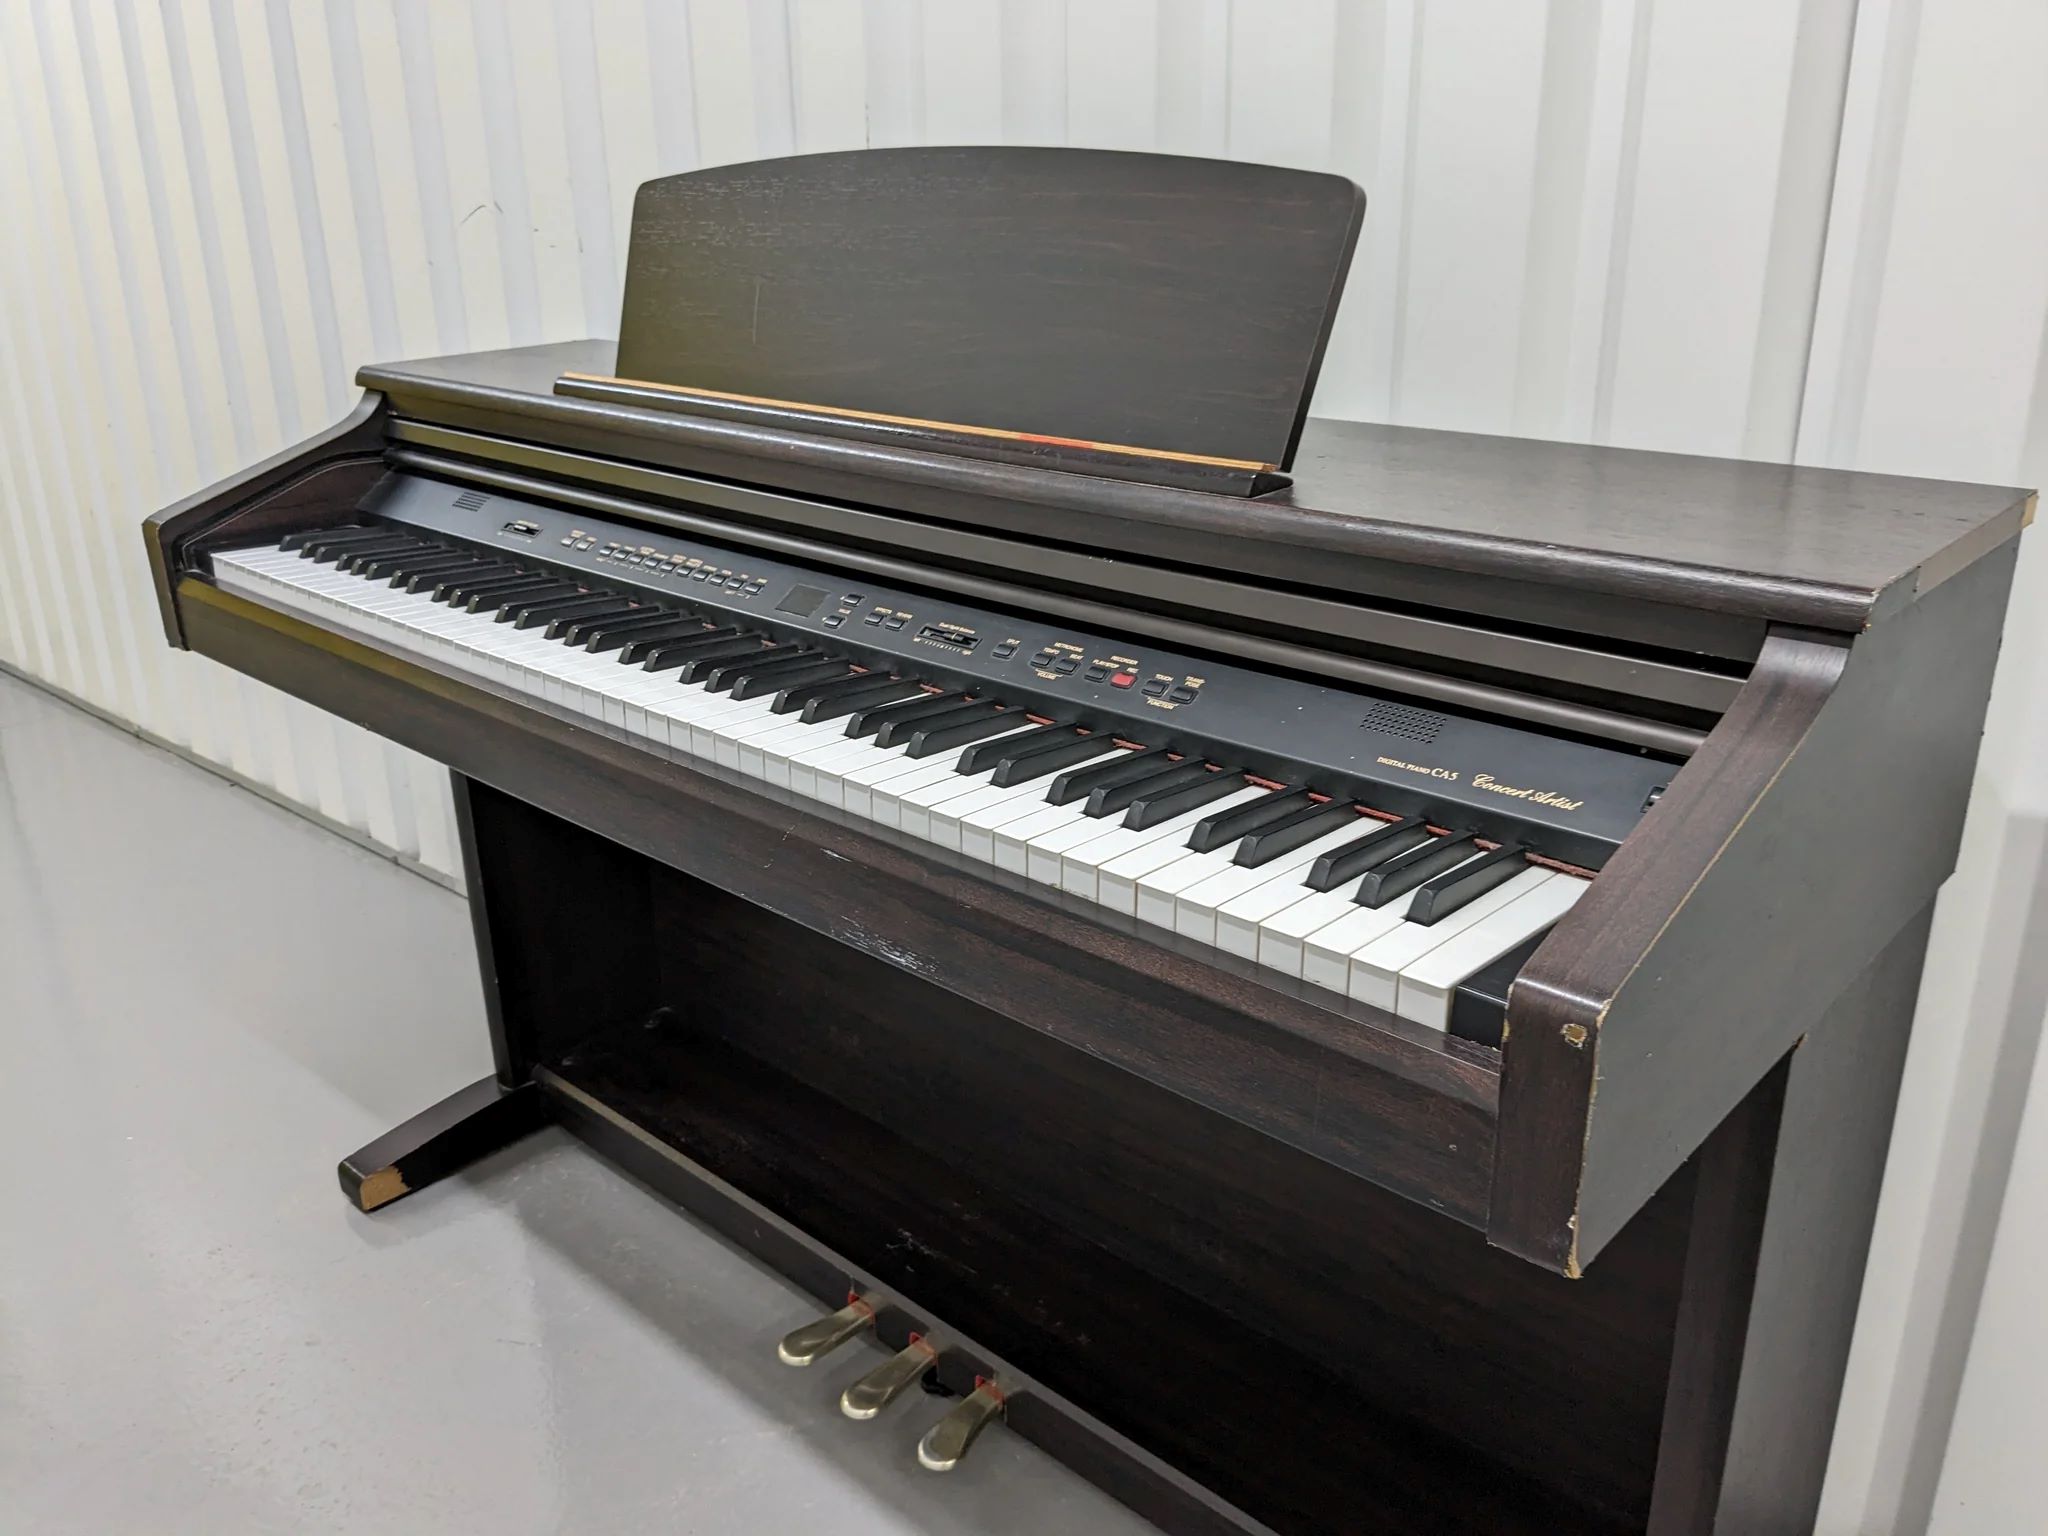
If you own a Samick Digital Piano SXP 411, you understand the joy of playing music on a quality instrument. However, like any electronic device, issues may arise over time. One common problem that piano players encounter is a malfunctioning sustain pedal. The sustain pedal is a crucial component that allows you to create beautiful, sustained notes, adding depth and emotion to your music. When this pedal fails to function properly, it can be frustrating and hinder your playing experience.
Fortunately, repairing a Samick Digital Piano SXP 411 sustain pedal is a task that can be accomplished with some basic tools and a little know-how. By understanding the issue, disassembling the pedal, identifying the problem component, and carrying out the necessary repairs, you can restore the functionality of your sustain pedal and get back to creating beautiful music.
In this guide, we will walk you through the process of repairing a Samick Digital Piano SXP 411 sustain pedal. Whether you are a seasoned musician or a hobbyist, this step-by-step tutorial will equip you with the knowledge and confidence to tackle this repair project. With a systematic approach and attention to detail, you can breathe new life into your piano and continue to enjoy the expressive capabilities that the sustain pedal provides.
So, grab your tools and let's delve into the world of sustain pedal repair for the Samick Digital Piano SXP 411. By the end of this guide, you'll be well-equipped to troubleshoot and fix this common issue, ensuring that your piano continues to be a source of joy and inspiration for your musical endeavors.
Understanding the Issue with the Sustain Pedal
Before embarking on the repair process, it’s essential to understand the common issues that can arise with the sustain pedal of the Samick Digital Piano SXP 411. A faulty sustain pedal may manifest in various ways, such as a lack of sustain effect, intermittent sustain, or no response at all when the pedal is depressed. These issues can significantly impede your ability to play the piano expressively and can be attributed to several underlying causes.
One potential reason for sustain pedal malfunctions is a worn-out or damaged contact mechanism. Over time, continuous use can lead to wear and tear on the internal components, resulting in poor electrical contact and diminished pedal responsiveness. Additionally, debris and dust accumulation within the pedal assembly can interfere with its proper operation, leading to erratic behavior or complete failure.
Furthermore, the sustain pedal’s physical structure, including the pedal itself and its connection to the piano, can be susceptible to damage from impacts or mishandling. This can cause misalignment or disconnection, disrupting the pedal’s functionality. Understanding these potential issues will guide our diagnostic approach as we proceed with the repair process.
By gaining insight into the common problems associated with the sustain pedal, you will be better equipped to identify the specific issue affecting your piano. This understanding will inform the subsequent steps in the repair process, enabling you to address the root cause of the problem effectively. With a clear grasp of the potential issues at hand, you can proceed with confidence, knowing that you are equipped to diagnose and resolve the sustain pedal’s malfunction.
Tools Needed for Repair
Before diving into the repair process, it’s essential to gather the necessary tools to ensure a smooth and efficient workflow. The following tools will be instrumental in disassembling, diagnosing, and repairing the sustain pedal of the Samick Digital Piano SXP 411:
- Screwdriver Set: A set of precision screwdrivers, including flathead and Phillips head varieties, will be indispensable for removing screws and accessing the internal components of the sustain pedal assembly.
- Tweezers or Small Pliers: These tools will aid in handling small components and performing delicate maneuvers within the pedal assembly.
- Clean Cloth and Cleaning Solution: To address potential dust and debris accumulation within the sustain pedal, a clean cloth and a mild cleaning solution can be used to carefully clean the internal components and contacts.
- Multimeter: A multimeter will be essential for testing the continuity and functionality of electrical connections within the sustain pedal, helping to identify any faulty components or connections.
- Replacement Parts (if necessary): Depending on the diagnosis, replacement parts such as electronic switches, cables, or connectors may be required. It’s advisable to have these parts on hand before beginning the repair process.
- Workspace Lighting: Adequate lighting will be crucial for inspecting and working on the internal components of the sustain pedal. A well-lit workspace will facilitate precision and accuracy during the repair.
By ensuring that these tools are readily available, you can streamline the repair process and address any issues with the sustain pedal efficiently. Having the right tools at your disposal will empower you to navigate the intricate components of the pedal assembly and carry out the necessary repairs with confidence and precision.
Disassembling the Sustain Pedal
Before delving into the internal components of the sustain pedal, it’s essential to approach the disassembly process with care and precision. By following these steps, you can safely access the internal mechanisms of the pedal for thorough inspection and repair:
- Prepare the Workspace: Find a well-lit and spacious area to work on the sustain pedal. Ensure that the piano is unplugged to prevent any electrical hazards during the disassembly process.
- Remove the Pedal Cover: Use a screwdriver to carefully remove the screws securing the pedal cover. Place the screws in a secure location to prevent misplacement.
- Access the Internal Components: Once the pedal cover is removed, you will gain access to the internal components of the sustain pedal. Take note of the arrangement of components and their connections to facilitate reassembly later.
- Inspect the Internal Mechanisms: With the pedal disassembled, visually inspect the internal mechanisms for any signs of wear, damage, or debris accumulation. Pay particular attention to the contact mechanism and electrical connections.
- Document the Disassembly: It can be helpful to take photographs or make notes as you disassemble the sustain pedal. This documentation will serve as a reference when reassembling the components later.
By methodically disassembling the sustain pedal, you can gain a comprehensive understanding of its internal workings and pinpoint any issues that may be affecting its functionality. This careful approach sets the stage for the subsequent steps in diagnosing and repairing the sustain pedal, ensuring that the repair process is conducted with precision and attention to detail.
Identifying the Problem Component
With the sustain pedal disassembled, the next crucial step in the repair process is to identify the specific component or mechanism that is causing the malfunction. Several potential issues may be at the root of the problem, and a systematic approach to diagnosis will help pinpoint the exact cause. Here’s how to proceed:
- Inspect the Contact Mechanism: Examine the contact mechanism within the sustain pedal for signs of wear, corrosion, or damage. The contact mechanism is responsible for transmitting the pedal’s action to the piano’s internal circuitry, and any issues in this area can lead to a loss of functionality.
- Test the Electrical Connections: Use a multimeter to test the continuity of electrical connections within the sustain pedal. Check for any loose or faulty connections that may be impeding the pedal’s operation.
- Examine the Pedal Switch: If your sustain pedal utilizes a switch mechanism, inspect the switch for any signs of wear or malfunction. Cleaning the switch contacts may resolve issues related to intermittent or non-responsive pedal behavior.
- Check for Debris and Contaminants: Dust and debris accumulation can interfere with the pedal’s operation. Thoroughly clean the internal components and contacts to remove any contaminants that may be impeding functionality.
- Inspect the Pedal Housing and Connections: Ensure that the pedal housing and its connections to the piano are structurally sound and properly aligned. Misalignment or damage in this area can affect the pedal’s responsiveness.
By systematically examining these key components and mechanisms, you can narrow down the source of the sustain pedal issue. This diagnostic approach will provide clarity on the specific component that requires attention, guiding the subsequent repair steps and ensuring that the underlying problem is effectively addressed.
Repairing or Replacing the Component
Once the problematic component or mechanism within the sustain pedal has been identified, the next step is to address the issue through repair or replacement. Depending on the nature of the problem, the following strategies can be employed to restore the functionality of the sustain pedal:
- Repairing the Contact Mechanism: If the contact mechanism shows signs of wear or corrosion, carefully clean the contacts using a contact cleaner or isopropyl alcohol. Gently remove any debris or oxidation that may be hindering the electrical connection, restoring proper functionality.
- Replacing Faulty Components: In cases where the contact mechanism or switch is irreparably damaged, consider replacing the faulty components with new, compatible parts. This may involve sourcing replacement switches, connectors, or cables to ensure the pedal’s reliable operation.
- Adjusting Pedal Alignment: If misalignment or mechanical issues are impeding the pedal’s function, carefully adjust the pedal’s alignment and ensure that it smoothly engages with the internal mechanism. This adjustment can optimize the pedal’s responsiveness and sustain effect.
- Testing and Calibration: After any repairs or replacements are made, test the sustain pedal to ensure that the issue has been successfully addressed. If necessary, calibrate the pedal according to the manufacturer’s specifications to optimize its performance.
By employing these targeted repair strategies, you can effectively remedy the specific issue affecting the sustain pedal. Whether through meticulous cleaning, component replacement, or mechanical adjustments, restoring the functionality of the sustain pedal is achievable with the right approach and attention to detail. With the problematic component addressed, the sustain pedal will once again facilitate expressive and nuanced musical performances on the Samick Digital Piano SXP 411.
Reassembling the Sustain Pedal
After addressing the underlying issue and making necessary repairs or replacements, reassembling the sustain pedal is a critical step in completing the repair process. This phase requires precision and attention to detail to ensure that the pedal is restored to its proper functioning state. Follow these steps to reassemble the sustain pedal:
- Refer to Documentation: If you documented the disassembly process, refer to your notes or photographs to guide the reassembly. This will help ensure that components are correctly positioned and connected.
- Secure Internal Components: Carefully position and secure the internal components within the pedal housing, ensuring that electrical connections and mechanical mechanisms are properly aligned.
- Replace the Pedal Cover: Once the internal components are in place, reattach the pedal cover using the screws that were removed during the disassembly process. Tighten the screws securely to ensure the pedal cover is firmly in place.
- Test Pedal Action: Before finalizing the reassembly, test the pedal’s action to verify that it operates smoothly and responsively. Ensure that the sustain effect is consistent and that the pedal engages and disengages as intended.
- Verify Stability and Alignment: Confirm that the sustain pedal is stable and properly aligned with the piano. The pedal should engage smoothly and exhibit reliable functionality without any undue wobbling or misalignment.
By meticulously reassembling the sustain pedal and verifying its proper operation, you can conclude the repair process with confidence, knowing that the pedal has been restored to optimal functionality. With the sustain pedal reassembled, you can look forward to enjoying the expressive capabilities it provides, enhancing your musical performances on the Samick Digital Piano SXP 411.
Testing the Sustain Pedal
Following the reassembly of the sustain pedal, thorough testing is essential to ensure that the repair has effectively addressed the initial issue. By methodically testing the sustain pedal, you can verify its functionality and confirm that it reliably facilitates the desired sustain effect on the Samick Digital Piano SXP 411. Here’s how to conduct comprehensive testing:
- Functional Testing: Depress the sustain pedal and play a variety of musical passages to assess the sustain effect. Verify that sustained notes are produced consistently and that the pedal disengages smoothly when released.
- Dynamic Playing: Test the sustain pedal’s response to dynamic playing techniques, including varying degrees of pedal pressure and nuanced pedaling techniques. Ensure that the pedal accurately captures and translates the subtleties of your playing style.
- Extended Use Testing: Engage the sustain pedal for an extended duration to evaluate its performance over prolonged use. Confirm that the sustain effect remains stable and reliable, with no degradation in functionality over time.
- Integration with Musical Pieces: Incorporate the sustain pedal into musical pieces across different genres and styles. Assess its impact on the overall musical expression and confirm that it seamlessly integrates with your playing.
By subjecting the sustain pedal to rigorous testing across various playing scenarios, you can gain confidence in its restored functionality and reliability. The testing phase serves as a crucial validation of the repair efforts, ensuring that the sustain pedal enhances your musical performances on the Samick Digital Piano SXP 411 as intended.
Conclusion
Repairing a malfunctioning sustain pedal on the Samick Digital Piano SXP 411 is a rewarding endeavor that empowers musicians to restore the expressive capabilities of their instrument. By understanding the common issues with the sustain pedal, gathering the necessary tools, and methodically disassembling the pedal, individuals can diagnose and address the underlying problems effectively. Through meticulous inspection and targeted repairs or replacements, the specific component causing the malfunction can be identified and rectified, paving the way for the reassembly of the sustain pedal.
With precision and care, the sustain pedal is reassembled, and thorough testing is conducted to validate its restored functionality. The comprehensive testing phase ensures that the sustain pedal reliably facilitates expressive and nuanced musical performances, enhancing the playing experience on the Samick Digital Piano SXP 411.
By following the step-by-step process outlined in this guide, individuals can confidently tackle sustain pedal repairs, breathing new life into their piano and reclaiming the joy of playing expressive, sustained notes. This hands-on approach not only fosters a deeper understanding of the instrument’s mechanics but also empowers musicians to actively maintain and care for their cherished musical equipment.
Ultimately, the repair process for the sustain pedal of the Samick Digital Piano SXP 411 exemplifies the intersection of technical proficiency and musical artistry. By mastering the repair techniques outlined in this guide, individuals can continue to create captivating and emotive musical performances, harnessing the full potential of their instrument’s expressive capabilities.