Introduction
Welcome to the ultimate guide for rebooting your Fitbit Ionic! Whether you're experiencing technical glitches or simply want to refresh your device, this comprehensive walkthrough will equip you with the knowledge to troubleshoot and revitalize your wearable. The Fitbit Ionic is more than just a smartwatch; it's a reliable fitness companion that tracks your workouts, monitors your heart rate, and keeps you connected on the go. However, like any electronic device, it may encounter occasional hiccups that can hinder its performance.
In this guide, we'll delve into the essential steps to rejuvenate your Fitbit Ionic and ensure it operates at its optimal capacity. From charging your device to updating its software, we'll cover every aspect of the rebooting process. Whether you're a fitness enthusiast, a tech-savvy individual, or someone looking to maximize their wearable experience, this guide is tailored to cater to your needs.
So, if you've noticed your Fitbit Ionic acting sluggish, freezing, or displaying unusual behavior, fret not! By the end of this guide, you'll be well-versed in the art of troubleshooting and rejuvenating your Fitbit Ionic. Let's embark on this journey to breathe new life into your device, ensuring that it continues to support you in achieving your fitness goals and staying connected with the world around you. Let's dive into the first step: charging your Fitbit Ionic.
Step 1: Charge your Fitbit Ionic
Before initiating the reboot process for your Fitbit Ionic, it's crucial to ensure that the device has an adequate charge. A depleted battery can hinder the rebooting process and may lead to incomplete or ineffective troubleshooting. Here's a detailed walkthrough to guide you through the charging process:
-
Locate the Charging Cable: First and foremost, you'll need to locate the proprietary charging cable that came with your Fitbit Ionic. The charging cable is specifically designed to magnetically attach to the back of the Fitbit Ionic, ensuring a secure connection for efficient charging.
-
Connect to a Power Source: Once you have the charging cable in hand, connect it to a reliable power source such as a USB wall adapter or a computer's USB port. It's essential to choose a stable power supply to facilitate uninterrupted charging.
-
Secure Attachment: Gently align the charging cable's connector with the port on the back of your Fitbit Ionic. The magnetic feature will guide the cable into place, creating a secure attachment. Ensure that the Fitbit Ionic is placed on a flat surface during the charging process.
-
Charging Indicator: Upon successful attachment, the Fitbit Ionic's screen should display a charging indicator, typically in the form of a battery icon or a charging animation. This visual cue confirms that the device is actively receiving power and is in the process of charging.
-
Charging Time: Allow your Fitbit Ionic to charge uninterrupted for at least 10-15 minutes to ensure that the battery has adequate power for the subsequent rebooting steps. It's advisable to monitor the charging progress during this time to verify that the device is indeed gaining power.
By following these steps, you can ensure that your Fitbit Ionic is sufficiently charged and ready for the subsequent stages of the rebooting process. A fully charged device will facilitate a seamless and effective reboot, enabling you to address any technical issues and optimize the performance of your Fitbit Ionic. Now that your device is charging, let's move on to the next step: restarting your Fitbit Ionic.
Step 2: Restart your Fitbit Ionic
Restarting your Fitbit Ionic can effectively resolve a myriad of performance issues, ranging from unresponsive screens to connectivity disruptions. This process essentially clears temporary data and refreshes the device, often rectifying minor technical glitches. Here's a comprehensive guide to restarting your Fitbit Ionic:
Soft Restart
-
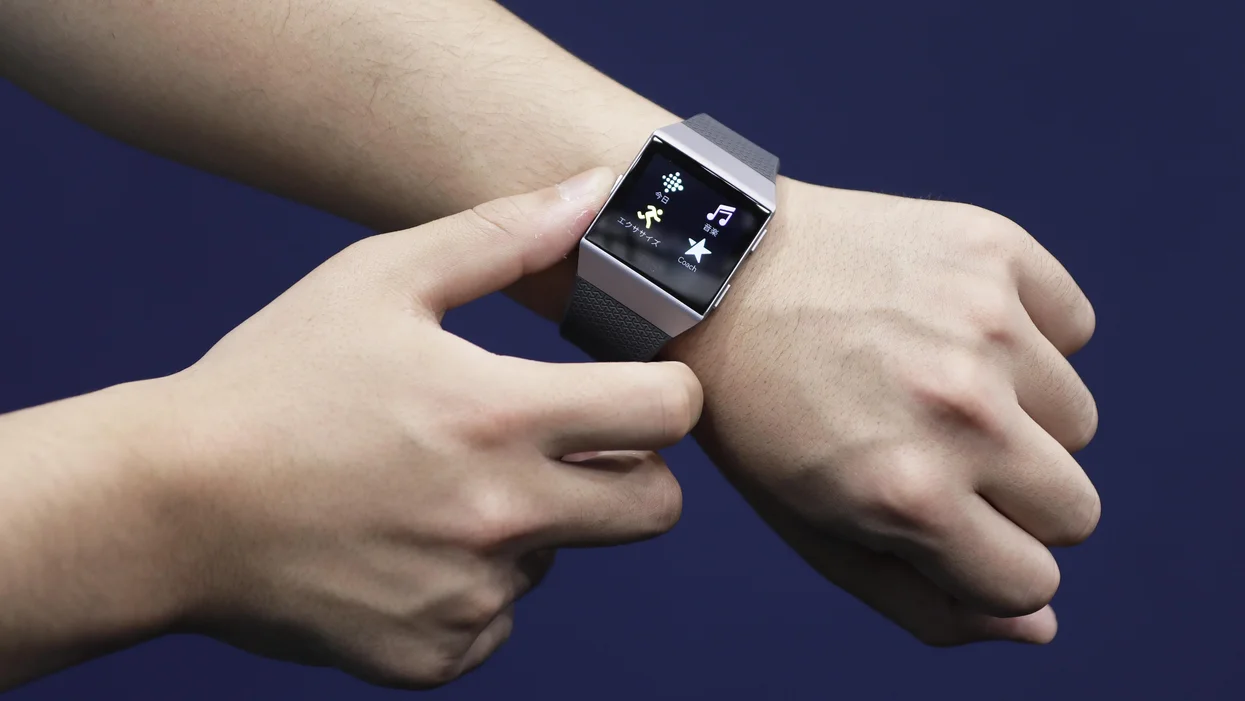
Access the Settings: To initiate a soft restart, navigate to the "Settings" menu on your Fitbit Ionic. This can be achieved by swiping left on the home screen and selecting the gear icon, which represents the device's settings.
-
Device Settings: Within the "Settings" menu, locate and select "About." This option provides essential details about your Fitbit Ionic, including its software version and serial number.
-
Restart Device: After accessing the "About" section, you'll find the "Shutdown" option. Selecting this will prompt a confirmation screen, allowing you to restart your Fitbit Ionic. Confirm the restart, and the device will power down before automatically restarting.
Hard Restart
-
Button Combination: In certain scenarios, a hard restart may be necessary. To perform a hard restart, press and hold the left and bottom right buttons on your Fitbit Ionic simultaneously. These are the back and bottom buttons, respectively.
-
Continue Holding: As you press the buttons, continue holding them for about 10-15 seconds. You may notice the Fitbit logo appearing on the screen during this time.
-
Release Buttons: Once the Fitbit logo appears, release the buttons. This signifies that the hard restart process has been initiated, and the device will proceed to reboot.
Verify the Restart
After performing either a soft or hard restart, it's important to ensure that the Fitbit Ionic successfully reboots and resumes normal functionality. Keep an eye on the device's screen as it powers back on, and observe any error messages or unusual behavior that may indicate persistent issues.
By following these steps, you can effectively restart your Fitbit Ionic, potentially resolving performance issues and ensuring that the device operates smoothly. Now that your Fitbit Ionic is refreshed and ready for action, let's proceed to the next step: updating your Fitbit Ionic.
Step 3: Update your Fitbit Ionic
Keeping your Fitbit Ionic updated with the latest software is essential for ensuring optimal performance, accessing new features, and addressing any known issues or vulnerabilities. Regular updates not only enhance the functionality of your device but also contribute to its longevity and reliability. Here's a detailed guide to updating your Fitbit Ionic:
Check for Updates
-
Connect to the Fitbit App: Begin by ensuring that your Fitbit Ionic is connected to the Fitbit app on your smartphone. Launch the app and navigate to the device settings to initiate the update process.
-
Access the Device Settings: Within the Fitbit app, locate the settings for your Fitbit Ionic. This may be listed as "Device," "Tracker," or a similar option, depending on the app version.
-
Check for Updates: Once in the device settings, look for the option to "Check for device update" or "Update Fitbit Ionic." Select this option to prompt the app to search for available updates for your device.
-
Download and Install: If an update is available, the app will guide you through the download and installation process. Ensure that your Fitbit Ionic remains in close proximity to your smartphone and connected to a stable Wi-Fi network during the update.
Automatic Updates
-
Enable Automatic Updates: To streamline the update process, consider enabling automatic updates for your Fitbit Ionic. This feature, if available in the app settings, ensures that your device receives and installs updates seamlessly in the background.
-
Scheduled Update Checks: Automatic updates may also include scheduled checks for new software releases. This eliminates the need for manual intervention and ensures that your Fitbit Ionic remains up to date without requiring constant user oversight.
Verify the Update
-
Confirmation Prompt: Upon successful installation, the Fitbit app will typically display a confirmation message indicating that your Fitbit Ionic is now running the latest software version.
-
Functional Enhancements: After the update, take a moment to explore any new features or enhancements that may have been introduced. This could include improved performance, updated watch faces, or additional functionality for fitness tracking and notifications.
By following these steps, you can ensure that your Fitbit Ionic remains updated with the latest software, maximizing its capabilities and addressing any potential software-related issues. With your device now charged, restarted, and updated, you're well-equipped to enjoy a seamless and optimized experience with your Fitbit Ionic.
Step 4: Troubleshooting common issues
As a Fitbit Ionic user, encountering common issues is not uncommon. However, with the right troubleshooting techniques, you can swiftly address these challenges and restore your device to its optimal functionality. Here's a comprehensive overview of common issues and the corresponding troubleshooting steps:
1. Unresponsive Touchscreen
- Clean the Screen: Over time, dirt and sweat residue can affect the touchscreen responsiveness. Gently clean the screen with a microfiber cloth to remove any debris.
- Restart the Device: A soft restart can often resolve touchscreen unresponsiveness by clearing temporary data and refreshing the device.
2. Syncing Problems
- Check Connectivity: Ensure that your Fitbit Ionic is in close proximity to your smartphone and that Bluetooth is enabled on both devices.
- Restart Bluetooth: If syncing issues persist, restarting the Bluetooth connection on both the Fitbit Ionic and your smartphone can help re-establish a stable connection.
3. Battery Drain
- Close Background Apps: If excessive battery drain is observed, ensure that unnecessary apps are closed to conserve battery life.
- Monitor Battery Usage: Use the Fitbit app to monitor battery usage and identify any apps or features consuming an unusual amount of power.
4. Inaccurate Heart Rate Monitoring
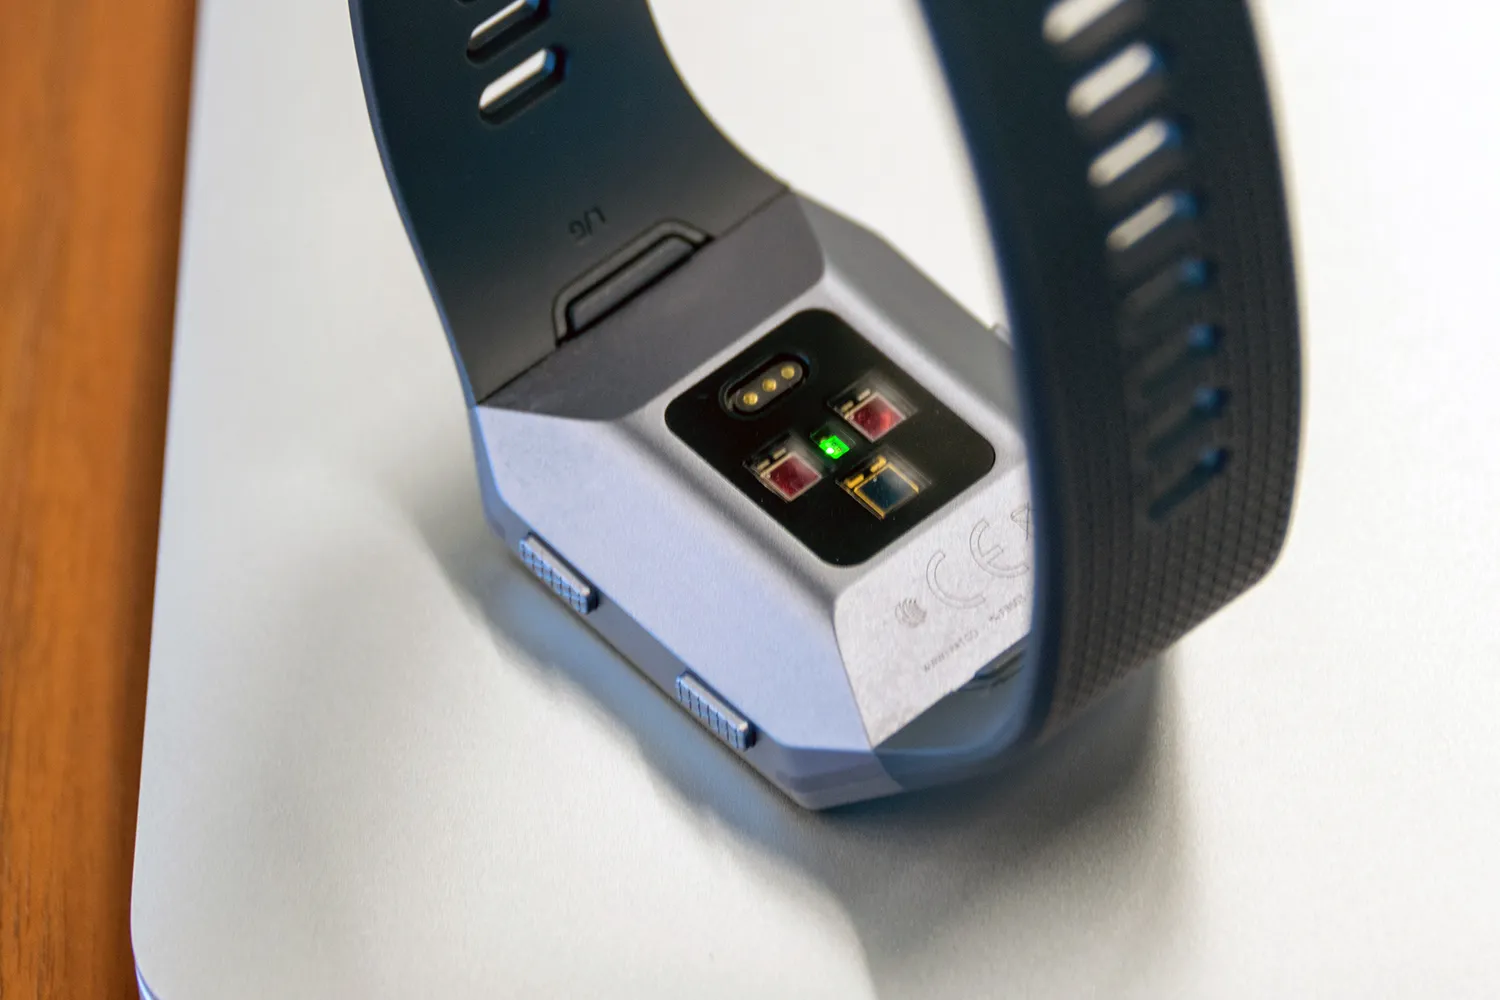
- Proper Placement: Verify that the Fitbit Ionic is worn snugly, with the heart rate sensor in contact with your wrist.
- Clean the Sensor: Sweat and debris can affect heart rate monitoring. Gently clean the sensor on the back of the device to ensure accurate readings.
5. Software Freezes or Crashes
- Update Software: Ensure that your Fitbit Ionic is running the latest software version to benefit from performance enhancements and bug fixes.
- Remove Third-Party Apps: Uninstalling third-party apps that may be causing conflicts can help resolve software stability issues.
6. GPS Signal Issues
- Open Sky View: When using GPS for outdoor activities, ensure that the Fitbit Ionic has a clear view of the sky to optimize GPS signal reception.
- Restart GPS: If GPS signal issues persist, restarting the Fitbit Ionic's GPS functionality can recalibrate the signal reception.
By familiarizing yourself with these troubleshooting techniques, you can effectively address common issues that may arise with your Fitbit Ionic. These proactive measures empower you to maintain a seamless and reliable experience with your wearable device, ensuring that it continues to support your fitness journey and daily activities.
Conclusion
In conclusion, rebooting your Fitbit Ionic is a fundamental aspect of maintaining its performance and ensuring a seamless user experience. By following the comprehensive steps outlined in this guide, you've gained the knowledge and expertise to address technical issues, refresh the device, and optimize its functionality.
From the initial step of charging your Fitbit Ionic to ensure a stable power source for the rebooting process, to performing a soft or hard restart to resolve unresponsive behavior, every stage has been meticulously covered. Additionally, the significance of keeping your Fitbit Ionic updated with the latest software has been emphasized, highlighting the role of software updates in enhancing device performance and addressing potential vulnerabilities.
Furthermore, the troubleshooting techniques provided offer valuable insights into addressing common issues such as unresponsive touchscreens, syncing problems, battery drain, inaccurate heart rate monitoring, software freezes or crashes, and GPS signal issues. This proactive approach empowers you to swiftly resolve challenges and maintain the optimal functionality of your Fitbit Ionic.
As a result of diligently following the steps outlined in this guide, your Fitbit Ionic is now rejuvenated, updated, and equipped to support your fitness journey, activity tracking, and connectivity needs. Whether you're an avid fitness enthusiast, a tech-savvy individual, or someone seeking a reliable wearable companion, the knowledge acquired from this guide ensures that your Fitbit Ionic continues to be a dependable and integral part of your daily routine.
By embracing the rebooting process and understanding the importance of regular maintenance, you've unlocked the full potential of your Fitbit Ionic, allowing it to seamlessly integrate into your lifestyle and support your wellness goals. With a revitalized and updated device at your disposal, you can confidently embark on your fitness endeavors, stay connected, and leverage the myriad features offered by the Fitbit Ionic.
In essence, this guide has not only equipped you with the technical know-how to reboot your Fitbit Ionic but has also instilled a sense of confidence in harnessing the full capabilities of your wearable device. As you continue to explore the functionalities and features of your Fitbit Ionic, may this knowledge serve as a valuable resource, empowering you to make the most of your wearable technology and enhance your overall well-being.