Introduction
Welcome to the exciting world of gaming with the Micolindun gaming headset! Whether you're a seasoned gamer or a newcomer to the gaming community, having the right equipment can significantly enhance your gaming experience. One essential component of the Micolindun gaming headset is its high-quality microphone, which allows you to communicate with other players and immerse yourself fully in the gaming environment.
In this guide, we will walk you through the process of installing the Micolindun gaming headset's microphone on your laptop. By following these simple steps, you'll be ready to engage in crystal-clear voice chats and commands during your gaming sessions. The Micolindun gaming headset is designed to provide exceptional audio quality and comfort, making it an ideal choice for both gaming and everyday use.
Throughout this tutorial, we will cover everything from unboxing the headset to adjusting the sound and microphone settings on your laptop. By the end of this guide, you'll feel confident in setting up and optimizing your Micolindun gaming headset for an immersive and seamless gaming experience.
So, let's dive in and explore the step-by-step process of installing the Micolindun gaming headset's microphone on your laptop. Get ready to elevate your gaming experience with clear, crisp audio and seamless communication with your fellow gamers.
Step 1: Unboxing the Micolindun Gaming Headset
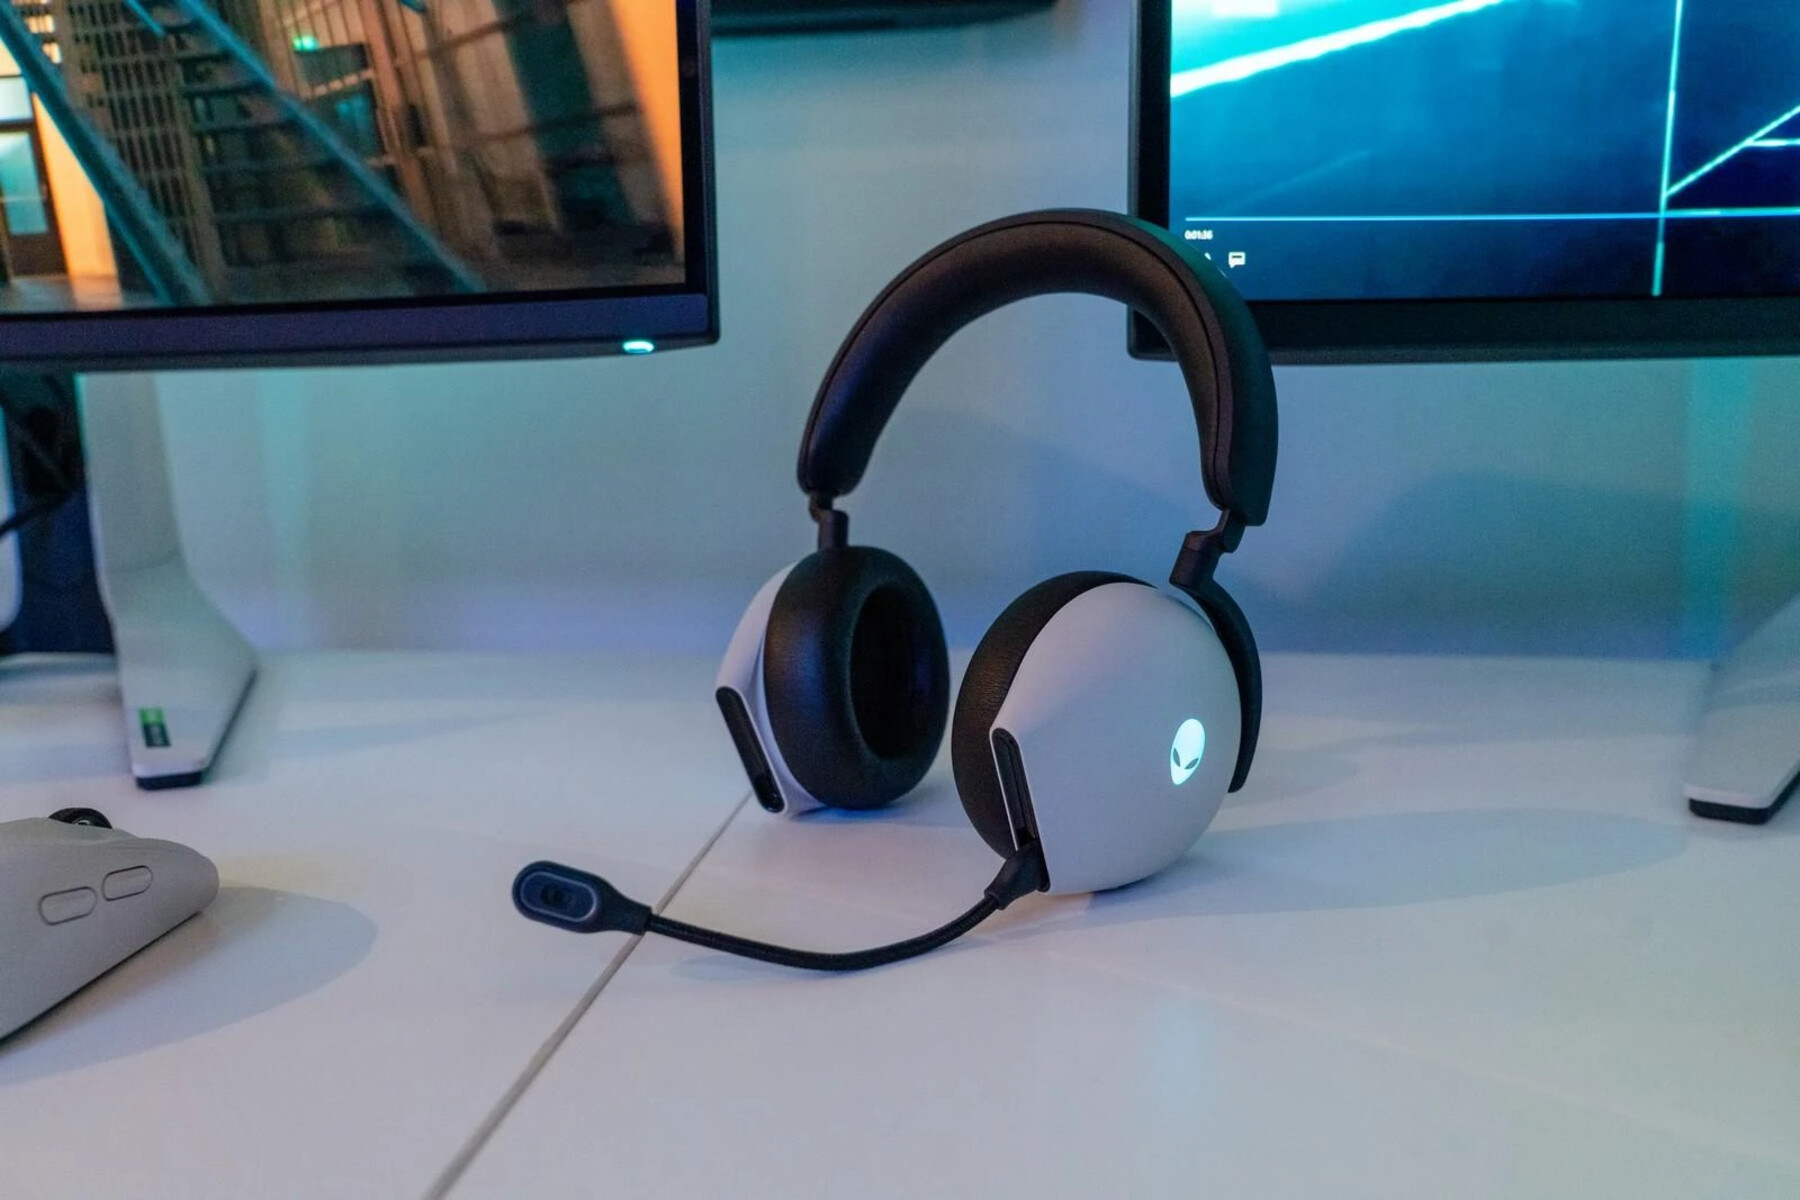
Before you can install the microphone of the Micolindun gaming headset on your laptop, you need to start by unboxing the headset. The unboxing process is an exciting first step that allows you to familiarize yourself with the components of the headset and prepare for the installation process.
When unboxing your Micolindun gaming headset, you’ll typically find the following items included:
- The Micolindun gaming headset
- Detachable microphone
- Instruction manual
- Adapter cable (if applicable)
Once you’ve unpacked the headset and its accessories, take a moment to inspect the components and ensure that everything is in good condition. Familiarize yourself with the detachable microphone, which is a key component for enabling voice communication during your gaming sessions.
It’s important to handle the headset and its accessories with care during the unboxing process to avoid any damage. Pay attention to any protective coverings or packaging materials that need to be removed before proceeding with the installation of the microphone on your laptop.
By unboxing the Micolindun gaming headset, you’re taking the first step toward unlocking its full potential and experiencing immersive audio and communication capabilities. Once you’ve completed the unboxing process, you’ll be ready to move on to the next step of connecting the headset to your laptop.
Step 2: Connecting the Headset to Your Laptop
After unboxing the Micolindun gaming headset, the next step is to connect it to your laptop. This process involves establishing a secure and functional connection between the headset and your laptop, ensuring that both the audio and microphone functionalities are properly integrated.
Here’s a step-by-step guide to connecting the Micolindun gaming headset to your laptop:
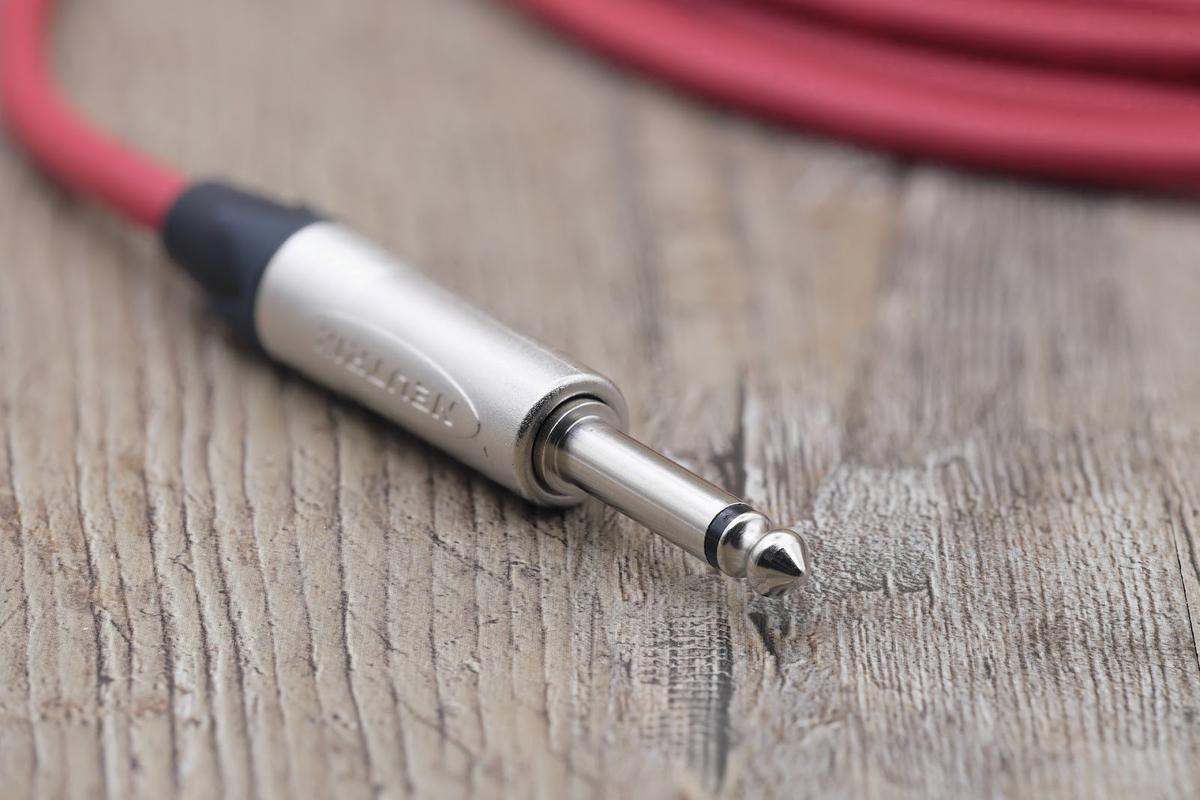
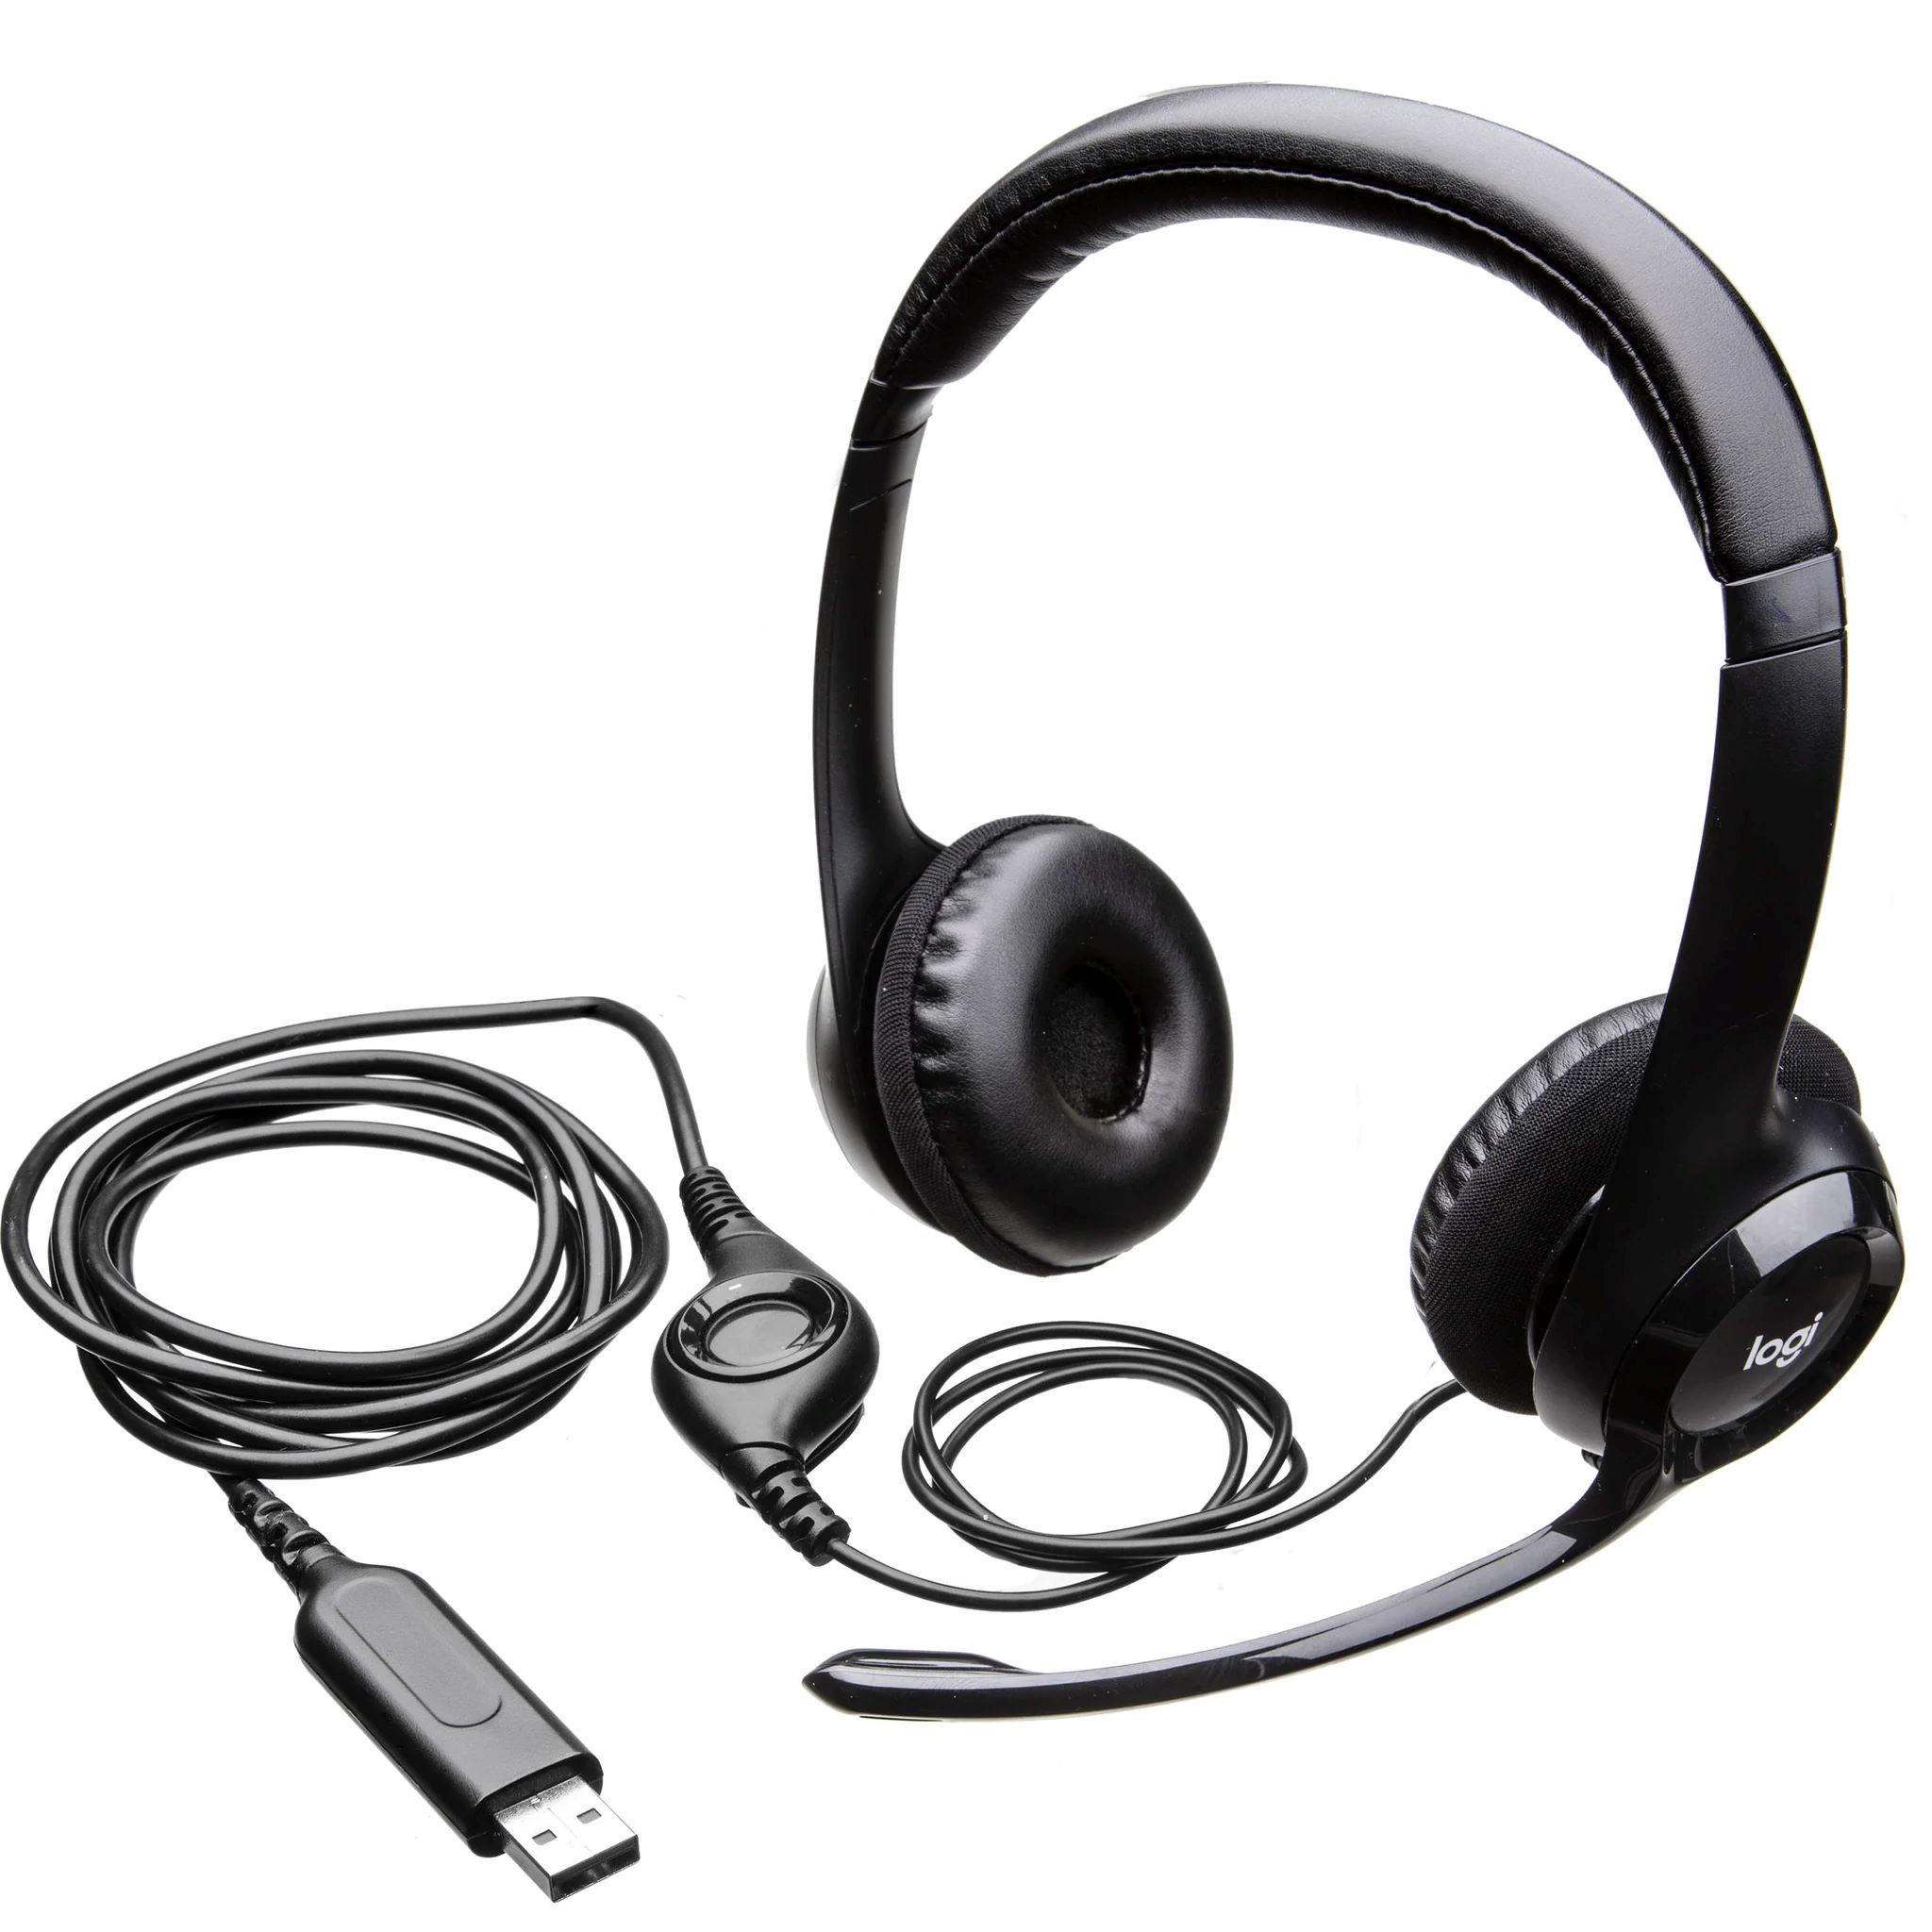
- Locate the Audio Jack: Identify the audio jack or USB port on your laptop where you’ll be connecting the headset. Depending on the model of the Micolindun gaming headset, you may need to use a standard 3.5mm audio jack or a USB connection.
- Plug in the Headset: Carefully insert the audio jack or USB connector into the corresponding port on your laptop. Ensure that the connection is secure to prevent any audio or microphone issues during usage.
- Adjust the Headset: Once the headset is connected, position it comfortably over your head and ears. Adjust the headband and ear cups to achieve a snug and secure fit, allowing for extended gaming sessions without discomfort.
- Attach the Detachable Microphone: If your Micolindun gaming headset features a detachable microphone, securely attach it to the designated port on the headset. Ensure that the microphone is positioned optimally for clear voice capture during gaming and communication.
By following these steps, you’ll successfully establish a reliable connection between the Micolindun gaming headset and your laptop, setting the stage for an immersive gaming experience with crystal-clear audio and seamless communication capabilities.
Once the headset is securely connected to your laptop, you’ll be ready to proceed to the next step of adjusting the sound and microphone settings to optimize the audio output and voice capture for gaming and communication purposes.
Step 3: Adjusting Sound and Microphone Settings on Your Laptop
After connecting the Micolindun gaming headset to your laptop, it’s essential to fine-tune the sound and microphone settings to optimize the audio output and ensure that the microphone is ready for use during gaming and communication.
Here’s a comprehensive guide to adjusting the sound and microphone settings on your laptop:
- Access Sound Settings: Navigate to the sound settings on your laptop, typically located in the system settings or control panel. Depending on your operating system, you may find the sound settings under “Sound” or “Audio” options.
- Select the Micolindun Headset: Once in the sound settings, locate the playback and recording devices. Ensure that the Micolindun gaming headset is selected as the default playback device to route the audio output through the headset for an immersive gaming audio experience.
- Adjust Sound Levels: Fine-tune the volume and sound levels to your preference using the laptop’s sound settings. You can adjust the overall volume as well as individual sound levels for specific applications or games, allowing for a personalized audio experience.
- Configure Microphone Settings: Navigate to the microphone settings within the sound control panel. Select the Micolindun headset’s microphone as the default recording device to enable voice capture during gaming and communication.
- Test Microphone Input: Utilize the built-in microphone test feature within the sound settings to ensure that the Micolindun headset’s microphone is functioning correctly. Speak into the microphone and observe the input levels to verify that it’s capturing your voice effectively.
By following these steps, you’ll be able to optimize the sound and microphone settings on your laptop, ensuring that the Micolindun gaming headset delivers exceptional audio quality and seamless voice communication capabilities during your gaming sessions.
With the sound and microphone settings adjusted to your preferences, you’re now prepared to move on to the next step of testing the microphone to confirm its functionality and performance with the Micolindun gaming headset.
Step 4: Testing the Microphone
Now that you’ve connected the Micolindun gaming headset to your laptop and adjusted the sound and microphone settings, it’s time to test the microphone to ensure that it’s functioning optimally for gaming and communication purposes.
Follow these steps to test the microphone on your Micolindun gaming headset:
- Open a Voice Recording Application: Launch a voice recording or communication application on your laptop, such as the built-in voice recorder or a communication platform that supports voice calls.
- Speak into the Microphone: Position the microphone close to your mouth and speak clearly into it. Verify that your voice is being captured and transmitted effectively through the headset’s microphone.
- Listen to the Recording: After recording your voice, play back the audio to assess the clarity and quality of the microphone input. Ensure that your voice is clear and free from distortions or background noise.
- Adjust Microphone Positioning: If necessary, make minor adjustments to the positioning of the microphone to optimize voice capture. Ensure that the microphone is positioned close enough to your mouth for clear and consistent voice transmission.
- Test Communication Applications: If you use communication applications for gaming or voice calls, initiate a test call or communication session with a friend to verify that the microphone is functioning as expected during real-time usage.
By conducting these tests, you can confirm that the microphone on your Micolindun gaming headset is delivering clear and reliable voice capture, enhancing your overall gaming and communication experience.
Once you’ve successfully tested the microphone and verified its functionality, you’ll be ready to immerse yourself in gaming sessions with the confidence that your voice communication is clear and easily transmitted through the Micolindun gaming headset’s microphone.
Conclusion
Congratulations! You’ve successfully navigated the process of installing and optimizing the Micolindun gaming headset’s microphone on your laptop. By following the step-by-step instructions in this guide, you’ve established a seamless connection between the headset and your laptop, fine-tuned the sound and microphone settings, and confirmed the microphone’s functionality through testing.
With the Micolindun gaming headset’s microphone installed and optimized, you’re now equipped to elevate your gaming experience with crystal-clear audio and seamless voice communication. Whether you’re engaging in intense multiplayer battles, coordinating strategies with your team, or simply immersing yourself in the rich audio landscapes of your favorite games, the Micolindun gaming headset offers exceptional audio quality and reliable voice capture.
By unboxing the headset, connecting it to your laptop, adjusting the sound and microphone settings, and thoroughly testing the microphone, you’ve taken the necessary steps to ensure that your gaming and communication experiences are enhanced by the superior capabilities of the Micolindun gaming headset’s microphone.
As you embark on your gaming adventures, remember to maintain the headset and its microphone in optimal condition by handling them with care and periodically checking for any updates or enhancements that may further improve their performance. With the Micolindun gaming headset’s microphone seamlessly integrated into your gaming setup, you’re poised to enjoy immersive, clear, and uninterrupted communication with fellow gamers, adding a new dimension to your gaming endeavors.
Get ready to immerse yourself in captivating audio and seamless communication, all made possible by the exceptional microphone of the Micolindun gaming headset. Your gaming experiences are about to reach new heights with the power of clear, crisp, and reliable voice communication at your fingertips.