Introduction
Are you ready to experience the ultimate audio immersion with your iHome Noise Cancelling Headphones? Connecting them to Bluetooth is a simple yet essential step to unlock their full potential. By establishing a wireless connection, you can enjoy your favorite music, podcasts, and more without being tethered to your device. Whether you're a tech-savvy enthusiast or a casual user, this guide will walk you through the seamless process of pairing your iHome headphones with Bluetooth-enabled devices.
With the wireless freedom that Bluetooth connectivity offers, you can elevate your listening experience to new heights. Whether you're on the go or relaxing at home, the convenience of wireless audio is unparalleled. By following the straightforward steps outlined in this guide, you'll be able to effortlessly pair your iHome Noise Cancelling Headphones with your smartphone, tablet, or any other compatible device. Say goodbye to tangled cords and hello to the liberating world of wireless audio.
Stay tuned as we delve into the step-by-step process of connecting your iHome Noise Cancelling Headphones to Bluetooth. Whether you're a music aficionado, a podcast enthusiast, or simply someone who appreciates high-quality sound, this guide will empower you to make the most of your iHome headphones. Let's embark on this journey together and unlock the true potential of your audio experience.
Step 1: Turn on the Headphones
Before diving into the pairing process, ensure that your iHome Noise Cancelling Headphones are powered on. To do this, locate the power button on the headphones. Typically, the power button is situated along the edge of one of the ear cups. Press and hold the power button until you see a visible indication that the headphones are turned on. This may include an LED light that illuminates or a vocal prompt indicating that the headphones are powering up.
Once the headphones are powered on, you're one step closer to immersing yourself in a wireless audio experience. It's important to verify that the headphones have an adequate battery charge to support the pairing process. If the battery is low, consider charging the headphones before proceeding further. A fully charged battery ensures a seamless pairing experience and uninterrupted wireless audio enjoyment.
Turning on the headphones sets the stage for the Bluetooth pairing process. With the headphones powered up and ready to connect, you're primed to move on to the next step, where we'll delve into putting the headphones in pairing mode. This pivotal step will pave the way for establishing a wireless connection between your iHome headphones and your preferred Bluetooth-enabled device.
Step 2: Put the Headphones in Pairing Mode
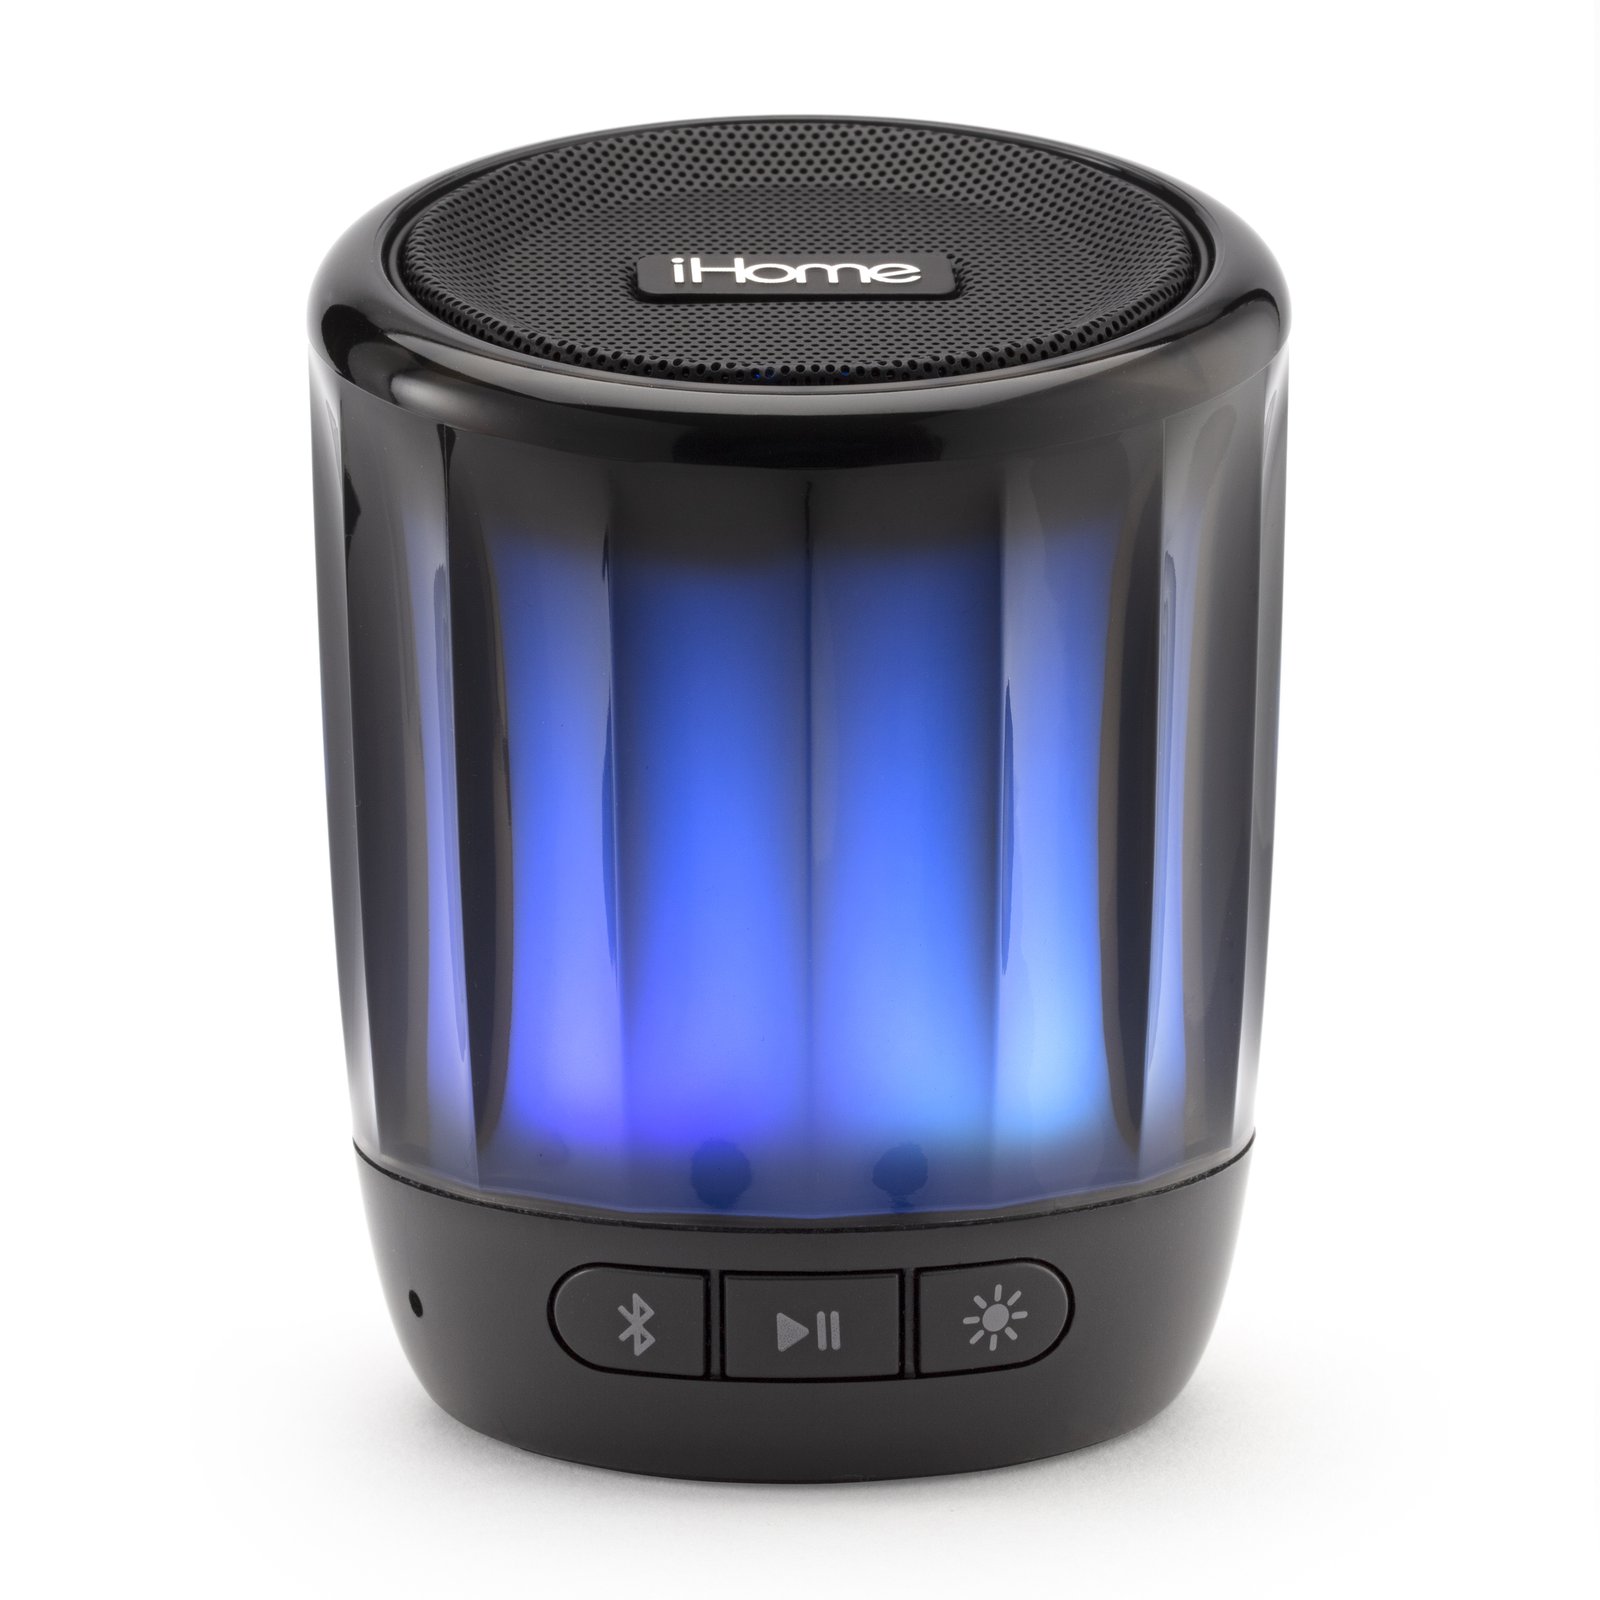
After ensuring that your iHome Noise Cancelling Headphones are powered on, the next crucial step is to put them in pairing mode. This mode allows the headphones to be discoverable by your Bluetooth-enabled device, enabling the seamless establishment of a wireless connection. To initiate pairing mode, locate the dedicated Bluetooth pairing button on the headphones. This button is typically positioned near the power button or along the edge of one of the ear cups.
Once you’ve identified the Bluetooth pairing button, press and hold it for a few seconds. As you do this, be attentive to any visual or auditory cues that indicate the headphones have entered pairing mode. This may include a flashing LED light or an audio prompt confirming that the headphones are ready to pair. By activating pairing mode, your iHome headphones are now prepared to establish a connection with your smartphone, tablet, or any other Bluetooth-compatible device.
Putting the headphones in pairing mode is a pivotal step that sets the stage for the seamless wireless connectivity you seek. With the headphones now in this discoverable state, your device will be able to detect and pair with them, paving the way for an immersive wireless audio experience. As we move forward, the next steps will guide you through the process of initiating the pairing from your Bluetooth-enabled device, bringing you one step closer to enjoying the freedom of wireless audio with your iHome headphones.
Step 3: Open Bluetooth Settings on Your Device
With your iHome Noise Cancelling Headphones in pairing mode, it’s time to turn your attention to the Bluetooth settings on your device. Whether you’re using a smartphone, tablet, or another Bluetooth-enabled gadget, the process for accessing Bluetooth settings is generally consistent across devices.
To begin, navigate to the settings menu on your device. Look for the section specifically dedicated to wireless connectivity, often labeled as “Bluetooth” or indicated by the Bluetooth symbol. Upon locating the Bluetooth settings, tap to access them. You’ll be presented with a list of available Bluetooth devices in the vicinity, including your iHome headphones if they are in pairing mode.
Once you’ve accessed the Bluetooth settings, ensure that the Bluetooth feature on your device is turned on. This step is essential, as it enables your device to actively search for and connect to nearby Bluetooth devices. If Bluetooth is already enabled on your device, it will actively scan for discoverable devices, including your iHome headphones that are currently in pairing mode.
By opening the Bluetooth settings on your device, you’re taking a crucial step toward establishing a wireless connection with your iHome headphones. The next phase of the process will involve identifying and selecting your headphones from the list of available Bluetooth devices on your device. This action will initiate the pairing process, bringing you closer to the seamless wireless audio experience that awaits.
Step 4: Select the iHome Headphones from the List of Available Devices
As you access the Bluetooth settings on your device, you’ll be presented with a list of available Bluetooth devices in the vicinity. Among these devices, you should see your iHome Noise Cancelling Headphones listed, provided they are still in pairing mode. The headphones may appear with a recognizable name, often including the model number or a distinctive identifier that helps differentiate them from other nearby Bluetooth devices.
Identifying your iHome headphones in the list of available devices is crucial for initiating the pairing process. Once you’ve located the headphones in the list, tap on their name to select them. This action signals to your device that you wish to establish a Bluetooth connection with the selected headphones. As you proceed, your device will begin the pairing process, communicating with the headphones to establish a secure and stable wireless connection.
It’s important to exercise patience during this phase, as the pairing process may take a few moments to complete. Your device will communicate with the iHome headphones, exchanging the necessary information to establish a seamless Bluetooth connection. Throughout this process, be mindful of any on-screen prompts or indicators that guide you through the pairing process, ensuring that you follow any specific instructions provided by your device.
By selecting the iHome headphones from the list of available devices, you’re actively initiating the pairing process, bringing you one step closer to enjoying the wireless freedom and exceptional audio quality that your headphones offer. Once the pairing process is successfully completed, you’ll be ready to immerse yourself in an unparalleled wireless audio experience, free from the constraints of traditional wired connections.
Step 5: Complete the Pairing Process
As you’ve selected the iHome Noise Cancelling Headphones from the list of available devices on your device, the pairing process is underway. Your device will now establish a secure Bluetooth connection with the headphones, enabling seamless wireless audio transmission. During this phase, it’s essential to ensure that the pairing process is completed successfully to guarantee a stable and uninterrupted connection.
While the pairing process unfolds, your device and the iHome headphones will exchange the necessary information to establish a secure and stable connection. Be attentive to any on-screen prompts or indicators provided by your device, as they may guide you through the final steps of the pairing process. This may include confirming the pairing request on your device and the headphones, ensuring that both devices are synchronized and ready to deliver a superior wireless audio experience.
Once the pairing process is successfully completed, you’ll receive a confirmation on your device, indicating that the iHome headphones are now connected via Bluetooth. This confirmation may include an on-screen message, a notification sound, or a visual indicator that signifies the successful pairing. At this point, your device and the headphones are fully synchronized, and you’re ready to enjoy the freedom of wireless audio.
With the pairing process finalized, you can now revel in the exceptional audio quality and immersive experience that your iHome Noise Cancelling Headphones offer. Whether you’re unwinding with your favorite music, engrossed in a captivating podcast, or enjoying the audio from your favorite movies, the seamless Bluetooth connection ensures that you can do so without the constraints of traditional wired connections.
By completing the pairing process, you’ve unlocked the full potential of your iHome headphones, embracing the convenience and freedom of wireless audio. With the Bluetooth connection established, you’re empowered to enjoy an unparalleled listening experience, unencumbered by cords and cables. Congratulations, you’ve successfully connected your iHome Noise Cancelling Headphones to your device via Bluetooth, and a world of wireless audio awaits you.
Conclusion
Congratulations on successfully connecting your iHome Noise Cancelling Headphones to your device via Bluetooth! By following the step-by-step process outlined in this guide, you’ve unlocked the full potential of your headphones, paving the way for an exceptional wireless audio experience.
With the headphones powered on and in pairing mode, you took the crucial steps to establish a seamless Bluetooth connection. Navigating through the Bluetooth settings on your device, you selected the iHome headphones and completed the pairing process, ensuring that you can now enjoy the freedom of wireless audio.
As you embark on your wireless audio journey, remember that the convenience and versatility of Bluetooth connectivity allow you to enjoy your favorite music, podcasts, and other audio content without being tethered to your device. Whether you’re on the move, at home, or in the office, the wireless freedom offered by your iHome headphones enhances your audio experience in countless ways.
By embracing the wireless connectivity of your iHome Noise Cancelling Headphones, you’ve transcended the limitations of traditional wired connections, immersing yourself in a world of uncompromised audio quality and freedom. The seamless Bluetooth connection ensures that you can indulge in your preferred audio content with unparalleled convenience and mobility.
As you revel in the exceptional audio quality and wireless freedom that your iHome headphones provide, you’ve elevated your listening experience to new heights. Whether you’re pursuing relaxation, productivity, or entertainment, the wireless audio capabilities of your headphones empower you to do so with unparalleled ease and flexibility.
Thank you for embarking on this wireless audio journey with your iHome Noise Cancelling Headphones. Embrace the freedom, savor the audio, and immerse yourself in the seamless world of wireless connectivity. Your iHome headphones are now ready to deliver an unparalleled audio experience, unencumbered by cords and limitations.