Introduction
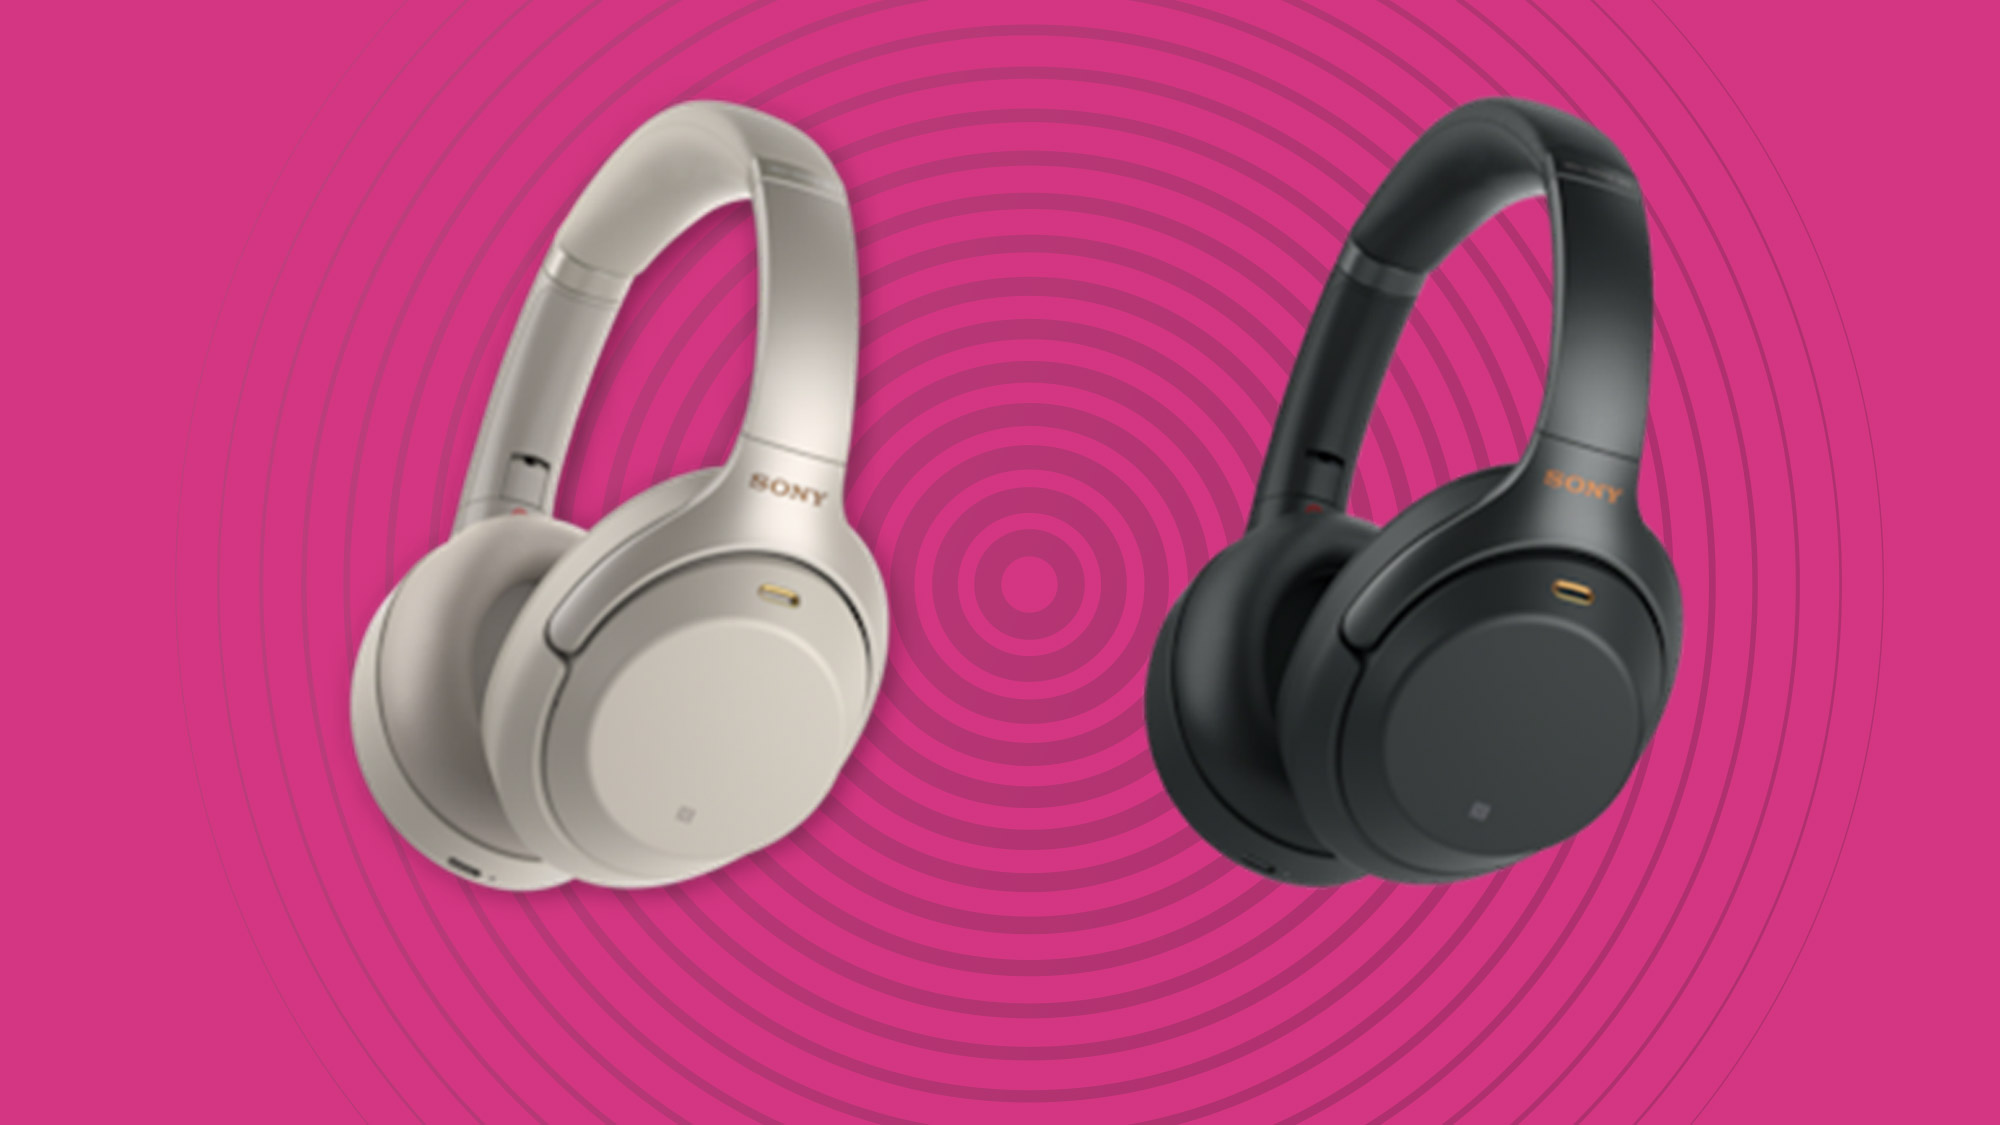
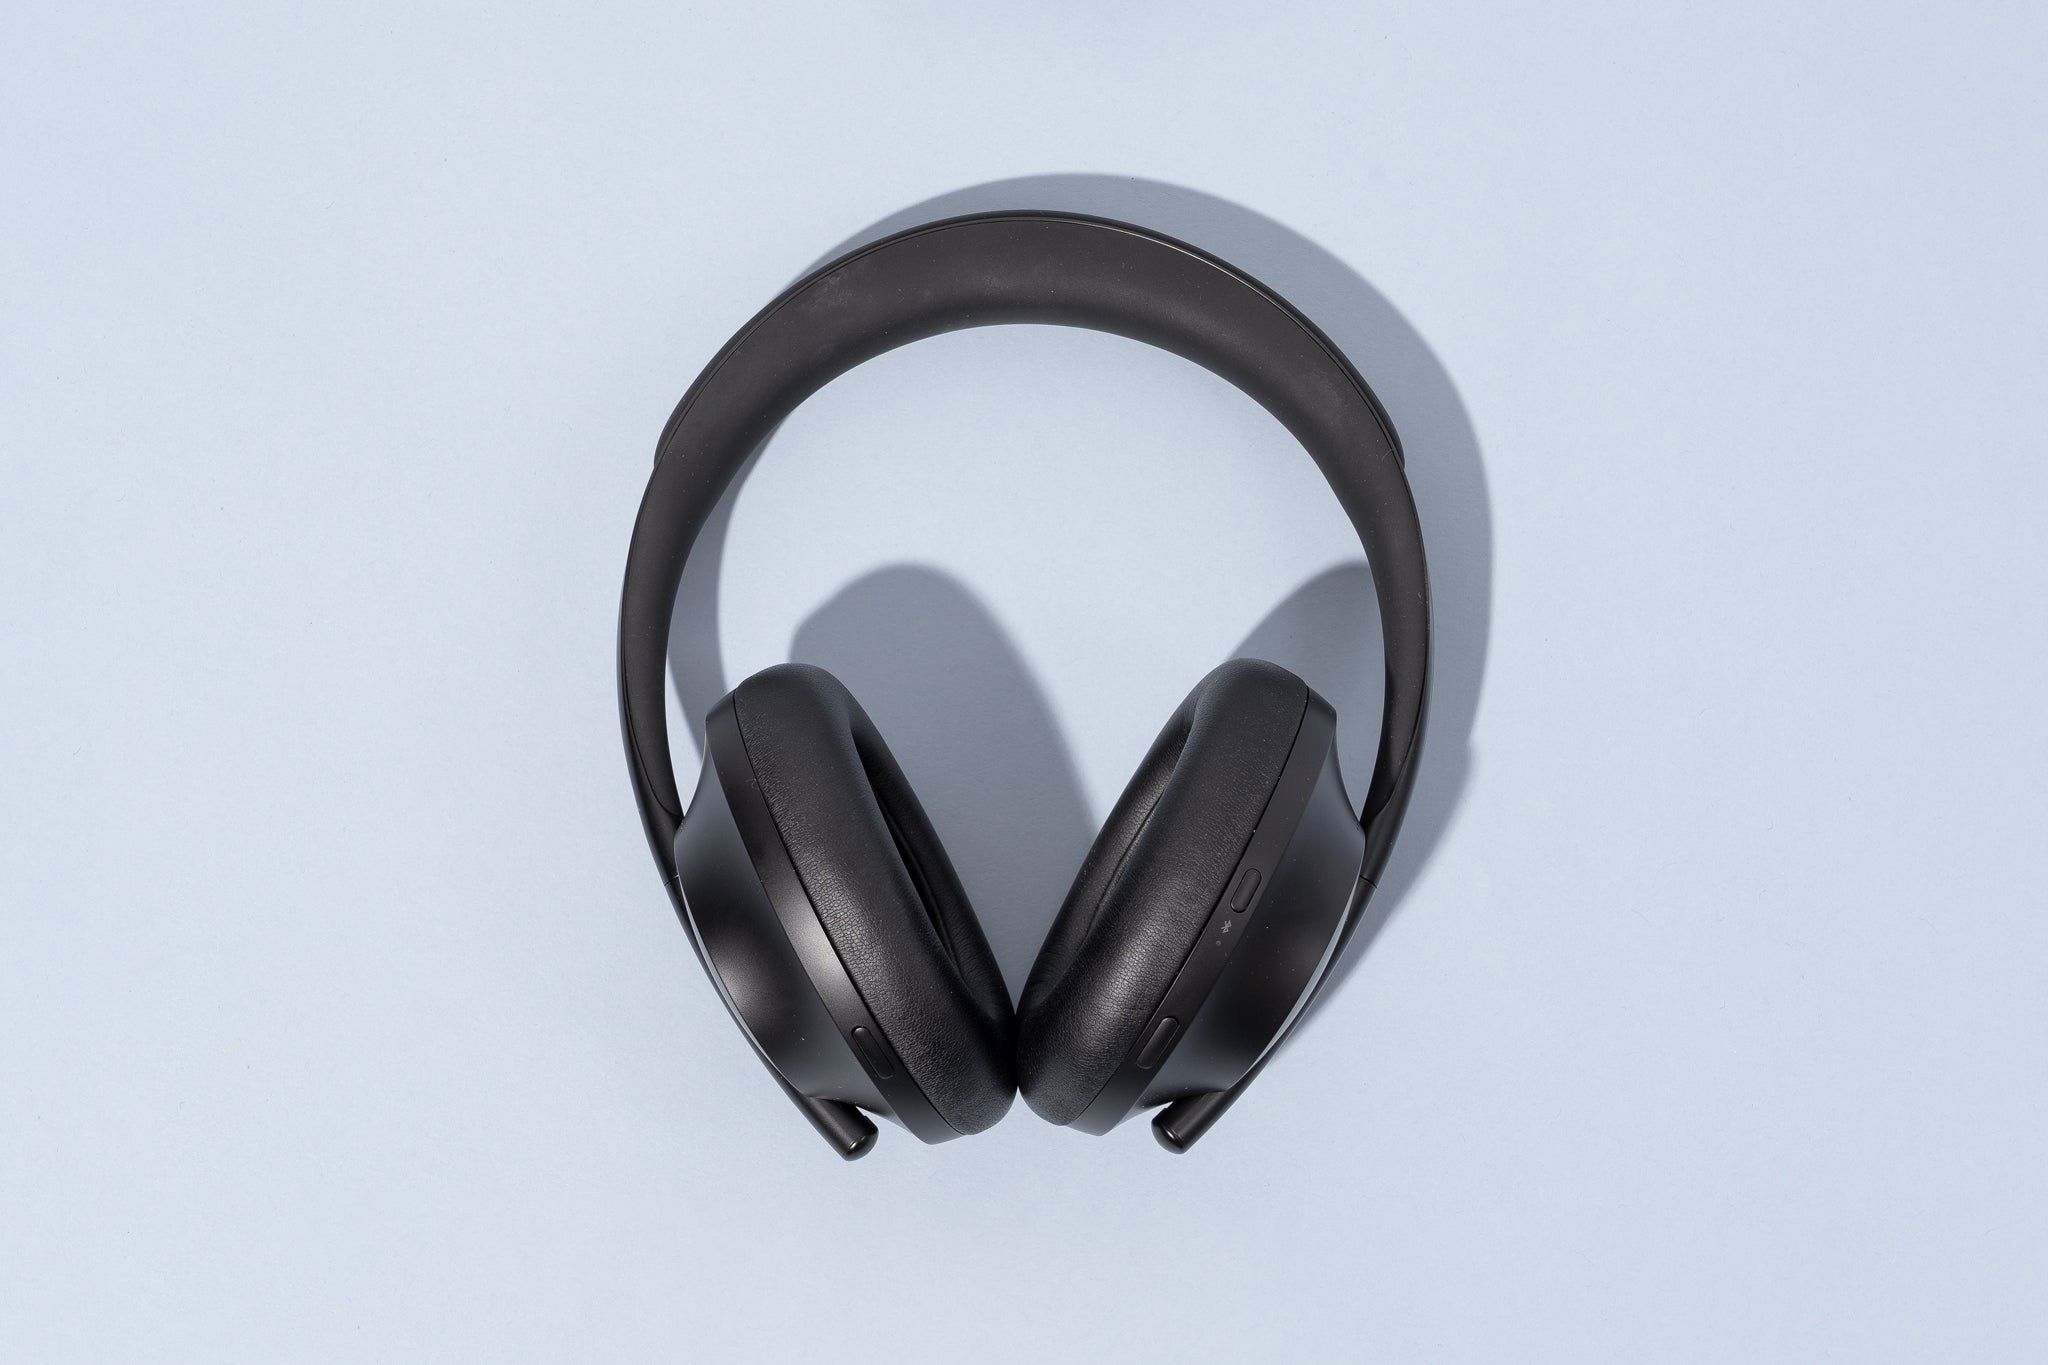
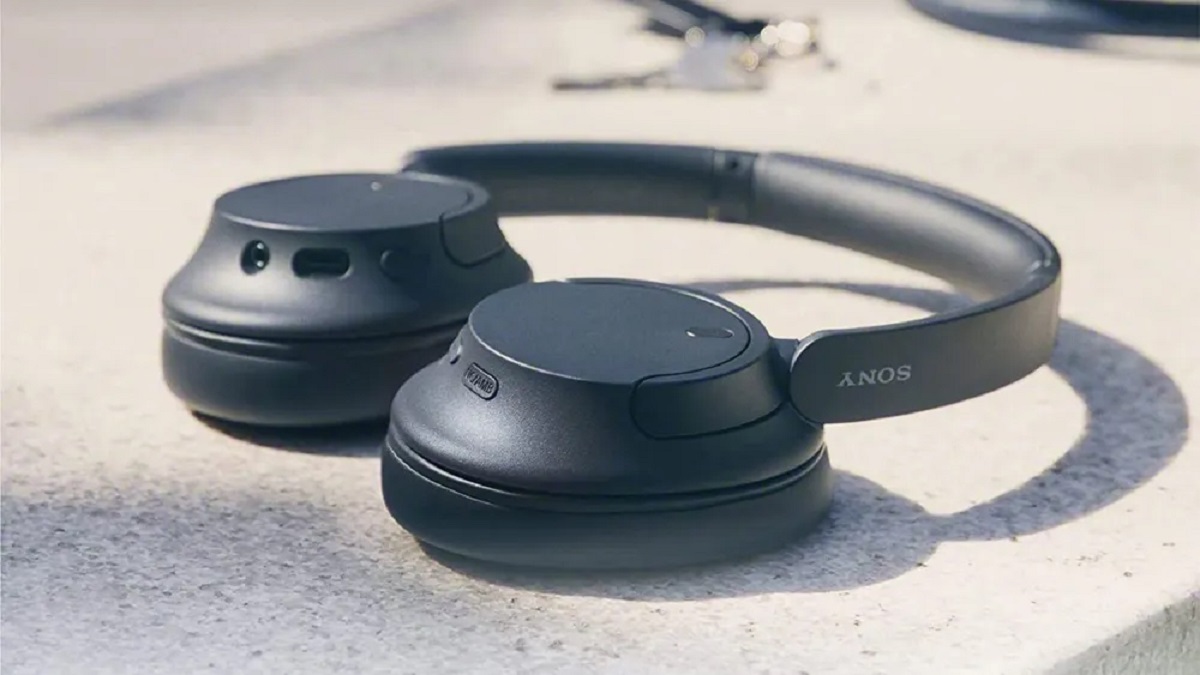
Are you a gaming enthusiast who loves to immerse yourself in the captivating worlds of your favorite games? If so, you understand the importance of high-quality audio in enhancing the gaming experience. Sony Noise-Canceling Headphones WH-CH700N are renowned for their exceptional sound quality and noise-canceling capabilities, making them an ideal companion for gaming on the PlayStation 4 (PS4). By connecting these headphones to your PS4, you can enjoy an immersive audio experience without any distractions.
In this guide, we will walk you through the process of connecting your Sony Noise-Canceling Headphones WH-CH700N to your PS4, ensuring that you can seamlessly integrate these impressive headphones into your gaming setup. Whether you're delving into the intense action of a first-person shooter or immersing yourself in the rich storytelling of a single-player adventure, having the right audio setup can elevate your gaming sessions to new heights.
By following the simple steps outlined in this guide, you will be able to harness the full potential of your Sony Noise-Canceling Headphones WH-CH700N and enjoy an unparalleled audio experience while gaming on your PS4. Get ready to elevate your gaming experience by immersing yourself in the rich, detailed soundscapes of your favorite games. Let's dive in and explore the seamless process of connecting these exceptional headphones to your PS4.
Step 1: Turn on the Sony Noise-Canceling Headphones WH-CH700N
Before you can begin the process of connecting your Sony Noise-Canceling Headphones WH-CH700N to your PS4, you need to ensure that the headphones are powered on and ready to pair with your gaming console. Follow these simple steps to turn on your headphones:
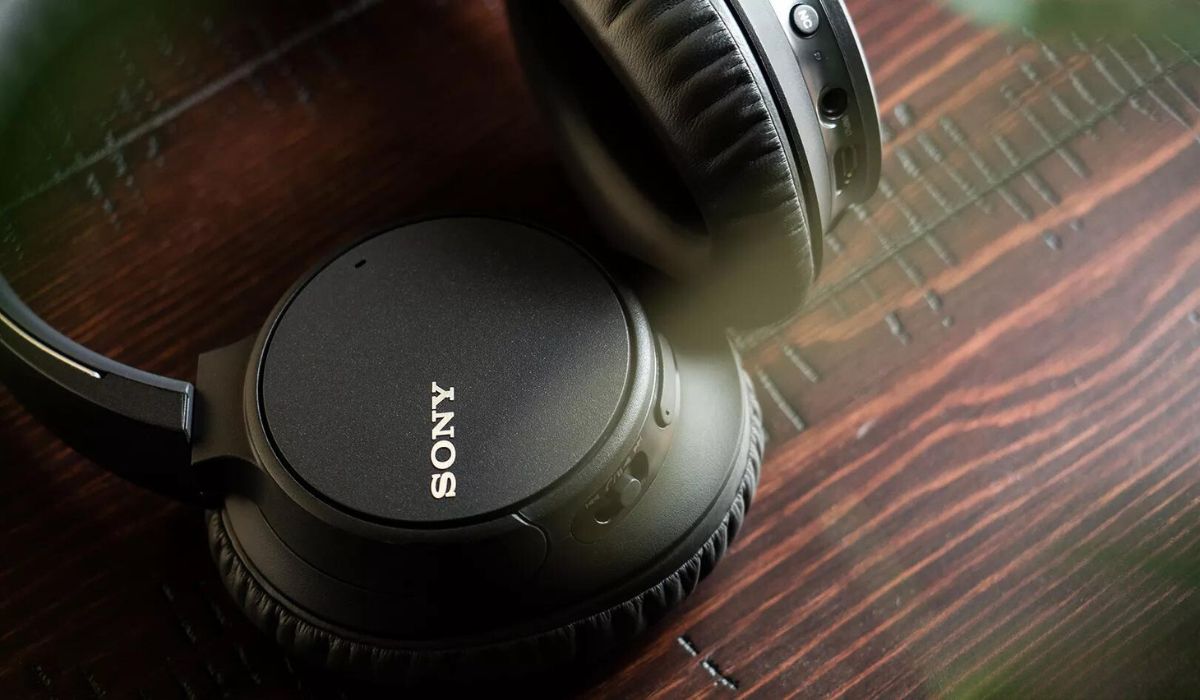
- Locate the Power Button: On the Sony Noise-Canceling Headphones WH-CH700N, the power button is typically located on one of the ear cups. It is often labeled with the power symbol.
- Press and Hold the Power Button: To turn on the headphones, press and hold the power button for a few seconds until you see an indication that the headphones are powering up. This may be accompanied by an LED light or an audible indicator.
- Listen for the Power-On Sound: As the headphones power on, you may hear a sound or voice prompt indicating that the headphones are ready to pair with a device. This is a clear indication that the headphones are operational and ready for the next step in the connection process.
Once your Sony Noise-Canceling Headphones WH-CH700N are powered on, you are one step closer to immersing yourself in the captivating audio of your favorite games on the PS4. With the headphones activated, you can proceed to the next step of putting them in pairing mode to establish a connection with your gaming console.
Step 2: Put the Headphones in Pairing Mode
Putting your Sony Noise-Canceling Headphones WH-CH700N in pairing mode is essential to initiate the connection process with your PS4. Pairing mode allows the headphones to be discovered and connected to your gaming console seamlessly. Follow these straightforward steps to put your headphones in pairing mode:
- Ensure the Headphones are Powered On: Before initiating the pairing process, ensure that your Sony Noise-Canceling Headphones WH-CH700N are powered on and ready to enter pairing mode.
- Access the Pairing Function: Depending on the model of the WH-CH700N, the method of entering pairing mode may vary. Typically, you will need to locate the pairing button or sequence of button presses that activates the pairing function. Refer to the user manual for specific instructions related to your headphone model.
- Activate Pairing Mode: Once you have identified the pairing function, activate pairing mode by following the instructions provided in the user manual. This may involve pressing and holding a specific button or following a sequence of button presses to enable the headphones to enter the pairing state.
- Look for Pairing Indicators: While in pairing mode, the headphones may display visual or audible indicators to signify that they are ready to be paired with a device. This could include LED lights flashing in a specific pattern or a voice prompt indicating that the headphones are in pairing mode.
By successfully putting your Sony Noise-Canceling Headphones WH-CH700N in pairing mode, you have set the stage for establishing a wireless connection with your PS4. The next step involves initiating the connection process on your gaming console to link the headphones and begin enjoying immersive audio during your gaming sessions.
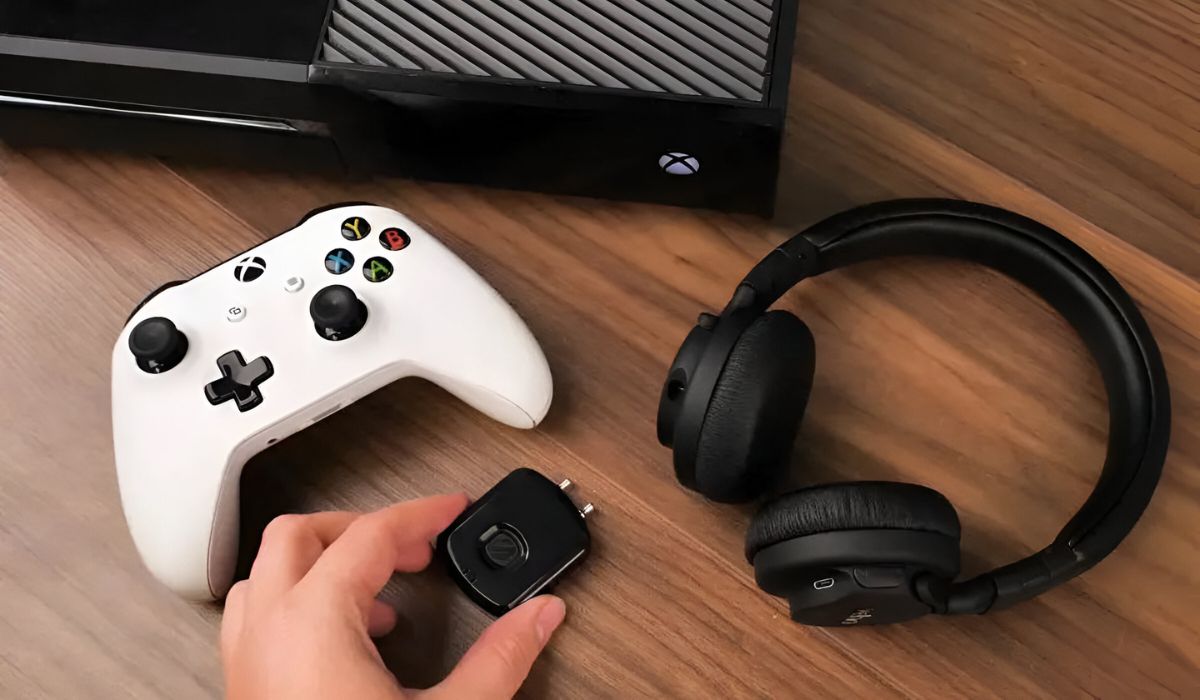
Step 3: Connect the Headphones to the PS4
Once your Sony Noise-Canceling Headphones WH-CH700N are in pairing mode, you can proceed to connect them to your PS4 and experience the immersive audio that these headphones offer. Follow these simple steps to establish a wireless connection between your headphones and the PS4:
- Access the PS4 Settings: On your PS4, navigate to the Settings menu using the controller. This can typically be found on the main dashboard of the PS4.
- Select Devices: Within the Settings menu, locate and select the “Devices” option. This is where you can manage and configure various devices connected to your PS4.
- Choose Bluetooth Devices: Under the Devices menu, select “Bluetooth Devices” to initiate the process of pairing and connecting new Bluetooth devices, including your Sony Noise-Canceling Headphones WH-CH700N.
- Scan for Available Devices: Your PS4 will begin scanning for available Bluetooth devices, including your headphones. Ensure that your headphones are still in pairing mode to allow the PS4 to discover and connect to them.
- Select the Headphones: Once your Sony Noise-Canceling Headphones WH-CH700N appear in the list of available devices, select them to initiate the pairing and connection process. Follow any on-screen prompts to confirm the connection.
- Confirm the Connection: After selecting the headphones, the PS4 will attempt to establish a connection with them. Once the connection is successful, you will receive a confirmation message, and the headphones will be listed as a connected Bluetooth device on your PS4.
With the headphones successfully connected to your PS4, you are now ready to enjoy the immersive audio experience they provide during your gaming sessions. The next step involves adjusting the audio settings on your PS4 to optimize the sound output through your Sony Noise-Canceling Headphones WH-CH700N.
Step 4: Adjust Audio Settings on the PS4
Now that your Sony Noise-Canceling Headphones WH-CH700N are successfully connected to your PS4, it’s time to optimize the audio settings to ensure an exceptional gaming audio experience. By adjusting the audio settings, you can fine-tune the sound output to match your preferences and make the most of the impressive audio capabilities of your headphones. Follow these steps to adjust the audio settings on your PS4:
- Access the Sound and Screen Settings: Using your PS4 controller, navigate to the Settings menu and select “Sound and Screen.” This is where you can configure various audio and display settings for your PS4.
- Adjust Audio Output Settings: Within the Sound and Screen menu, select “Audio Output Settings” to access the audio configuration options for your PS4.
- Select Output to Headphones: Under the Audio Output Settings, choose “Output to Headphones.” This setting allows you to specify the audio output destination and adjust the volume control options for connected devices.
- Choose All Audio: To ensure that all audio from the PS4 is routed to your connected headphones, select the “All Audio” option. This directs all audio, including in-game audio, chat audio, and system sounds, to your headphones for a comprehensive audio experience.
- Adjust Volume Control: Depending on your preferences, you can adjust the volume control settings to optimize the audio output level through your Sony Noise-Canceling Headphones WH-CH700N. This allows you to set the desired volume level directly from your PS4.
By adjusting the audio settings on your PS4, you have customized the sound output to align with your preferences and maximize the potential of your Sony Noise-Canceling Headphones WH-CH700N. With the audio settings optimized, you are now ready to immerse yourself in the captivating audio landscapes of your favorite games, free from distractions and with exceptional sound quality.
Conclusion
Congratulations! You have successfully connected your Sony Noise-Canceling Headphones WH-CH700N to your PS4, paving the way for an immersive and captivating gaming audio experience. By following the simple steps outlined in this guide, you have seamlessly integrated these exceptional headphones into your gaming setup, allowing you to enjoy rich, detailed soundscapes while exploring the virtual worlds of your favorite games.
With your Sony Noise-Canceling Headphones WH-CH700N connected to your PS4, you can now experience the thrill of gaming with enhanced audio clarity, immersive sound effects, and seamless communication through your headphones. Whether you’re engaging in intense multiplayer battles, unraveling the narrative of a story-driven adventure, or exploring open-world environments, the exceptional sound quality and noise-canceling capabilities of your headphones will elevate your gaming experience to new heights.
Remember to take advantage of the audio settings on your PS4 to fine-tune the sound output and ensure that the audio is optimized to your preferences. By customizing the audio settings, you can tailor the sound experience to match the unique characteristics of your favorite games, allowing you to fully immerse yourself in the audio landscapes crafted by game developers.
As you embark on your gaming adventures with your Sony Noise-Canceling Headphones WH-CH700N, revel in the rich, detailed audio that enhances every moment of gameplay. From the subtle ambient sounds to the thunderous explosions, every auditory detail will come to life, enriching your gaming sessions and drawing you deeper into the virtual worlds that await.
Now that you have successfully connected your headphones and optimized the audio settings, it’s time to embark on your gaming journey with a newfound appreciation for the power of exceptional sound. Get ready to experience gaming in a whole new dimension, where the audio nuances are as vivid and captivating as the visuals that unfold before you.