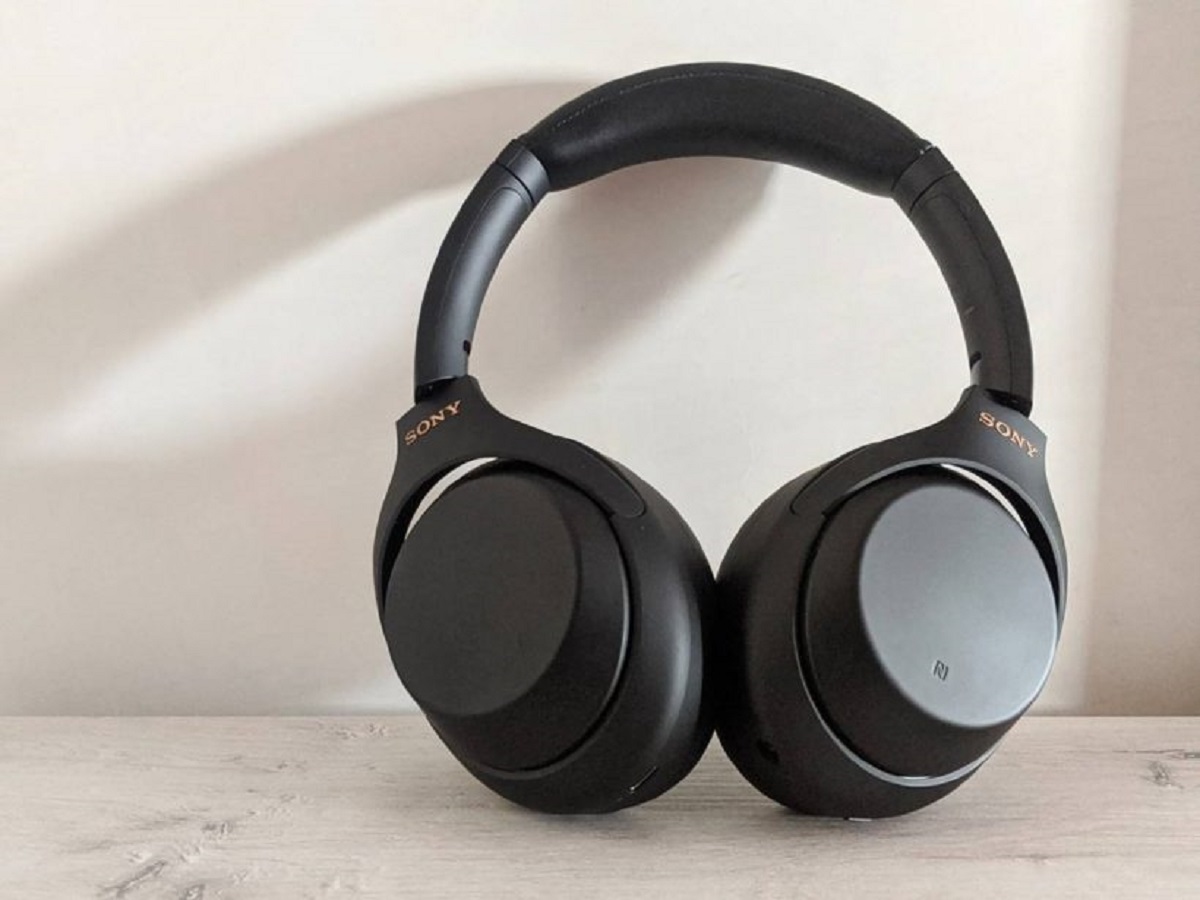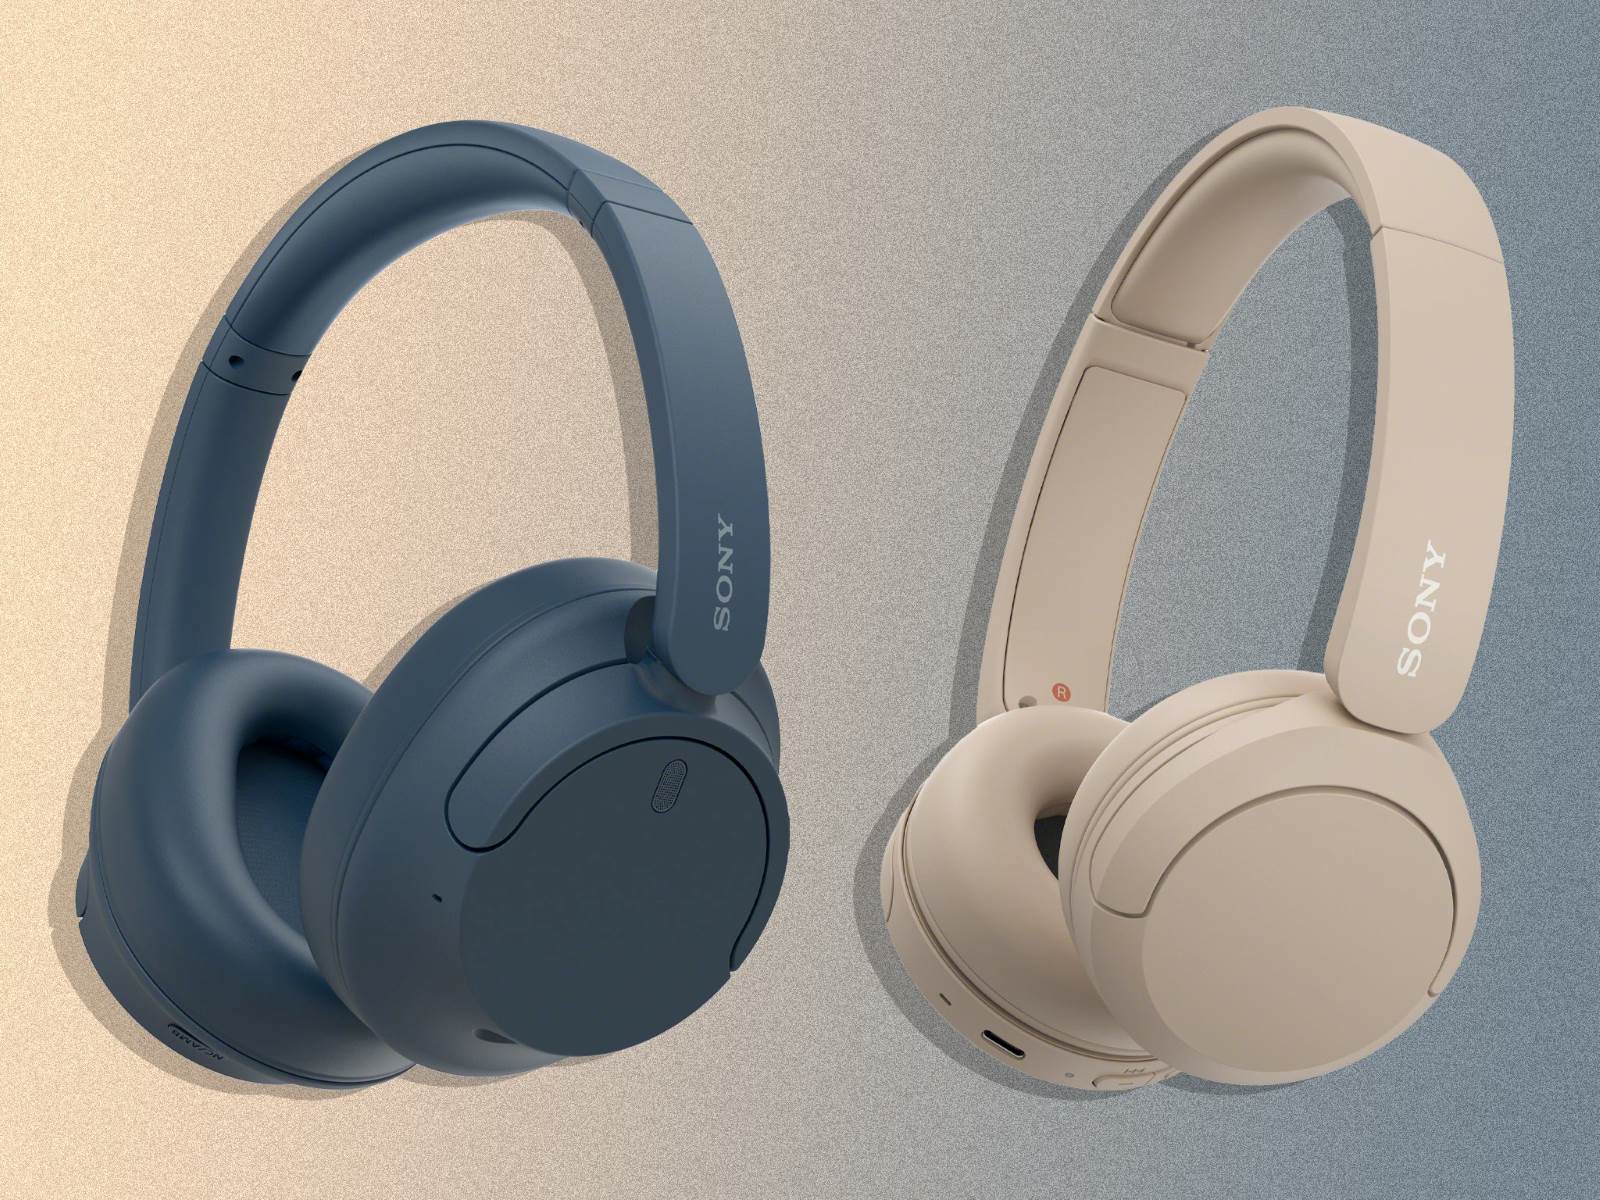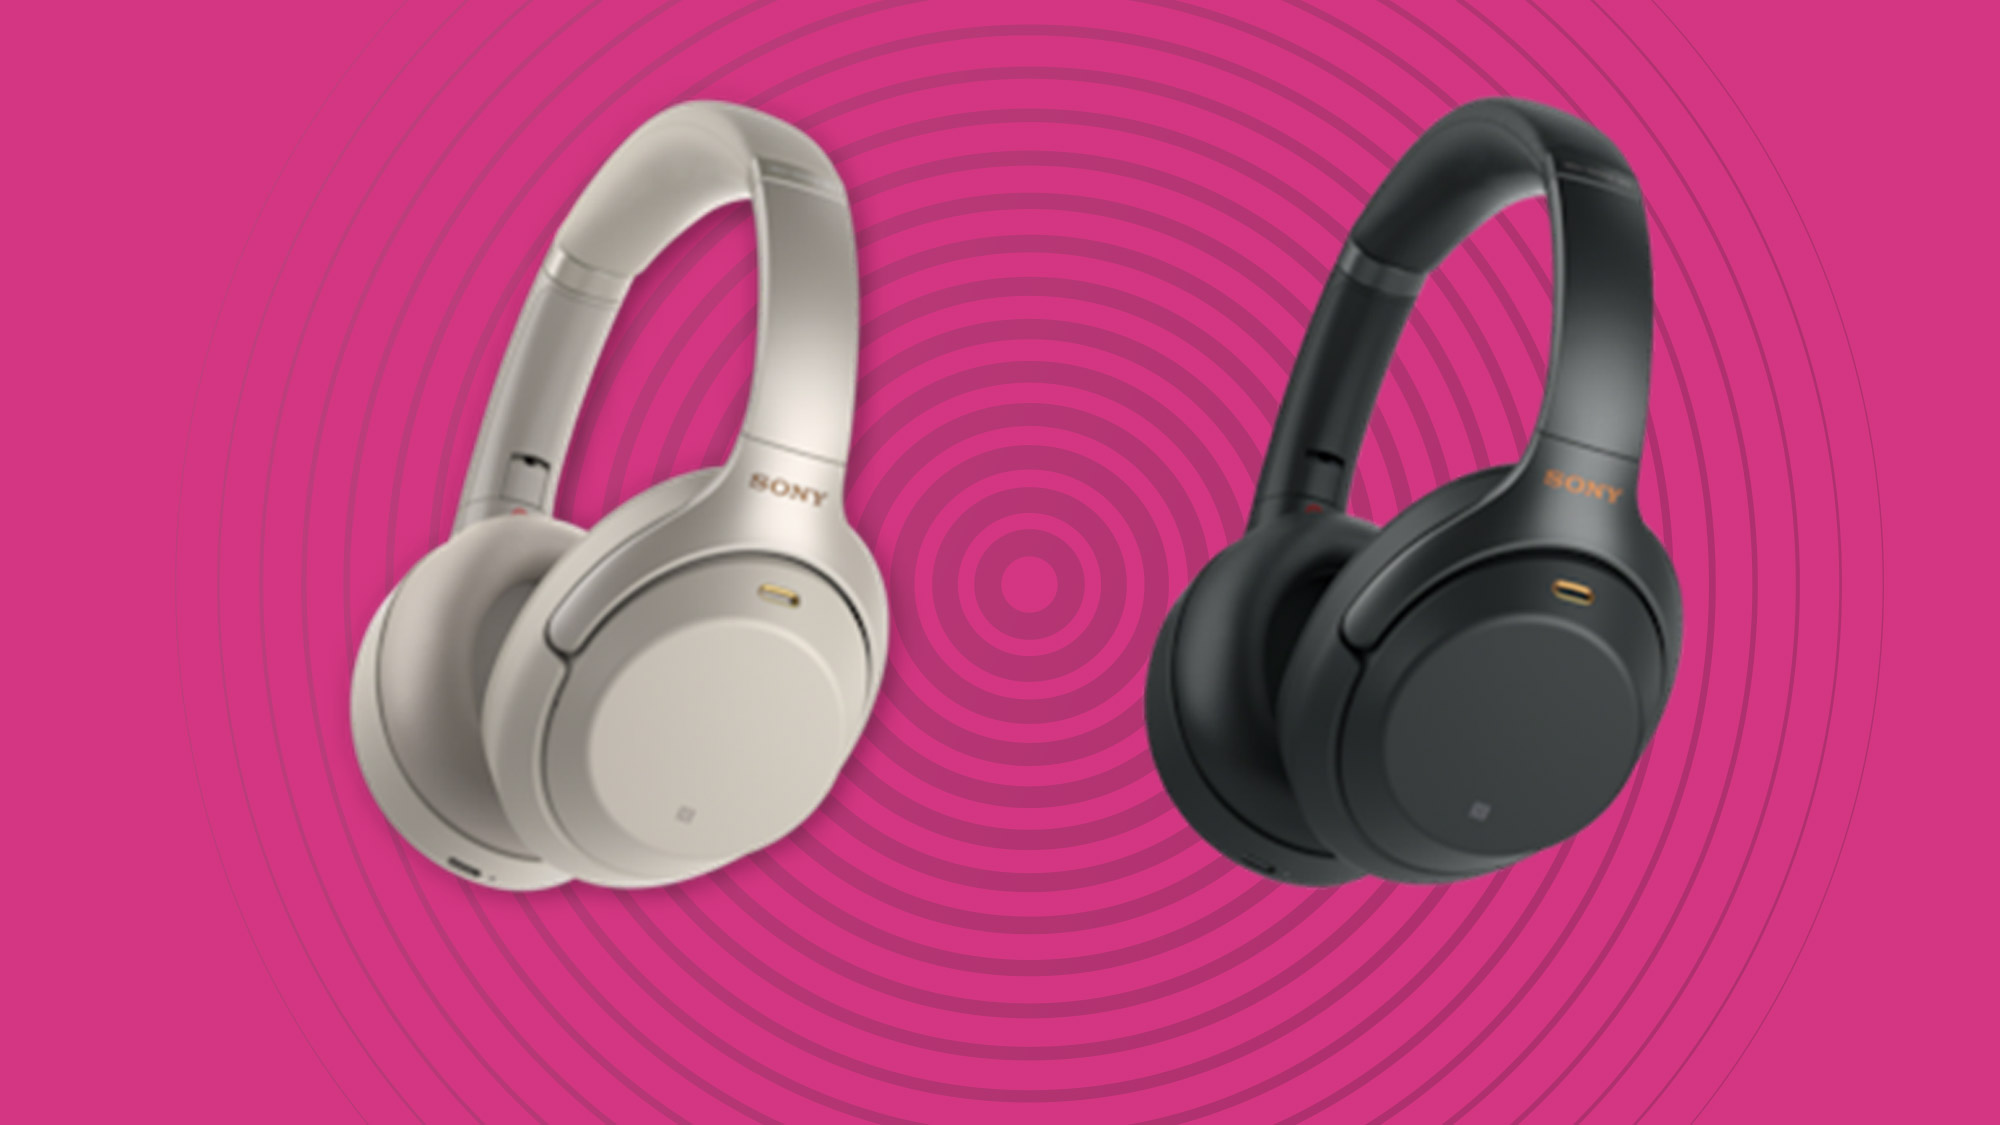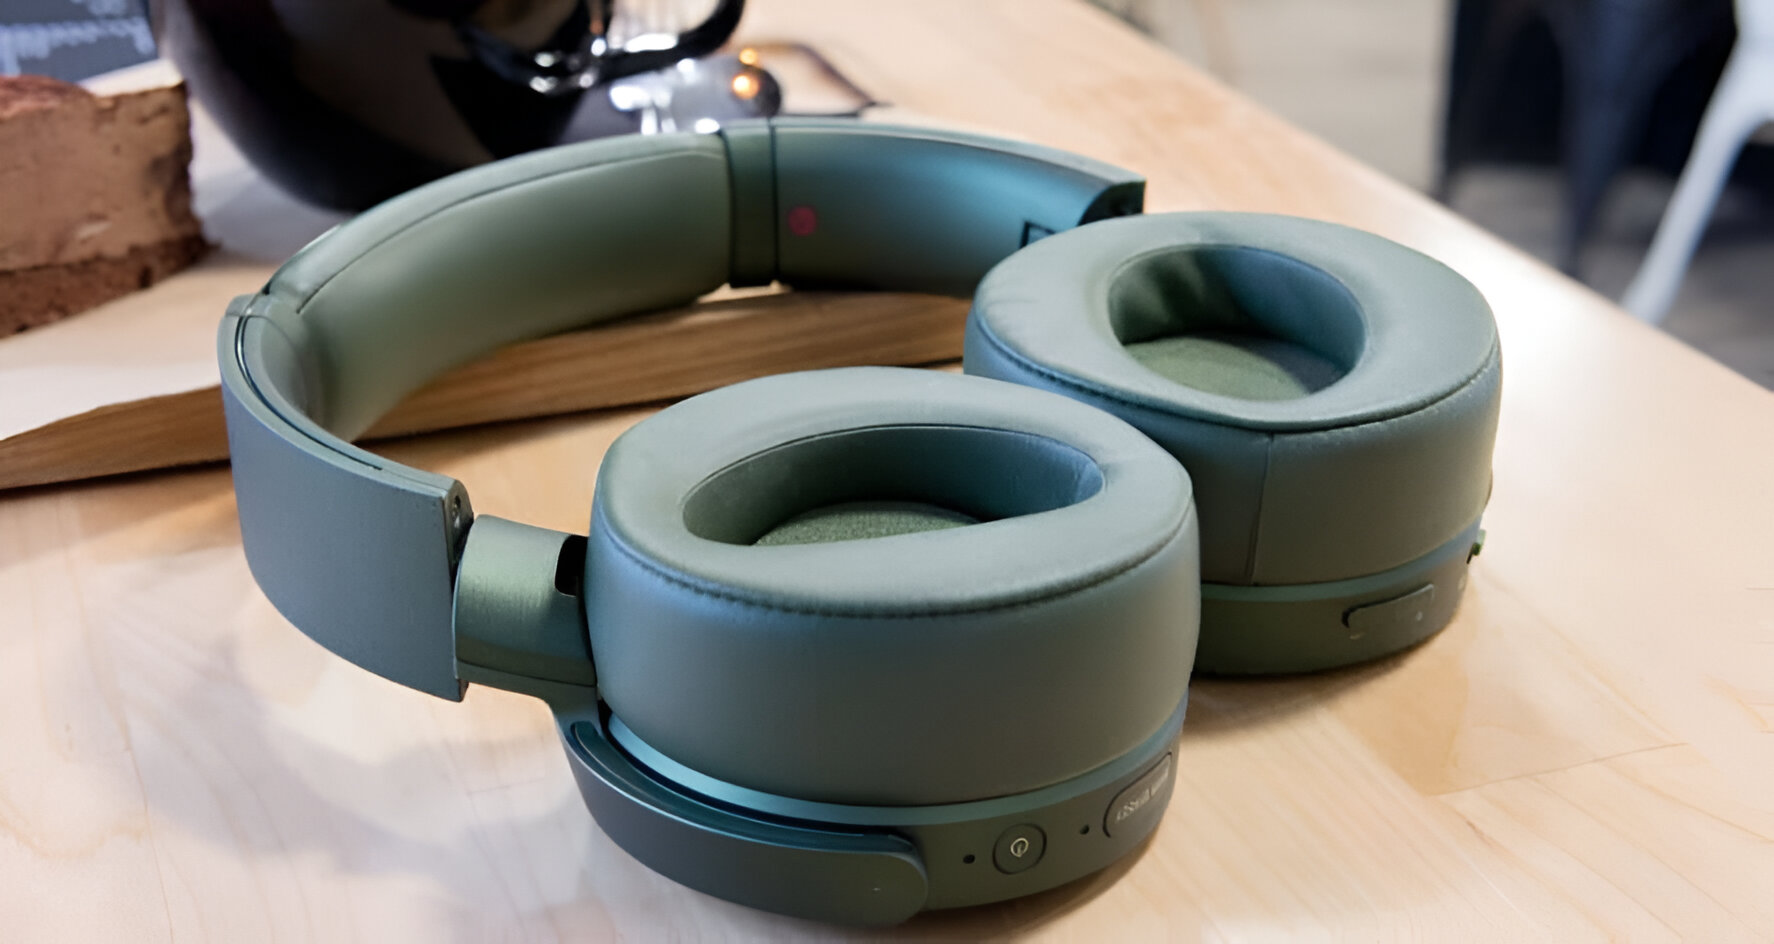
Introduction
If you're the proud owner of Sony noise-canceling headphones, you're undoubtedly enjoying the blissful experience of immersing yourself in your favorite music or podcast while shutting out the cacophony of the outside world. To ensure that this auditory haven remains uninterrupted, it's crucial to keep your headphones charged and ready for use at all times. In this guide, we'll walk you through the simple and essential steps to effectively charge your Sony noise-canceling headphones. Whether you're a seasoned user or a newcomer to the world of premium audio gear, this step-by-step tutorial will equip you with the knowledge to keep your headphones powered up and your auditory adventures uninterrupted.
Ensuring that your headphones are adequately charged is vital for uninterrupted listening pleasure. By following the straightforward instructions in this guide, you'll be able to effortlessly maintain the battery life of your Sony noise-canceling headphones. Let's dive into the process and ensure that you're equipped with the knowledge to keep your headphones ready to deliver high-quality sound and uninterrupted tranquility whenever you need them. So, let's get started with the first step: checking the battery level.
Step 1: Check the Battery Level
Before embarking on the charging process, it's essential to assess the current battery level of your Sony noise-canceling headphones. This simple yet crucial step ensures that you have a clear understanding of the remaining charge and can plan your charging accordingly.
To check the battery level, power on your Sony noise-canceling headphones and, if available, refer to the battery level indicator. This indicator is typically located on the headphones themselves or can be accessed through the companion mobile app, if applicable. The battery level is often represented by a series of LED lights or a numerical display, providing you with a visual representation of the remaining charge.
Understanding the current battery level empowers you to make informed decisions about when to initiate the charging process. If the battery level is low, it's an opportune time to connect your headphones to a power source and replenish their charge. On the other hand, if the battery level is sufficient for your immediate needs, you can continue to enjoy your audio experience with peace of mind.
By regularly checking the battery level of your Sony noise-canceling headphones, you can proactively manage their charging schedule, ensuring that they are always ready to deliver exceptional sound quality whenever you need them. With the battery level assessed, you're now ready to proceed to the next step: connecting the charging cable.
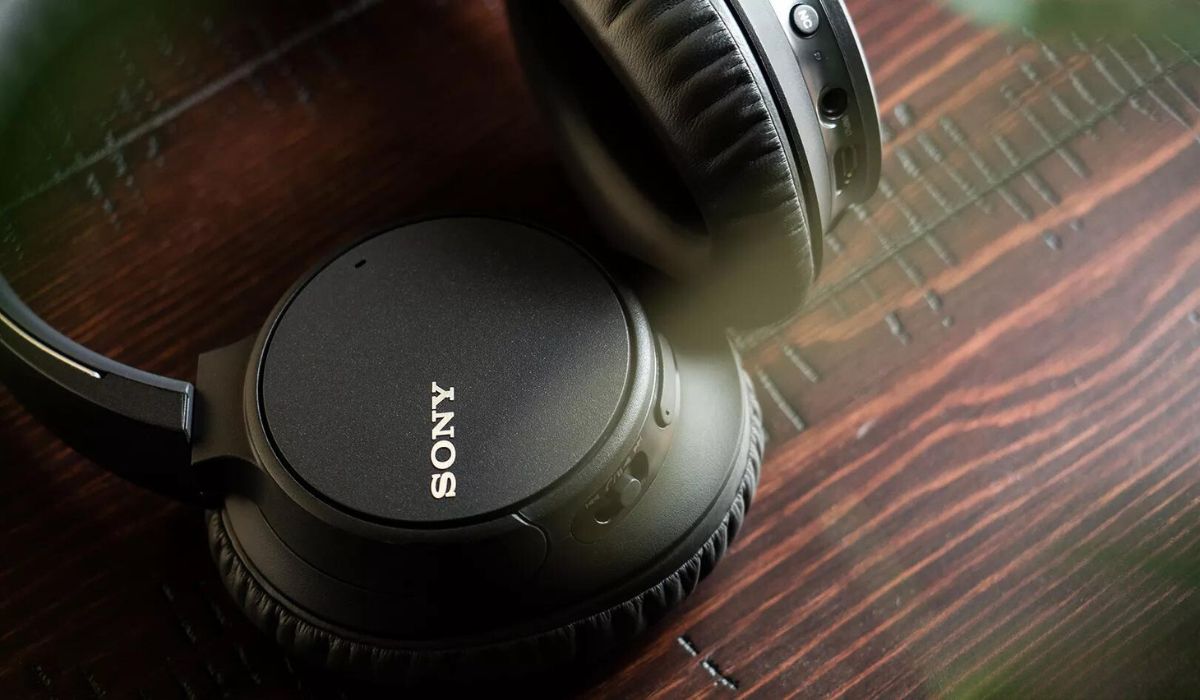
Step 2: Connect the Charging Cable
Once you’ve determined that your Sony noise-canceling headphones require charging, the next step is to connect them to a power source using the provided charging cable. This straightforward process ensures that your headphones receive the necessary power to sustain their exceptional performance.
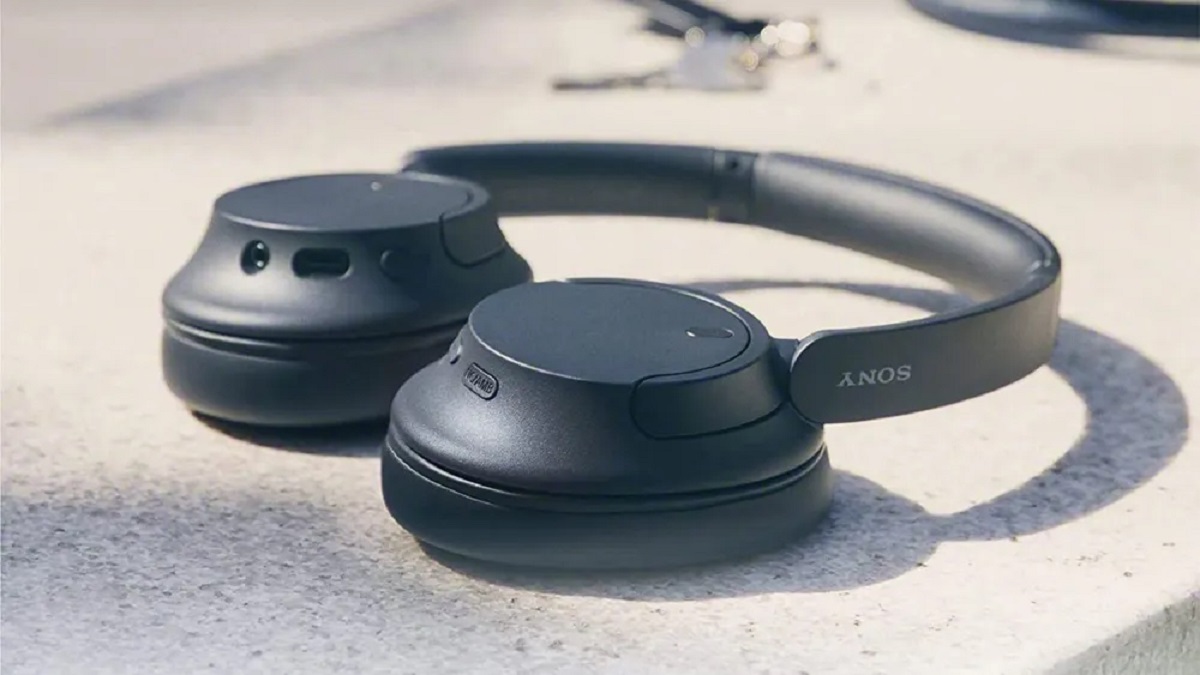
Begin by locating the charging port on your Sony noise-canceling headphones. This port is specifically designed to accommodate the charging cable and is often conveniently positioned for easy access. Once you’ve identified the charging port, take the corresponding end of the charging cable and gently insert it into the port, ensuring a secure and snug connection. The cable should fit comfortably without requiring excessive force.
With the charging cable securely attached to your headphones, the opposite end of the cable can be connected to a suitable power source. This may include a USB port on your computer, a USB wall adapter, or a portable power bank, depending on your preference and availability. Ensure that the power source is operational and capable of delivering a consistent electrical current to effectively charge your headphones.
Upon establishing the connection between your Sony noise-canceling headphones and the power source, you’re one step closer to replenishing their battery and resuming your immersive audio experience. This simple act of connecting the charging cable sets the stage for the subsequent charging process, allowing you to maintain the uninterrupted functionality of your headphones.
With the charging cable securely in place and your headphones poised to receive power, you’re now poised to progress to the next step: initiating the charging process.
Step 3: Charge the Headphones
With the charging cable securely connected to your Sony noise-canceling headphones and a power source, you’re now ready to initiate the charging process. This pivotal step ensures that your headphones receive the necessary electrical energy to replenish their battery and remain ready for your next audio adventure.
Upon establishing the connection between your headphones and the power source, the charging process commences automatically. Depending on the model of your Sony noise-canceling headphones, you may observe a visual indicator, such as an LED light, to signify that the charging process is underway. This visual cue provides reassurance that your headphones are actively receiving power and that the battery is being replenished.
It’s important to allow your Sony noise-canceling headphones sufficient time to charge adequately. The duration of the charging process may vary based on factors such as the remaining battery level, the charging cable and power source used, and the specific model of your headphones. As a general guideline, it’s advisable to allow for a sufficient charging duration to ensure that your headphones attain a desirable battery level for extended use.
While your headphones are charging, it’s an opportune time to plan your next auditory escapade, whether it’s delving into your favorite playlist, immersing yourself in a captivating podcast, or enjoying the cinematic experience of a movie. Knowing that your headphones are steadily regaining their charge allows you to anticipate the seamless enjoyment of high-quality audio content once the charging process is complete.
By conscientiously engaging in the charging process, you’re actively contributing to the longevity and reliability of your Sony noise-canceling headphones. This simple yet indispensable step ensures that your headphones remain a steadfast companion, delivering exceptional sound quality and immersive experiences whenever you call upon them.
As the charging process unfolds, you’re now poised to transition to the next step: checking the charging status to ascertain the progress of the charging endeavor.
Step 4: Check the Charging Status
After allowing your Sony noise-canceling headphones sufficient time to charge, it’s prudent to verify the charging status to ensure that the process has been completed successfully. This essential step provides you with the assurance that your headphones are adequately powered and ready to deliver the premium audio experience that you’ve come to expect.
To check the charging status, refer to the visual indicators on your Sony noise-canceling headphones, if available. Depending on the model, these indicators may include LED lights, a numerical display, or an in-app notification if your headphones are paired with a mobile device. These indicators serve as a valuable means of gauging the charging progress and confirming that your headphones have attained an optimal battery level.
If your headphones feature LED lights to convey the charging status, observe the behavior of these lights to interpret the progress. For instance, a steady light or a specific color may indicate that the charging process is complete, while a blinking or pulsating light may signify that the headphones are still in the process of charging. Familiarizing yourself with these visual cues empowers you to discern the charging status at a glance.
Alternatively, if your Sony noise-canceling headphones are equipped with a numerical display, take note of the displayed battery level to ascertain the extent to which the headphones have been charged. This numerical representation offers a precise insight into the charging status, allowing you to gauge the remaining charging duration or confirm that the process has reached completion.
In the event that your headphones are synchronized with a companion mobile app, consider accessing the app to retrieve real-time information about the charging status. This digital interface may present detailed data about the battery level, the charging progress, and additional insights to ensure that you are well-informed about the status of your headphones.
By conscientiously checking the charging status of your Sony noise-canceling headphones, you’re equipped with the knowledge to make informed decisions about when to disconnect the charging cable and embark on your next auditory journey. With the charging status confirmed, you can proceed with confidence, knowing that your headphones are primed to deliver exceptional sound quality and immersive experiences.
Conclusion
Congratulations! By following the simple yet essential steps outlined in this guide, you’ve gained the knowledge and proficiency to effectively charge your Sony noise-canceling headphones. This newfound understanding empowers you to maintain the optimal performance and uninterrupted functionality of your headphones, ensuring that they remain a reliable companion for your audio endeavors.
Regularly checking the battery level, connecting the charging cable, initiating the charging process, and verifying the charging status are integral components of preserving the longevity and reliability of your Sony noise-canceling headphones. By conscientiously engaging in these steps, you contribute to the seamless enjoyment of high-quality audio content and the immersive experiences that your headphones facilitate.
As you embark on your audio adventures, whether it’s indulging in your favorite music, immersing yourself in a captivating podcast, or savoring the cinematic sounds of a movie, the assurance of a well-charged pair of headphones enhances the quality of these experiences. With your headphones consistently powered and ready for use, you can revel in the blissful escape they provide from the ambient noise of the world around you.
Remember to incorporate these charging practices into your routine to ensure that your Sony noise-canceling headphones are always at the ready. By doing so, you’ll continue to delight in the exceptional sound quality and immersive audio experiences that define the essence of your auditory escapades.
As you apply the insights gained from this guide, you’re poised to embark on a seamless and uninterrupted audio journey, with your Sony noise-canceling headphones serving as steadfast companions, delivering unparalleled sound quality and tranquility whenever you call upon them.