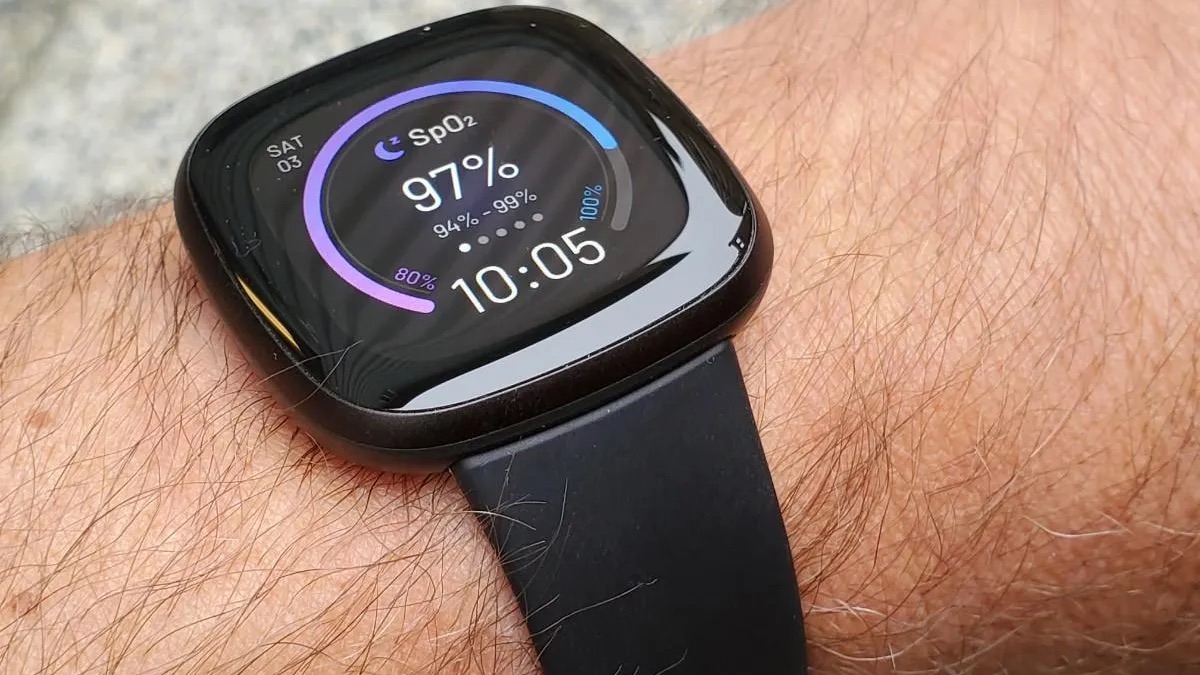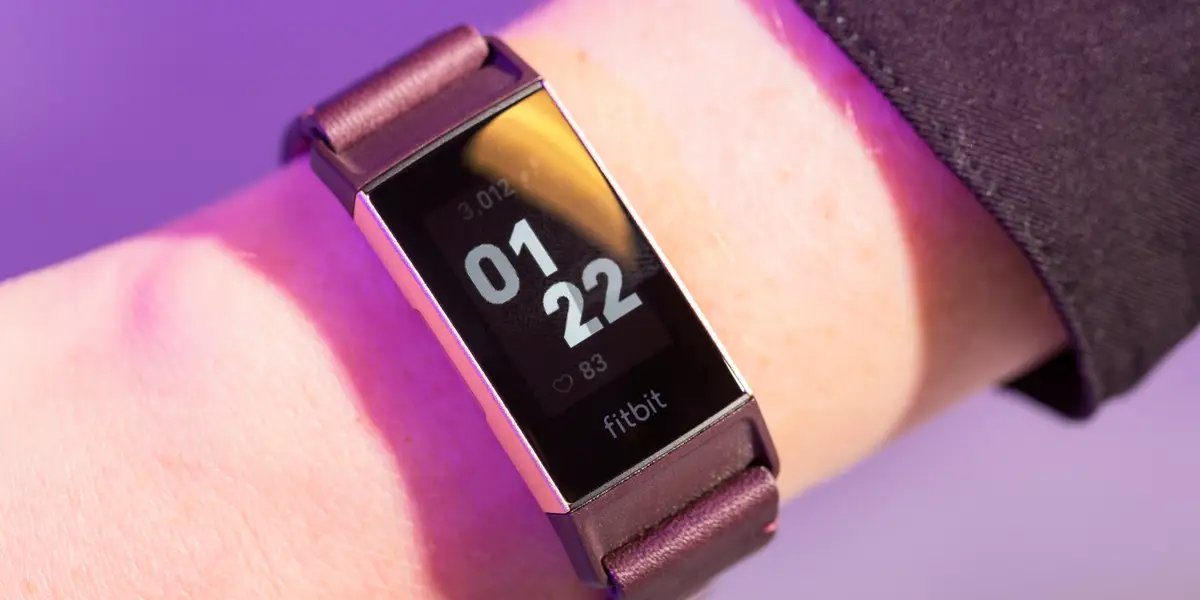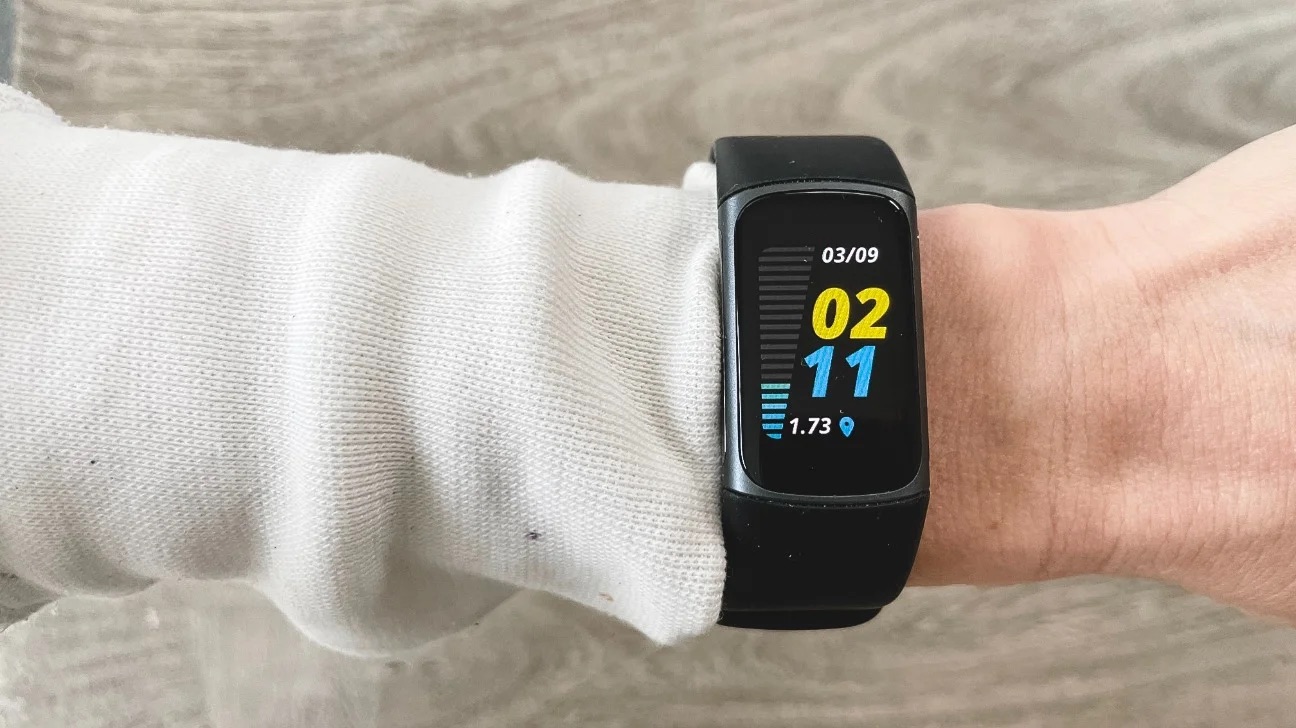
To change time on Fitbit Charge 5, open the Fitbit or Google Health app on your smartphone. From there, you'll adjust the time zone settings and sync your device to apply the correct time.
How to change time on Fitbit Charge 5
The process for changing the time and time zone on your devices is done entirely through the mobile app, not the watch itself, much like the steps for changing the time on Fitbit versa 3. Follow these steps to update the displayed time after a time zone change or daylight saving time shift:
- Open the Fitbit app (or Google Health app) on your smartphone.
- Tap your profile picture or icon, usually located in the top-left corner of the "Today" tab.
- Navigate to "Fitbit Settings" or "Google Health settings," then tap "Date, time & units" (or "App Settings" then "Time Zone").
- Tap "Time Zone."
- Turn off the "Set Automatically" (or "Automatic time zone") option.
- Manually select the correct time zone from the provided list.
- Sync your Fitbit Charge 5 with the app to apply the change.
After syncing, the time on your Charge 5 will match the zone you selected. This method is the only way to adjust the clock, as the device does not allow direct time changes on the watch itself.
How to switch between 12-hour and 24-hour clock
If you prefer a different clock display format, you can change it in the same settings area. To switch between 12-hour and 24-hour clock display, go to your profile picture > "Fitbit Settings" > "Date, time & units," then tap the arrows next to "Clock Display Time" and choose your preferred format. If the time itself is incorrect after syncing, you may need a quick guide to resetting time and date on Fitbit. Sync your device afterward to see the new format on your Charge 5's screen.
Tips for accurate timekeeping
To keep your Fitbit Charge 5 displaying the correct time, follow these best practices:
- Regularly verify time: Check the time on your device periodically, especially after traveling or a daylight saving time change, to catch any discrepancies early.
- Sync with your smartphone for precision: Syncing your Charge 5 with the Fitbit app ensures the time aligns with your phone's clock, which is typically updated automatically from network time.
- Understand time zone support for travel: When you cross time zones, manually update the time zone in the app as described above. Turning off "Set Automatically" gives you full control, which is useful if your phone's location services don't update promptly.
Troubleshooting common time sync issues
If your Fitbit Charge 5 won't sync with your smartphone, displays incorrectly after a time zone change, or doesn't adjust for daylight saving time, try these solutions:
- Time won't sync with smartphone: Ensure Bluetooth is enabled on both your phone and Charge 5. Check that the Fitbit app is up to date. Restart both devices and then manually initiate a sync from the app.
- Incorrect time after a time zone change: If the time is wrong after travel, revisit the time zone settings in the app. Confirm that "Set Automatically" is off and you have selected the correct zone. Sync again.
- Doesn't adjust for daylight saving time: If the clock doesn't shift automatically, manually turn off "Set Automatically," select the correct time zone, and sync. Re-enable automatic settings later if desired, but manual selection is the most reliable fix.