Introduction
Experiencing a black screen on your Versa 2 can be disconcerting, especially when it disrupts the seamless functionality of this advanced wearable device. Whether you're an avid fitness enthusiast relying on its tracking capabilities or someone who values the convenience of its smart features, encountering a black screen can be frustrating. However, fear not, as this comprehensive guide will walk you through the step-by-step process of resetting your Versa 2, effectively addressing the black screen issue and restoring your device to its optimal state.
In the following sections, we will delve into the essential steps required to troubleshoot the black screen problem. From ensuring that your device is adequately charged to performing a hard reset, this guide will equip you with the knowledge and confidence to tackle this issue head-on. Additionally, we will explore the option of reaching out to Fitbit support, providing you with a comprehensive understanding of the available resources should you require further assistance.
By following the detailed instructions and insights provided in this guide, you will not only gain a deeper understanding of your Versa 2 but also acquire the necessary skills to address similar issues in the future. So, let's embark on this journey together, empowering you to overcome the black screen setback and rediscover the full potential of your Versa 2.
Step 1: Charging the Versa 2
Ensuring that your Versa 2 is adequately charged is the first crucial step in troubleshooting the black screen issue. A depleted battery can often manifest as a black screen, making it imperative to rule out this possibility before proceeding with other troubleshooting methods.
To begin, locate the proprietary charging cable that came with your Versa 2. This cable features a unique design tailored to the Versa 2, allowing for seamless and secure connectivity. Once you have the charging cable at hand, proceed to the next step.
Next, connect the charging cable to a reliable power source, such as a USB wall adapter or a computer with an available USB port. It is essential to use a stable power source to facilitate an uninterrupted charging process. After connecting the cable to the power source, you will notice a small, magnetic charging dock at the opposite end of the cable.
Gently seat your Versa 2 onto the charging dock, ensuring that the pins on the dock align with the corresponding contacts on the back of your device. The magnetic connection will secure the Versa 2 in place, indicating that the charging process has commenced. At this point, a battery icon should appear on the screen, signifying that the device is receiving power.
Allow your Versa 2 to charge for at least 10 to 15 minutes, providing ample time for the battery to accumulate a sufficient charge. During this period, refrain from attempting to power on the device, as it is essential to prioritize the charging process. After the initial charging duration, check the screen for any signs of activity. If the black screen persists, continue charging the device for an additional 30 minutes to ensure a substantial charge.
Once you have allowed the Versa 2 to charge adequately, attempt to power on the device by pressing the side button. If the screen illuminates and displays the familiar Versa 2 interface, the black screen issue may have been attributed to a low battery. However, if the black screen persists despite the charging efforts, it may be necessary to explore additional troubleshooting methods, which will be covered in the subsequent steps.
By diligently following these steps, you have effectively ruled out a depleted battery as the cause of the black screen issue, setting the stage for further troubleshooting measures. With your Versa 2 now adequately charged, you are ready to proceed to the next step and delve deeper into resolving the black screen setback.
Step 2: Performing a Hard Reset
In the event that charging the Versa 2 did not resolve the black screen issue, performing a hard reset is the next logical step in troubleshooting. A hard reset, also known as a factory reset, effectively restores the device to its original state, potentially resolving software-related issues that may have caused the black screen. It is important to note that a hard reset will erase all data and settings on your Versa 2, reverting it to its default configuration.
To initiate a hard reset, follow these step-by-step instructions:
-
Begin by firmly pressing and holding the left and bottom right buttons on your Versa 2 simultaneously. Ensure that you maintain this hold for at least 10 to 15 seconds, allowing ample time for the device to initiate the reset process.
-
As you continue to hold the buttons, the screen may go dark, indicating that the hard reset is underway. It is essential to remain patient and maintain the button hold throughout this process, as releasing the buttons prematurely may disrupt the reset.
-
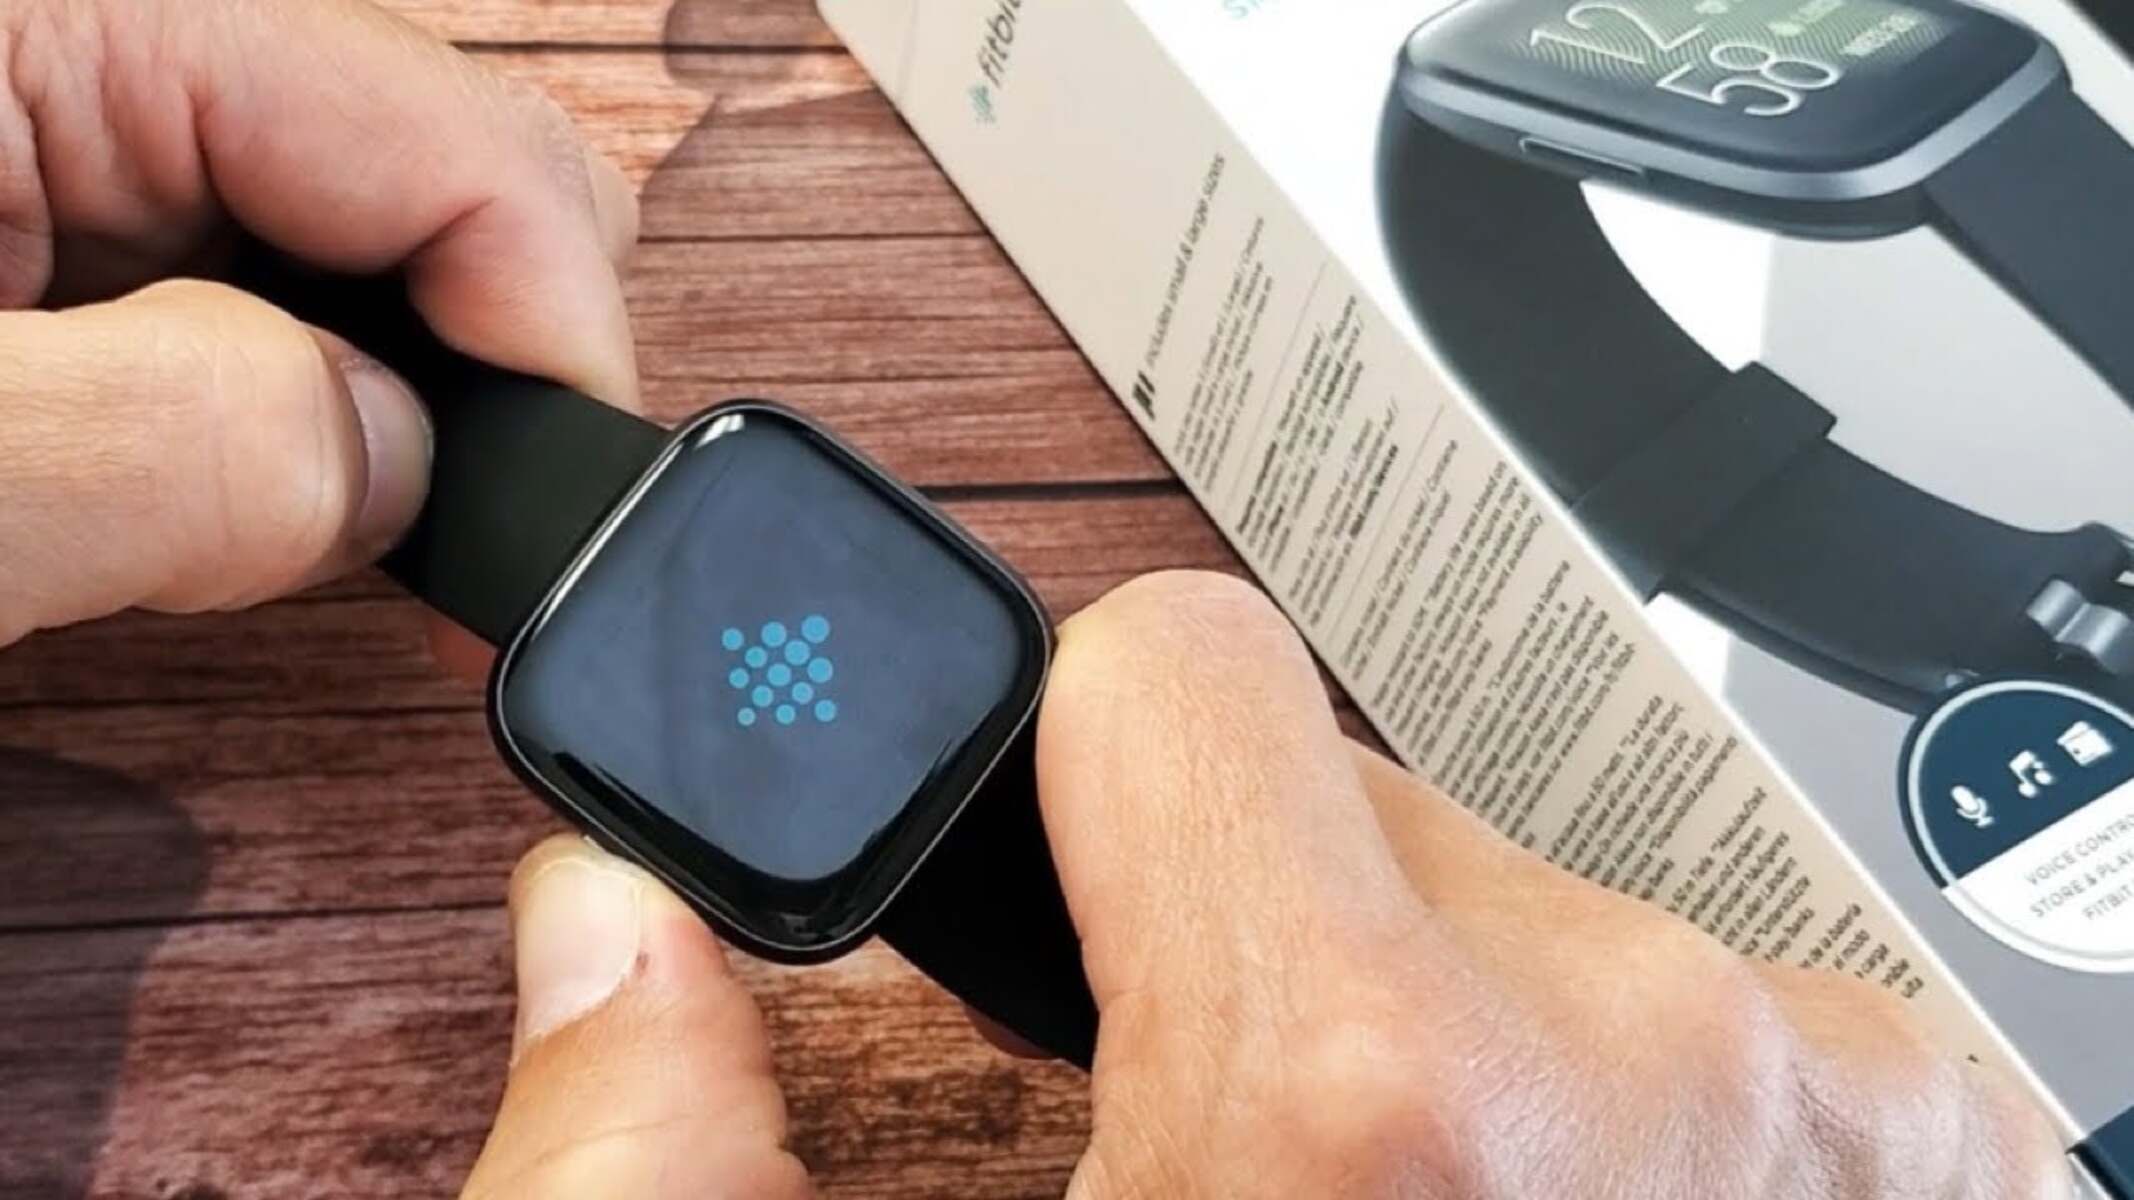
After the designated duration, release the buttons and observe the Versa 2 for any signs of activity. If the hard reset was successful, the device should restart and display the Fitbit logo as it initializes. This signifies that the reset process has been completed, and the Versa 2 is now restored to its factory settings.
-
Once the Versa 2 has restarted, proceed to set up the device as you did when it was initially unboxed. This involves pairing the device with your smartphone, configuring preferences, and re-syncing data if applicable.
By performing a hard reset, you have effectively executed a fundamental troubleshooting method to address the black screen issue on your Versa 2. This process not only serves to potentially resolve software-related setbacks but also provides a clean slate for your device, eliminating any lingering issues that may have contributed to the black screen.
With the hard reset completed, take a moment to assess the Versa 2 for any signs of improvement. If the black screen has been remedied and the device is functioning as expected, you have successfully navigated through this troubleshooting step. However, if the black screen persists despite the hard reset, it may be necessary to explore alternative measures, including reaching out to Fitbit support for further assistance.
By diligently following these steps, you have effectively leveraged the hard reset method to address the black screen setback on your Versa 2, showcasing your proactive approach to troubleshooting and device maintenance.
Step 3: Contacting Fitbit Support
If the black screen issue persists despite the previous troubleshooting efforts, reaching out to Fitbit support can provide invaluable assistance in resolving this setback. Fitbit offers a dedicated support system designed to address various technical issues, ensuring that users receive prompt and effective solutions tailored to their specific concerns.
To initiate contact with Fitbit support, follow these steps:
-
Accessing Support Channels: Fitbit provides multiple channels through which users can seek assistance. The primary support options include the official Fitbit website and the Fitbit app. Navigating to the support section on the website or accessing the support feature within the app will present you with a range of resources and contact options.
-
Utilizing Live Chat or Email Support: Fitbit offers live chat support, allowing users to engage in real-time conversations with support representatives. This interactive platform enables you to articulate the black screen issue in detail and receive immediate guidance on potential solutions. Additionally, email support serves as an alternative communication channel, allowing you to convey the specifics of the problem and receive comprehensive assistance.
-
Providing Essential Details: When reaching out to Fitbit support, it is essential to provide pertinent details regarding the black screen issue. This includes specifying the troubleshooting steps already undertaken, such as charging the device and performing a hard reset. Additionally, sharing any relevant error messages or indicators observed on the Versa 2 screen can aid support representatives in diagnosing the issue accurately.
-
Following Guidance and Recommendations: Upon establishing contact with Fitbit support, attentively follow the guidance and recommendations provided by the support team. This may involve executing additional troubleshooting steps or, if deemed necessary, initiating a warranty claim or device replacement process.
-
Exploring Community Forums and Knowledge Base: In addition to direct support channels, Fitbit maintains community forums and a comprehensive knowledge base. These resources offer a wealth of user-generated insights, troubleshooting tips, and potential workarounds for common issues. Engaging with the Fitbit community and leveraging the knowledge base can supplement your troubleshooting efforts and provide alternative solutions.
By proactively engaging with Fitbit support, you leverage the expertise and resources of the company to address the black screen issue on your Versa 2. Whether through direct communication with support representatives, exploring community-driven insights, or following tailored recommendations, contacting Fitbit support empowers you to navigate this setback effectively, ultimately ensuring the optimal functionality of your Versa 2.
Through these comprehensive support channels, Fitbit exemplifies its commitment to user satisfaction, delivering personalized assistance to address technical concerns and uphold the seamless operation of its wearable devices.