Introduction
Welcome to the future of home entertainment! With the integration of Google Home and Yamaha AV Receiver, you can elevate your audio-visual experience to a whole new level. By leveraging the power of voice commands, you can seamlessly control your AV receiver with the convenience of Google Home. Whether you're a tech enthusiast or someone who simply appreciates the ease of modern technology, this guide will walk you through the process of setting up Google Home to control your Yamaha AV Receiver. So, grab your devices and let's get started on this exciting journey to transform your home into a smart entertainment hub.
In this comprehensive guide, you will learn how to connect your Google Home to Wi-Fi, set up your Yamaha AV Receiver, link the two devices, and test the connection to ensure everything is functioning smoothly. By the end of this tutorial, you'll be ready to sit back, relax, and immerse yourself in a world of entertainment, all at the command of your voice.
Let's dive into the step-by-step process of integrating Google Home with your Yamaha AV Receiver, and unlock the potential of a seamless, voice-controlled home entertainment system.
Step 1: Connect Google Home to Wi-Fi
Before delving into the setup process, ensure that your Google Home device is powered on and ready to be connected. Follow these steps to connect your Google Home to Wi-Fi:
- Plug in your Google Home: Locate a suitable power outlet for your Google Home device and plug it in. Once powered on, you will notice the device’s lights indicating that it is ready for setup.
- Download and open the Google Home app: If you haven’t already, download the Google Home app from the App Store (for iOS devices) or Google Play Store (for Android devices). Open the app and sign in with your Google account.
- Add a device: In the Google Home app, tap the “Add” button, then select “Set up device” and choose “New devices.” The app will search for your Google Home device.
- Connect to Wi-Fi: Once your Google Home device is detected, follow the on-screen instructions to connect it to your Wi-Fi network. You will need to select your Wi-Fi network and enter the password to establish the connection.
- Wait for the setup to complete: Your Google Home device will now connect to the Wi-Fi network. Once the setup is complete, you will receive a confirmation message in the app.
With your Google Home successfully connected to Wi-Fi, you have laid the foundation for seamless communication between your voice commands and the Yamaha AV Receiver. This crucial step ensures that your Google Home is ready to take control and enhance your home entertainment experience.
Step 2: Set up Yamaha AV Receiver
Now that your Google Home is connected to Wi-Fi, it’s time to set up your Yamaha AV Receiver. Follow these steps to ensure a smooth and successful setup:
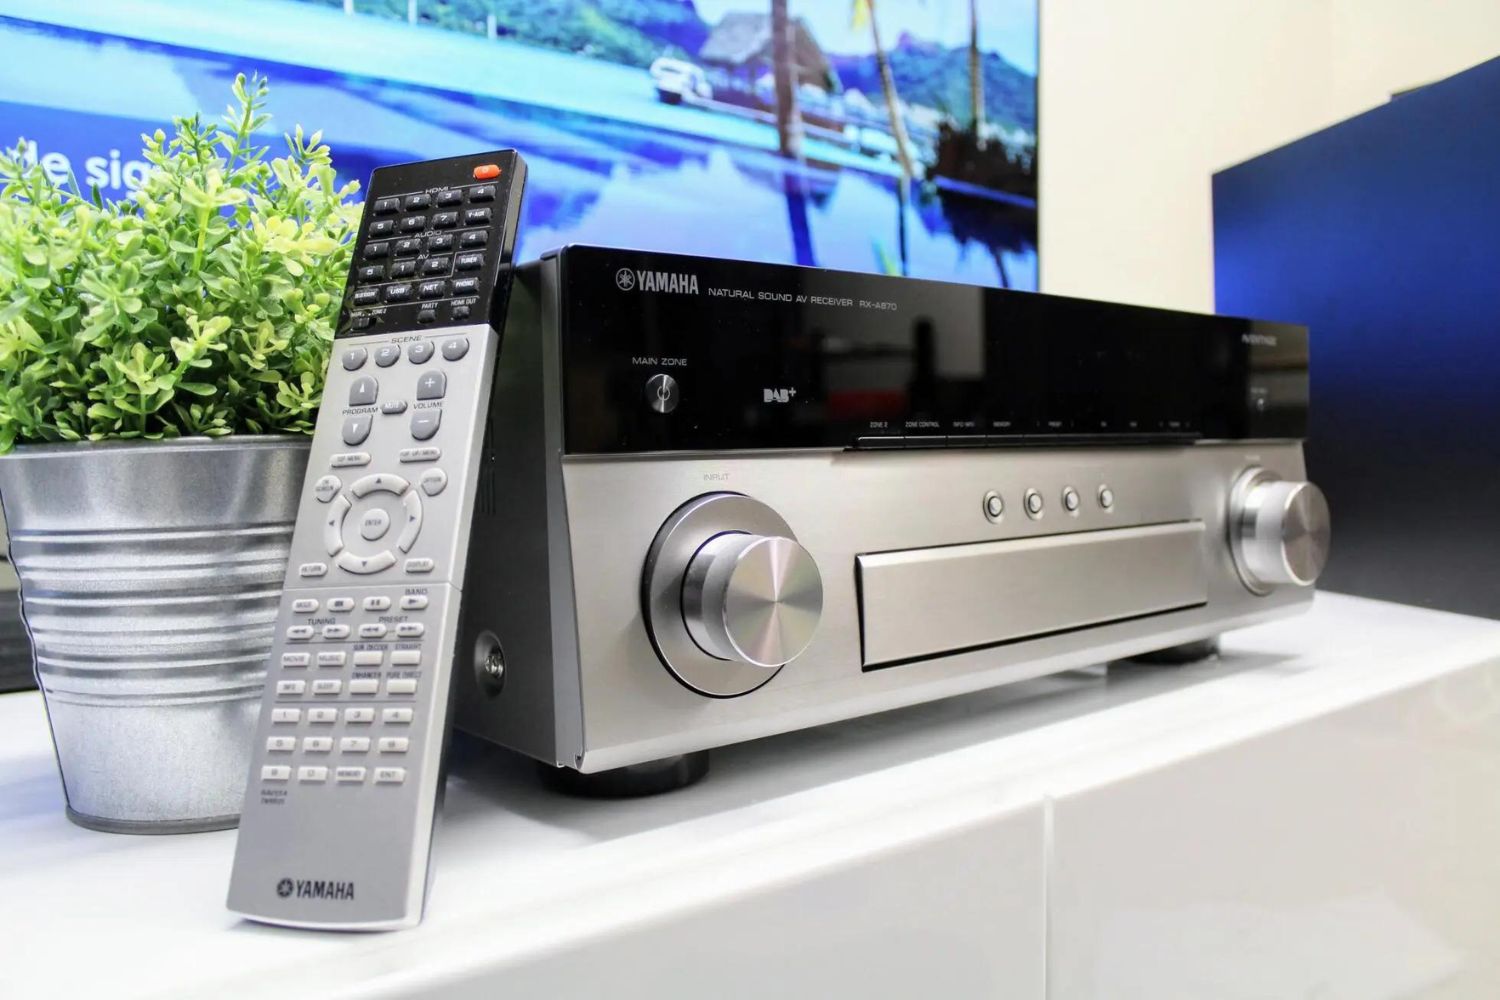
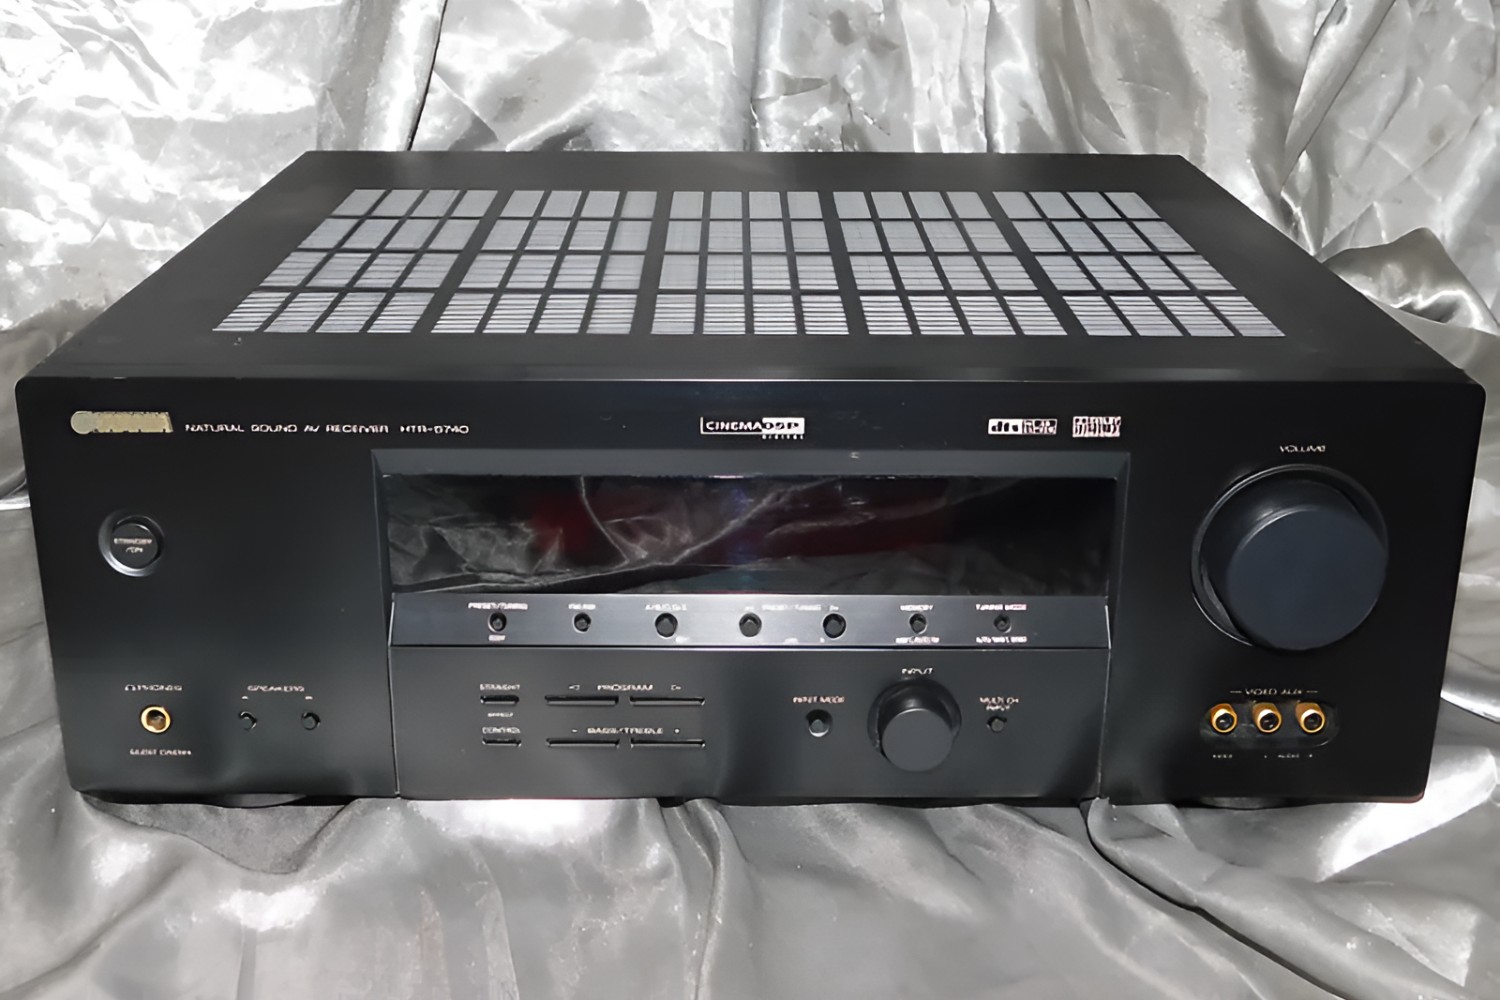
- Unpack and position your Yamaha AV Receiver: Carefully unpack your Yamaha AV Receiver and place it in a suitable location within your entertainment setup. Ensure that there is ample ventilation around the receiver to prevent overheating.
- Connect the AV Receiver to power: Using the provided power cable, connect your Yamaha AV Receiver to a power outlet and switch it on.
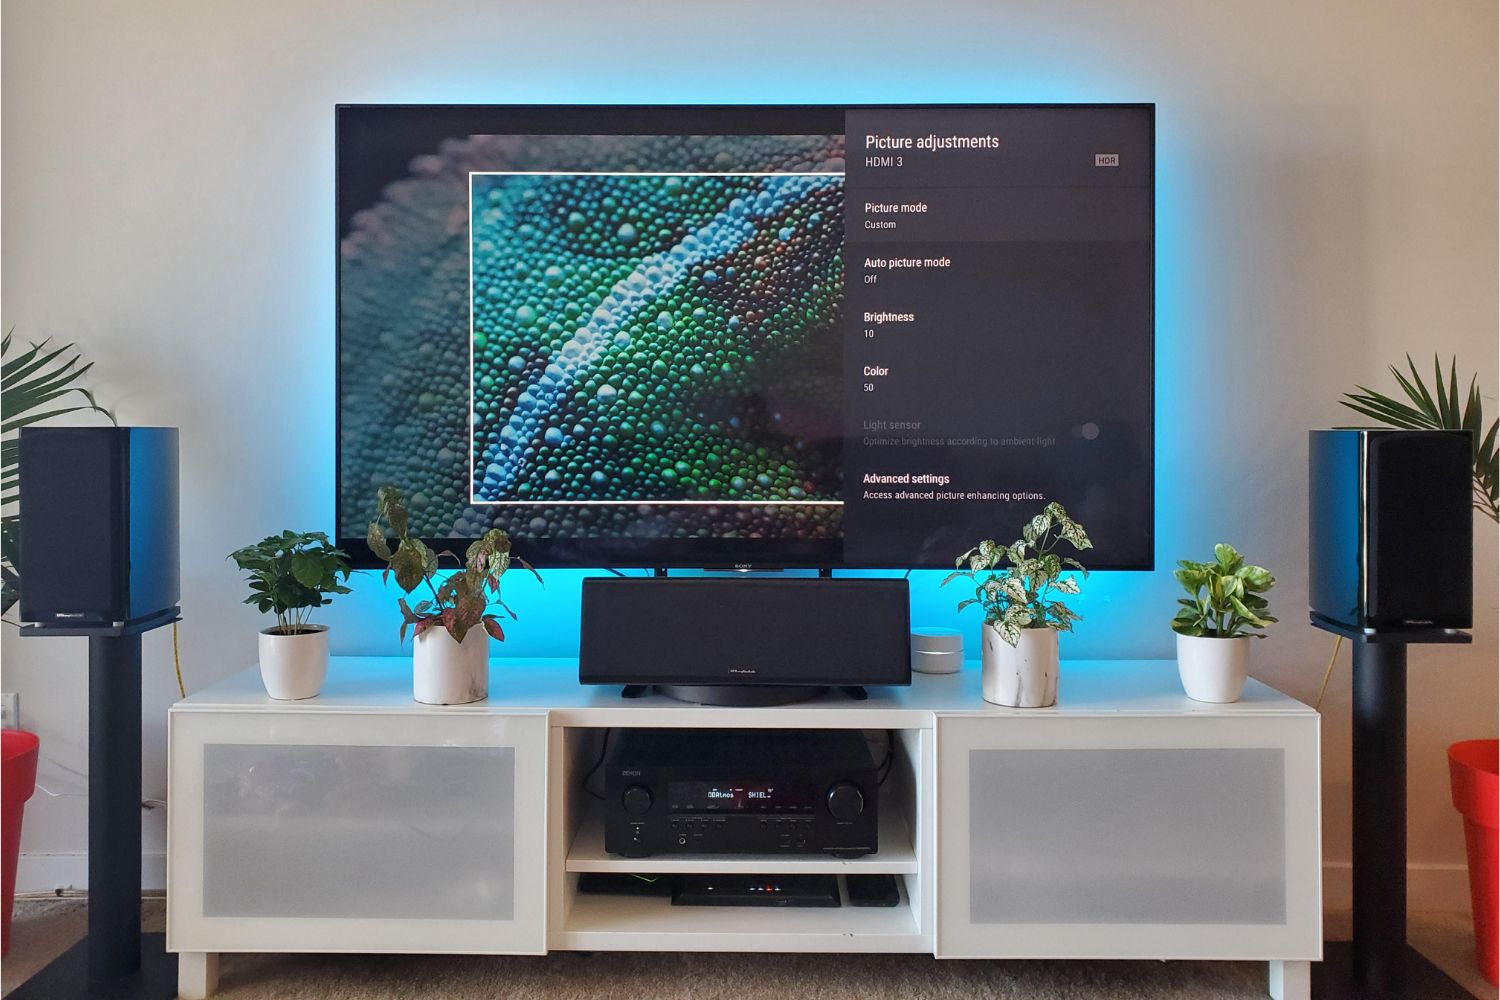
- Connect the AV Receiver to your TV or display: Use an HDMI cable to connect the AV Receiver to your TV or display. This will allow the receiver to process audio and video signals from your entertainment sources and deliver them to your display device.
- Connect your audio sources: Depending on your setup, connect your audio sources, such as a Blu-ray player, gaming console, or streaming device, to the appropriate input ports on the AV Receiver. This will ensure that the receiver can process audio signals from these sources.
- Complete the initial setup: Follow the on-screen prompts on your TV or display to complete the initial setup of your Yamaha AV Receiver. This may involve configuring audio settings, speaker setup, and network connectivity.
With your Yamaha AV Receiver set up and ready to deliver immersive audio-visual experiences, you’re one step closer to integrating it with your Google Home for seamless control and convenience. The successful setup of your AV Receiver paves the way for a harmonious connection between your entertainment devices and the power of voice commands.
Step 3: Link Google Home and Yamaha AV Receiver
With both your Google Home and Yamaha AV Receiver set up, it’s time to link the two devices to enable seamless control of your entertainment system using voice commands. Follow these steps to link your Google Home and Yamaha AV Receiver:
- Open the Google Home app: Launch the Google Home app on your mobile device and ensure that you are signed in with the same Google account used to set up your Google Home device.
- Access device settings: Locate your Google Home device within the app and access its settings. Look for the option to add a new device or link a compatible device.
- Link your Yamaha AV Receiver: In the device settings for your Google Home, select the option to add a new device and choose “Yamaha AV Receiver” from the list of compatible devices. Follow the on-screen instructions to initiate the linking process.
- Authorize the connection: During the linking process, you may be prompted to authorize the connection between your Google Home and Yamaha AV Receiver. Confirm the authorization to establish the link between the two devices.
- Verify the connection: Once the linking process is complete, verify that your Google Home and Yamaha AV Receiver are successfully connected within the Google Home app. You should see confirmation that the devices are linked and ready for voice control.
By linking your Google Home and Yamaha AV Receiver, you have unlocked the potential for effortless control of your entertainment system using voice commands. This integration brings a new level of convenience and accessibility to your home entertainment experience, allowing you to enjoy seamless control over audio settings and content playback.
Step 4: Test the Connection
Before fully embracing the convenience of controlling your Yamaha AV Receiver with Google Home, it’s essential to test the connection to ensure that everything is functioning as intended. Follow these steps to test the connection between Google Home and your Yamaha AV Receiver:
- Activate Google Home: Use the wake phrase to activate your Google Home device, for example, “Hey Google” or “OK Google.”
- Issue voice commands: Once your Google Home is listening, issue voice commands related to controlling your AV Receiver, such as adjusting the volume, changing the input source, or playing specific audio content. For example, you can say, “Hey Google, turn up the volume on the AV Receiver,” or “Hey Google, play music on the AV Receiver.”
- Observe the response: Pay attention to how your Yamaha AV Receiver responds to the voice commands issued through Google Home. Ensure that the receiver accurately interprets and executes the commands without any issues.
- Verify functionality: Test various commands to verify the functionality of the connection. This may include pausing and resuming playback, muting the audio, or switching between different input sources on the AV Receiver.
- Adjust settings if necessary: If you encounter any issues during the testing phase, review the setup instructions for both your Google Home and Yamaha AV Receiver to ensure that they are configured correctly. Make any necessary adjustments to troubleshoot and resolve any connectivity issues.
By thoroughly testing the connection between Google Home and your Yamaha AV Receiver, you can gain confidence in the seamless integration of voice control into your home entertainment setup. This step ensures that you can enjoy the convenience of commanding your AV Receiver with ease, enhancing your overall entertainment experience.
Conclusion
Congratulations! You have successfully set up Google Home to control your Yamaha AV Receiver, paving the way for a seamless and intuitive home entertainment experience. By following the steps outlined in this guide, you have harnessed the power of voice commands to effortlessly manage your AV Receiver, creating a dynamic and convenient audio-visual environment within your home.
With Google Home linked to your Yamaha AV Receiver, you now have the ability to adjust audio settings, play your favorite content, and immerse yourself in a world of entertainment, all through simple voice commands. This integration represents a significant leap forward in the evolution of smart home technology, offering unparalleled convenience and accessibility.
As you embrace this new level of control and connectivity, consider exploring additional features and commands that can further enhance your entertainment experience. Experiment with different voice commands, explore music streaming options, and discover the full potential of integrating Google Home with your AV Receiver.
By leveraging the capabilities of Google Home and Yamaha AV Receiver, you have transformed your home into a hub of modern entertainment, where the power of voice brings your audio-visual desires to life. Embrace the convenience, enjoy the seamless control, and immerse yourself in the future of home entertainment.


