Introduction
Are you looking to enhance your TV viewing experience with better sound quality? One way to achieve this is by pairing a Sony soundbar to your TV. Sony soundbars are known for their superior audio performance and sleek design, making them a popular choice among home entertainment enthusiasts.
In this guide, we will walk you through the step-by-step process of how to pair a Sony soundbar to your TV. Whether you have just purchased a new Sony soundbar or want to connect your existing one to a new TV, we’ve got you covered.
By connecting your TV to a soundbar, you can enjoy immersive audio and cinematic surround sound in your living room, giving you a more engaging and realistic viewing experience. Plus, with advancements in technology, pairing a soundbar to your TV has become simpler than ever.
Before we dive into the steps, it’s important to note that the instructions provided in this guide are specific to Sony soundbars and TVs. While the general process may be similar for other brands, the steps and terminology may differ. Therefore, it’s always recommended to consult the user manuals of your specific devices for accurate instructions.
Now, let’s get started and explore how you can easily pair your Sony soundbar to your TV and elevate your entertainment experience.
Step 1: Check the compatibility between your Sony soundbar and TV
Before proceeding with the pairing process, it’s important to ensure that your Sony soundbar is compatible with your TV. Sony soundbars are designed to work seamlessly with a wide range of TV models, but it’s always a good idea to double-check.
The first thing you need to do is check the connection options available on both your soundbar and TV. Most Sony soundbars support HDMI ARC (Audio Return Channel), which simplifies the connection process and allows for two-way communication between the TV and soundbar. Additionally, check if your TV supports HDMI ARC as well.
Another option for connecting your soundbar to your TV is through an optical cable. Some Sony soundbars have optical inputs, and most modern TVs have optical outputs, so this could be an alternative if HDMI ARC is not available.
If your soundbar and TV are compatible with both HDMI ARC and optical connection options, it’s advisable to choose HDMI ARC as it supports the transmission of high-quality audio signals and offers more advanced features.
Furthermore, ensure that your soundbar and TV have the necessary ports and cables required for the connection. HDMI cables are widely used for HDMI ARC connections, while optical cables are required for the optical connection. It’s always a good idea to have these cables on hand to avoid any delays or inconvenience.
Lastly, check if both your soundbar and TV are turned off before starting the connection process. This will prevent any interference or complications during the setup.
By confirming the compatibility between your Sony soundbar and TV, you can proceed with confidence to the next step of connecting them together.
Step 2: Connect the soundbar to the TV using HDMI ARC
Once you have confirmed the compatibility between your Sony soundbar and TV, the next step is to connect them using HDMI ARC (Audio Return Channel). HDMI ARC simplifies the setup process by allowing audio signals to be transmitted from the TV to the soundbar through a single HDMI cable.
Follow these steps to connect your soundbar to the TV using HDMI ARC:
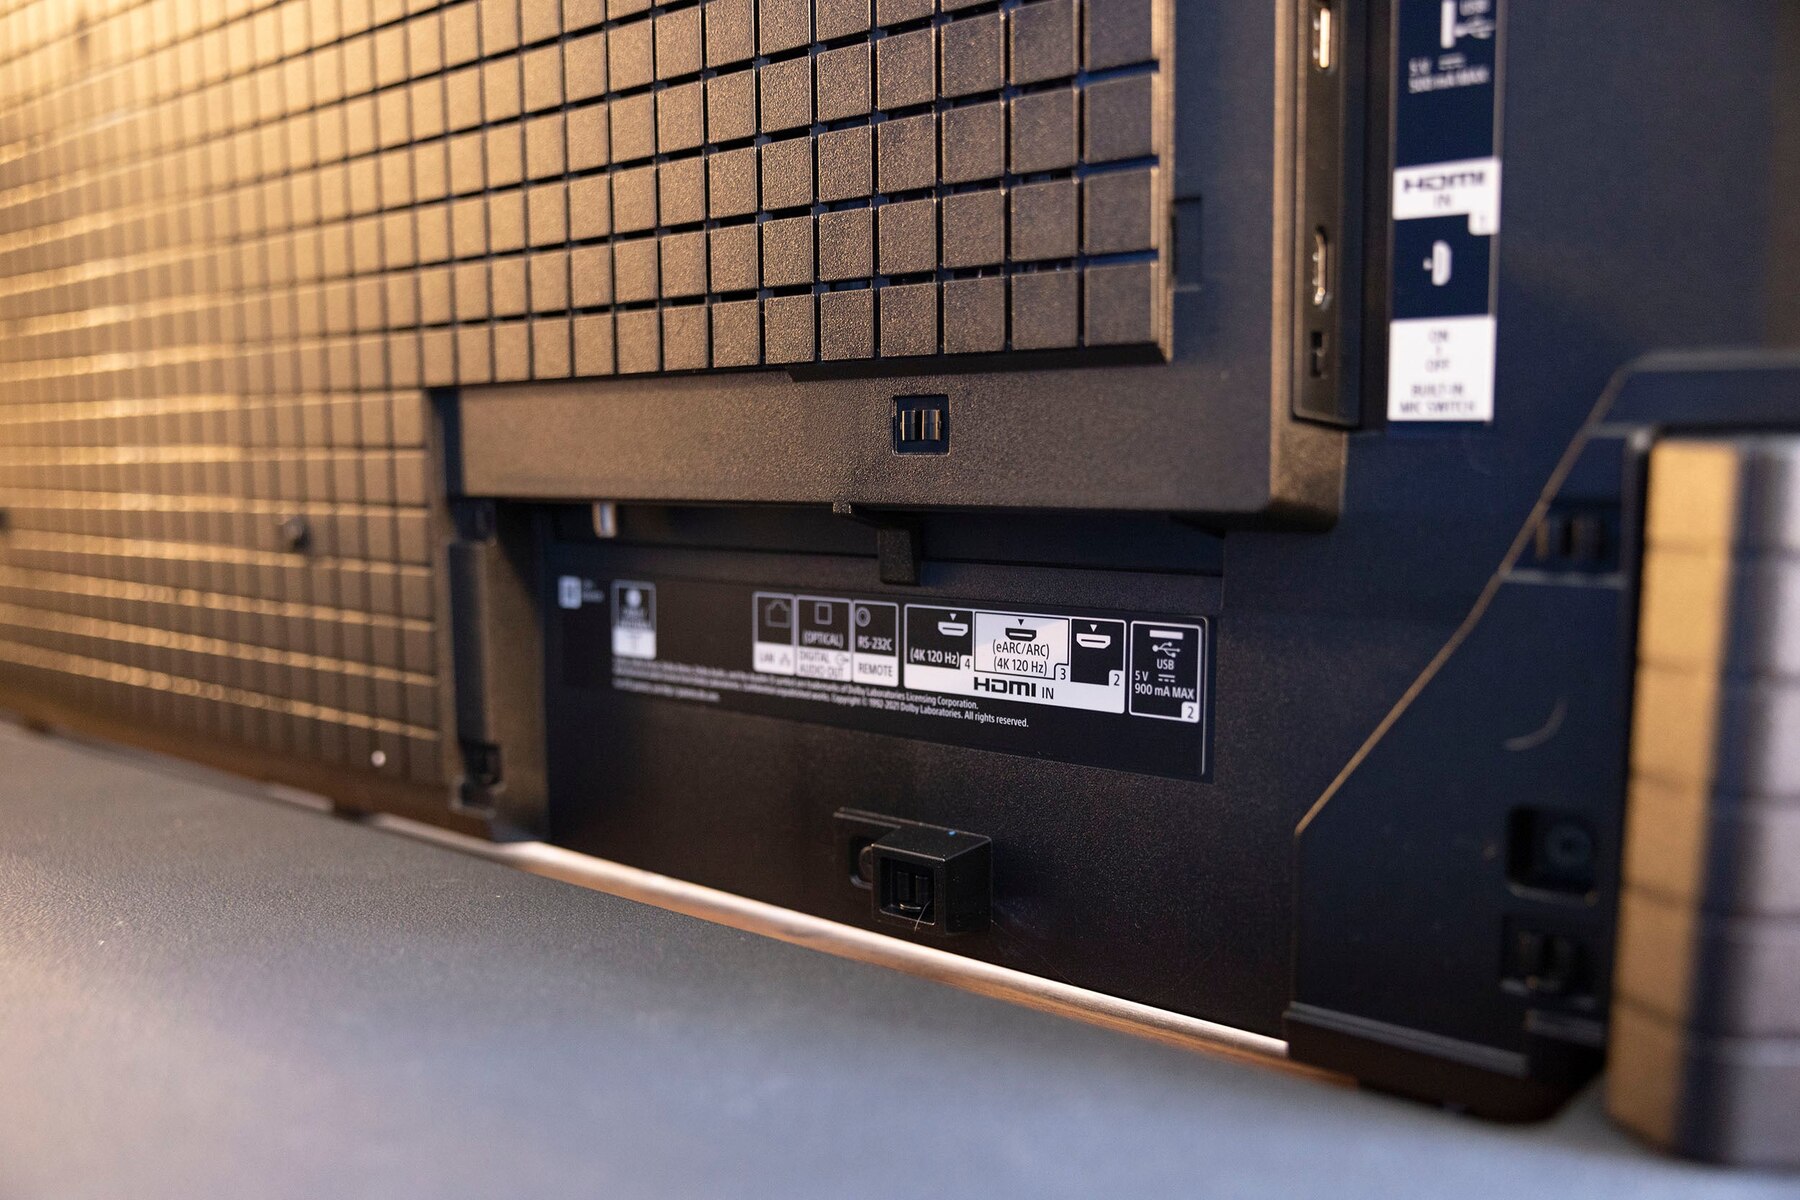
- Locate the HDMI ARC port on both your soundbar and TV. These ports are usually labeled “HDMI ARC” or “ARC.” They are specifically designed for this type of connection.
- Connect one end of the HDMI cable to the HDMI ARC port on the soundbar and the other end to the HDMI ARC port on the TV.
- Ensure that the HDMI cable is securely plugged in. A loose connection may result in audio or connection issues.
- Power on both the soundbar and the TV. It’s important to note that the power sequence can vary depending on the specific models. Refer to the user manuals for precise instructions.
- Once the connection is established, select the HDMI ARC input on your TV. This can usually be done by using the “Input,” “Source,” or “HDMI” button on your TV remote.
- Configure the audio settings on your TV to route the audio output to the soundbar. This step may differ depending on your TV model. Refer to the TV’s user manual for specific instructions.
Once you have completed these steps, the soundbar should be successfully connected to the TV using HDMI ARC. The soundbar will receive the audio signals from the TV, allowing you to enjoy enhanced sound quality for your TV viewing experience.
If you encounter any issues during the setup process, double-check the connections and consult the user manuals of your soundbar and TV for troubleshooting tips and specific instructions.
Step 3: Enable HDMI ARC on your TV
After connecting your Sony soundbar to your TV using HDMI ARC, you need to enable the HDMI ARC feature on your TV. This step allows the TV to send audio signals to the soundbar through the HDMI cable, providing a seamless audio experience.
Here are the steps to enable HDMI ARC on your TV:
- Turn on your TV and navigate to the settings menu. The location and appearance of the settings menu may vary depending on your TV brand and model.
- Look for the “Sound” or “Audio” settings and enter this menu.
- Within the sound settings, locate the option for “HDMI ARC” or “Audio Output.” This option enables the TV to send audio signals to the connected soundbar.
- Select the “HDMI ARC” or “Audio Output” option and enable it. This step may involve toggling a switch or selecting the ARC option from a list of available audio outputs.
- Once you have enabled HDMI ARC, make sure to save the settings. The TV will now be configured to send audio signals to the soundbar through the HDMI connection.
- Verify the audio output by playing content on your TV. The audio should now be transmitted to the soundbar, providing an enhanced audio experience.
It’s important to note that the steps to enable HDMI ARC may vary depending on your specific TV model. If you have trouble finding the HDMI ARC settings or encounter any issues during the process, refer to your TV’s user manual or contact the manufacturer’s support for assistance.
Once you have successfully enabled HDMI ARC on your TV, you are one step closer to enjoying immersive audio from your Sony soundbar.
Step 4: Turn on the soundbar
Now that you have connected your Sony soundbar to your TV and enabled HDMI ARC, the next step is to turn on the soundbar. This will allow the soundbar to receive audio signals from the TV and provide you with enhanced sound quality.
Here’s how you can turn on the soundbar:
- Ensure that the soundbar is connected to a power source. Plug in the power cable to a wall outlet or power strip.
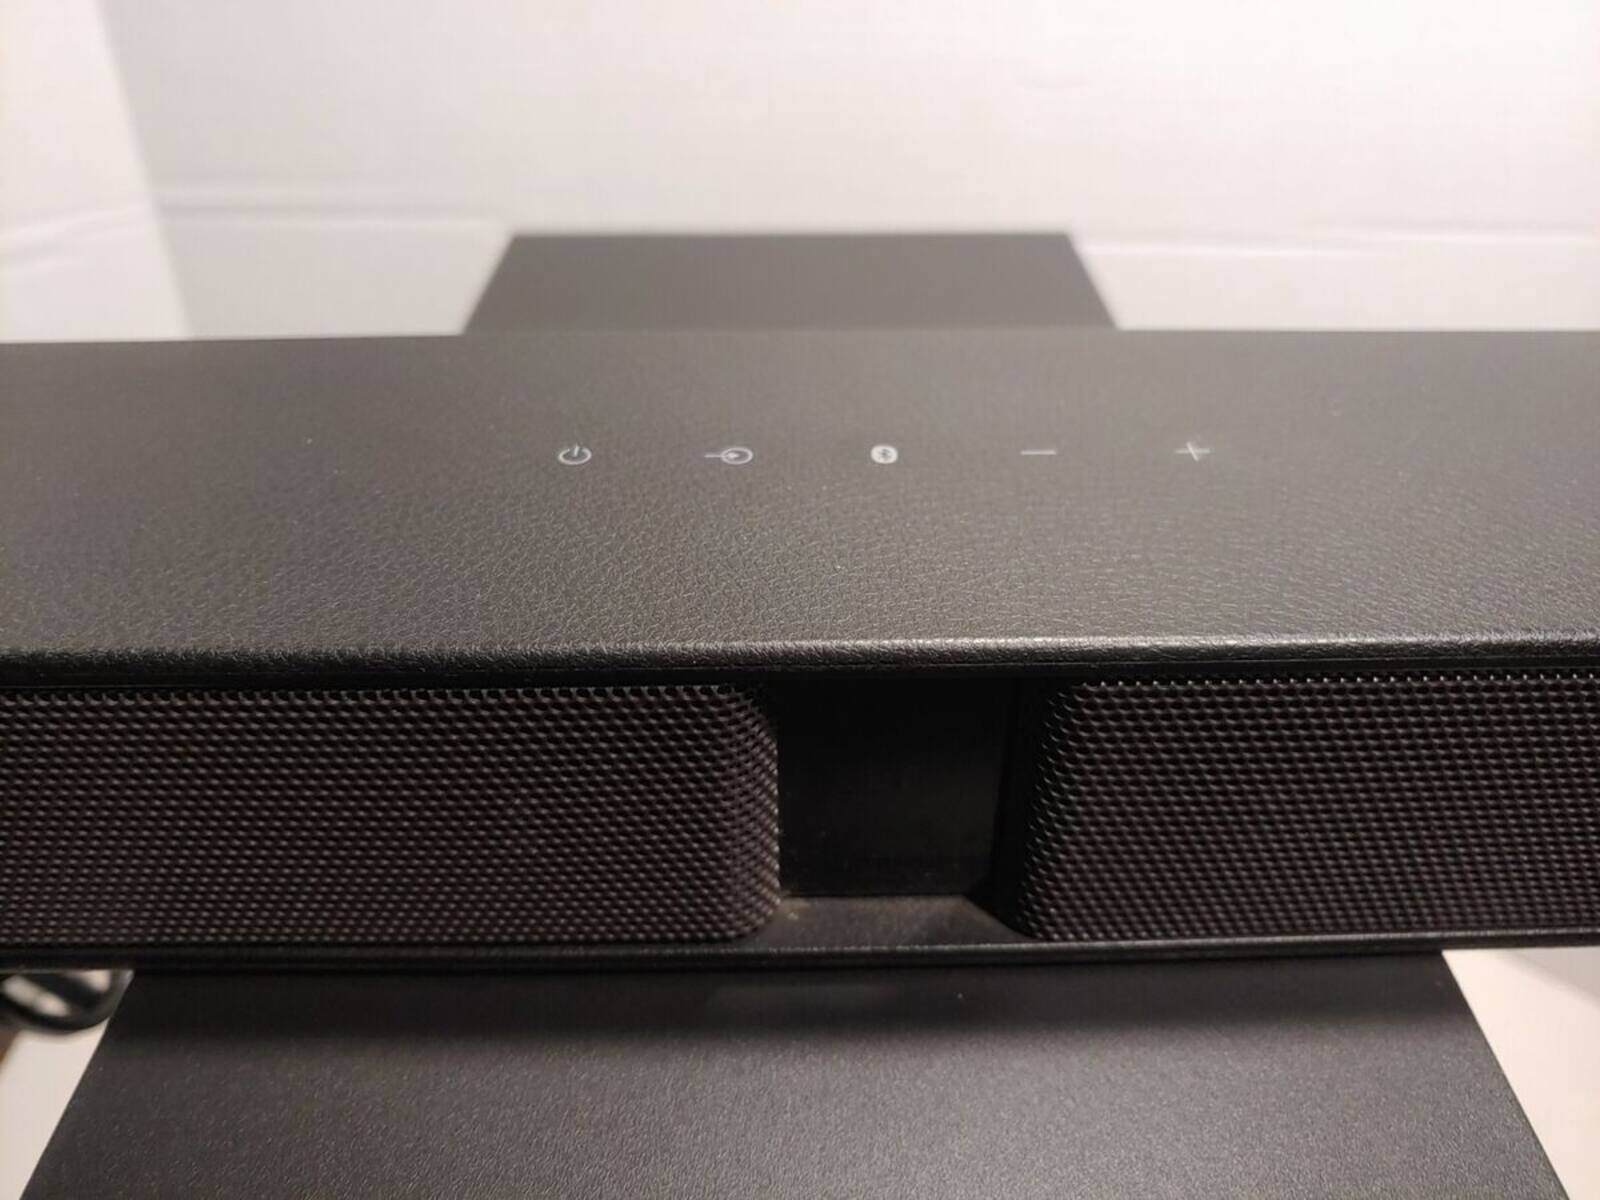
- Locate the power button on the soundbar. Depending on the model, this button may be physical or touch-sensitive.
- Press the power button to turn on the soundbar. Some soundbars may have an indicator light that turns on when it’s powered on.
- Verify that the soundbar is turned on by checking for any visual cues, such as lights or display indicators.
Once your soundbar is powered on, it will start receiving audio signals from the TV through the HDMI ARC connection. You should now be able to hear the audio through the soundbar, enhancing your overall TV viewing experience.
If you encounter any issues while turning on the soundbar, ensure that the power cable is securely connected and that the power source is functioning properly. Additionally, refer to the soundbar’s user manual for specific instructions and troubleshooting tips.
With the soundbar turned on, you are ready to adjust the settings and fine-tune the audio to your preferences in the next step.
Step 5: Adjust soundbar settings
After turning on your Sony soundbar, it’s important to adjust the settings to optimize the audio performance according to your preferences. These settings allow you to customize the sound output and tailor it to your specific needs.
Here are some essential soundbar settings you may consider adjusting:
- Sound Mode: Most Sony soundbars offer different sound modes, such as Standard, Cinema, Music, or Sports. Experiment with these modes to find the one that suits your content and enhances your listening experience.
- Volume Levels: Adjust the volume levels of the soundbar to your desired level. You can usually control the volume using the soundbar’s remote control or the TV’s remote if they are linked.
- Bass and Treble: If your soundbar has bass and treble controls, fine-tune these settings to achieve a well-balanced audio output. Increase the bass for a more immersive experience or adjust the treble to enhance the clarity of dialogues and vocals.
- Virtual Surround: Some soundbars feature a virtual surround sound mode, which creates a wider soundstage and simulates a surround sound experience. Enable this setting if you want a more expansive audio presentation.
- Equalizer (EQ) Settings: Advanced soundbars may provide an EQ or preset EQ options for more precise audio customization. Use these settings to adjust the sound frequencies based on your personal preferences.
- Additional Features: Explore other features available on your soundbar, such as voice control, Bluetooth connectivity, or built-in streaming services. Familiarize yourself with these features to fully utilize your soundbar’s capabilities.
It’s important to note that the specific settings and options may vary based on your soundbar model. Refer to the soundbar’s user manual for detailed instructions on adjusting the settings and making the most of the available features.
Take your time to experiment and find the settings that best suit your taste and the type of content you are watching. By customizing the soundbar settings to your preferences, you can enhance your audio experience and enjoy immersive sound quality.
Step 6: Test the soundbar with your TV
After connecting and adjusting the settings of your Sony soundbar, the final step is to test the soundbar with your TV to ensure everything is working correctly. This step allows you to confirm that the audio is being transmitted from the TV to the soundbar and that the sound quality meets your expectations.
Here’s how you can test the soundbar with your TV:
- Select a piece of content to play on your TV. It can be a movie, TV show, or even a music video that allows you to evaluate different types of sound.
- Turn up the volume on the TV and soundbar to a comfortable level. Ensure that the soundbar is receiving the audio signals and that the TV speakers are muted.
- Listen to the audio output from the soundbar. Pay attention to the clarity, depth, and overall sound quality. Assess whether the sound is immersive, vocals are clear, and the bass response is balanced.
- Test different sound modes, if available, to find the one that enhances your chosen content. Switch between modes like Standard, Cinema, or Music, and observe how they impact the audio experience.
- Try adjusting the soundbar settings such as bass, treble, or surround effects to fine-tune the audio according to your preferences.
- Move around the room to assess if the soundbar provides consistent audio quality from different positions. Note any changes in sound perception as you change your location.
- Listen for any distortions, buzzing, or audio inconsistencies. If you notice any issues, double-check the connections and settings, and refer to the soundbar’s user manual for troubleshooting guidance.
By testing the soundbar with different content and settings, you can ensure that the audio is crisp, immersive, and enhances your overall TV viewing experience.
If you are satisfied with the soundbar’s performance, congratulations! You have successfully paired your Sony soundbar to your TV, and you can now enjoy improved sound quality for all your favorite shows, movies, and music.
If you encounter any issues or are not satisfied with the soundbar’s performance, refer to the troubleshooting tips in the user manual or reach out to Sony’s customer support for further assistance.
Conclusion
Pairing a Sony soundbar to your TV is a simple and effective way to enhance your audio experience while watching movies, TV shows, and even listening to music. By following the steps outlined in this guide, you can easily connect your soundbar to your TV and enjoy immersive sound quality.
We started by checking the compatibility between your Sony soundbar and TV, ensuring that they have compatible connection options such as HDMI ARC or optical connection. Then, we connected the soundbar to the TV using HDMI ARC, enabling two-way audio communication between the devices.
Next, we enabled HDMI ARC on your TV, allowing it to send audio signals to the soundbar. We also walked through the process of turning on the soundbar and adjusting its settings, including sound modes, volume levels, and EQ settings, to personalize your audio experience.
Finally, we tested the soundbar with your TV by playing different types of content, evaluating sound quality, and making any necessary adjustments. This step ensures that the soundbar is functioning properly and meeting your expectations.
Now that you have successfully paired your Sony soundbar to your TV and tested its performance, you can sit back and enjoy a more immersive audio experience with enhanced sound quality. Whether you’re watching action-packed movies, thrilling sports events, or your favorite TV shows, the soundbar will elevate your entertainment experience to new heights.
Remember, if you encounter any issues during the setup process or have any questions specific to your Sony soundbar or TV model, consult the user manuals or reach out to the manufacturer’s support for assistance.
Enjoy your enhanced audio experience with your Sony soundbar and immerse yourself in the world of immersive sound!