Introduction
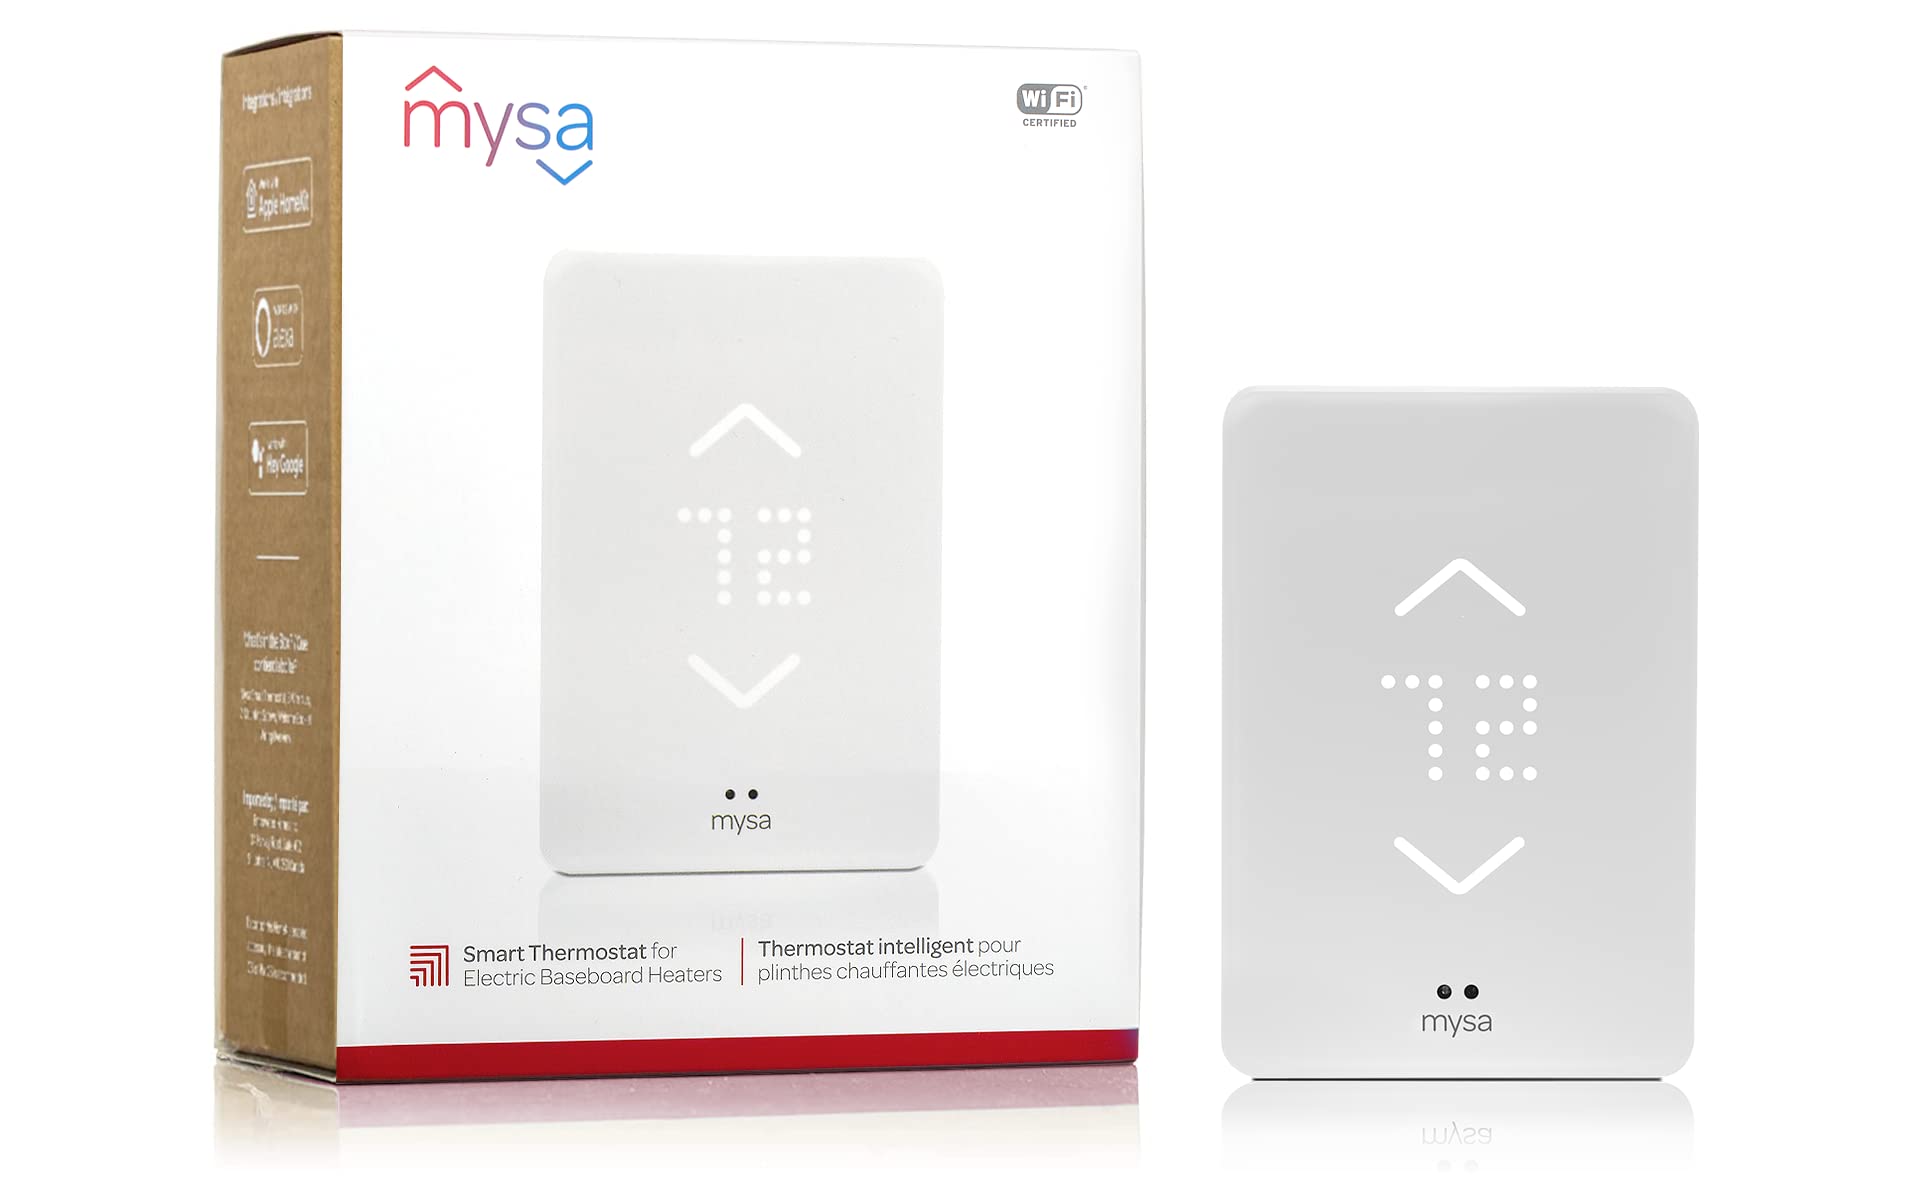
If you’re looking to upgrade your home’s thermostat to a smart one, the Mysa Smart Thermostat is an excellent choice. With its sleek design and advanced features, it offers convenience, energy savings, and control right at your fingertips. Whether you’re a tech enthusiast or simply want to make your home more efficient, installing the Mysa Smart Thermostat is a straightforward process that you can easily do yourself.
In this guide, we will walk you through the step-by-step process of installing the Mysa Smart Thermostat. Before we get started, it’s important to note that safety should be your top priority when working with electrical systems. Make sure to turn off the power to your thermostat before beginning the installation.
Upgrading to a smart thermostat has several benefits. Firstly, it allows you to control the temperature of your home remotely through your smartphone or tablet. This means you can adjust the temperature, set schedules, and even monitor energy usage even when you’re away from home. Secondly, the Mysa Smart Thermostat is designed to be energy-efficient, helping you save on your energy bills without sacrificing comfort. It uses advanced algorithms to optimize heating and cooling cycles and can even learn your preferences over time, further enhancing efficiency.
In addition to its smart capabilities, the Mysa Smart Thermostat also boasts an attractive design. Its minimalist look and customizable display make it a great addition to any home decor. Plus, it’s easy to install, thanks to the step-by-step instructions provided in this guide.
In the following sections, we will cover the requirements for installation, as well as the step-by-step process of installing the Mysa Smart Thermostat. So, let’s get started!
Requirements
Before you begin the installation process, gather the necessary tools and make sure you meet the requirements listed below:
- The Mysa Smart Thermostat (make sure you have the correct model for your heating system)
- A Phillips head screwdriver
- A voltage meter or electrical tester
- Access to your home’s electrical panel
- A stable Wi-Fi connection
- A smartphone or tablet with the Mysa app installed
It’s essential to choose the right model of the Mysa Smart Thermostat for your heating system. Mysa offers different models for electric baseboard heaters, electric in-floor heating, and line voltage heating systems, so make sure you select the one that is compatible with your setup.
Ensure that you have a Phillips head screwdriver on hand, as you will need it to remove the existing thermostat and install the Mysa base plate. Additionally, it’s helpful to have a voltage meter or electrical tester to ensure the power is off during the installation process.
Having access to your home’s electrical panel is crucial, as you may need to turn off the power to your thermostat before beginning the installation. If you’re unsure how to do this or uncomfortable working with electrical systems, it’s advisable to consult a qualified electrician.
A stable Wi-Fi connection is necessary for the Mysa Smart Thermostat to connect and communicate with your smartphone or tablet. Make sure your Wi-Fi network is up and running before proceeding with the installation.
Lastly, ensure that you have a compatible device, such as a smartphone or tablet, with the Mysa app installed. This allows you to control and manage your thermostat settings remotely.
Once you have gathered all the necessary tools and meet the requirements, you’re ready to start the installation process. The following sections will guide you through each step of the process, ensuring a successful installation of the Mysa Smart Thermostat.
Step 1: Turn off the power
Prior to beginning any work, it is crucial to ensure your safety by turning off the power to your thermostat. This will prevent any electrical accidents or mishaps during the installation process.
To turn off the power, locate your home’s electrical panel or circuit breaker box. Open the panel door, and you will see rows of switches or breakers. Look for the one that controls the power to your thermostat and flip it to the “off” position.
It’s important to note that the labeling on the electrical panel may not specifically mention the thermostat. In this case, you can refer to the circuit diagram or consult the manufacturer’s manual to identify the correct switch or breaker.
Once you’ve turned off the power, it’s a good idea to double-check by using a voltage meter or electrical tester. Carefully place the probes of the meter or tester on the wires connected to the thermostat. If there is no voltage detected, you can proceed with the installation process safely.
Remember, safety should always be your top priority. If you are uncertain about working with electrical systems or uncomfortable turning off the power yourself, it’s advisable to seek the assistance of a qualified electrician to ensure a safe and successful installation.
With the power turned off and verified, you’re ready to move on to the next step – removing the old thermostat.
Step 2: Remove the old thermostat
Now that you have turned off the power, it’s time to remove the old thermostat. Follow the steps below to safely remove it:
- Remove the thermostat cover: Gently pull or pry off the cover of the thermostat to expose the wiring and mounting screws. Be careful not to damage the wires as you remove the cover.
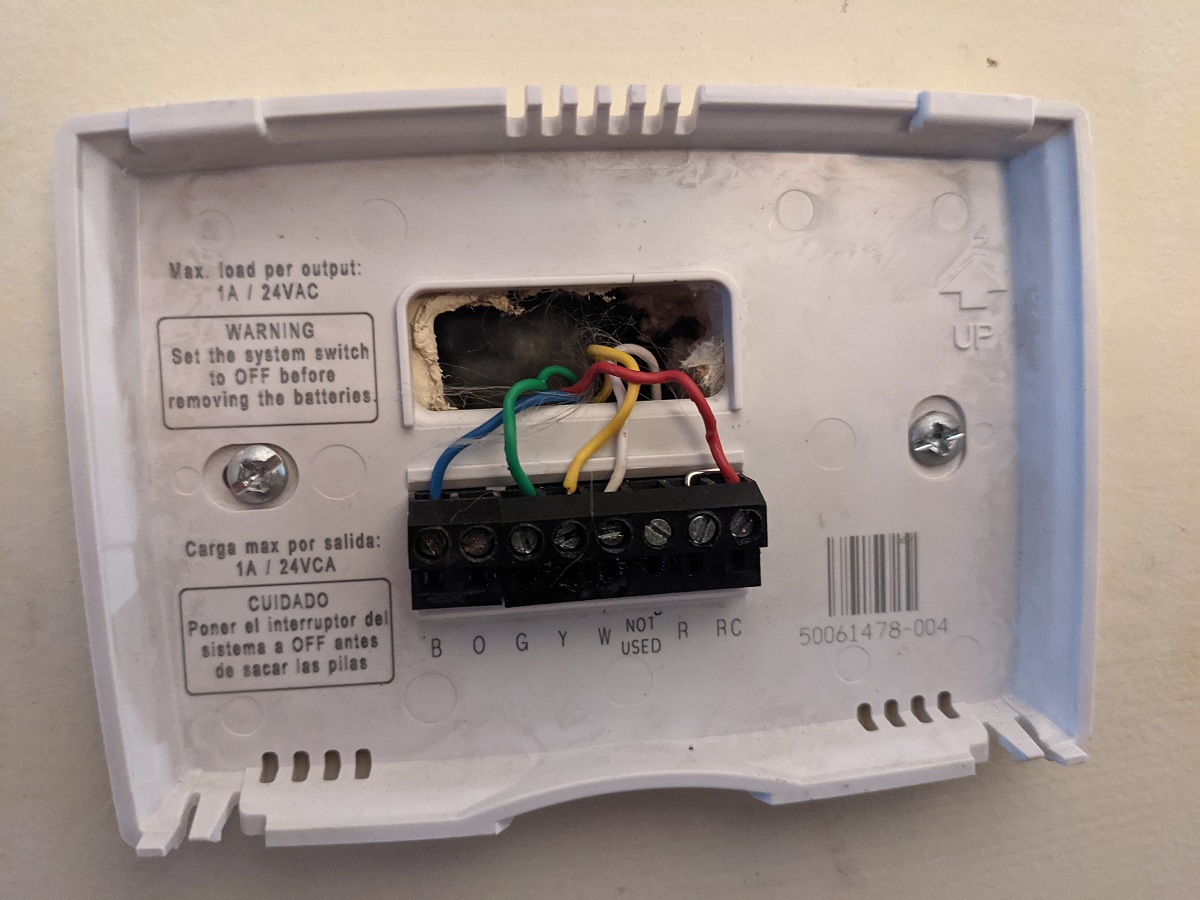
- Take a photo or make a note of the wiring: Before disconnecting any wires, it’s crucial to document their positions. Take a photo of the wiring or make a note of the labels and their corresponding terminals. This will be helpful when connecting the wires to the new Mysa Smart Thermostat.
- Disconnect the wires: Using a screwdriver or pliers, carefully unscrew the terminal screws that hold the wires in place. Once the screws are loosened, gently pull the wires out from their respective terminals. Take care not to let the wires slip back into the wall.
- Remove the mounting plate: After removing the wires, unscrew the mounting plate from the wall. Depending on the type of thermostat, you may need to unscrew the plate or release it from the mounting bracket.
- Check for additional wires: Some thermostats may have additional wires, such as a C-wire or common wire, which is used to provide continuous power to the thermostat. If your old thermostat has a C-wire, you may need to follow additional steps to properly connect it to the Mysa Smart Thermostat.
Once you have successfully removed the old thermostat and disconnected the wires, you can proceed to the next step of checking compatibility with the Mysa Smart Thermostat.
Step 3: Check compatibility
Before installing the Mysa Smart Thermostat, it’s important to check its compatibility with your heating system. While the Mysa Smart Thermostat is compatible with a wide range of heating systems, it’s always a good idea to verify that it will work seamlessly with your setup.
To check the compatibility, you can follow these steps:
- Refer to the Mysa compatibility list: Visit the Mysa website or consult the product documentation to access the compatibility list. This list outlines the compatible heating systems, such as electric baseboard heaters or electric in-floor heating. Make sure your heating system is listed.
- Check voltage requirements: Verify that your heating system meets the voltage requirements specified for the Mysa Smart Thermostat. The Mysa thermostat is designed to work with specific voltage ranges, so ensure that your system falls within this range to ensure proper functionality and safety.
- Consider additional requirements: In some cases, the Mysa Smart Thermostat may require a common wire (C-wire) for proper power supply and operation. Check if your heating system has a C-wire available and ensure it is compatible with the Mysa requirements. If you don’t have a C-wire, you may need to consult an electrician to install one or explore alternative solutions.
If your heating system meets the compatibility requirements, you’re ready to proceed with the installation of the Mysa Smart Thermostat. However, if you find that your system is not compatible or if you have any doubts, it’s best to contact Mysa customer support for further assistance.
Now that you have checked the compatibility, it’s time to move on to the next step – installing the Mysa base plate.
Step 4: Install the Mysa base plate
Once you have confirmed the compatibility of the Mysa Smart Thermostat with your heating system, it’s time to install the base plate. The base plate serves as the mounting point for the Mysa thermostat, providing a secure and stable foundation.
Follow these steps to install the Mysa base plate:
- Choose the optimal location: Select a suitable location on the wall where the Mysa thermostat will be installed. Ensure it is within reach and easily accessible for controlling the temperature.
- Prepare the wall: Clean the wall surface and remove any dust or debris that may interfere with the adhesive or mounting process. If required, use a stud finder to locate the studs in the wall for added stability.
- Remove the adhesive backing: Peel off the protective backing from the adhesive side of the Mysa base plate. Ensure that the adhesive is exposed and ready for mounting.
- Position and mount the base plate: Carefully align the base plate with the desired location on the wall. Press firmly against the wall to ensure proper adhesion. Apply steady pressure for a few seconds to secure the base plate in place.
- Secure with screws (if necessary): If the Mysa base plate comes with screw holes, use the provided screws to further secure it to the wall. Make sure to use appropriate screws for your wall type (drywall, wood, etc.).
After installation, double-check that the base plate is securely mounted to the wall and positioned correctly. It should be level and flush against the wall surface.
With the Mysa base plate securely installed, you are now ready to move on to the next step – connecting the wires.
Step 5: Connect the wires
With the Mysa base plate securely installed, it’s time to connect the wires from your heating system to the Mysa Smart Thermostat. Follow these steps to ensure a proper and secure connection:
- Refer to your documentation: Retrieve the photo or notes you took earlier of the wiring configuration of your old thermostat. This will help you correctly identify and connect the wires to the Mysa thermostat.
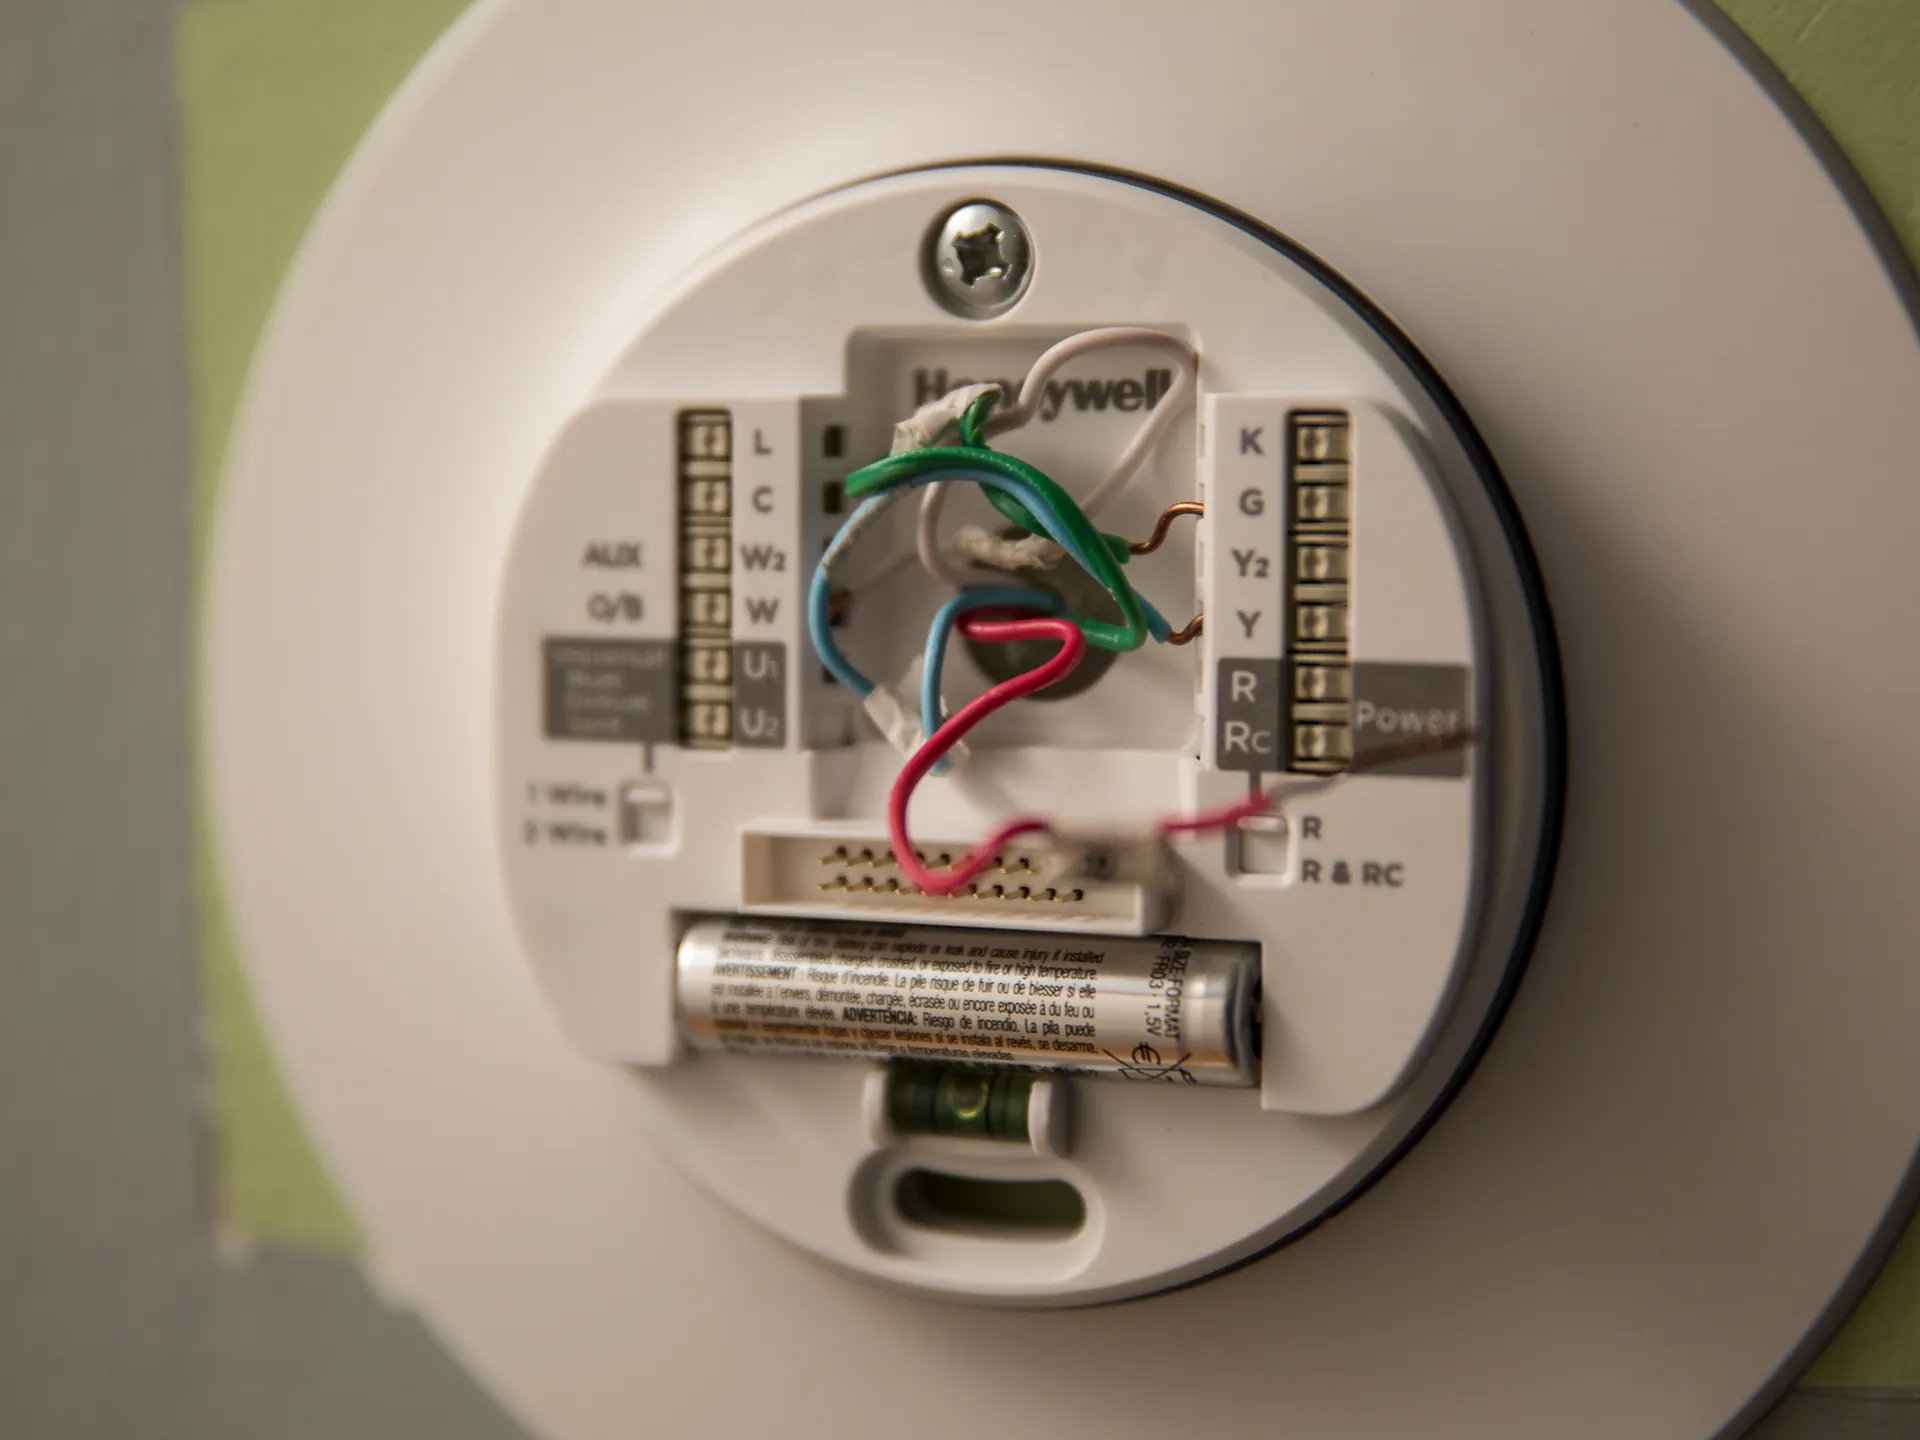
- Identify the wires: Each wire from your heating system will have a specific label, such as R, W, Y, G, or C. Match these labels with the corresponding terminals on the Mysa base plate.
- Loosen the terminal screws: Using a screwdriver, gently loosen the terminal screws on the Mysa base plate. This will allow you to insert the wire ends into the appropriate terminals.
- Connect the wires: Insert each wire into its corresponding terminal on the Mysa base plate, ensuring they are securely fastened. If necessary, trim any excess wire length to prevent interference or tangling.
- Tighten the terminal screws: Once the wires are securely in place, use the screwdriver to tighten the terminal screws. Ensure that the connections are tight but not overly tightened, as this can damage the wires.
Double-check the wiring connections to make sure they match the labels and are securely fastened. If there are any additional wires, such as a C-wire, make sure to connect it to the appropriate terminal as per the manufacturer’s instructions.
Once all the wires are properly connected, you can proceed to the next step – attaching the Mysa cover plate.
Step 6: Attach the Mysa cover plate
With the Mysa Smart Thermostat properly wired and connected, it’s time to attach the cover plate. The cover plate not only adds a finishing touch to the installation but also provides a protective layer for the thermostat.
Follow these steps to attach the Mysa cover plate:
- Align the cover plate: Hold the Mysa cover plate in alignment with the base plate on the wall. Ensure that the screw holes on the cover plate match with the screw holes on the base plate.
- Insert the screws: Insert the provided screws through the screw holes on the cover plate and into the corresponding holes on the base plate. Use a screwdriver to tighten the screws until the cover plate is firmly attached to the base plate.
- Inspect the attachment: Examine the cover plate to make sure it is securely fastened and flush against the base plate. Check for any gaps or misalignment that may affect the appearance or functionality of the Mysa thermostat.
Once the cover plate is securely attached, give it a gentle tug to ensure it is stable and properly affixed. If there is any movement or instability, recheck the screws to make sure they are tightened properly. This will help ensure the longevity and functionality of your Mysa Smart Thermostat.
Now that the Mysa cover plate is in place, you’re almost ready to start using your new smart thermostat. The final step involves turning on the power and testing the Mysa Smart Thermostat.
Step 7: Turn on the power and test
Now that you have successfully installed the Mysa Smart Thermostat and attached the cover plate, it’s time to turn on the power and test its functionality. Follow these steps to ensure everything is working correctly:
- Locate the switch or breaker: Go back to your home’s electrical panel or circuit breaker box and locate the switch or breaker that controls the power to your thermostat.
- Turn on the power: Flip the switch or reset the breaker to the “on” position to restore power to your thermostat.
- Wait for initialization: Give the Mysa Smart Thermostat a few moments to initialize and start up. You may see a welcome screen or indicator lights flashing as it powers up.
- Follow the setup instructions: Once the thermostat is powered up, follow the on-screen or in-app setup instructions provided by Mysa. This usually involves connecting the thermostat to your Wi-Fi network and configuring your desired settings.
- Test the temperature control: After completing the setup process, test the temperature control by adjusting the settings on the Mysa Smart Thermostat. Check if the temperature changes according to your preferences and if the thermostat is accurately responding to your commands.
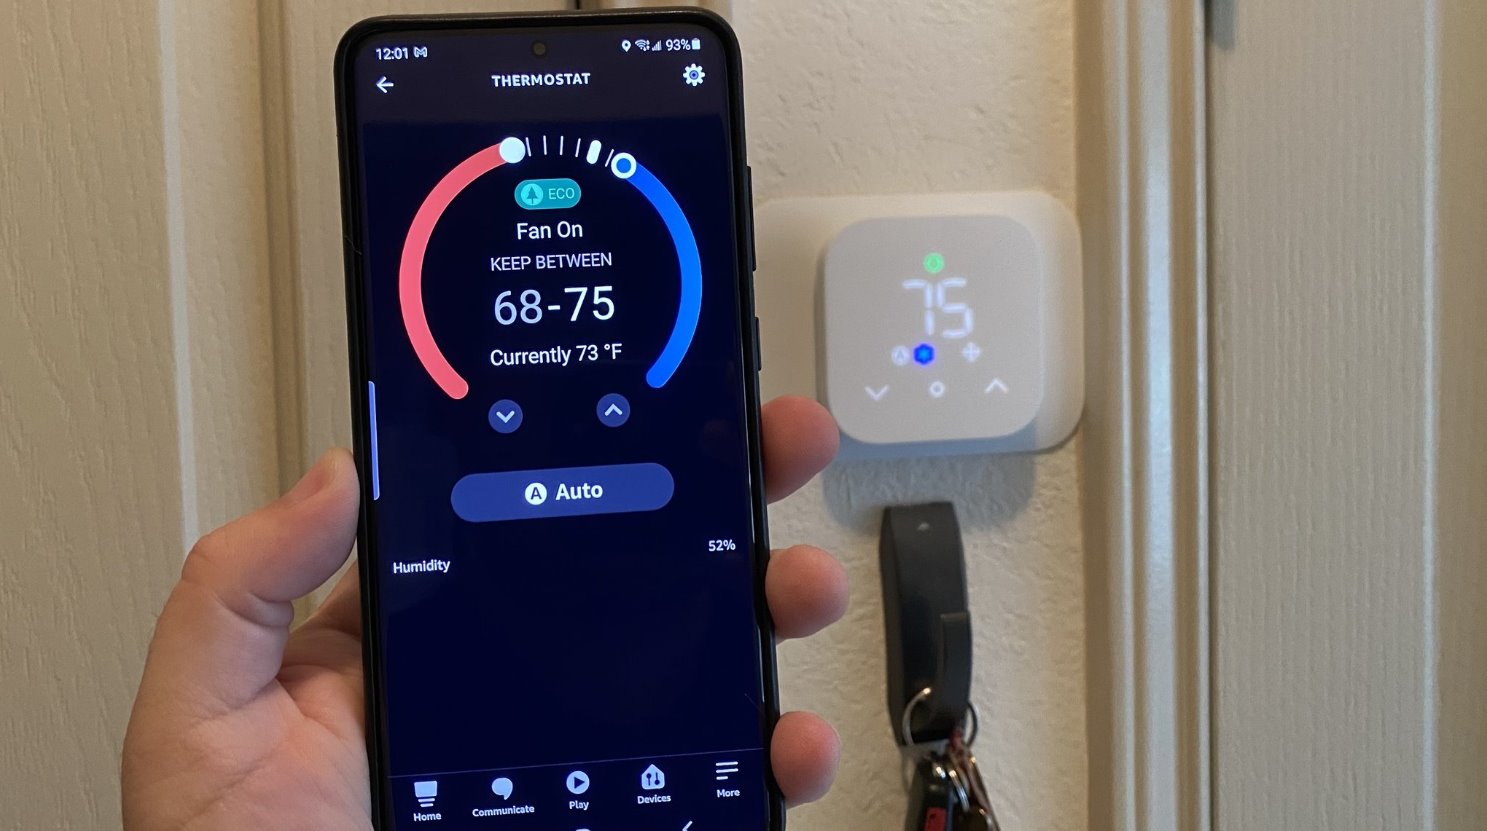
- Monitor the Mysa app: Use the Mysa app on your smartphone or tablet to monitor and control your thermostat remotely. Make sure you can access the app, view temperature readings, set schedules, and make adjustments as needed.
- Verify smart features: If your Mysa Smart Thermostat has additional smart features, such as geofencing or integration with voice assistants, test those functionalities to ensure they are working as expected.
If at any point during the testing process you encounter any issues or have questions, refer to the Mysa user manual or contact their customer support for assistance. They will be able to address any concerns and provide guidance to ensure your Mysa Smart Thermostat is functioning optimally.
Congratulations! You have successfully completed the installation of the Mysa Smart Thermostat and tested its functionality. Enjoy the convenience, energy savings, and control that this smart device brings to your home.
Conclusion
Installing the Mysa Smart Thermostat is a simple and rewarding DIY project that allows you to take control of your home’s heating system. By following the step-by-step guide outlined in this article, you can successfully upgrade to a smart thermostat and enjoy the benefits it brings.
Throughout the installation process, we covered various steps, starting from turning off the power and removing the old thermostat to checking compatibility, installing the Mysa base plate, connecting the wires, attaching the cover plate, and finally turning on the power and testing the thermostat’s functionality.
With the Mysa Smart Thermostat in place, you can now remotely control the temperature of your home, set personalized schedules, and monitor energy usage. Not only does this improve your comfort and convenience, but it also helps in optimizing energy efficiency and reducing your utility bills.
Remember, safety is paramount when working with electrical systems. If you are unsure about any aspect of the installation process, do not hesitate to seek the assistance of a qualified electrician. Additionally, always consult the Mysa user manual and customer support for any specific instructions or troubleshooting.
Enjoy the benefits of the Mysa Smart Thermostat and take advantage of its smart features to create a comfortable and efficient living environment. Get ready to experience the convenience and energy savings that this intuitive device offers.