To install an Amazon Smart Thermostat, you need to verify your system is compatible and then follow a careful wiring process. This guide provides clear, safe, step-by-step instructions to physically install and set up your thermostat, replacing your old one.
Before you install your Amazon smart thermostat: check compatibility
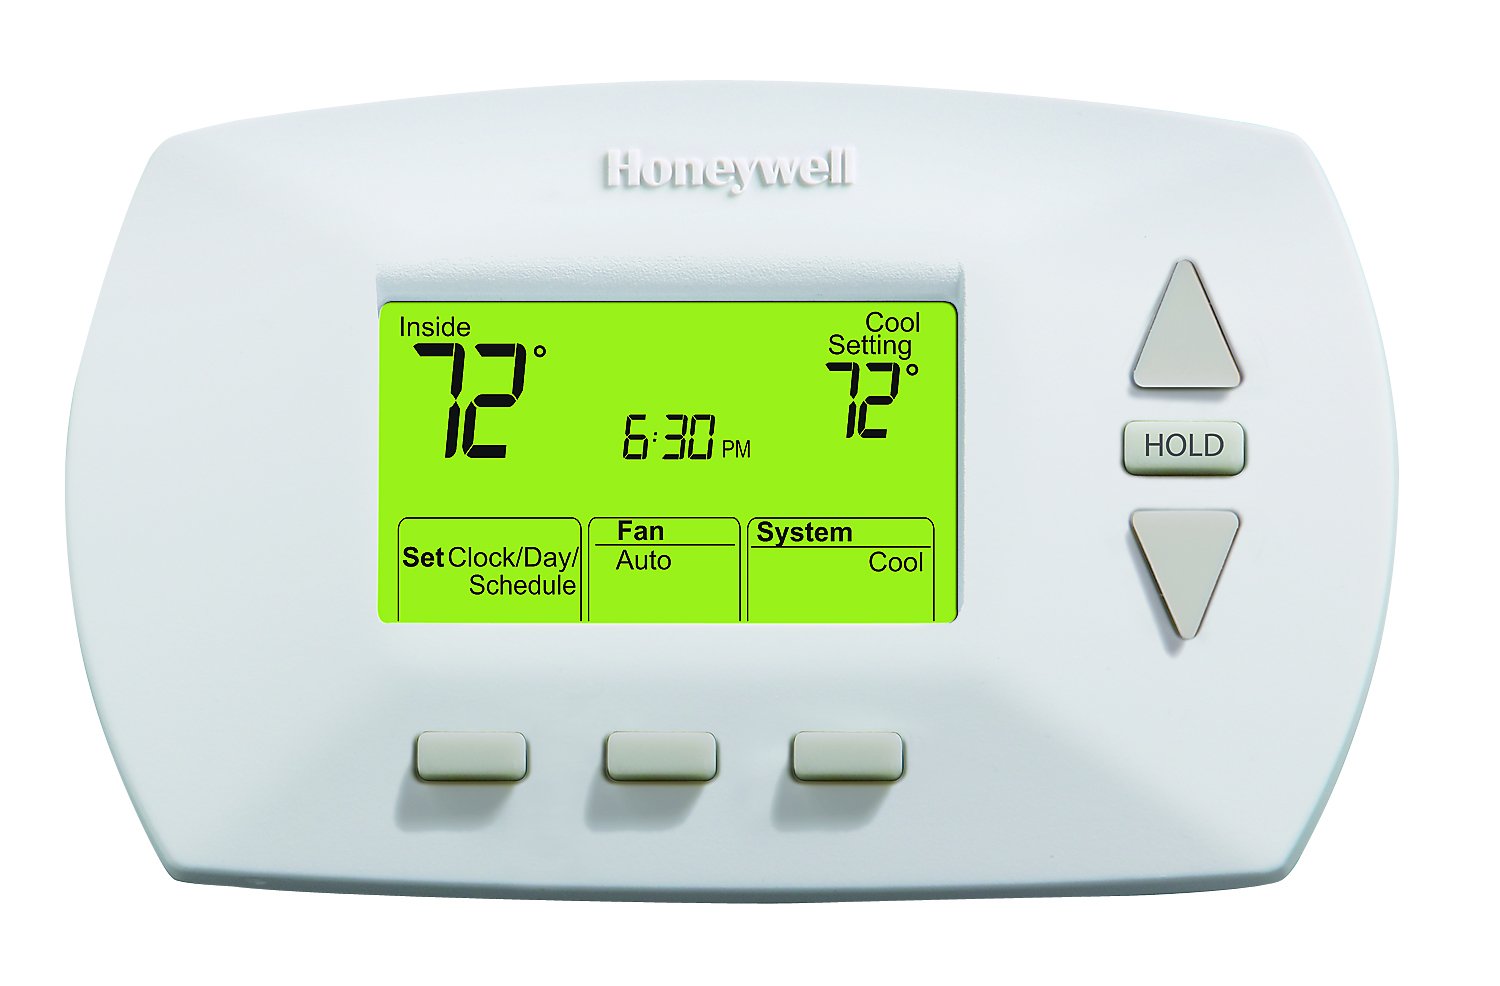
Before you begin, confirm your HVAC system works with the Amazon Smart Thermostat. It is compatible with most 24V heating and cooling systems, including conventional forced-air HVAC and heat pump systems. It is not compatible with 110-240V electric baseboard heating systems or 2-stage/multi-stage HVAC systems. The required AC voltage for the thermostat should be between 18-30 VAC. Crucially, the Amazon Smart Thermostat requires a C-wire (common wire) for power; if your system lacks one, a compatible C-wire adapter is necessary. If you have a different model, you may need to install honeywell smart thermostat hardware, which often includes a C-wire adapter in the box. If you ever need to reset a smart thermostat, the process is typically done through the device's settings menu or by pressing a reset button.
Gather the necessary tools and materials
Having everything ready before you start makes the process smoother. You will need a screwdriver (Phillips or flat head), wire strippers, a voltage tester, electrical tape, a small level, and the included mounting plate from your thermostat package. Depending on your wall type, you may also need a power drill and drywall anchors. If you need a model with more advanced wiring terminals, you might install Sensi smart thermostat instead.
Turn off the power and safely remove your old thermostat
- Always turn off power to your HVAC system at the circuit breaker or fuse box before beginning installation to prevent electric shock or injury. Locate the correct breaker and flip it to the "off" position.
- Confirm the power is off by testing the voltage with a voltage tester against the wires connected to your HVAC system.
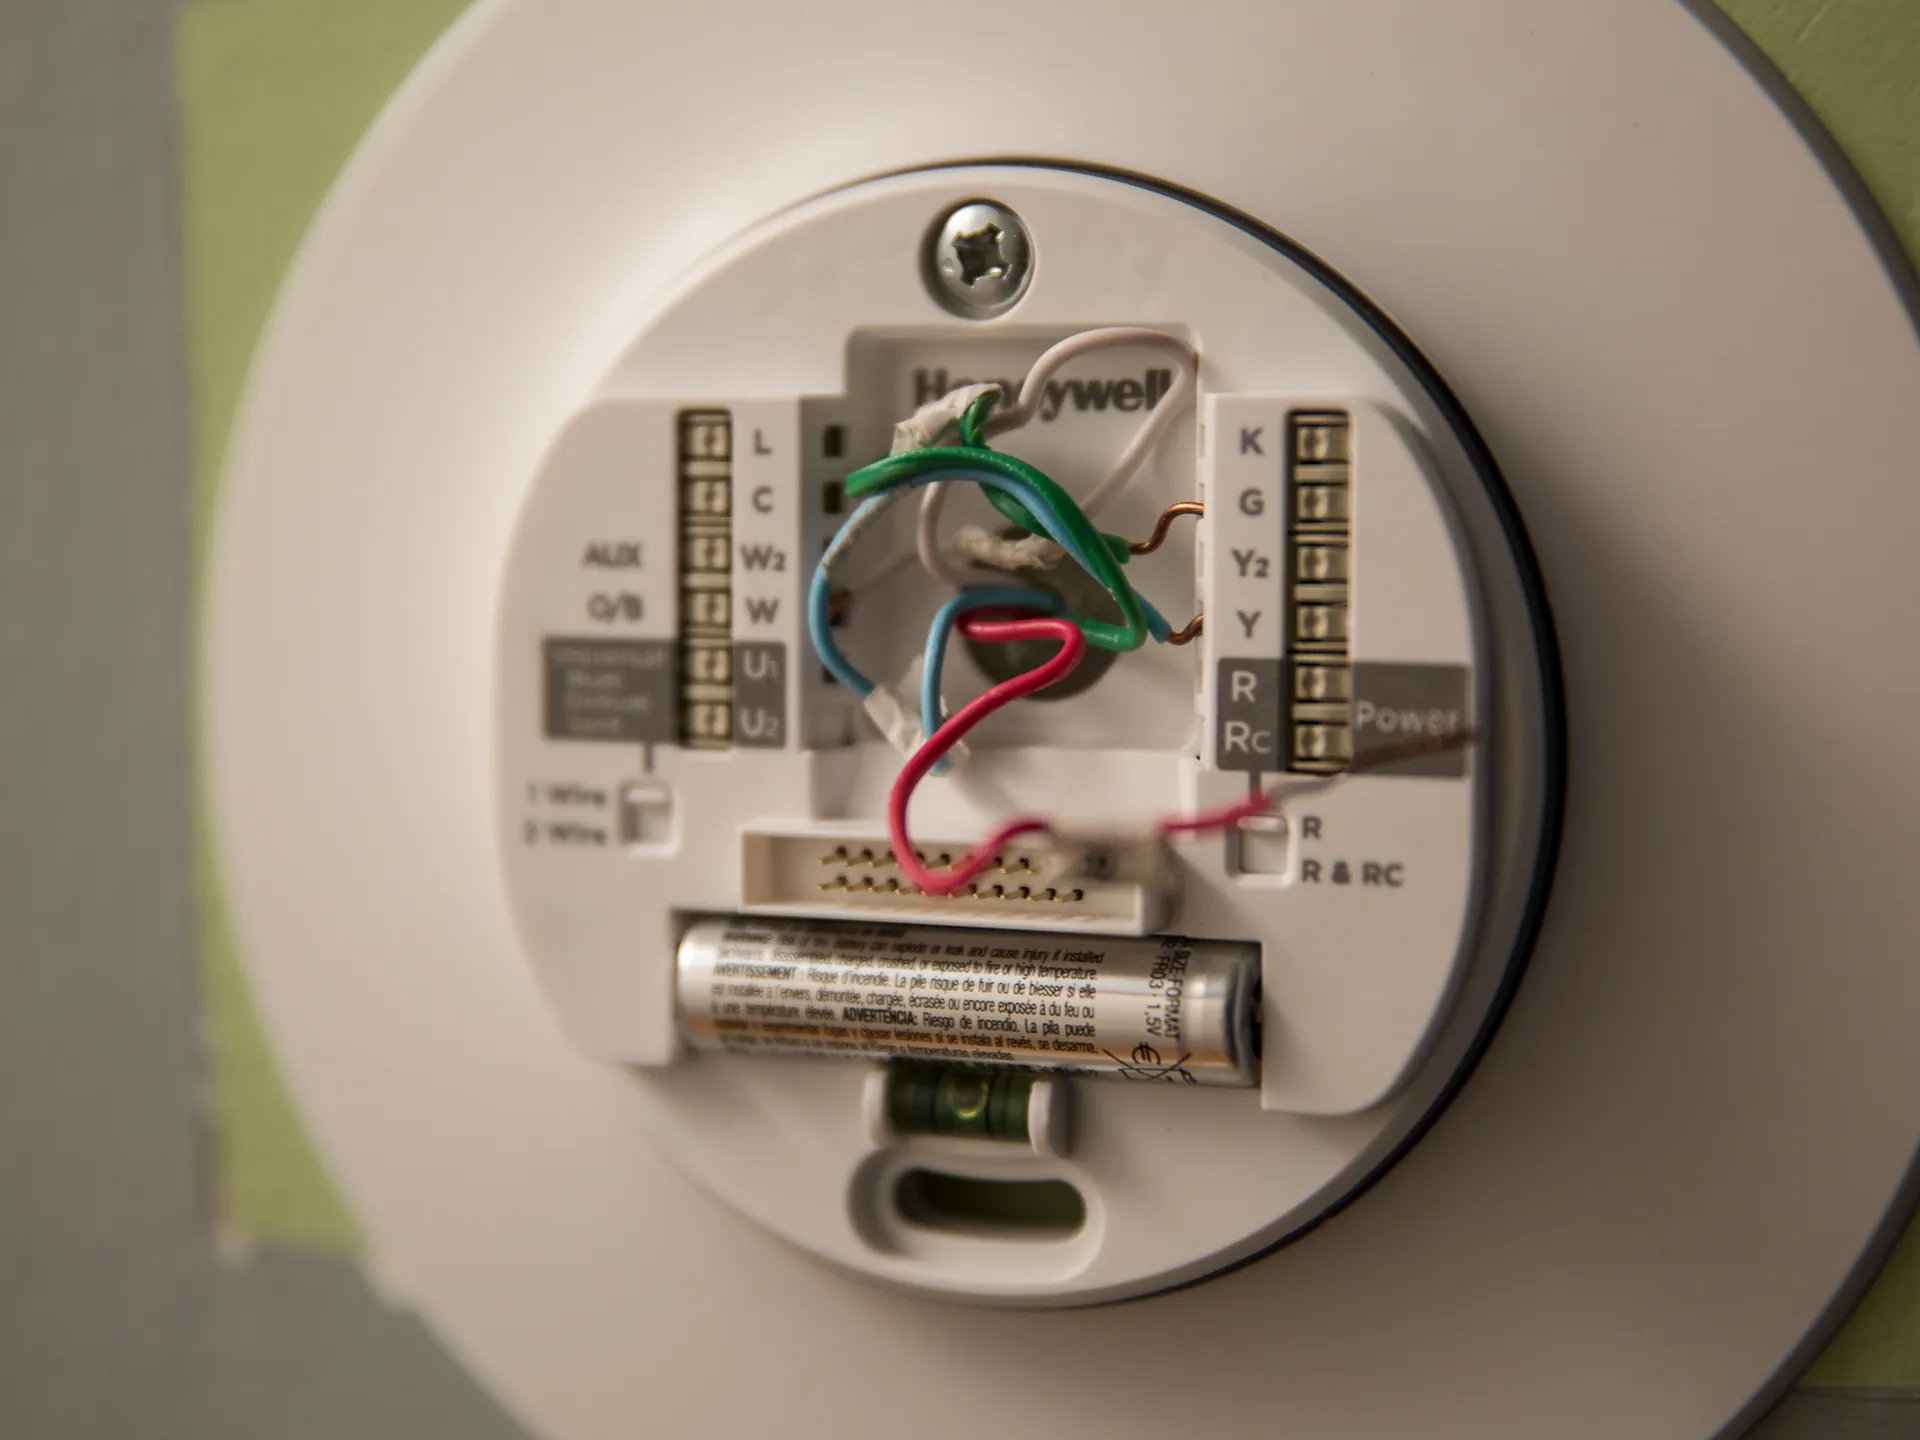
- Before removing your old thermostat, take a picture of its wiring and label each wire with the provided stickers to ensure correct connection to the new thermostat. This photo is your reference for later.
- Carefully remove the faceplate of the old thermostat. Unscrew the terminal screws holding the wires in place, then remove the mounting plate from the wall.
Install the new mounting plate
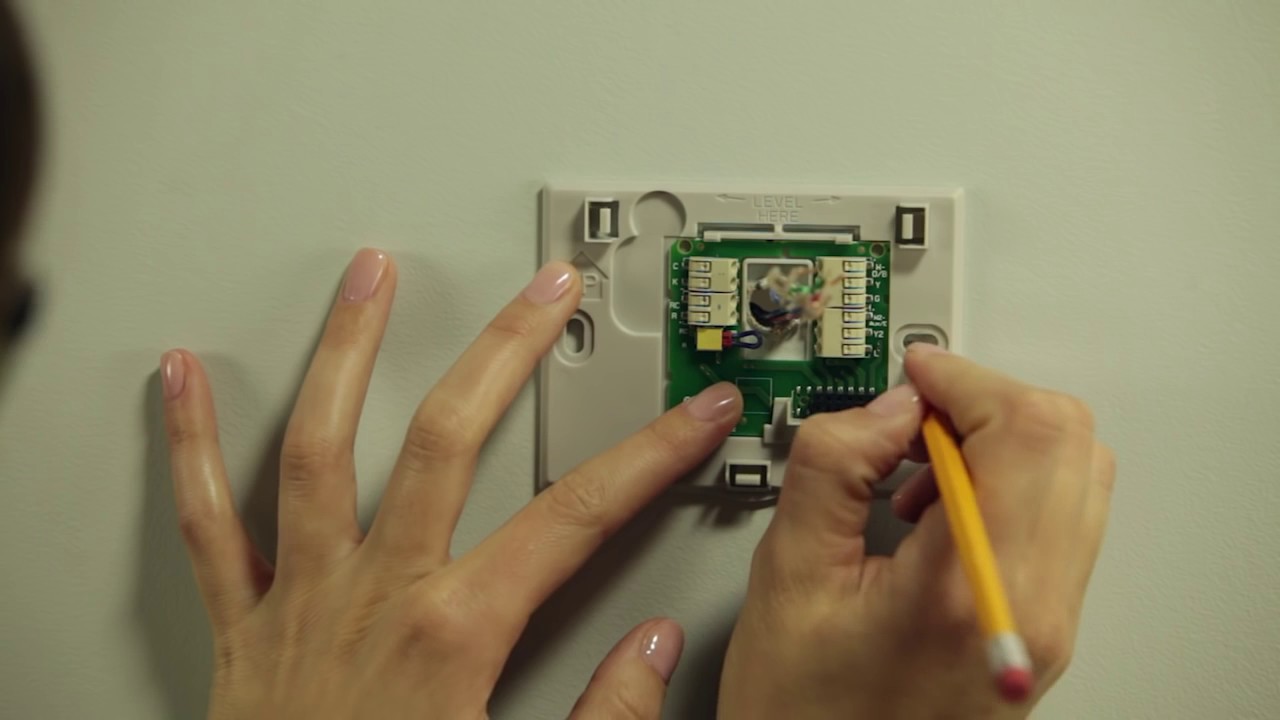
- Position the new mounting plate on the wall where you want the thermostat. Use a small level to ensure it's perfectly straight.
- Mark the mounting hole positions on the wall with a pencil. Set the plate aside.
- If needed, drill pilot holes at the marked positions and insert plastic wall anchors for stability.
- Align the mounting plate with the holes and screw it securely to the wall. Double-check that it remains level.
Connect the wiring to your Amazon smart thermostat
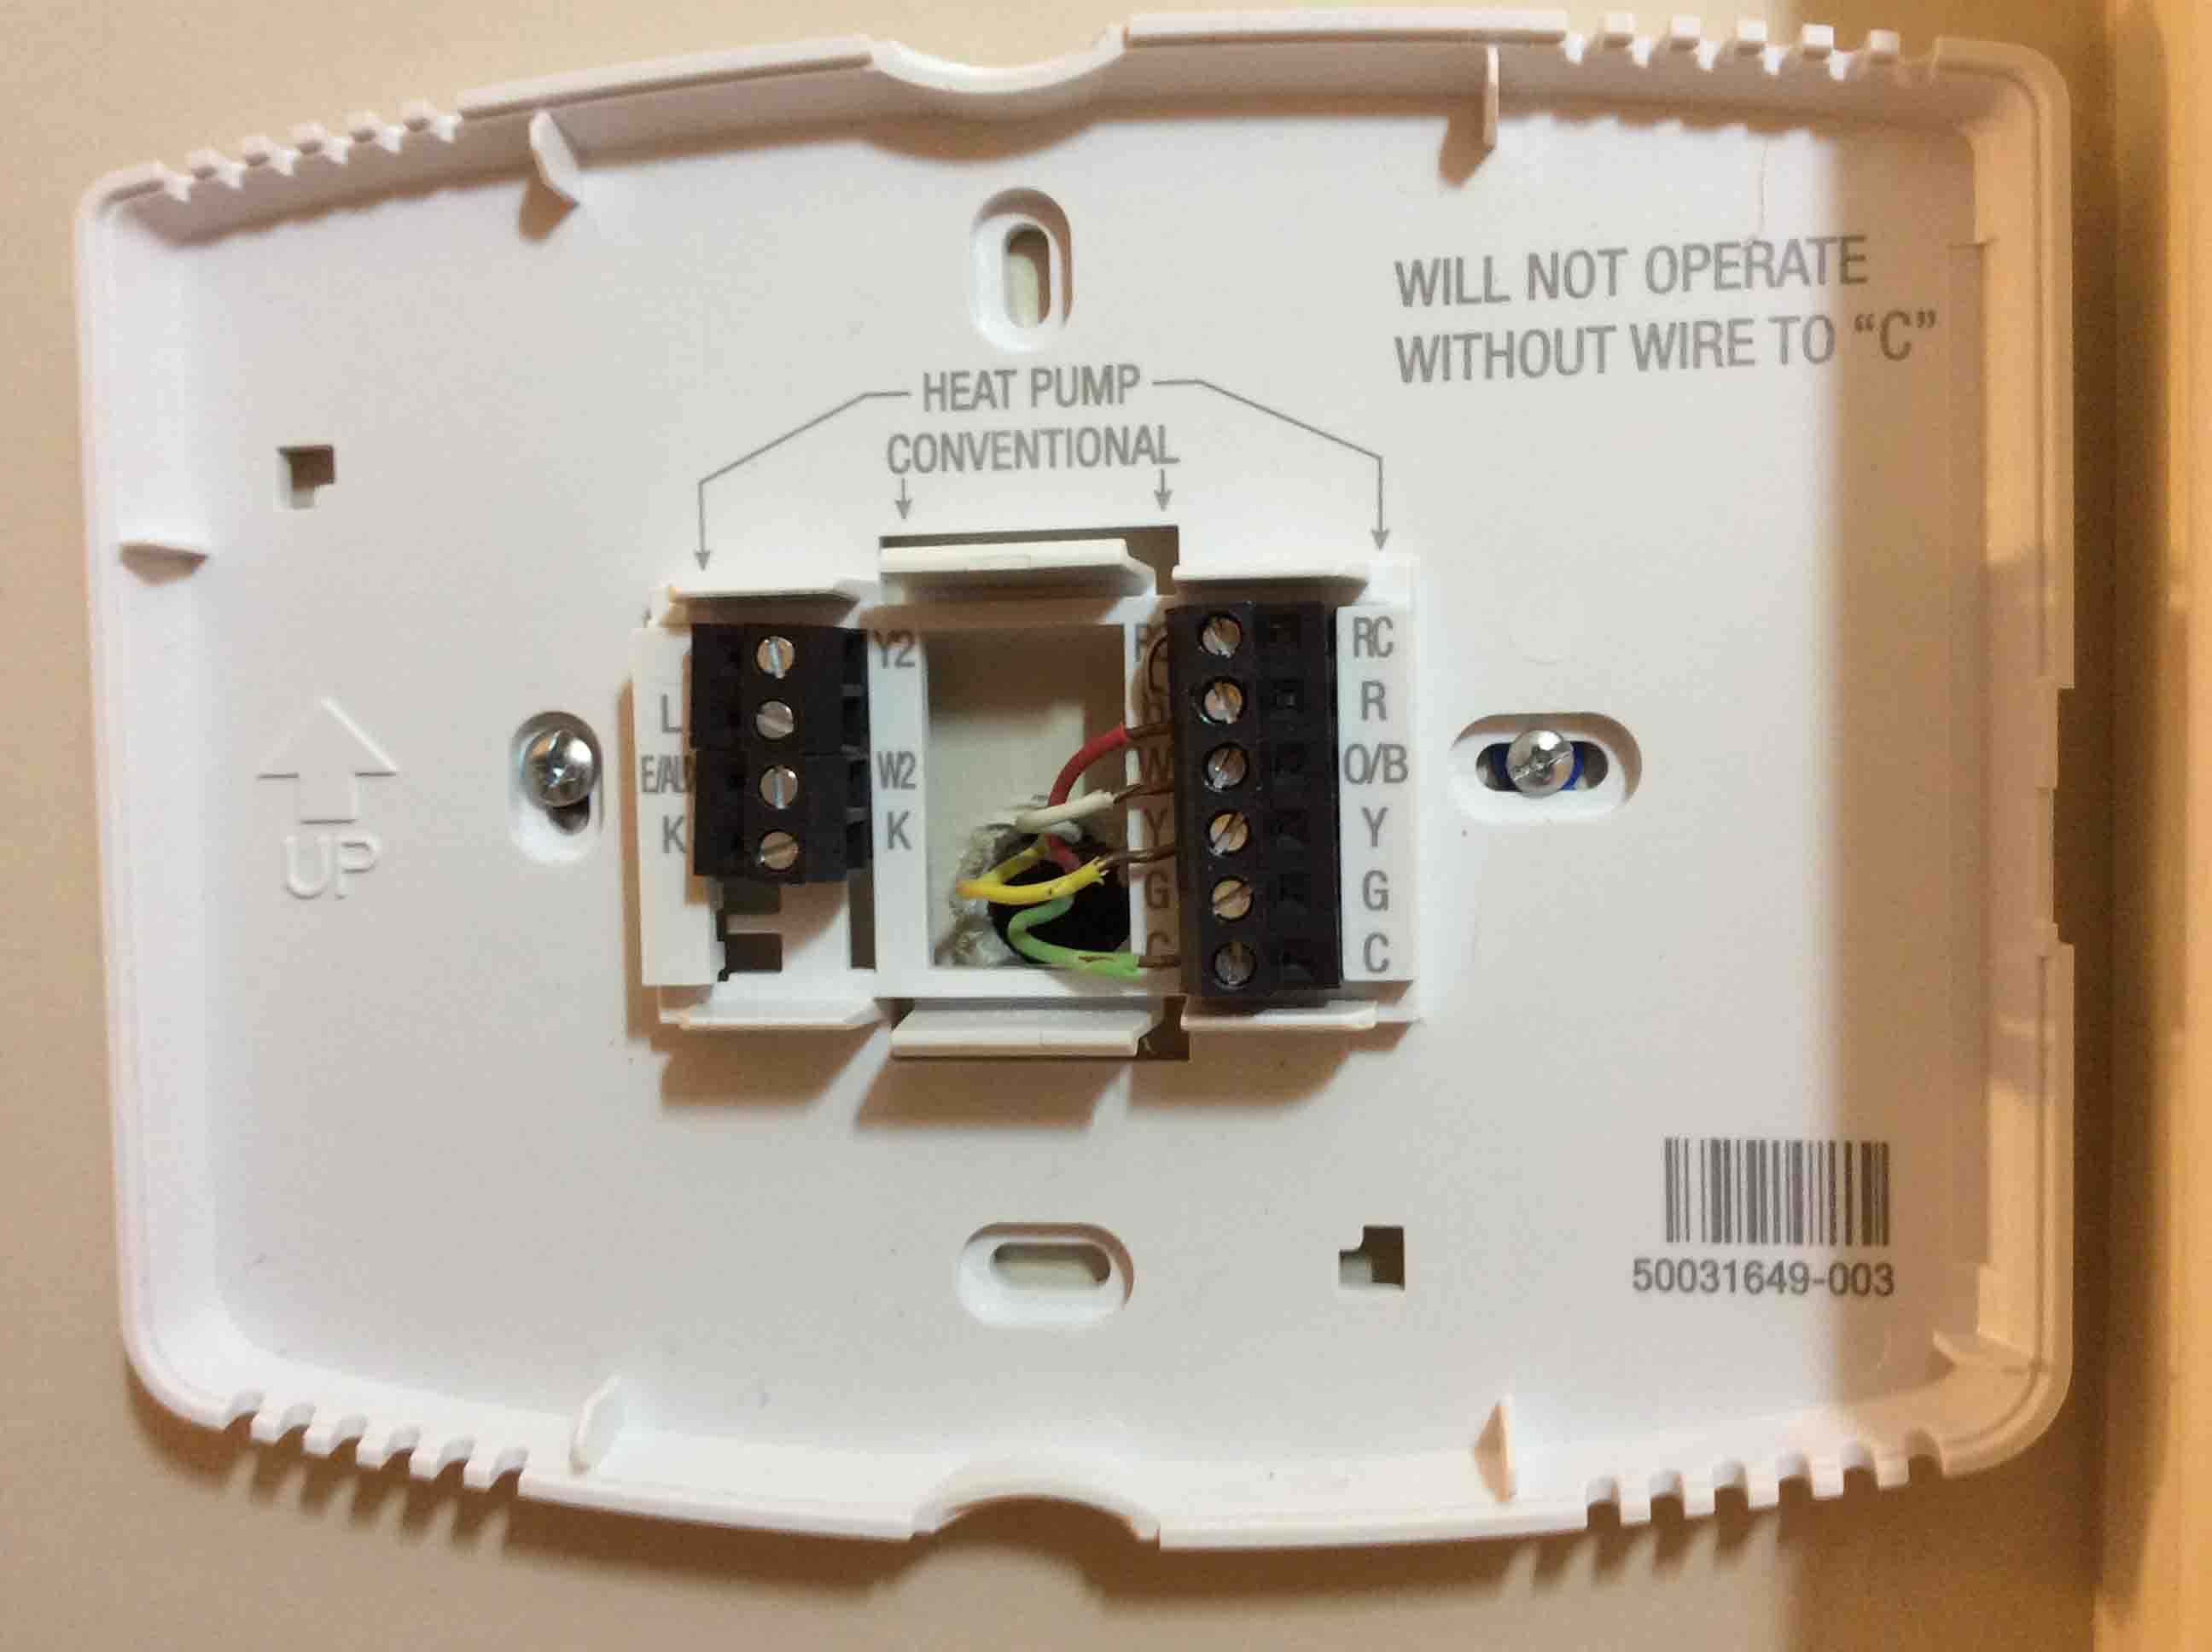
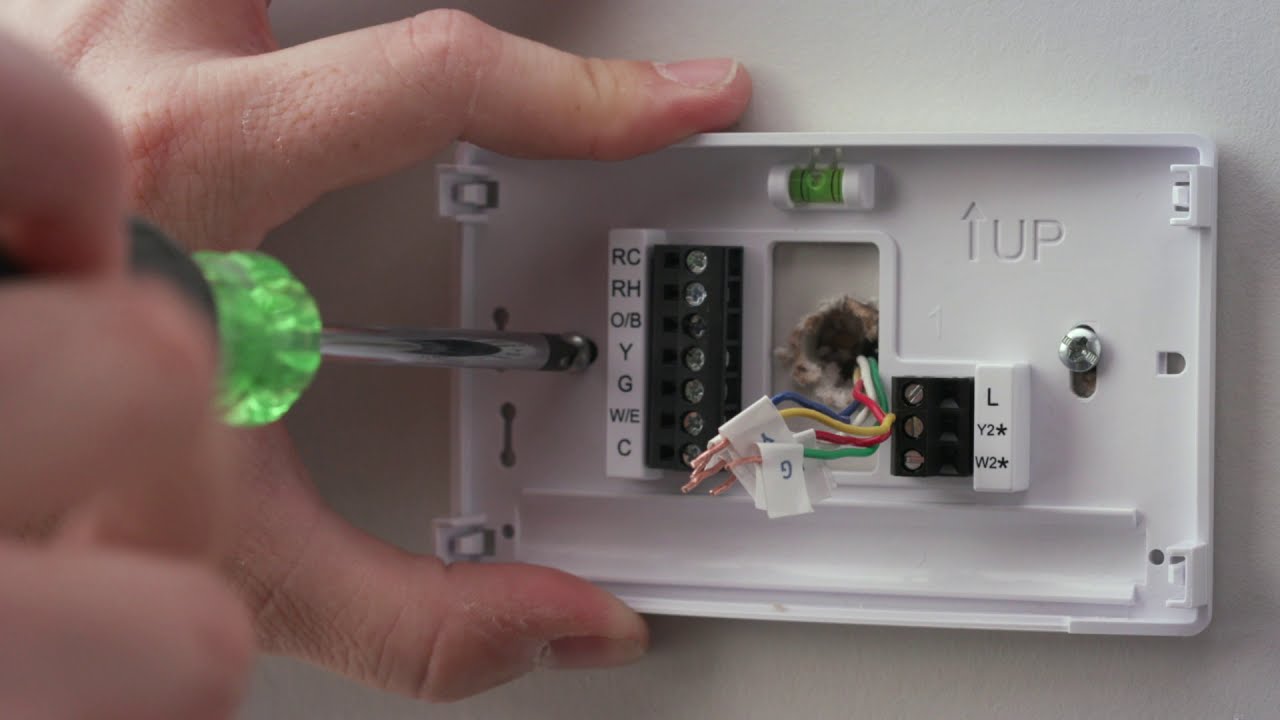
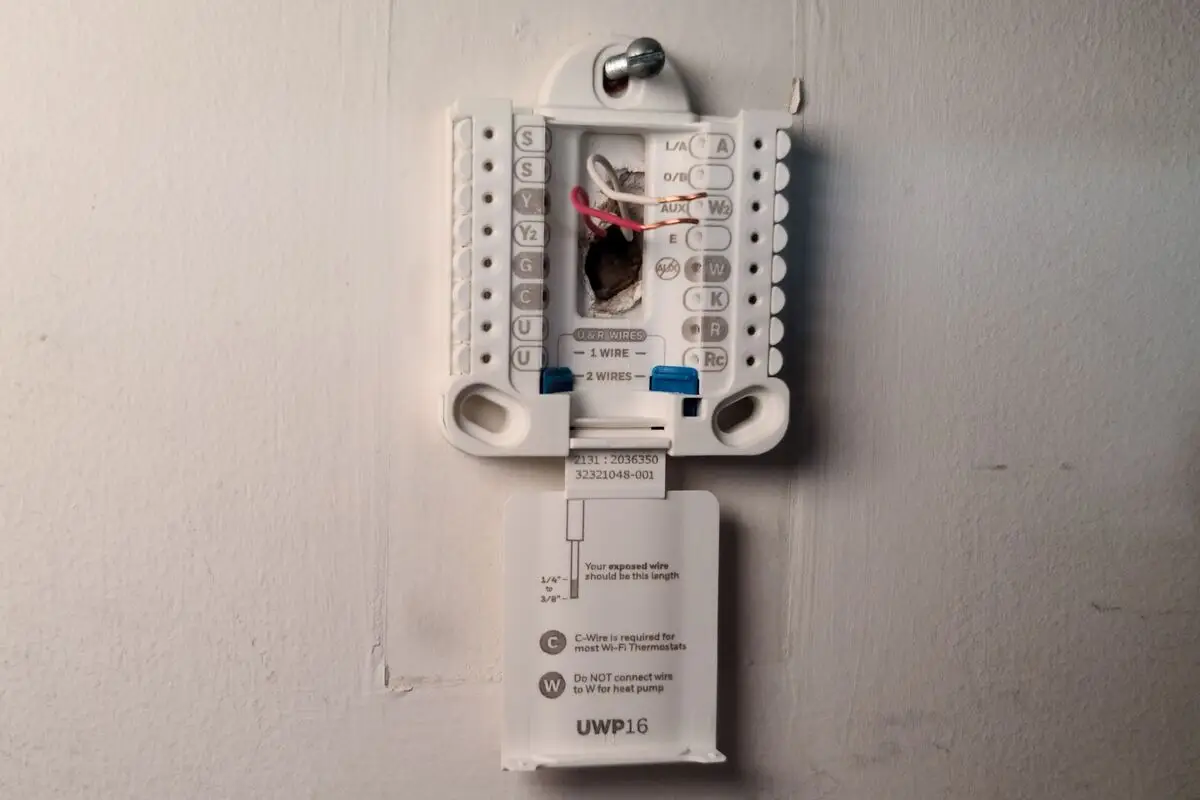
- Using your reference photo, match each labeled wire from your wall to the corresponding terminal on the new mounting plate. Common labels include R (Red), W (White), C (Common), Y (Yellow), and G (Green).
- Strip the ends of the wires to expose a small amount of bare copper using wire strippers.
- Insert each labeled wire into its corresponding terminal on the plate, ensuring a firm, bare-copper connection. Make sure no wires are touching or crossing each other.
- If your system has a C-wire, connect it to the "C" terminal on the mounting plate.
Attach the thermostat and restore power
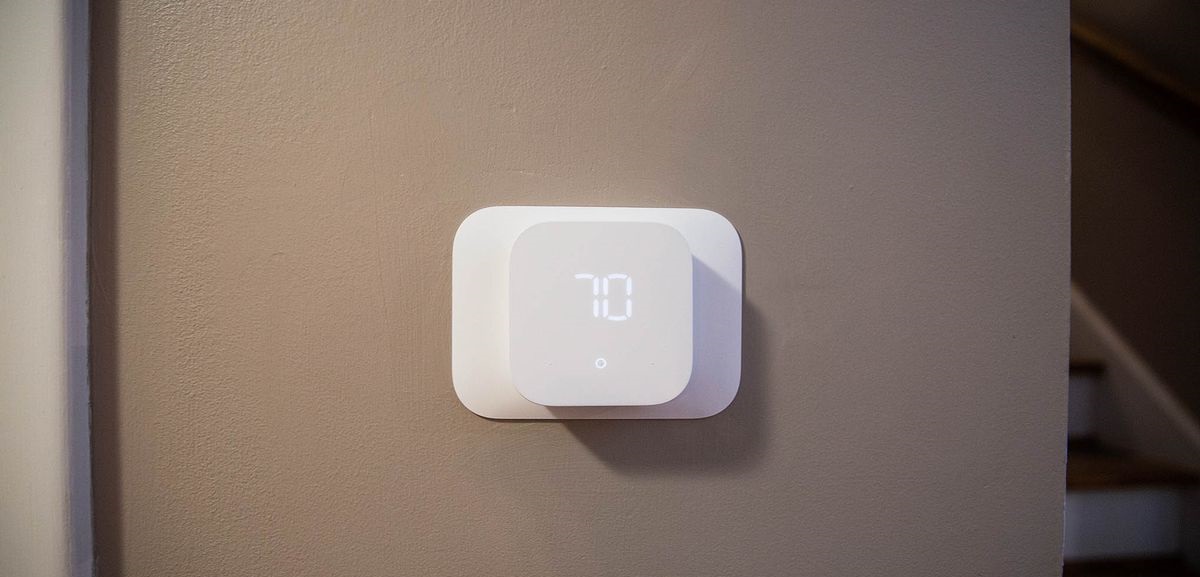
- Align the thermostat display with the mounting plate, ensuring the pins on the back line up with the slots on the plate. Gently press and slide it downward until it clicks into place.
- Give the thermostat a gentle tug to confirm it is securely attached.
- Go to your breaker box and switch the HVAC breaker back on to restore power.
- If the display remains blank after installation, check that all wires are connected correctly, the power is on, and the furnace door is securely closed.
Set up the thermostat in the Alexa app
- The final setup and connection to Wi-Fi are completed using the Amazon Alexa app. Open the app on your smartphone.
- Navigate to "Devices," tap the "+" symbol, select "Add Device," choose "Thermostat," and then select "Amazon" as the brand.
- Follow the on-screen prompts to connect your thermostat. The Amazon Smart Thermostat requires a 2.4 GHz Wi-Fi network (802.11 b/g/n); 5 GHz networks are not supported.
- After connecting, you may be prompted to link the thermostat with your Amazon account. Note that the thermostat itself does not have a built-in microphone for voice control; it requires a separate Alexa-enabled device or the Alexa app for voice commands.