Introduction
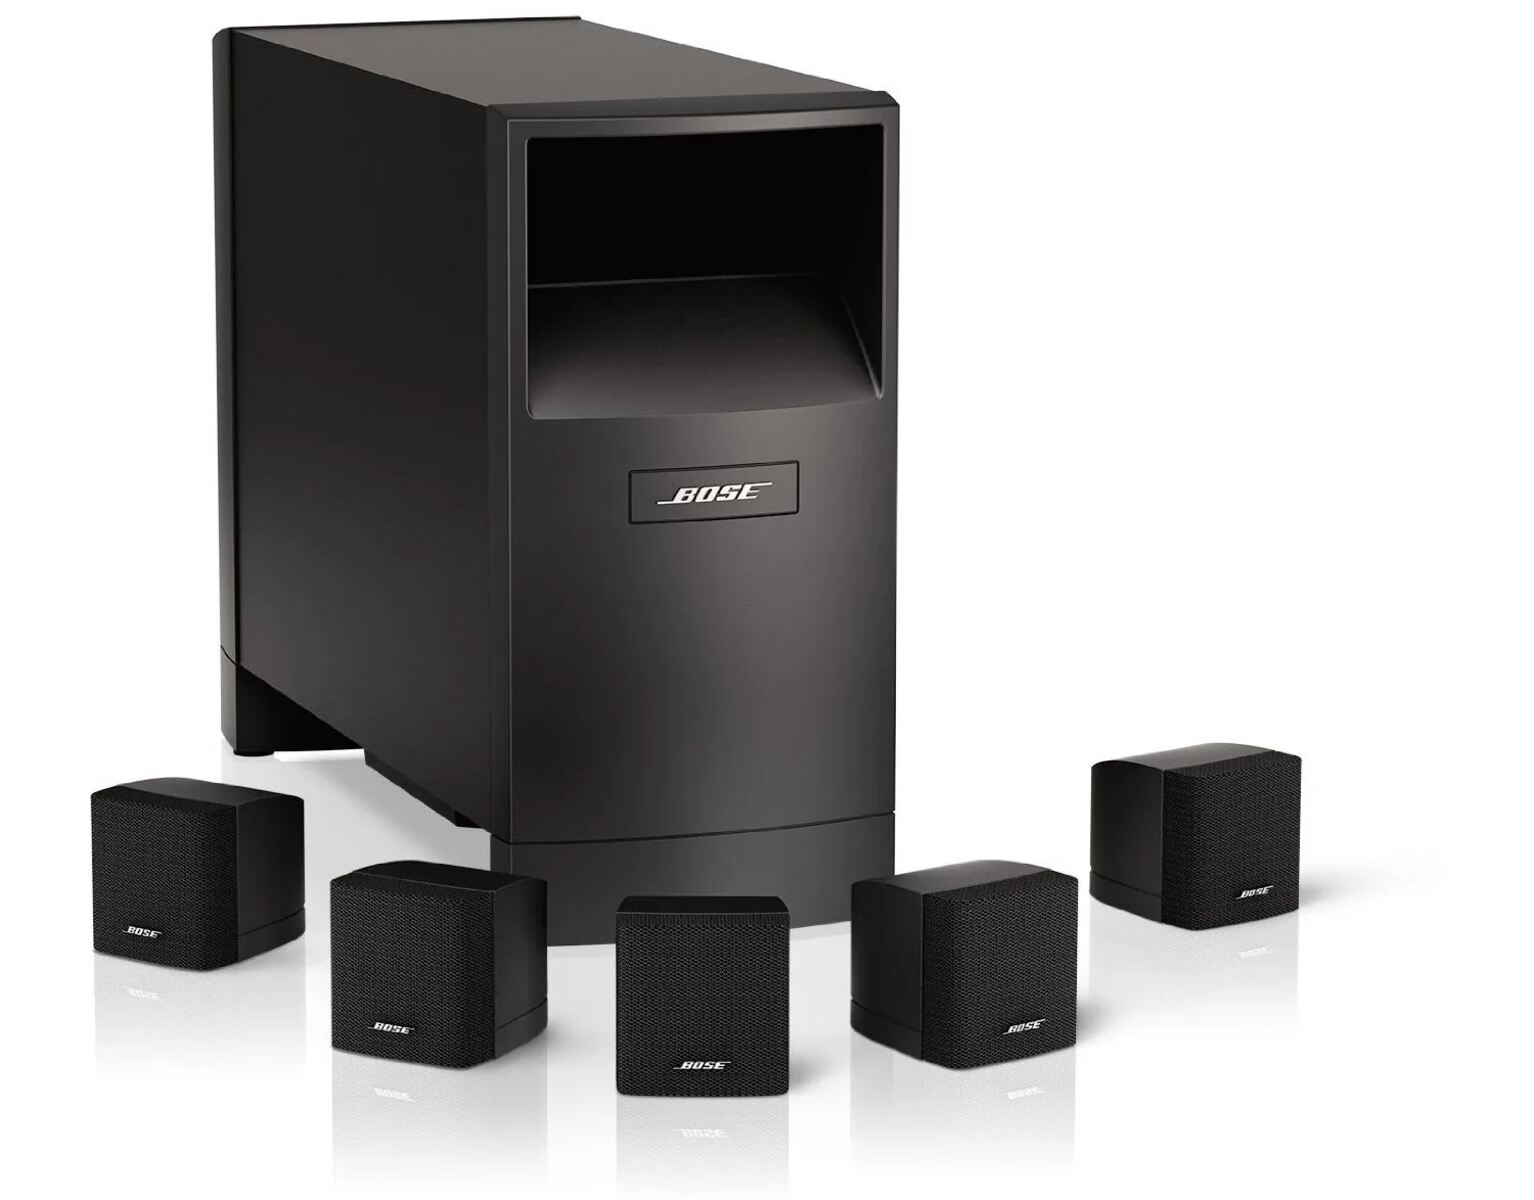
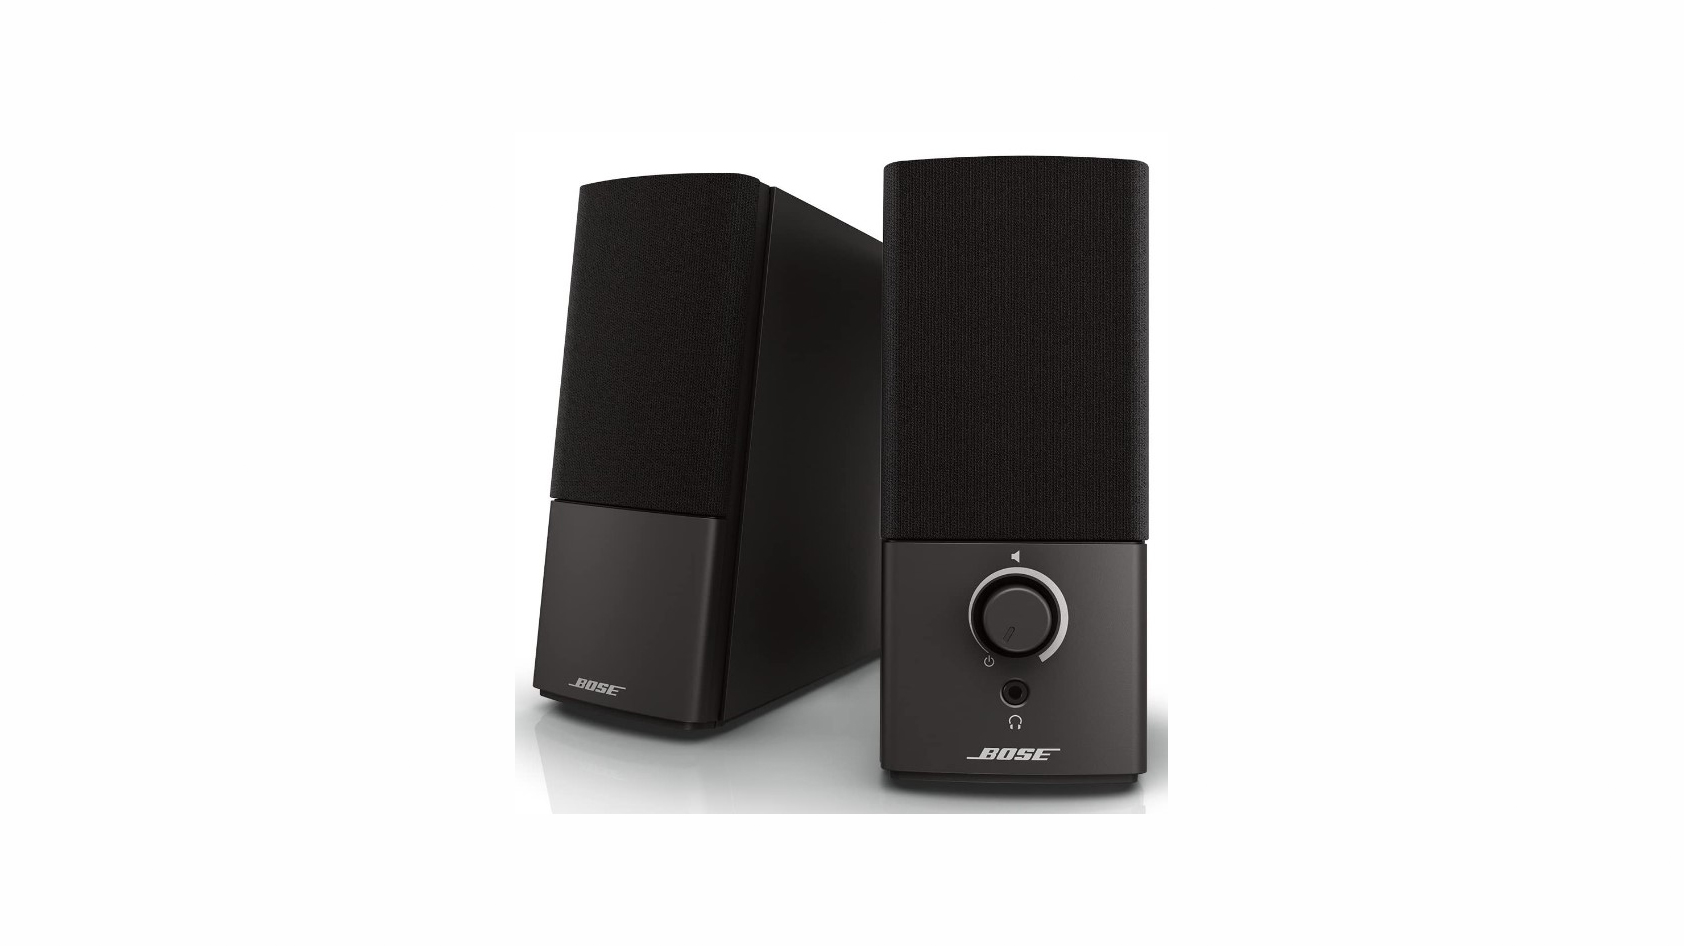
Welcome to the world of immersive audio experience with Bose surround sound systems. These exceptional audio systems are widely known for delivering crystal-clear sound quality and creating a captivating ambiance for your entertainment needs. If you’re looking to enhance your PC audio setup and enjoy a cinematic experience right in the comfort of your own home, then you’ve come to the right place.
In this guide, we will walk you through the step-by-step process of how to hook up your Bose surround sound system to your PC. Whether you’re a movie enthusiast, a gamer, or simply seek high-quality audio, connecting your Bose system to your PC will greatly enhance your overall audio experience.
Before we get started, it’s important to note that the compatibility of your Bose surround sound system with your PC will largely depend on the available audio ports on your PC, as well as the specific model of your Bose system. Additionally, having basic knowledge of audio cables and connections will be beneficial for a smooth setup process.
So, let’s dive in and ensure that you’re able to make the most out of your Bose surround sound system by connecting it to your PC. Get ready to immerse yourself in incredible audio quality and elevate your entertainment experience.
Step 1: Check the Compatibility of Your Bose Surround Sound System and PC
Before diving into the process of connecting your Bose surround sound system to your PC, it’s essential to ensure that both your Bose system and PC are compatible. This will help guarantee a seamless and optimal audio experience. Here’s what you need to do:
1. Check the available audio ports on your PC: Look for the different audio ports on your PC, such as HDMI, USB, 3.5mm audio jack, and optical audio. Different Bose surround sound systems may have different audio input options, so make sure your PC has a compatible port.
2. Review the specifications of your Bose surround sound system: Consult the manual or do a quick online search to find out the specific audio input options supported by your Bose system. This will help you determine whether your PC’s audio ports are compatible with your Bose system.
3. Determine the connection method: Once you’ve identified the audio ports on your PC and the supported audio inputs on your Bose system, you need to determine the appropriate connection method. If your PC and Bose system both have HDMI ports, you can use an HDMI cable for a straightforward connection. Alternatively, you may need to use audio cables such as coaxial, optical, or RCA-to-3.5mm depending on the available ports.
By taking these steps, you can ensure that your Bose surround sound system and PC are compatible and ready to be connected. Compatibility is crucial to avoid any frustration or connectivity issues later in the setup process, so don’t skip this important step.
Step 2: Choose the Correct Audio Cables
Once you have checked the compatibility of your Bose surround sound system and PC, it’s time to select the appropriate audio cables to establish the connection. The type of audio cables you need will depend on the available ports on both your Bose system and PC. Follow these guidelines to choose the correct audio cables:
1. HDMI cable: If your Bose system and PC both have HDMI ports, using an HDMI cable is the simplest and most straightforward option. HDMI cables carry both video and audio signals, providing a high-definition audio experience. Make sure to choose an HDMI cable that supports the necessary audio formats.
2. Coaxial cable: If your Bose system has a coaxial audio input port and your PC has a compatible coaxial audio output port, you can use a coaxial cable to connect the two. Coaxial cables transmit digital audio signals, ensuring high-quality audio transmission.
3. Optical cable: Optical cables, also known as TOSLINK or SPDIF cables, are another common option for connecting audio devices. If your Bose system and PC have optical audio ports, an optical cable can be used for the connection. Optical cables transmit digital audio signals using optical fibers, resulting in excellent audio quality.
4. RCA-to-3.5mm cable: If your Bose system has RCA audio input ports and your PC has a 3.5mm audio output port, you can use an RCA-to-3.5mm cable to establish the connection. This cable converts the RCA audio signal to a 3.5mm audio signal, allowing you to connect the two devices.
Choose the appropriate audio cables based on the available ports on your Bose surround sound system and PC. Ensure that the cables are of good quality to maintain optimal audio performance. It’s also recommended to measure the required cable length to avoid any inconvenience during the setup process.
Step 3: Connect Your Bose Surround Sound System to Your PC
Now that you have selected the appropriate audio cables, it’s time to connect your Bose surround sound system to your PC. Follow these step-by-step instructions:
1. Power off your Bose system and PC: Before making any connections, ensure that both your Bose system and PC are powered off. This will help prevent any potential damage to the devices and ensure a safe setup process.
2. Locate the audio input ports on your Bose system: Depending on the model of your Bose system, you will find different audio input ports such as HDMI, coaxial, optical, or RCA. Locate these ports on your Bose system and remember their locations for the next step.
3. Connect the audio output port on your PC to the corresponding audio input port on your Bose system: Take the audio cable you selected in the previous step and connect one end to the audio output port on your PC and the other end to the corresponding audio input port on your Bose system. Ensure that the connections are secure and snug.
4. Power on your Bose system and PC: Once the connections are made, power on your Bose system and PC. Allow them to initialize and communicate with each other before proceeding to the next step.
5. Configure audio settings on your PC: Open the audio settings on your PC and ensure that the audio output is set to the connected Bose surround sound system. You may need to select the corresponding audio device and adjust the volume levels accordingly.
By following these steps, you will successfully connect your Bose surround sound system to your PC. Double-check the connections and make any necessary adjustments to ensure a seamless audio experience. Once the setup is complete, sit back, relax, and enjoy the immersive audio quality of your Bose surround sound system while using your PC.
Step 4: Adjust the Sound Settings on Your PC
After connecting your Bose surround sound system to your PC, it’s crucial to adjust the sound settings on your PC to optimize the audio experience. Here’s what you need to do:
1. Open the sound settings: Access the sound settings on your PC by right-clicking on the speaker icon in the taskbar and selecting “Sound settings.” Alternatively, you can navigate to the sound settings through the Control Panel or the Settings app, depending on your operating system.
2. Select the connected audio device: In the sound settings, locate the list of available audio output devices. Look for the name of your Bose surround sound system or the specific audio port you used to connect it. Select it as the default audio output device.
3. Adjust the volume levels: Once you have selected the Bose system as the default audio device, adjust the volume levels to your preference. You can do this by moving the volume slider in the sound settings or by using the physical volume controls on your Bose system.
4. Configure additional audio settings: Depending on your PC’s sound settings, you may have access to additional audio enhancement options. Explore these settings to customize the audio experience further. You might find options for equalizers, spatial sound, and audio effects that can enhance the sound output of your Bose system.
5. Test the audio: To ensure that the sound settings are correctly configured, play some audio or video content on your PC. Pay attention to the sound quality, balance, and surround effects. Make any necessary adjustments to achieve the desired audio experience.
By adjusting the sound settings on your PC, you can fine-tune the audio output to match the capabilities of your Bose surround sound system. Take your time to experiment with different settings and find the optimal configuration that suits your preferences.
Step 5: Test Your Bose Surround Sound System
Now that you have successfully connected and adjusted the sound settings for your Bose surround sound system on your PC, it’s time to put it to the test. Follow these steps to ensure everything is working properly:
1. Play audio or video content: Open your favorite music, movie, or video game on your PC. It could be a song, a movie scene with immersive sound effects, or a game with dynamic audio. Make sure the content you choose supports surround sound to fully experience the capabilities of your Bose system.
2. Listen for sound from all speakers: Pay attention to the audio coming from each individual speaker in your Bose surround sound system. Each speaker should be producing clear and distinct sound. If you notice any imbalance or lack of sound from certain speakers, check the connections and settings to ensure everything is properly configured.
3. Test surround sound effects: Listen for the surround sound effects while the content is playing. Sound should appear to come from different directions, creating a realistic and immersive audio experience. Test the surround sound effects by playing content specifically designed to showcase surround sound capabilities.
4. Adjust the volume levels: Make further adjustments to the volume levels if needed. Ensure that the balance between the speakers is appropriate and that the sound doesn’t overpower or distort at high volume levels.
5. Test different audio sources: Don’t limit yourself to just one type of audio content. Play various genres of music, watch different types of movies, and try out different video games to fully explore the capabilities of your Bose surround sound system on your PC.
By testing your Bose surround sound system with different audio sources, you can truly appreciate the immersive audio experience it offers. Make any necessary adjustments or tweaks to further optimize the sound quality based on your preferences.
Conclusion
Congratulations! You have successfully connected your Bose surround sound system to your PC and optimized the sound settings to enhance your audio experience. By following the step-by-step process outlined in this guide, you have unlocked the potential of your Bose system and transformed your PC setup into a captivating audio powerhouse.
With your Bose system now seamlessly integrated with your PC, you can enjoy immersive sound while watching movies, playing games, or listening to music. The carefully chosen audio cables and the adjustments made to the sound settings ensure that you get the best possible audio quality.
Remember to regularly maintain and clean your Bose system to prolong its lifespan and preserve its optimum performance. Additionally, keep an eye out for any firmware updates or software enhancements provided by Bose to further enhance your audio experience.
Whether you’re a movie buff, a gamer, or simply someone who enjoys high-quality audio, the addition of a Bose surround sound system to your PC setup takes your entertainment experience to a whole new level. Immerse yourself in the rich, detailed sound and feel every moment come to life.
Now that you’re equipped with the knowledge and understanding of connecting your Bose surround sound system to your PC, it’s time to sit back, relax, and enjoy the incredible audio experience that awaits you. Get ready to be blown away by the immersive soundscapes and breathtaking sound quality brought to you by your Bose surround sound system.


