Introduction
Welcome to our guide on how to connect a surround sound system to your PS4. If you’re an avid gamer and want to elevate your gaming experience to new heights, adding a surround sound system to your PS4 can make you feel like you’re right in the middle of the action.
Surround sound systems provide immersive audio that enhances your gaming experience by delivering directional sounds from different speakers around you. This allows you to hear every footstep, explosion, and dialogue with remarkable clarity, giving you a competitive advantage and a more immersive gameplay experience.
In this step-by-step guide, we will walk you through the process of connecting your surround sound system to your PS4, ensuring you can enjoy incredible audio while playing your favorite games. Whether you’re a seasoned gamer or just starting out, our instructions will help you set up your surround sound system quickly and easily.
Before we dive into the steps, it’s essential to gather the necessary equipment. You will need an HDMI cable, a surround sound system with multiple speakers, and, of course, your PS4 console. It’s important to ensure that your surround sound system is compatible with your PS4 to achieve optimal audio performance.
So, are you ready to take your gaming experience to the next level? Let’s get started!
Step 1: Gather the necessary equipment
Before you can connect your surround sound system to your PS4, you’ll need to gather the necessary equipment. Here’s what you’ll need:
- HDMI cable: You’ll need an HDMI cable to connect your PS4 to the surround sound system. Make sure you have a high-quality HDMI cable that supports both audio and video transmission.
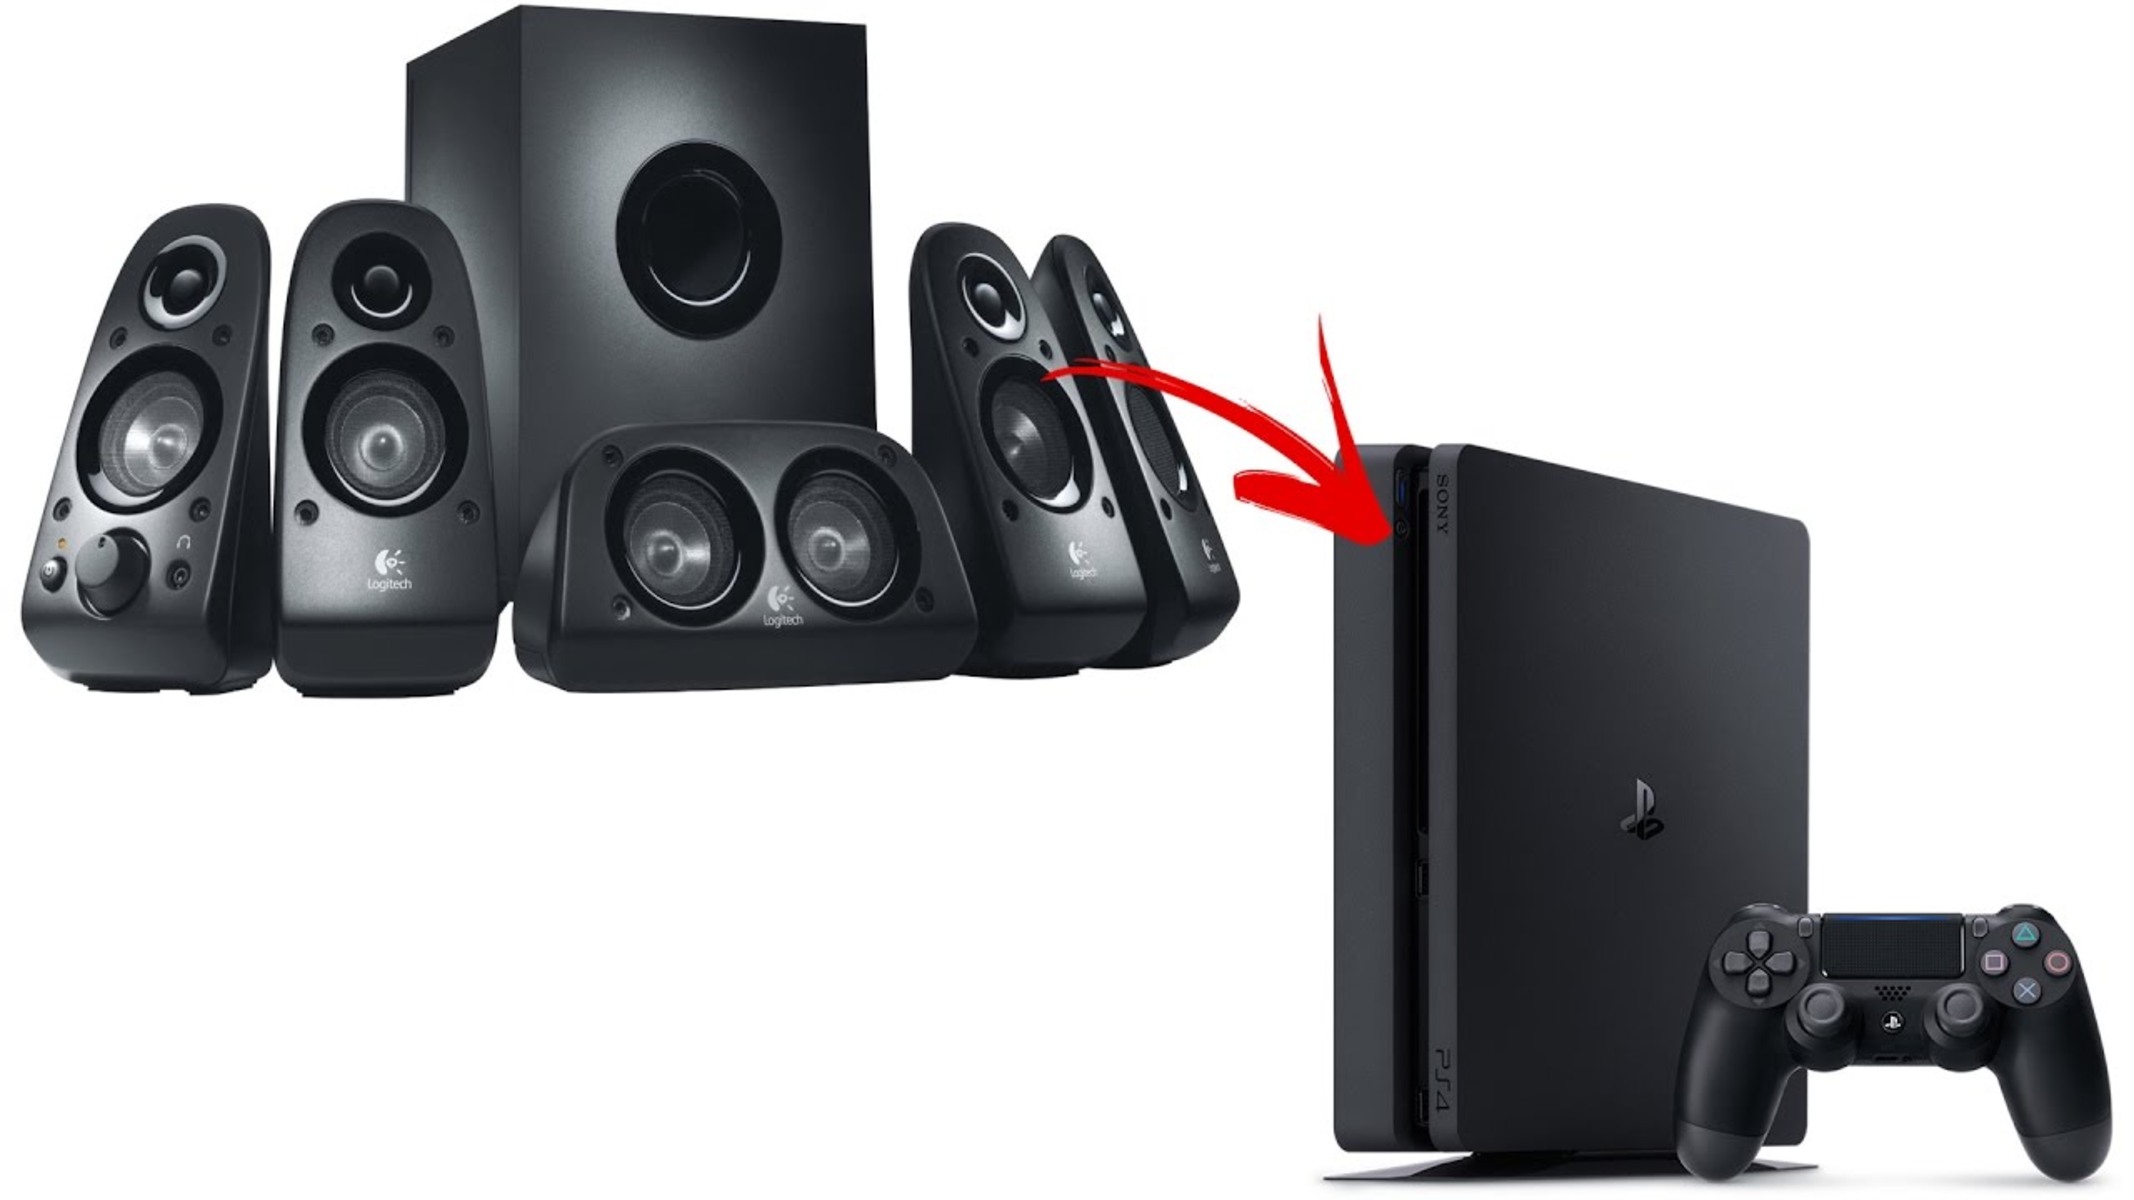
- Surround sound system: Choose a surround sound system that suits your preferences and budget. Look for a system that includes multiple speakers, such as front, rear, and center speakers, along with a subwoofer for a powerful bass effect.
- PS4 console: Of course, you’ll need your PS4 console to play your favorite games. Make sure your console is up to date with the latest system software for a seamless gaming experience.
- Power cables: Ensure that you have all the necessary power cables for your surround sound system and PS4. Check the manufacturer’s instructions to make sure you have the correct cables and power adapters.
Once you have gathered these essential items, you’ll be ready to move on to the next step. Having all the necessary equipment on hand will ensure a smooth and hassle-free setup process.
Before we proceed, it’s worth mentioning that it’s always a good idea to read through the instruction manuals that come with your surround sound system and PS4. These manuals will provide specific guidance on connecting and configuring your devices, ensuring you get the most out of your gaming audio setup.
Step 2: Connect the HDMI cable to the PS4
Now that you have gathered all the necessary equipment, it’s time to connect the HDMI cable to your PS4. Follow these steps:
- Locate the HDMI port on the back of your PS4 console. It is usually labeled as “HDMI” and is located next to the other ports.
- Take one end of the HDMI cable and insert it into the HDMI port on the PS4 console. Make sure it is securely plugged in.
- Next, find an available HDMI input port on your surround sound system. It is usually labeled as “HDMI IN” or “INPUT”.
- Insert the other end of the HDMI cable into the HDMI input port on your surround sound system.
By connecting the HDMI cable from your PS4 to your surround sound system, you are establishing the audio connection between the two devices. This will allow the audio from your PS4 to be transmitted to the surround sound system, ensuring you can enjoy immersive, high-quality sound while gaming.
It’s important to note that if your surround sound system supports HDMI pass-through, you can connect your TV or monitor to the HDMI output port on the surround sound system. This will enable you to enjoy both audio and video signals directly from the PS4 through the surround sound system to your TV or monitor.
Once you have successfully connected the HDMI cable to your PS4, you are ready to move on to the next step, connecting the HDMI cable to the surround sound system.
Step 3: Connect the HDMI cable to the surround sound system
Now that you have connected the HDMI cable to your PS4, it’s time to connect the other end of the cable to your surround sound system. Follow these steps:
- Locate the HDMI input port on your surround sound system. It is typically labeled as “HDMI IN” or “INPUT”. Make sure you have identified the correct port.
- Take the other end of the HDMI cable that is connected to your PS4 and plug it into the HDMI input port on your surround sound system.
- Ensure that the cable is securely plugged in and that it fits snugly into the HDMI port. A loose connection may result in audio or video issues.
Once the HDMI cable is connected to your surround sound system, it will serve as the audio input for the system. This means that the surround sound system will receive the audio signals from your PS4 and process them to deliver immersive surround sound through its speakers.
Depending on the specific model and features of your surround sound system, you may have multiple HDMI input ports. In this case, make sure to select the correct input source on the surround sound system to match the port to which the HDMI cable is connected.
With the HDMI cable successfully connected to your surround sound system, you are now ready to proceed to the next step, where we will set up the audio settings on your PS4.
Step 4: Set up the audio settings on the PS4
After connecting the HDMI cable to both your PS4 and surround sound system, the next step is to set up the audio settings on your PS4. Follow these steps:
- Turn on your PS4 console and go to the main menu. From there, navigate to the “Settings” option.
- In the “Settings” menu, select “Sound and Screen.”
- Choose “Audio Output Settings.”
- Select “Primary Output Port.”
- Choose the “Digital Out (Optical)” option. This will ensure that the audio is routed through the HDMI connection and sent to your surround sound system.
- Next, select “Audio Format (Priority)” and choose the option that is supported by your surround sound system. Typically, you will have options such as “Linear PCM,” “Bitstream (Dolby),” or “Bitstream (DTS).” Check the specifications of your surround sound system to determine the optimal audio format.
- Finally, select “Output to Headphones” and make sure it is set to “Chat Audio” to enable voice chat through your headphones if desired.
Once you have adjusted these audio settings, your PS4 console will be configured to output audio through the HDMI connection to your surround sound system. This ensures that the audio signals from your games and media are processed by the surround sound system and delivered in immersive surround sound.
It’s worth mentioning that some games may have their own audio settings within the game itself. To maximize your audio experience, check the audio settings within each game and adjust them accordingly to suit your preferences.
With the audio settings on your PS4 properly configured, you are now ready to proceed to the next step, where we will configure the surround sound system settings for optimal performance.
Step 5: Configure the surround sound system settings
Now that you have set up the audio settings on your PS4, it’s time to configure the settings on your surround sound system. Follow these steps:
- Turn on your surround sound system and refer to the user manual for specific instructions on accessing the settings menu. The process may vary depending on the make and model of your system.
- Once you are in the settings menu, navigate to the audio settings section.
- Look for an option called “Audio Input” or “Source.” Select the HDMI input that corresponds to the port your PS4 is connected to.
- Next, find the option for speaker configuration or speaker setup. This is where you can specify the number of speakers and their placement in your surround sound system. Make sure to choose the appropriate setup based on your specific speaker configuration.
- If your surround sound system supports different sound modes or audio enhancements, such as Dolby Digital or DTS, explore these settings and choose the one that best suits your preferences.
- Finally, adjust the volume levels of each speaker in your surround sound system. Most systems have a test tone feature that allows you to fine-tune the volume of each speaker to ensure optimal balance and surround sound immersion.
By configuring the settings on your surround sound system, you are optimizing the audio output to match your room setup and personal preferences. Customizing the speaker configuration, sound modes, and volume levels will enhance your gaming experience and immerse you in rich, multi-directional sound.
Remember to refer to the user manual of your surround sound system for detailed instructions on accessing and adjusting the settings. Each system may have a slightly different menu layout and terminology, so following the manufacturer’s instructions is essential.
Once you have configured the settings on your surround sound system, you are ready to move on to the final step, where we will test the surround sound system to ensure everything is working correctly.
Step 6: Test the surround sound system
After connecting and configuring your surround sound system, it’s crucial to test it to ensure that everything is working correctly. Follow these steps to test your surround sound system:
- Choose a game or media content that is known for its immersive sound effects. This can be a game with dynamic audio, a movie with surround sound, or a music track that showcases different audio elements.
- Start the game or media content on your PS4.
- Pay attention to the audio output from each speaker in your surround sound system. You should hear distinct sounds coming from the front, rear, and center speakers, with the subwoofer delivering deep bass tones.
- Verify that the sound is balanced and immersive. You should feel like you are surrounded by the audio, with sounds accurately placed in different directions. For example, in a game, you should be able to identify the source of footsteps or gunshots based on the speaker they are coming from.
- If you notice any issues, such as unbalanced sound or missing audio from specific speakers, double-check your connections and settings. Make sure that all cables are securely plugged in, and revisit the setup menu on your surround sound system to ensure the correct speaker configuration and settings.
- Continue testing the surround sound system with different games, movies, or media content to evaluate its performance across various audio sources. This will help you fine-tune the settings and identify any potential issues that need to be addressed.
Testing your surround sound system ensures that you can fully immerse yourself in the audio experience while gaming or watching movies. By verifying the outputs from each speaker and making any necessary adjustments, you can enhance your overall enjoyment and take full advantage of the immersive audio capabilities of your system.
If you encounter persistent issues or are unsure about certain settings, consult the user manual or reach out to the manufacturer’s customer support for further assistance. They can provide specific troubleshooting guidance based on your surround sound system model.
Congratulations! You have successfully connected, configured, and tested your surround sound system with your PS4. Now you can enjoy a truly immersive audio experience that enhances your gaming adventures, movie nights, and more.
Conclusion
Connecting a surround sound system to your PS4 can significantly enhance your gaming experience, providing immersive audio that puts you right in the middle of the action. By following the steps outlined in this guide, you can easily set up and configure your surround sound system to work seamlessly with your PS4.
Starting with gathering the necessary equipment, such as an HDMI cable and a compatible surround sound system, you’ll ensure that you have everything you need for a smooth setup process. Connecting the HDMI cable to both the PS4 and the surround sound system establishes the audio connection between the two devices.
Next, configuring the audio settings on your PS4 allows you to direct the audio output through the HDMI connection to your surround sound system. This ensures that the audio signals from your games and media are processed and delivered in immersive surround sound.
By adjusting the settings on your surround sound system, including speaker configuration, sound modes, and volume levels, you can optimize the audio output to suit your preferences and room setup. This customization ensures a well-balanced sound experience with directional audio sourced from different speakers.
Once everything is set up, testing your surround sound system with various games, movies, and media content allows you to evaluate its performance and make any necessary adjustments. This ensures that you can enjoy an immersive audio experience with accurate sound placement and a truly cinematic feel.
Remember to consult the user manuals for your PS4 and surround sound system for specific instructions and recommendations. Additionally, reach out to customer support if you encounter any persistent issues or need further assistance.
With your surround sound system successfully connected, configured, and tested, you’re ready to embark on incredible gaming adventures and fully immerse yourself in the audio world. Enjoy the enhanced audio quality and the immersive experience that only a surround sound system can provide!