Introduction
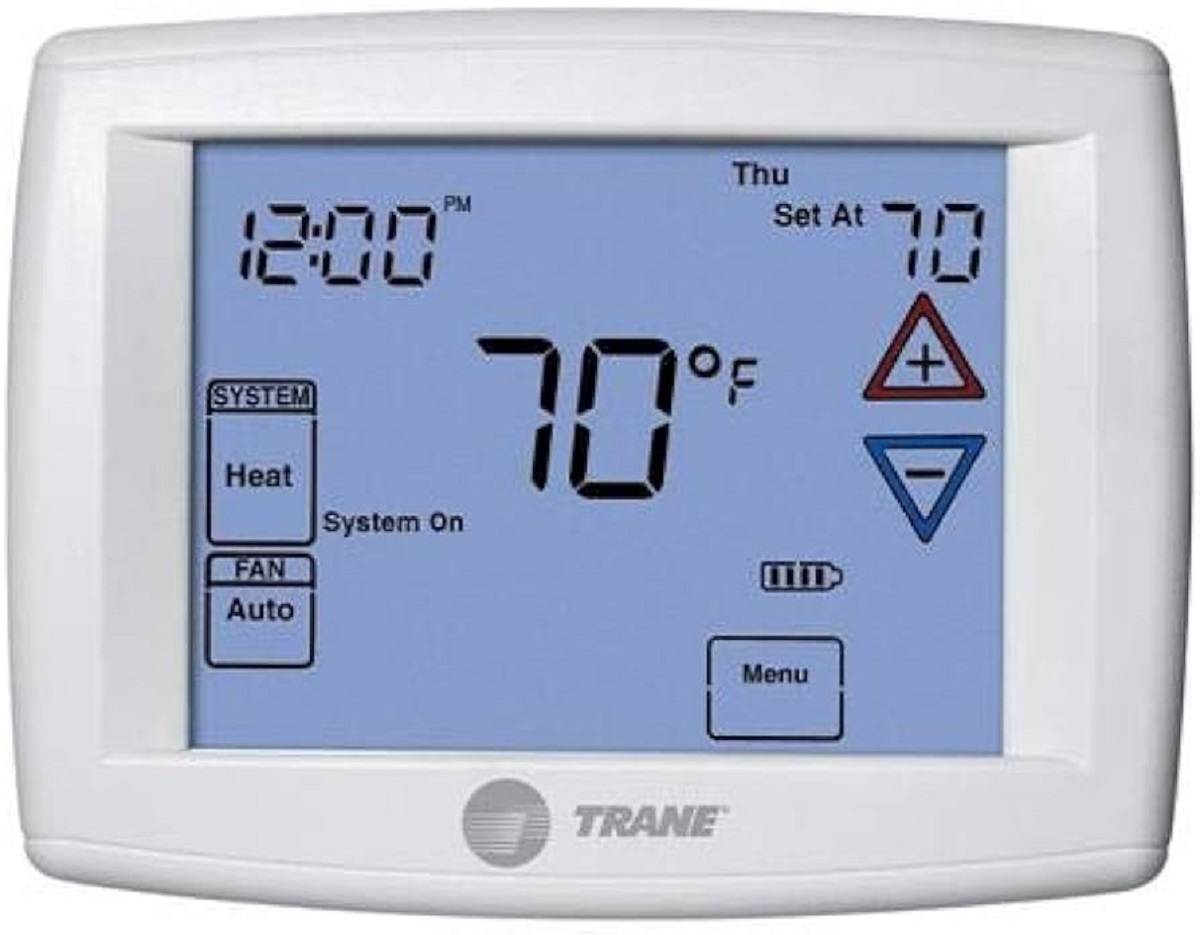
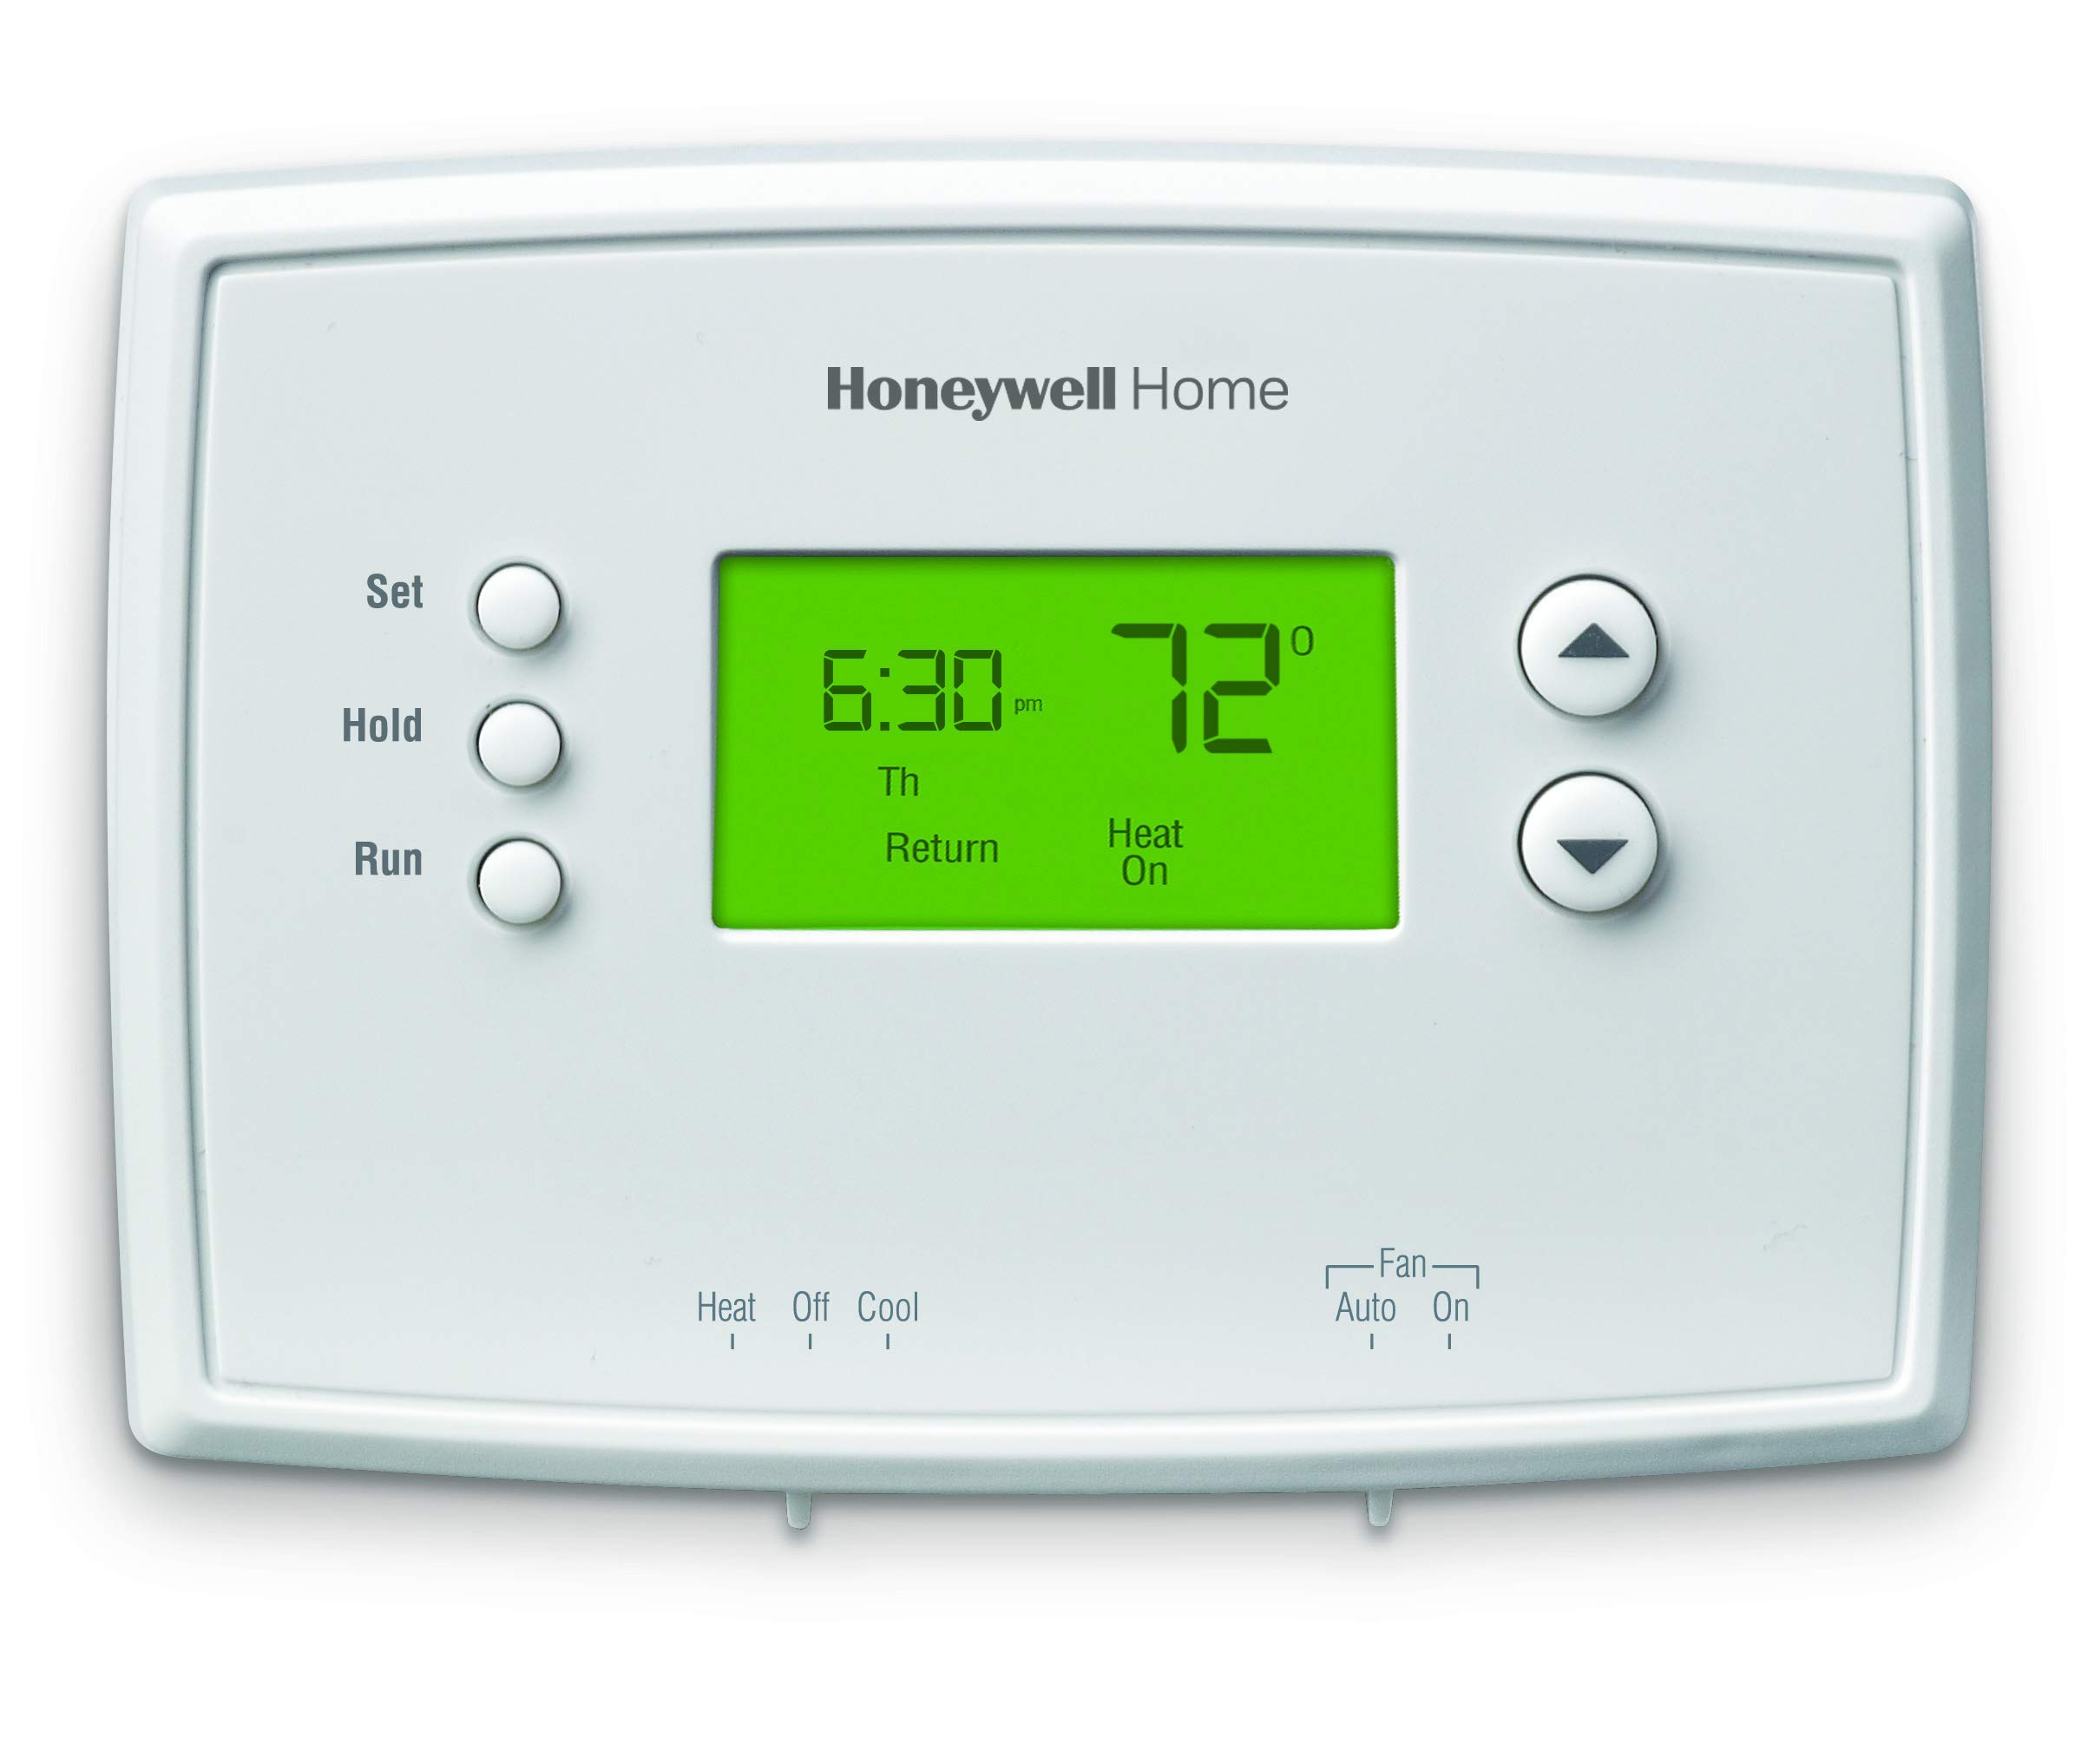
Welcome to the guide on how to change the battery on a Trane XL824 Smart Thermostat. The Trane XL824 is a popular smart thermostat that offers advanced features and energy-saving capabilities. However, like any battery-powered device, the battery in the thermostat will eventually need to be replaced.
The battery in the Trane XL824 Smart Thermostat is responsible for maintaining power to the device during power outages or when the thermostat is removed from the wall. When the battery starts to run low, you may notice issues with the thermostat’s functionality, such as inaccurate temperature readings or the screen not lighting up.
Changing the battery on the Trane XL824 thermostat is a simple process that can be done by following a few steps. In this guide, we will walk you through the necessary steps to replace the battery and ensure that your thermostat continues to function optimally.
Before we delve into the step-by-step instructions, it’s important to note that while the Trane XL824 Smart Thermostat can be battery-operated, it is recommended to have a C-wire (common wire) properly installed for the thermostat to function to its full potential. The C-wire provides a constant power supply, eliminating the need for battery power and ensuring uninterrupted operation.
However, if you don’t have a C-wire installed or prefer to use battery power, this guide will assist you in replacing the battery when needed. Let’s get started!
Step 1: Prepare for Battery Replacement
Before you begin the process of changing the battery on your Trane XL824 Smart Thermostat, there are a few things you will need to prepare:
- Gather the necessary tools: To complete the battery replacement, you will need a small flathead screwdriver or a similar tool to assist with removing the thermostat from the wall.
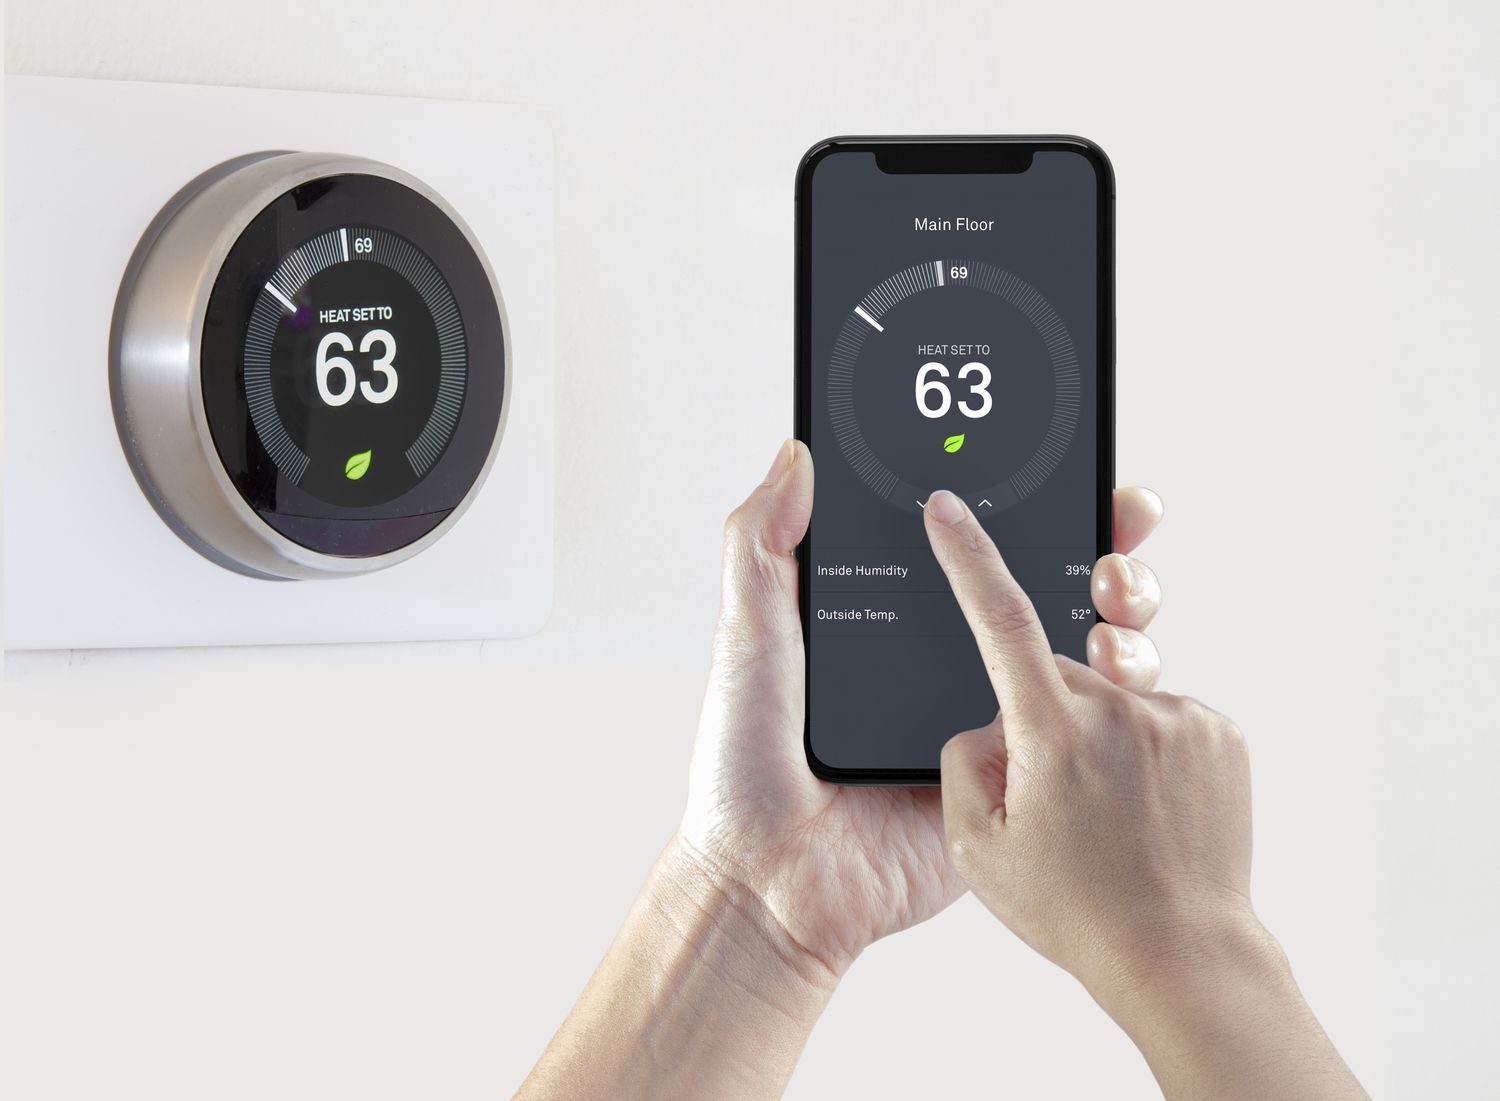
- Turn off the thermostat: Before removing the thermostat from the wall, it is essential to turn off the power to the device. Locate the power switch on your HVAC system or use the app or control panel to turn off the thermostat.
- Disable Wi-Fi connectivity (if applicable): If your Trane XL824 Smart Thermostat is connected to your Wi-Fi network, it’s important to temporarily disable Wi-Fi connectivity. This will ensure that the thermostat remains offline during the battery replacement process.
By gathering the necessary tools and ensuring the thermostat is powered off and Wi-Fi connectivity is disabled, you can proceed with confidence to the next step of removing the thermostat from the wall.
Remember, safety should always be a priority when working with any electrical device. If you are not comfortable or unsure about any step of the battery replacement process, it is best to consult a professional technician or the Trane customer support team for assistance.
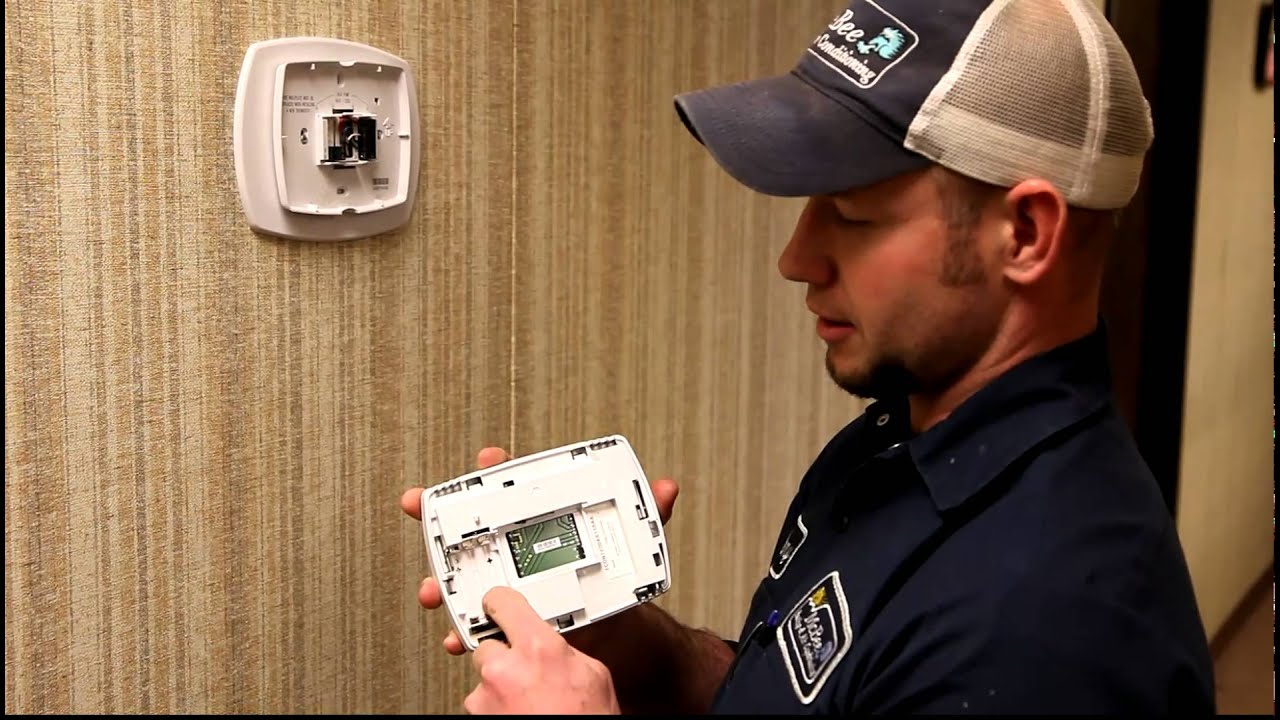
Step 2: Remove the Thermostat from the Wall
Now that you have prepared for the battery replacement, it’s time to remove the Trane XL824 Smart Thermostat from the wall. Follow these steps:
- Locate the mounting plate: The thermostat is attached to a mounting plate on the wall. Observe the edges of the thermostat to identify any screws holding it in place.
- Use a small screwdriver: If you see screws, use a small flathead screwdriver or a similar tool to carefully unscrew and remove them. Be gentle to avoid any damage to the surrounding area.
- Carefully detach the thermostat: Once the screws are removed, gently pull the thermostat away from the wall. Take care not to tug or twist it excessively, as there may be wires connected at the back.
- Note the wire connections: As you remove the thermostat, take note of the wire connections at the back. It’s a good idea to take a picture or label the wires with their corresponding terminals to ensure proper reinstallation later.
By following these steps, you will be able to safely detach the Trane XL824 Smart Thermostat from the wall without causing any damage. Ensure that the thermostat is disconnected from any power source and Wi-Fi network before proceeding to the next step.
Keep in mind that every thermostat installation may vary slightly, so refer to the Trane XL824 Smart Thermostat user manual for specific instructions if needed.
Step 3: Locate the Battery Compartment
After removing the Trane XL824 Smart Thermostat from the wall, your next step is to locate the battery compartment. Follow these instructions to find it:
- Inspect the back of the thermostat: Take a look at the backside of the thermostat and examine it closely. Look for any sections or panels that can be opened or removed.
- Look for labeling or indicators: Some thermostats have clear markings or labels indicating the location of the battery compartment. These labels may state “Battery Compartment” or have a battery symbol.
- Refer to the user manual: If you’re unable to locate the battery compartment through visual inspection, consult the Trane XL824 Smart Thermostat user manual. It will contain specific information on where to find the battery compartment.
The battery compartment is typically designed to be easily accessible, ensuring a smooth replacement process. Once you have located the battery compartment, you can proceed to the next step to open it and remove the old battery.
It’s essential to handle the thermostat with care and avoid applying excessive force when looking for the battery compartment. If you encounter any difficulties or have any doubts, consult the user manual or reach out to Trane customer support for guidance.
Step 4: Open the Battery Compartment
Now that you have located the battery compartment on your Trane XL824 Smart Thermostat, it’s time to open it. Follow these steps:
- Identify the latch or cover: Take a close look at the battery compartment and look for a latch or cover that secures it. The latch may be in the form of a small tab or a sliding panel.
- Use your fingers or a tool: Depending on the design, you can try using your fingers to push or slide the latch open. If necessary, you can use a small flathead screwdriver or a similar tool to gently pry open the cover.
- Open the battery compartment: Once the latch or cover is released, carefully open the battery compartment. Pay attention to any hinges or mechanisms that may be present.
It’s important to handle the battery compartment with care and avoid applying excessive force. If you encounter any resistance or difficulties in opening the compartment, refer to the Trane XL824 Smart Thermostat user manual for model-specific instructions, or contact Trane customer support for assistance.
Keep in mind that the battery compartment design may vary slightly depending on the thermostat model, so it’s crucial to follow the specific instructions provided for your Trane XL824 Smart Thermostat.
Step 5: Remove the Old Battery
With the battery compartment open, it’s time to remove the old battery from your Trane XL824 Smart Thermostat. Follow these steps:
- Observe the battery orientation: Take note of how the old battery is positioned within the battery compartment. Pay attention to the positive (+) and negative (-) terminals on the battery.
- Disconnect the battery: Depending on the design of the battery compartment, you may need to gently lift or slide the battery out of its slot. Be careful not to damage the terminals or any surrounding components during this process.
- Handle the battery properly: When removing the old battery, it’s important to handle it correctly. Use your fingers or a pair of rubber gloves to avoid directly touching the battery terminals, as oils and residues on your skin may decrease battery performance.
- Dispose of the old battery appropriately: Once the old battery is removed, dispose of it according to local regulations and guidelines for battery disposal. Many communities have designated recycling centers or programs for proper battery recycling.
Properly removing the old battery ensures a smooth replacement process and reduces the risk of causing any damage to the Trane XL824 Smart Thermostat. Be cautious while handling the battery and follow the recommended disposal procedures to minimize environmental impact.
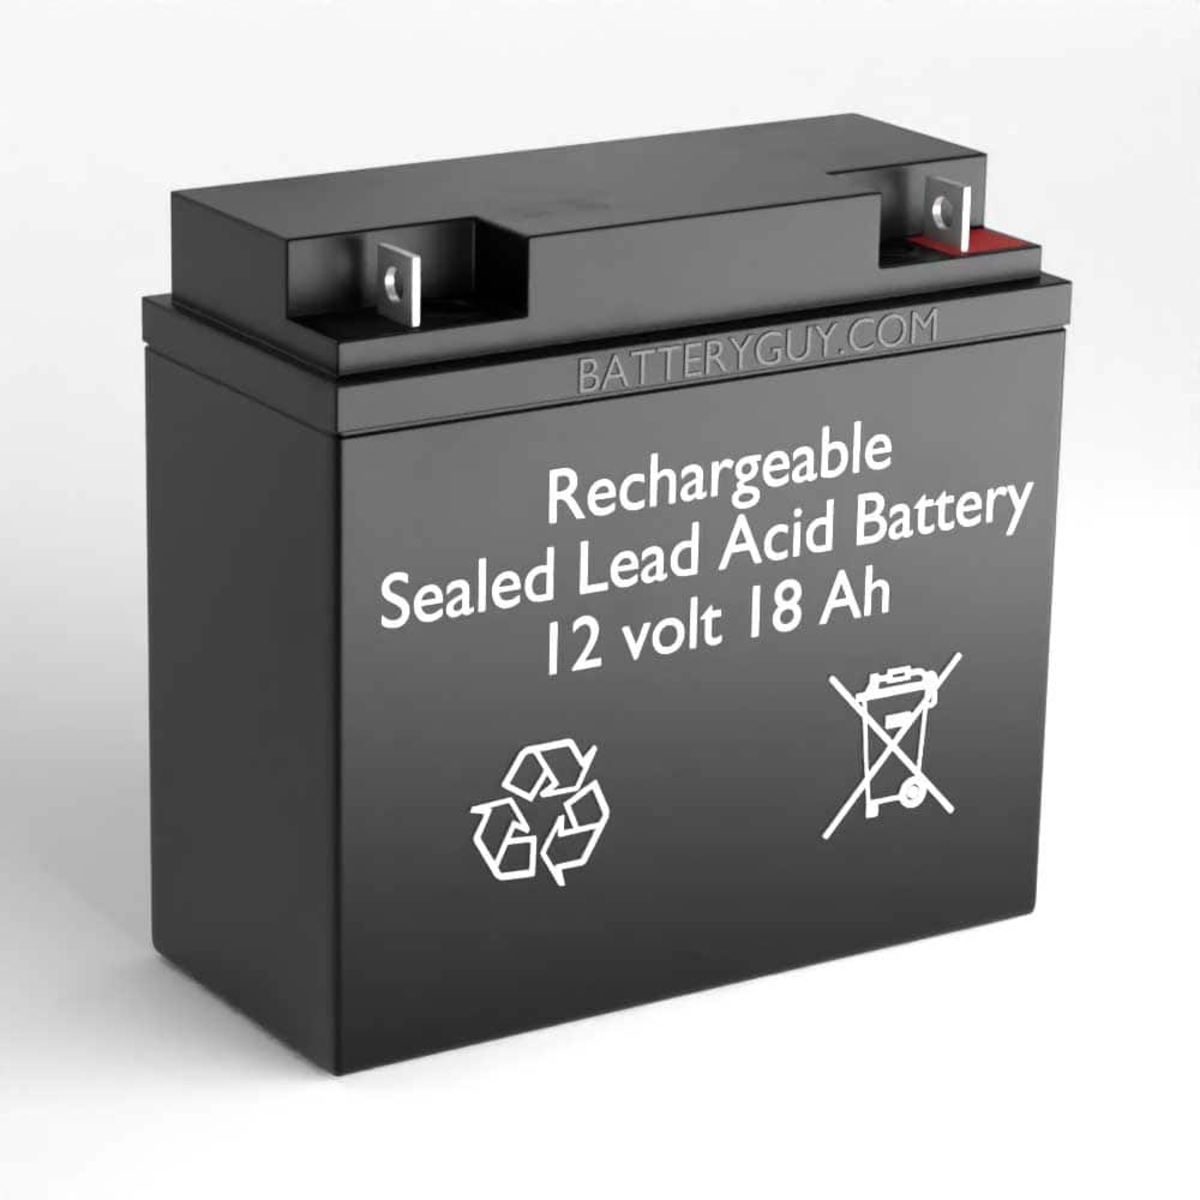
Keep in mind that the battery used in the Trane XL824 Smart Thermostat may vary, so if you plan to replace it with a different battery brand or type, refer to the user manual or contact Trane customer support for specific recommendations.
Step 6: Insert the New Battery
After removing the old battery from the Trane XL824 Smart Thermostat, it’s time to insert the new battery. Follow these steps:
- Check the battery specifications: Before inserting the new battery, ensure that it matches the specifications required for the Trane XL824 Smart Thermostat. Refer to the user manual or contact Trane customer support if you are unsure about the compatible battery type.
- Position the battery correctly: Take note of the positive (+) and negative (-) terminals inside the battery compartment. Align the new battery based on the indicated polarity, ensuring that the terminals match the corresponding slots.
- Insert the battery: Carefully slide or place the new battery into the battery compartment, making sure it is securely seated. Double-check that the terminals are making proper contact with the respective slots.
- Close the battery compartment: Once the new battery is inserted, close the battery compartment by either flipping down the latch or sliding the cover back into place. Ensure that it is securely fastened.
When inserting the new battery, it’s important to handle it with care and avoid touching the terminals. Oils and residues on your skin can impact the battery’s performance. If needed, you can use a pair of rubber gloves or a clean cloth to handle the battery during the insertion process.
Remember to follow any specific instructions provided by Trane or the battery manufacturer regarding the insertion of the new battery. Following these steps will ensure that the Trane XL824 Smart Thermostat has a properly installed and functioning battery.
Step 7: Close the Battery Compartment
After inserting the new battery into the Trane XL824 Smart Thermostat, it’s time to close the battery compartment. Follow these steps:
- Ensure the battery is securely in place: Before closing the battery compartment, double-check that the new battery is properly inserted and securely seated in its designated position. Make sure the terminals are making proper contact.
- Align the cover or latch: If the battery compartment has a cover or latch, align it with the corresponding grooves or slots. Ensure that it is positioned correctly for closing.
- Close the battery compartment: Carefully flip up the latch or slide the cover back into position to close the battery compartment. Apply gentle pressure to ensure that it is securely fastened.
It’s important to ensure that the battery compartment is closed properly to prevent dust, debris, or moisture from getting inside. This will help maintain the integrity and performance of both the battery and the Trane XL824 Smart Thermostat.
If you encounter any difficulties while closing the battery compartment or notice any unusual resistance, carefully inspect the compartment and ensure that the battery is inserted correctly. If the issue persists, refer to the user manual or contact Trane customer support for assistance.
Once the battery compartment is securely closed, you can proceed to reattach the Trane XL824 Smart Thermostat to the wall and test its functionality.
Step 8: Reattach the Thermostat to the Wall
With the battery compartment closed, your next step is to reattach the Trane XL824 Smart Thermostat to the wall. Follow these instructions:
- Align the thermostat with the mounting plate: Position the thermostat in alignment with the mounting plate on the wall. Ensure that the screw holes on the thermostat line up with the corresponding holes on the mounting plate.
- Insert and tighten the screws: Using a screwdriver or the appropriate tool, carefully insert the screws into the designated holes on the thermostat. Gently tighten the screws, ensuring a secure fit without putting excessive pressure on the device.
- Double-check the wire connections: As you reattach the thermostat, verify that the wires are correctly connected to their respective terminals. Refer to the notes or labels made during the initial removal process to ensure proper reinstallation.
When reattaching the thermostat, take care to align it properly and avoid any unnecessary twisting or bending of the wires. This will help prevent any damage to the thermostat or the electrical connections.
Once the Trane XL824 Smart Thermostat is securely attached to the wall and the wires are properly connected, you can proceed to the next step of testing its functionality.
If you face any difficulties during the reattachment process or encounter any issues with the wire connections, it is advisable to consult the user manual or seek professional assistance to ensure a successful installation.
Step 9: Test the Thermostat Functionality
After reattaching the Trane XL824 Smart Thermostat to the wall, it’s important to test its functionality to ensure that the battery replacement was successful. Follow these steps:
- Restore power and enable Wi-Fi: Turn the power back on to your HVAC system and enable Wi-Fi connectivity if applicable. This will ensure that the thermostat has the necessary power supply and can connect to your network.
- Observe the thermostat display: Look for any signs of functionality on the thermostat display. Check if the screen lights up and displays the correct date, time, and temperature readings.
- Adjust the temperature settings: Use the thermostat’s controls to adjust the temperature setting. Ensure that the thermostat responds to changes and relays the adjustments to your HVAC system.
- Test additional features: If your Trane XL824 Smart Thermostat has additional features or settings, such as programmable schedules or humidity control, test them to ensure they are functioning as expected.
- Monitor for accurate temperature: Keep an eye on the temperature readings provided by the thermostat and compare them to an external thermometer or another reliable source. Verify that the thermostat is accurately measuring and maintaining the desired temperature.
Testing the functionality of the thermostat after the battery replacement is crucial to ensure that it is operating correctly. If you encounter any issues or notice any abnormalities during the testing process, refer to the user manual for troubleshooting steps or contact Trane customer support for assistance.
By thoroughly testing the thermostat’s functionality, you can have confidence in its performance and enjoy optimal comfort and energy efficiency in your home.
Conclusion
Congratulations! You have successfully replaced the battery on your Trane XL824 Smart Thermostat. By following the step-by-step instructions provided in this guide, you have ensured that your thermostat can continue to operate efficiently and accurately.
Changing the battery on the Trane XL824 Smart Thermostat is a simple process, but it is essential to take the necessary precautions and follow the correct steps. By preparing for the battery replacement, removing the thermostat from the wall, locating and opening the battery compartment, replacing the old battery with a new one, closing the battery compartment, reattaching the thermostat to the wall, and testing its functionality, you have completed each crucial step with care.
Remember, if you encounter any difficulties during the battery replacement process, it is always recommended to consult the user manual or seek assistance from a professional technician or Trane customer support.
By maintaining a properly functioning battery, your Trane XL824 Smart Thermostat can provide accurate temperature readings, efficient energy usage, and convenient smart features to enhance your home’s comfort. Regularly checking and replacing the battery when needed ensures that your thermostat continues to perform optimally for years to come.
Thank you for following this guide, and we hope it has been helpful in successfully changing the battery on your Trane XL824 Smart Thermostat. Enjoy the benefits of a well-functioning thermostat and a comfortable home environment!