Introduction
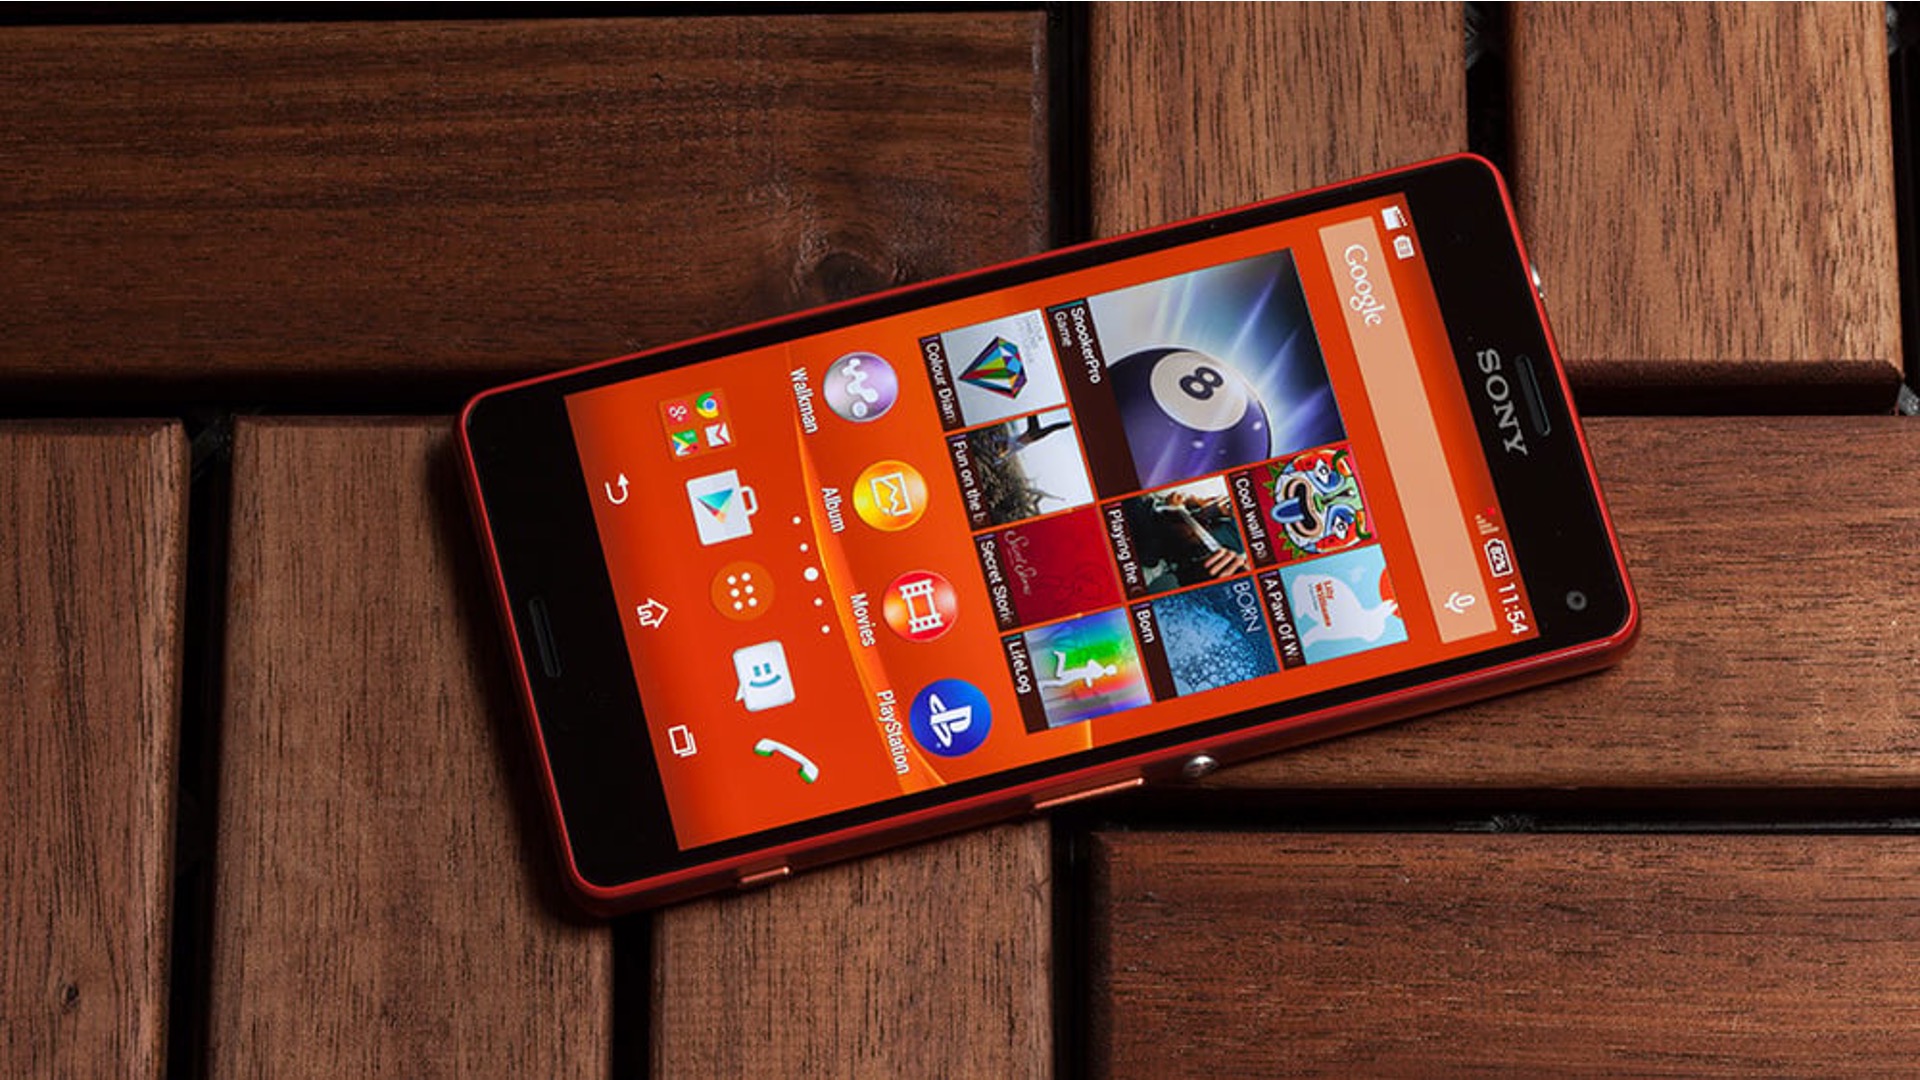
In today's digital age, the seamless connection between mobile devices and personal computers has become an essential aspect of our daily lives. Whether it's for transferring files, performing software updates, or simply charging the device, the ability to connect a smartphone to a PC is crucial. However, when it comes to older operating systems such as Windows XP, compatibility issues may arise, especially when dealing with newer mobile devices like the Sony Xperia E3.
In this comprehensive tutorial, we will delve into the process of connecting the Sony Xperia E3 to a PC running Windows XP. We will explore the necessary steps to establish a stable and functional connection, enabling users to transfer files, perform system updates, and leverage the full potential of their Sony Xperia E3 device.
By following the step-by-step instructions provided in this tutorial, users can overcome any potential compatibility challenges and ensure a smooth and efficient connection between their Sony Xperia E3 and Windows XP. Let's embark on this journey to seamlessly bridge the gap between these two devices and unlock the full potential of the Sony Xperia E3 on the Windows XP platform.
Step 1: Install Sony Xperia E3 USB Drivers on Windows XP
Installing the appropriate USB drivers for the Sony Xperia E3 on a Windows XP system is the crucial first step in establishing a successful connection between the two devices. USB drivers act as the communication bridge between the smartphone and the computer, enabling seamless data transfer and device recognition. Here's a detailed guide to installing the Sony Xperia E3 USB drivers on a Windows XP PC:
-
Download the USB Drivers: Begin by navigating to the official Sony support website or the Xperia support page. Locate the dedicated section for USB drivers and select the appropriate drivers for the Sony Xperia E3 model that is compatible with Windows XP.
-
Extract the Driver Package: Once the USB driver package is downloaded, locate the file on your Windows XP computer and extract its contents to a designated folder. This will ensure easy access to the driver files during the installation process.
-
Connect the Xperia E3: Using a USB cable, connect the Sony Xperia E3 to the Windows XP PC. It's essential to use a high-quality USB cable to ensure a stable connection throughout the driver installation process.
-
Access Device Manager: On the Windows XP PC, navigate to the Device Manager by right-clicking on the 'My Computer' icon and selecting 'Properties'. From the 'Hardware' tab, click on 'Device Manager' to access the list of installed hardware devices.
-
Install the Drivers: Within the Device Manager, locate the Sony Xperia E3 device, which may be listed under 'Other Devices' or 'Portable Devices' with a yellow exclamation mark indicating that the drivers are not installed.
-
Update Driver Software: Right-click on the Sony Xperia E3 device and select 'Update Driver Software'. Choose the option to browse the computer for driver software and navigate to the folder where the USB drivers were extracted.
-
Complete the Installation: Follow the on-screen instructions to complete the installation of the USB drivers for the Sony Xperia E3. Once the installation process is finished, the device manager should recognize the Xperia E3 without any warning indicators, signifying a successful driver installation.
By following these detailed steps, users can ensure that the Sony Xperia E3 is equipped with the necessary USB drivers to establish a stable and functional connection with a Windows XP PC. This foundational step sets the stage for seamless data transfer and device recognition, laying the groundwork for the subsequent stages of connecting the Sony Xperia E3 to Windows XP.
Step 2: Enable USB Debugging on Sony Xperia E3
Enabling USB debugging on the Sony Xperia E3 is a pivotal step in establishing a successful connection with a Windows XP PC. USB debugging allows the device to communicate with the computer via a USB connection while granting elevated access for debugging and development purposes. Here's a comprehensive guide to enabling USB debugging on the Sony Xperia E3:
-
Access the Developer Options: To begin, navigate to the device's settings menu on the Sony Xperia E3. Scroll down and locate the "About phone" or "About device" option.
-
Tap Build Number: In the "About phone" section, locate the "Build number" entry. Tap on the "Build number" entry repeatedly (usually seven times) to unlock the developer options. Upon successful tapping, a message confirming that the developer options are now available will be displayed.
-
Access Developer Options: Once the developer options are unlocked, navigate back to the main settings menu. A new entry labeled "Developer options" should now be visible above or below the "About phone" section.
-
Enable USB Debugging: Enter the "Developer options" menu and locate the "USB debugging" option. Toggle the switch or checkbox next to "USB debugging" to enable this feature. A prompt may appear to confirm the action; select "OK" to proceed.
-
Grant USB Debugging Access: Upon enabling USB debugging, a prompt may appear on the Sony Xperia E3 screen requesting permission to allow USB debugging when connected to a computer. Select "Allow" to grant the necessary access.
-
Connect the Xperia E3 to the PC: Using a USB cable, connect the Sony Xperia E3 to the Windows XP PC. Upon connection, a notification may appear on the device's screen indicating that USB debugging is enabled and prompting the user to allow USB debugging access from the connected computer. Select "Allow" to proceed.
By following these detailed steps, users can successfully enable USB debugging on the Sony Xperia E3, paving the way for a seamless connection with a Windows XP PC. This crucial step grants the device the necessary permissions to communicate with the computer, facilitating various tasks such as file transfer, debugging, and software development. With USB debugging enabled, users can harness the full potential of their Sony Xperia E3 while ensuring a stable and productive connection with a Windows XP system.
Step 3: Connect Sony Xperia E3 to PC via USB Cable
Connecting the Sony Xperia E3 to a PC via a USB cable is a fundamental step in establishing a seamless and functional link between the two devices. This physical connection serves as the conduit for data transfer, device recognition, and various interactions between the smartphone and the Windows XP computer. Here's a detailed guide on how to connect the Sony Xperia E3 to a PC using a USB cable:
-
Quality USB Cable: Begin by ensuring that you have a high-quality USB cable suitable for connecting the Sony Xperia E3 to the Windows XP PC. A reliable USB cable is essential for maintaining a stable connection throughout the data transfer process.
-
Unlock the Xperia E3: If the Sony Xperia E3 is locked, unlock the device using the designated security method, such as a PIN, pattern, or fingerprint recognition. This ensures that the device is ready to establish a connection with the PC.
-
USB Port Identification: On the Windows XP PC, identify an available USB port for connecting the Sony Xperia E3. It's recommended to use a USB port directly on the computer rather than a USB hub for a more stable connection.
-
Connect the USB Cable: Take the USB cable and connect one end to the USB port on the Windows XP PC. Ensure a secure and snug connection to minimize the risk of disconnection during data transfer.
-
Connect the Xperia E3: With the USB cable connected to the PC, take the other end of the cable and insert it into the charging port of the Sony Xperia E3. Apply gentle pressure to ensure a secure connection without causing any damage to the device's port.
-
Device Recognition: Upon establishing the physical connection, the Windows XP PC should initiate the device recognition process. This may trigger the installation of additional drivers or prompt the user to confirm the device's access permissions.
-
Device Notification: On the Sony Xperia E3, a notification may appear indicating that the device is connected via USB. Depending on the device's settings, this notification may offer options for USB connection modes, such as file transfer, charging only, or photo transfer.
-
Accessing the Device: Once the Sony Xperia E3 is successfully connected to the Windows XP PC, users can access the device's storage, transfer files, and perform various tasks such as media synchronization, software updates, and backup operations.
By following these detailed steps, users can establish a robust and reliable connection between the Sony Xperia E3 and a Windows XP PC using a USB cable. This connection opens up a myriad of possibilities for seamless data transfer, device management, and leveraging the full potential of the Sony Xperia E3 within the Windows XP environment.
Step 4: Transfer Files between Sony Xperia E3 and Windows XP
Transferring files between the Sony Xperia E3 and a Windows XP PC is a pivotal aspect of the connection, enabling users to seamlessly exchange photos, videos, documents, and other data. This process facilitates the backup of important files, media synchronization, and the transfer of user-generated content between the smartphone and the computer. Here's a comprehensive guide on how to transfer files between the Sony Xperia E3 and Windows XP:
-
Unlock the Xperia E3: If the Sony Xperia E3 is locked, unlock the device using the designated security method to gain access to the device's interface.
-
USB Connection Mode: Upon connecting the Sony Xperia E3 to the Windows XP PC via USB, a notification may appear on the device's screen, prompting the user to select a USB connection mode. Choose the "File Transfer" or "Media Transfer" mode to enable the device's storage to be accessible from the Windows XP PC.
-
Accessing the Device on Windows XP: On the Windows XP PC, navigate to "My Computer" or "This PC" to locate the connected Sony Xperia E3. The device should appear as a removable storage device, allowing users to access its internal storage and SD card if applicable.
-
Transfer Files: With the Sony Xperia E3's storage accessible on the Windows XP PC, users can simply drag and drop files between the device and the computer. This intuitive process enables the seamless transfer of photos, videos, music, and documents between the two devices.
-
Organizing Files: Users can create new folders, rearrange files, and organize the content within the Sony Xperia E3's storage directly from the Windows XP PC. This allows for efficient file management and organization, ensuring that the transferred data is stored in a structured manner.
-
Eject the Xperia E3: Once the file transfer is complete, it's essential to safely eject the Sony Xperia E3 from the Windows XP PC. This can be done by right-clicking on the device in "My Computer" or "This PC" and selecting the "Eject" option to ensure that no data is lost or corrupted during the disconnection process.
By following these detailed steps, users can effortlessly transfer files between the Sony Xperia E3 and a Windows XP PC, fostering seamless data exchange and efficient file management. This process empowers users to maintain a synchronized and organized digital ecosystem, ensuring that their valuable content is readily accessible across both devices.
Conclusion
In conclusion, the successful connection between the Sony Xperia E3 and a Windows XP PC is not only achievable but also essential for leveraging the full potential of the smartphone within the legacy operating system environment. By following the comprehensive steps outlined in this tutorial, users can overcome compatibility challenges and establish a robust link that facilitates seamless data transfer, device management, and software interaction.
The installation of the Sony Xperia E3 USB drivers on Windows XP serves as the foundational step, ensuring that the PC recognizes and communicates effectively with the smartphone. Enabling USB debugging on the Xperia E3 grants elevated access for debugging and development purposes, paving the way for enhanced device interaction and software development.
The physical connection between the Sony Xperia E3 and the Windows XP PC via a USB cable is the bridge that facilitates data transfer, media synchronization, and backup operations. This connection opens up a myriad of possibilities for seamless file exchange, device recognition, and efficient content management.
Transferring files between the Sony Xperia E3 and Windows XP is a pivotal aspect of the connection, enabling users to seamlessly exchange photos, videos, documents, and other data. This process facilitates the backup of important files, media synchronization, and the transfer of user-generated content between the smartphone and the computer.
By following the detailed steps outlined in this tutorial, users can ensure a stable and functional connection between the Sony Xperia E3 and a Windows XP PC, unlocking the full potential of the smartphone within the legacy operating system environment. This seamless connection empowers users to maintain a synchronized and organized digital ecosystem, ensuring that their valuable content is readily accessible across both devices.
In essence, the successful connection between the Sony Xperia E3 and Windows XP exemplifies the adaptability and versatility of modern mobile devices within diverse technology ecosystems. As users navigate the intricacies of device connectivity, they gain valuable insights into the seamless integration of cutting-edge smartphones with legacy operating systems, fostering a harmonious and productive digital experience.


