Introduction
Transferring your MetroPCS SIM card to another phone can be a straightforward process, allowing you to seamlessly switch to a new device while retaining your existing phone number and service plan. Whether you're upgrading to a new smartphone or simply switching to a different device, understanding the steps involved in transferring your SIM card is essential. This article will guide you through the process, ensuring that you can complete the transfer with ease and confidence.
By following the steps outlined in this guide, you will be able to transfer your MetroPCS SIM card to a new phone without losing any of your valuable data or experiencing service disruptions. It's important to note that MetroPCS, now known as Metro by T-Mobile, operates on a GSM network, meaning that the SIM card is a critical component for accessing voice, text, and data services. As such, transferring your SIM card correctly is vital for maintaining uninterrupted connectivity.
Whether you're a tech-savvy individual or someone who is new to the world of mobile devices, this guide is designed to provide clear and concise instructions that anyone can follow. With a few simple steps, you can ensure that your new phone is up and running with your MetroPCS service in no time. So, let's dive into the process and get you started on transferring your MetroPCS SIM card to another phone.
Step 1: Check Phone Compatibility
Before initiating the process of transferring your MetroPCS SIM card to another phone, it's crucial to determine whether the new device is compatible with the Metro by T-Mobile network. Since MetroPCS operates on a GSM network, it's essential to ensure that the new phone supports this technology.
To check the compatibility of your new device, you can visit the Metro by T-Mobile website or contact customer support for assistance. Alternatively, you can utilize the "Bring Your Own Device" (BYOD) tool provided by Metro by T-Mobile. This online tool allows you to enter the device's IMEI (International Mobile Equipment Identity) number to verify its compatibility with the network.
If you're unsure where to find the IMEI number, it can typically be located on the original packaging of the device, on a sticker behind the battery (for removable battery devices), or by dialing *#06# on the phone's keypad. Once you have the IMEI number, simply enter it into the BYOD tool to receive confirmation of the device's compatibility.
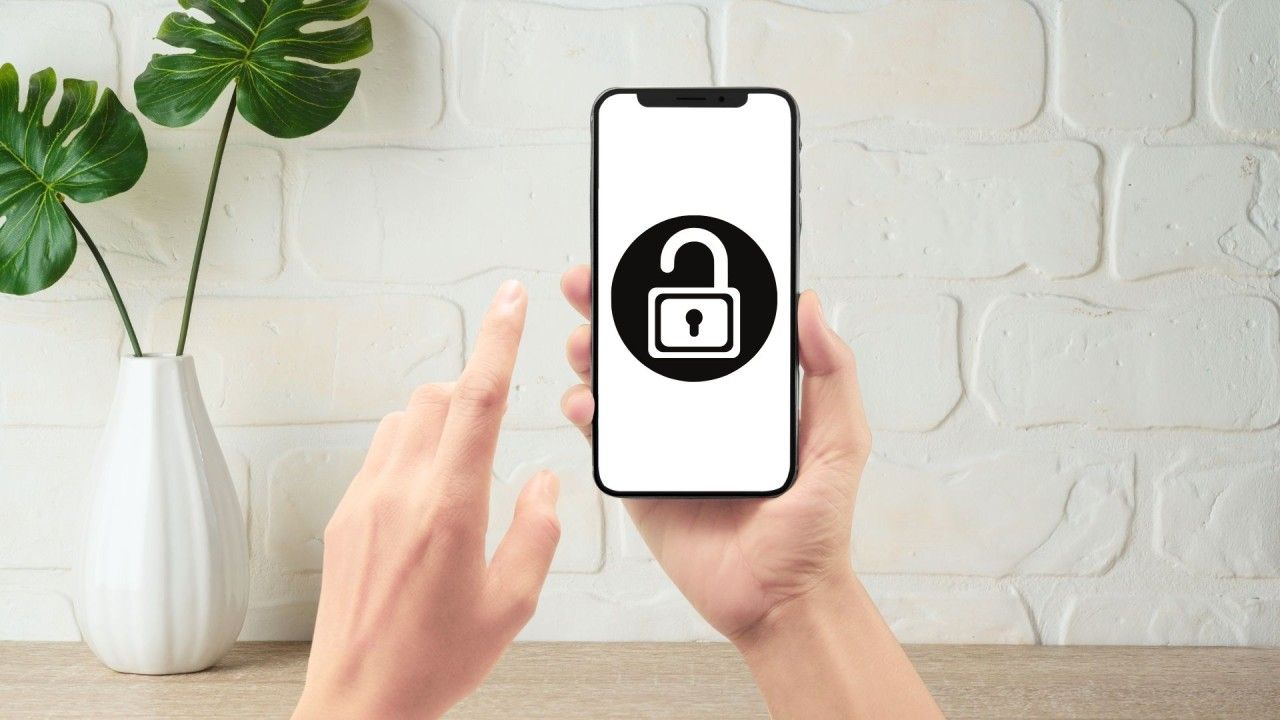
In addition to verifying GSM compatibility, it's important to ensure that the new phone is unlocked. If the device was previously used with another carrier, it may be locked to that specific network. In such cases, you will need to contact the original carrier to request an unlock code or utilize third-party services to unlock the device.
By confirming the GSM compatibility and unlocking status of the new phone, you can avoid potential issues during the SIM card transfer process. This proactive approach ensures that the new device is ready to be paired with your Metro by T-Mobile service, allowing for a seamless transition without any compatibility-related setbacks.
Ensuring phone compatibility is the first and most crucial step in the process of transferring your MetroPCS SIM card to another phone. By taking the time to confirm compatibility and unlock status, you can set the stage for a smooth and successful transition to your new device.
Step 2: Back Up Data
Backing up your data before transferring your MetroPCS SIM card to another phone is a critical step to safeguard your personal information, including contacts, photos, videos, and app data. By creating a comprehensive backup, you can ensure that your valuable content remains secure and accessible, even as you transition to a new device.
Utilize Built-In Backup Features
Most modern smartphones, including those compatible with Metro by T-Mobile, offer built-in backup features that streamline the process of preserving your data. These features may include cloud backup options, such as Google Drive for Android devices or iCloud for iPhones. By accessing the device's settings and navigating to the backup and restore section, you can initiate a backup that will securely store your data in the cloud.
Sync Contacts and Calendar
For essential information such as contacts and calendar events, syncing with your Google or iCloud account is an effective way to ensure that this data is readily available on your new device. By enabling contact and calendar syncing in the device settings, you can seamlessly transfer this information to your new phone once the SIM card has been transferred.
Transfer Photos and Videos
To safeguard your photos and videos, consider using cloud storage services such as Google Photos or iCloud Photo Library. These services offer automatic backup functionality, allowing you to upload your media to the cloud and access it from any device. Additionally, you can connect your phone to a computer and manually transfer media files to create an offline backup.
Backup App Data
Many apps, especially those associated with social media, productivity, and messaging, offer their own backup and sync features. It's advisable to explore the backup options within these apps to ensure that your conversations, settings, and media are preserved. Additionally, consider using third-party backup apps to create a comprehensive backup of all your app data.
By proactively backing up your data, you can mitigate the risk of losing important information during the process of transferring your MetroPCS SIM card to another phone. This step is essential for preserving your digital life and ensuring a seamless transition to your new device.
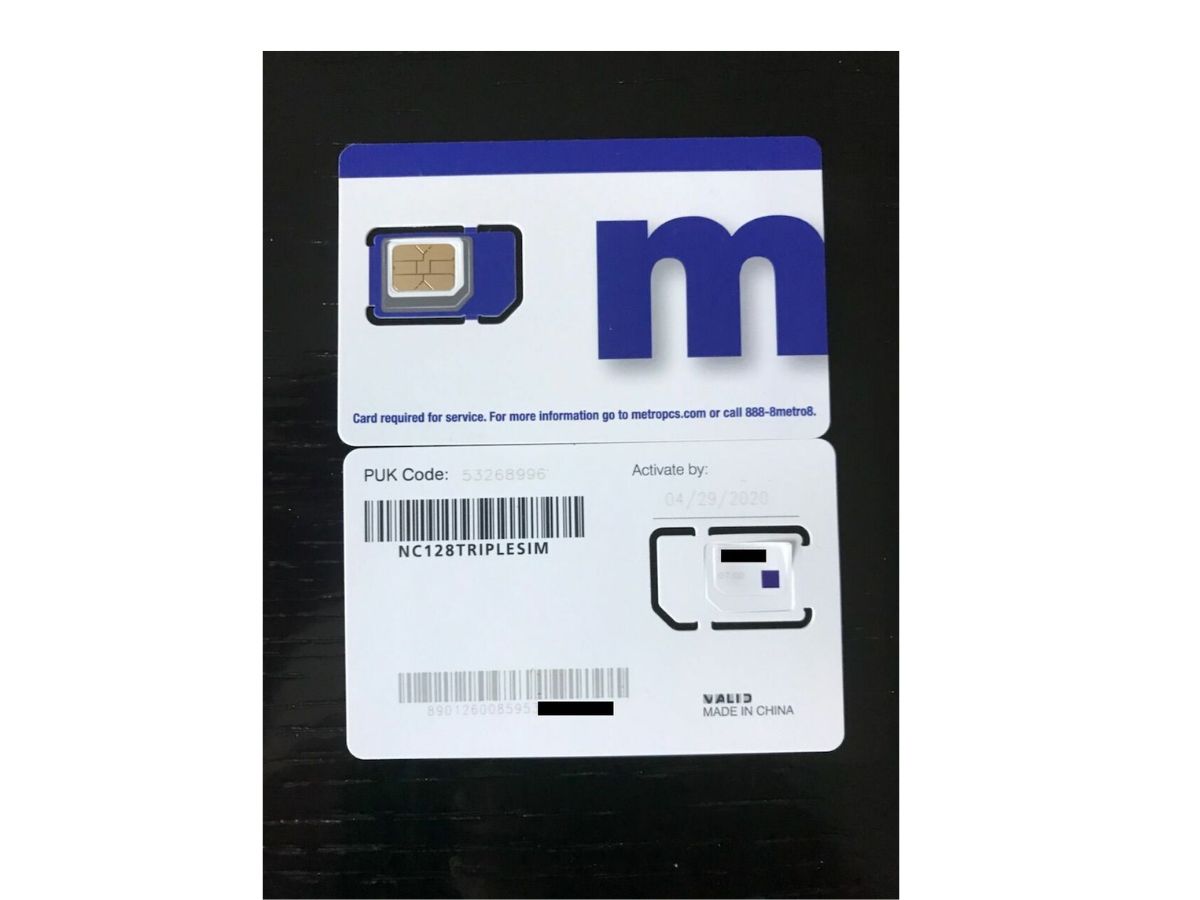
Step 3: Remove SIM Card
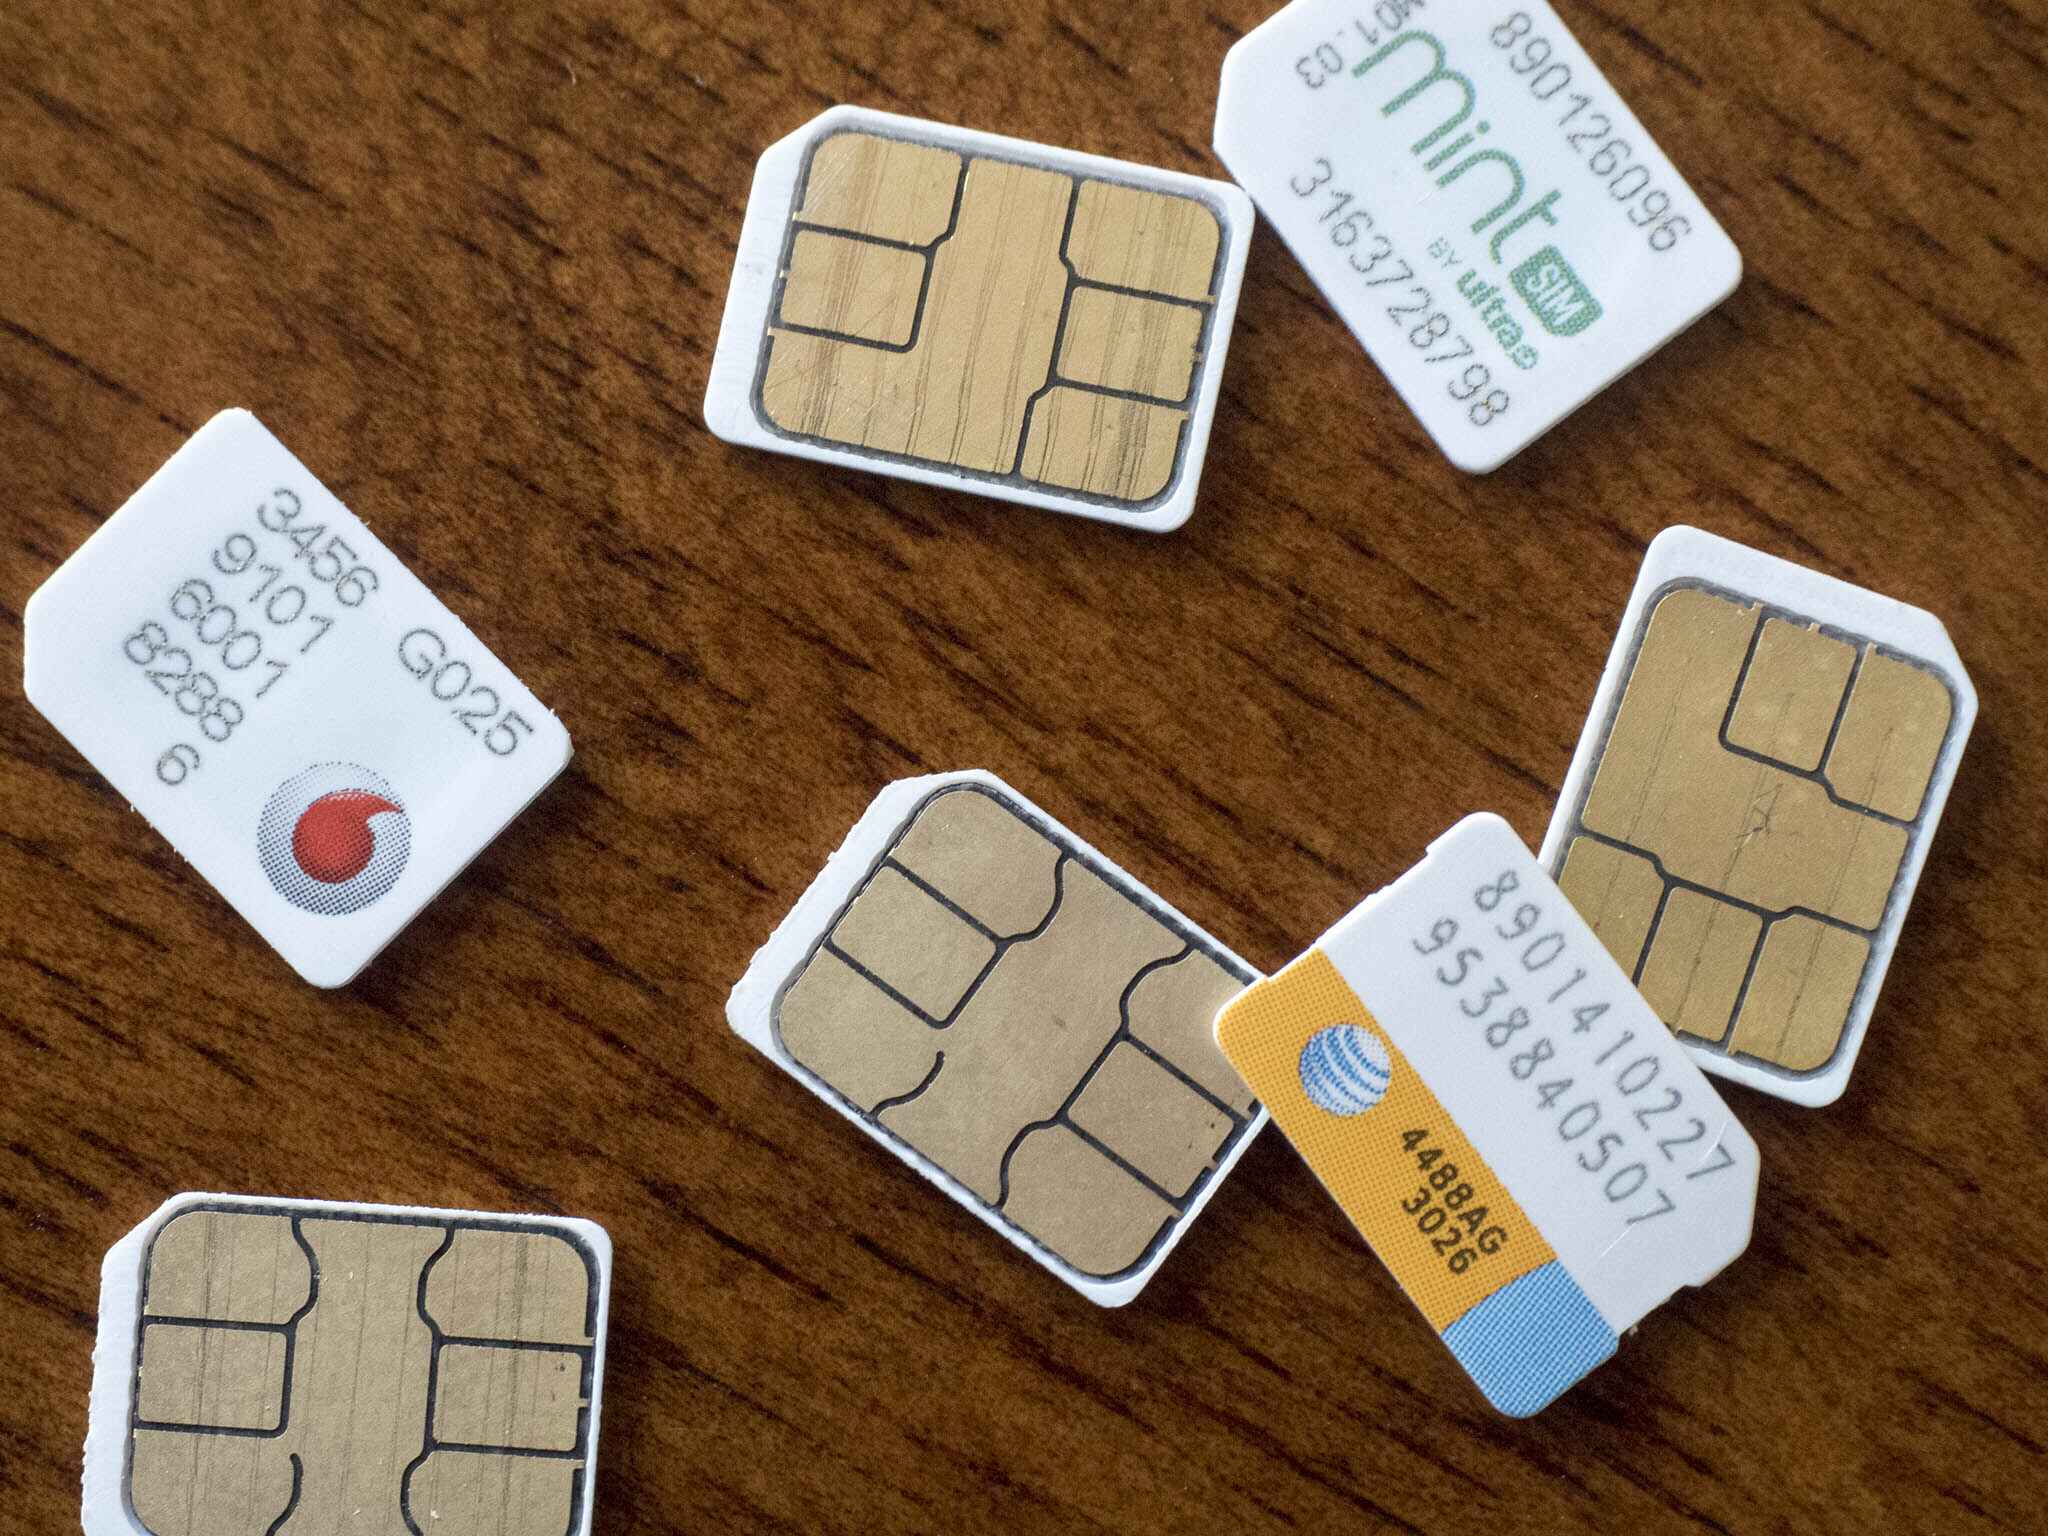
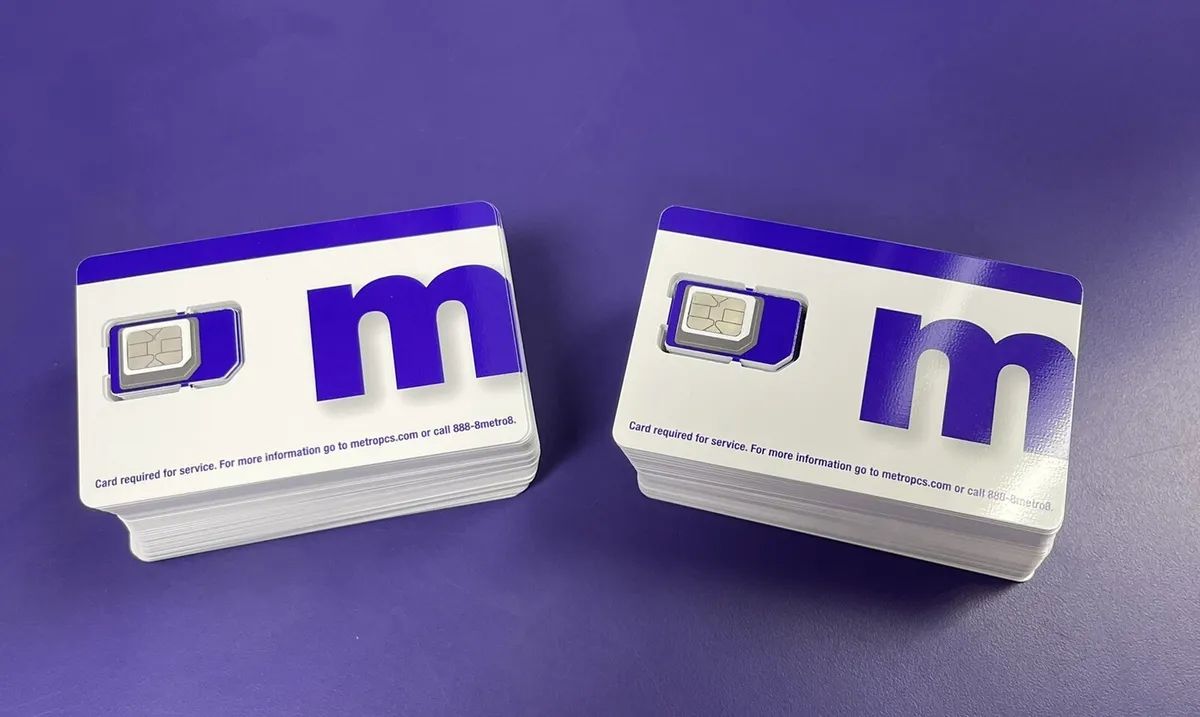
Removing the SIM card from your current phone is a crucial step in preparing for its transfer to a new device. The SIM card, which stands for Subscriber Identity Module, is a small, removable card that stores essential information related to your mobile service, including your phone number, carrier details, and personal preferences. By carefully removing the SIM card from your current phone, you can ensure that it remains undamaged and ready for installation in your new device.
Here's a detailed guide on how to remove the SIM card from your current phone:
-
Locate the SIM Card Tray: Depending on the make and model of your phone, the SIM card tray may be located on the side, top, or bottom of the device. Some phones feature a removable back cover, under which the SIM card is housed. If you're unable to locate the SIM card tray, referring to the phone's user manual or conducting a quick online search for your specific phone model can provide the necessary guidance.
-
Power Off the Device: Before removing the SIM card, it's advisable to power off your phone to prevent any potential data corruption or service disruptions. Once the phone is turned off, you can proceed with accessing the SIM card tray without any risk of causing software issues.
-
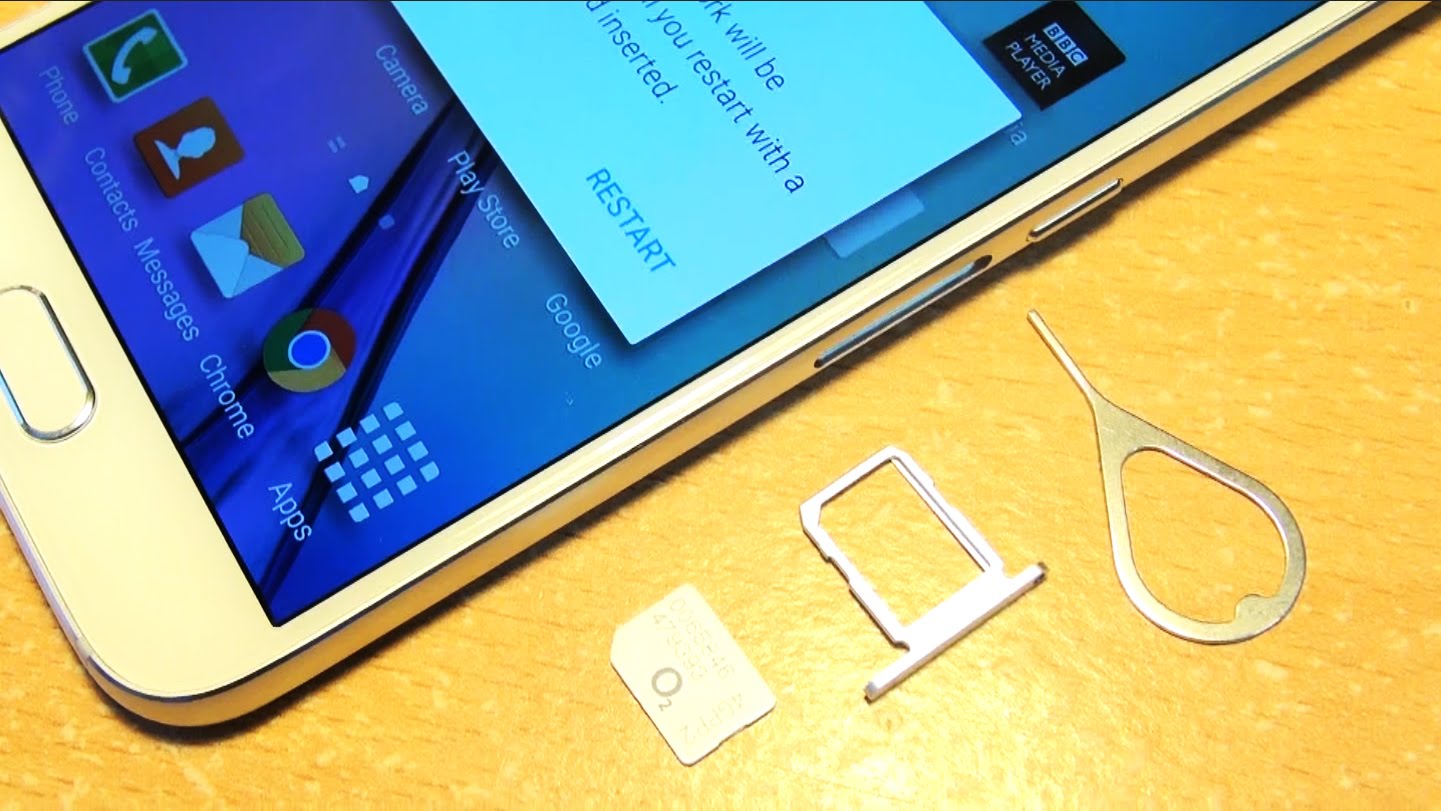
Eject the SIM Card Tray: Using the provided SIM card ejection tool or a small, pointed object such as a paperclip, gently insert it into the pinhole located near the SIM card tray. Apply light pressure to release the tray, allowing you to carefully pull it out of the phone. If your phone has a removable back cover, you may need to remove the cover to access the SIM card slot directly.
-
Remove the SIM Card: Upon accessing the SIM card tray, you will find the SIM card securely placed within it. Gently remove the SIM card from the tray, ensuring that you handle it with care to avoid bending or damaging the delicate components. It's important to note that SIM cards are non-reusable and should be handled cautiously to prevent any physical or electrical damage.
-
Store the SIM Card Safely: Once the SIM card has been removed, it's recommended to store it in a safe place, such as a SIM card holder or the packaging of your new phone. Keeping the SIM card in a secure location will prevent it from being misplaced or damaged during the transition to your new device.
By following these steps, you can successfully remove the SIM card from your current phone, preparing it for the subsequent installation in your new device. This process ensures that the SIM card remains intact and ready for the next phase of the transfer, allowing for a seamless transition to your new phone.
Step 4: Insert SIM Card into New Phone
Once you have successfully removed the SIM card from your current phone, the next step is to insert it into your new device. This process is essential for ensuring that your new phone is properly configured to work with your Metro by T-Mobile service, allowing you to make calls, send texts, and access mobile data seamlessly. Here's a detailed guide on how to insert the SIM card into your new phone:
-
Locate the SIM Card Slot: Begin by identifying the location of the SIM card slot on your new phone. Depending on the device's design, the SIM card slot may be located on the side, top, or bottom of the phone. Some phones feature a removable back cover, under which the SIM card slot is positioned. If you're unable to locate the SIM card slot, referring to the phone's user manual or conducting a quick online search for your specific phone model can provide the necessary guidance.
-
Power Off the New Device: Before inserting the SIM card, it's advisable to power off your new phone. This precautionary step helps prevent any potential damage to the SIM card or the phone's internal components during the installation process.
-
Insert the SIM Card: Using the provided SIM card ejection tool or a small, pointed object such as a paperclip, gently insert it into the pinhole near the SIM card slot to release the tray. Carefully place the SIM card into the designated slot, ensuring that it aligns with the contacts and fits securely into place. It's important to handle the SIM card with care to avoid any physical damage or misalignment during the installation.
-
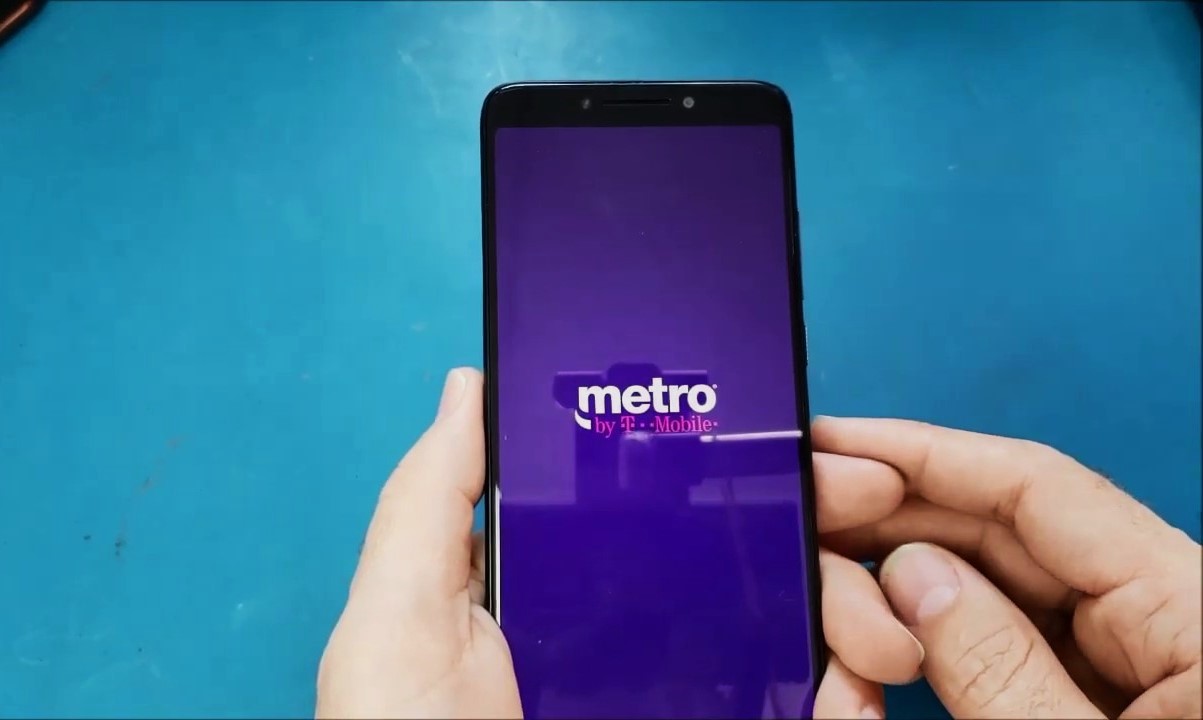
Power On the Device: Once the SIM card has been securely inserted, power on your new phone. As the device boots up, it will automatically detect the SIM card and configure the necessary settings to establish a connection with the Metro by T-Mobile network.
-
Verify Connectivity: After the phone has powered on, verify that the SIM card has been recognized by checking for signal bars and network connectivity indicators on the device. Additionally, you can make a test call or send a text message to confirm that the phone is successfully connected to the network using the transferred SIM card.
By following these steps, you can effectively insert the SIM card into your new phone, ensuring that it is ready to be activated and used with your Metro by T-Mobile service. This seamless transition allows you to enjoy uninterrupted access to voice, text, and data services on your new device, making the SIM card transfer process a smooth and hassle-free experience.
Step 5: Test and Activate
After inserting the SIM card into your new phone, the final step in the process of transferring your MetroPCS service is to test the connectivity and activate the device. This crucial phase ensures that your new phone is fully operational with your Metro by T-Mobile service, allowing you to make calls, send texts, and access mobile data without any interruptions. Here's a detailed guide on how to test and activate your new device:
-
Check Signal Strength: Upon powering on the new phone and verifying the presence of the SIM card, it's essential to check the signal strength and network connectivity indicators. Ensure that the device displays adequate signal bars and that it's able to establish a stable connection to the Metro by T-Mobile network. If the signal strength is low or nonexistent, consider relocating to an area with better coverage to test the connectivity.
-
Make a Test Call: To confirm that the phone is fully operational with the transferred SIM card, initiate a test call to a known number. By placing a call, you can verify that the phone is capable of making and receiving calls without any issues. Additionally, listen for call quality and ensure that the audio is clear and free from any distortions or disruptions.
-
Send a Test Text Message: After confirming call functionality, proceed to send a test text message to another mobile device. This step allows you to verify that the phone is capable of sending and receiving text messages, ensuring that the messaging service is fully operational with your Metro by T-Mobile service.
-
Access Mobile Data: To test the mobile data connectivity, open a web browser or a data-dependent app to ensure that the phone can access the internet via the Metro by T-Mobile network. By browsing websites or accessing online services, you can verify that the mobile data service is active and functioning as expected on your new device.
-
Activate the Device: If the phone successfully passes the signal, call, text, and data tests, it's time to activate the device with your Metro by T-Mobile service. This can typically be done by following the activation instructions provided by Metro by T-Mobile, which may involve dialing a specific number or accessing the activation portal online. Follow the prompts to complete the activation process, ensuring that the phone is fully registered and operational on the network.
By following these steps and thoroughly testing the connectivity and functionality of your new device, you can ensure a successful transfer of your MetroPCS SIM card to another phone. This comprehensive testing process allows you to confirm that the phone is fully operational with your Metro by T-Mobile service, providing you with the confidence that your new device is ready for everyday use.
This thorough testing and activation phase marks the final step in the process of transferring your MetroPCS service to a new phone. By following these guidelines, you can seamlessly transition to your new device while maintaining uninterrupted access to the Metro by T-Mobile network.
Conclusion
In conclusion, transferring your MetroPCS SIM card to another phone is a process that, when approached with careful consideration and attention to detail, can result in a seamless transition to a new device. By following the steps outlined in this guide, you can ensure that your Metro by T-Mobile service is successfully transferred to your new phone, allowing you to maintain uninterrupted access to voice, text, and data services.
The initial step of checking phone compatibility is essential for avoiding potential compatibility issues that may arise when attempting to use a non-compatible or locked device with the Metro by T-Mobile network. Verifying GSM compatibility and ensuring that the new phone is unlocked sets the stage for a smooth and successful SIM card transfer process.
Backing up your data before removing the SIM card from your current phone is a crucial precautionary measure. By utilizing built-in backup features and syncing essential data to cloud services, you can safeguard your contacts, photos, videos, and app data, ensuring that your digital content remains secure and accessible during the transition to your new device.
Carefully removing the SIM card from your current phone and securely storing it sets the foundation for a successful transfer. By following the detailed steps for removing and storing the SIM card, you can ensure that it remains undamaged and ready for installation in your new device.
Inserting the SIM card into your new phone and verifying its connectivity marks a pivotal phase in the transfer process. By following the step-by-step instructions for inserting the SIM card and testing the phone's connectivity, you can ensure that your new device is fully operational with your Metro by T-Mobile service.
The final step of testing and activating the new device allows you to confirm that the phone is capable of making calls, sending texts, and accessing mobile data without any interruptions. Thoroughly testing the signal strength, call quality, messaging service, and mobile data connectivity provides the assurance that your new phone is fully operational with your Metro by T-Mobile service.
In essence, the process of transferring your MetroPCS SIM card to another phone encompasses careful preparation, meticulous execution, and comprehensive testing. By following the guidelines outlined in this guide, you can navigate the transfer process with confidence, ensuring that your new device seamlessly integrates with your Metro by T-Mobile service, ultimately providing you with a smooth and hassle-free transition to your new phone.