Introduction
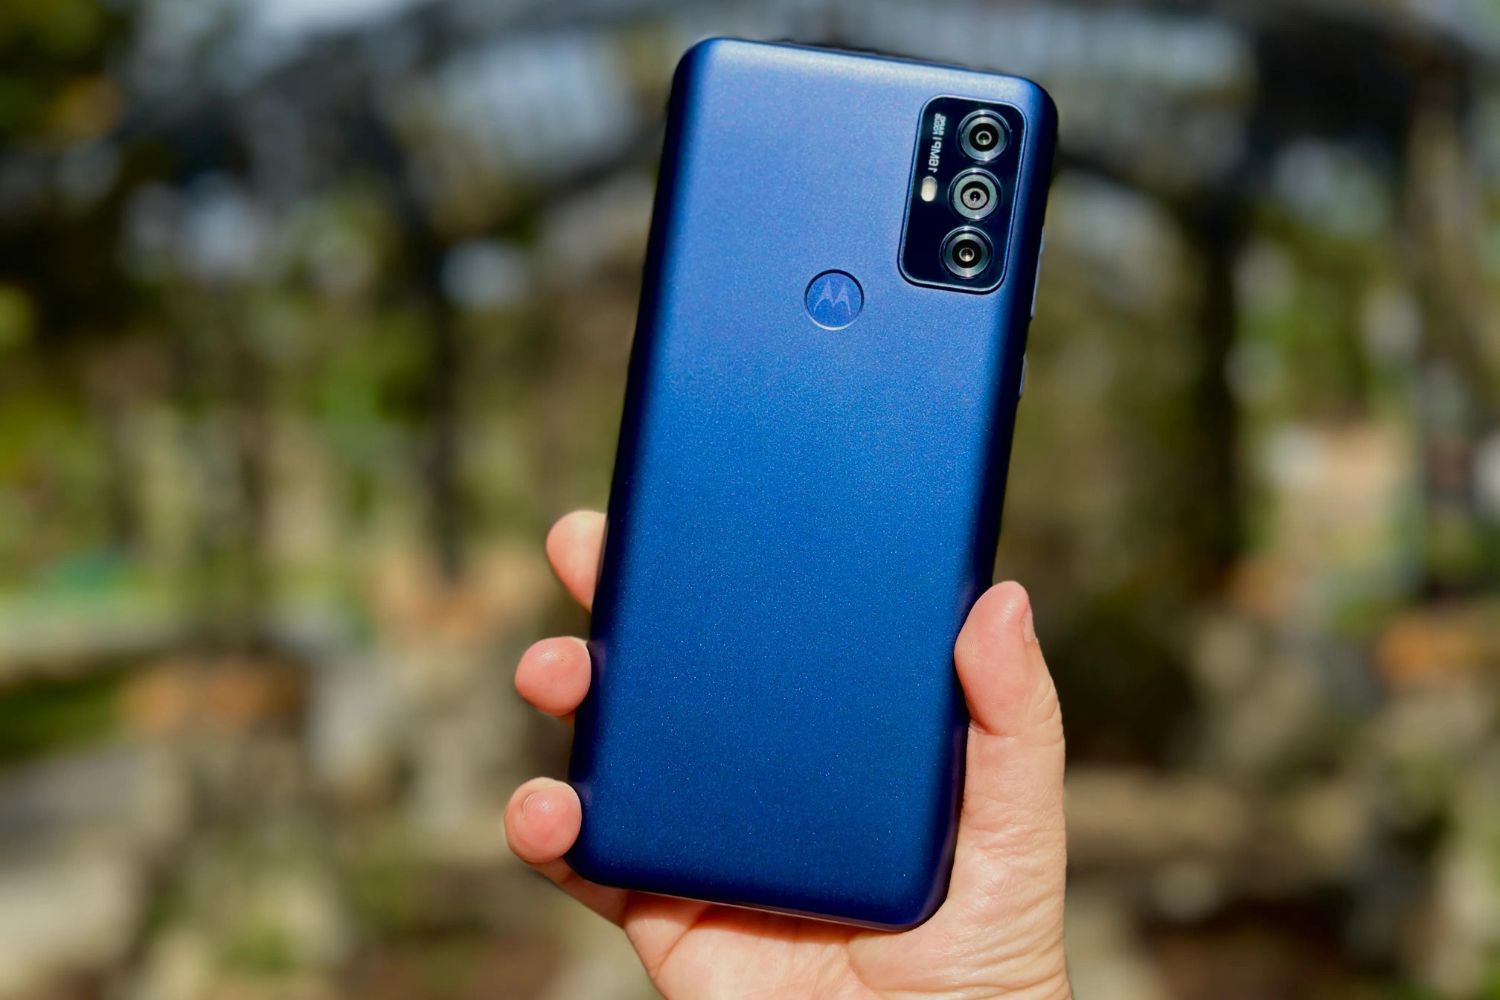
Inserting a SIM card into your Moto G Power is a fundamental step in setting up your device for communication and connectivity. Whether you're a seasoned smartphone user or a newcomer to the world of mobile devices, understanding how to properly insert a SIM card is essential. The SIM card, or Subscriber Identity Module, is a small, removable card that stores your phone number, contacts, and other essential information. It's a crucial component that allows your phone to connect to your mobile network and make calls, send texts, and access mobile data.
In this guide, we'll walk you through the simple steps to insert a SIM card into your Moto G Power. By following these instructions, you'll be able to seamlessly integrate your SIM card into your device, ensuring that you can stay connected with friends, family, and colleagues. Whether you're setting up a new phone or replacing an existing SIM card, this process is straightforward and can be completed in just a few minutes.
Now, let's dive into the step-by-step instructions to insert your SIM card into your Moto G Power and get your device ready for seamless communication and connectivity.
Step 1: Locate the SIM card tray
Locating the SIM card tray is the first step in the process of inserting a SIM card into your Moto G Power. The SIM card tray is a small, discreet slot on the side of your device that houses the SIM card. To begin, you'll need to identify the exact location of this tray on your phone.
-
Turn Off Your Device: Before locating the SIM card tray, it's important to power off your Moto G Power. This ensures that you can safely access the SIM card tray without any risk of damaging the device or disrupting its functionality.
-
Identify the SIM Card Tray Slot: Once your device is powered off, examine the sides of your Moto G Power. The SIM card tray slot is typically located on the upper edge of the phone. It may be accompanied by a small pinhole, which is used to eject the tray.
-
Use the SIM Ejection Tool: To access the SIM card tray, you'll need the SIM ejection tool that came with your device. This tool is a small, pointed instrument designed specifically for ejecting the SIM card tray. If you don't have the original tool, a paperclip can be used as an alternative.
-
Gently Insert the Ejection Tool: Insert the SIM ejection tool or paperclip into the pinhole adjacent to the SIM card tray slot. Apply gentle pressure to engage the internal mechanism, which will cause the SIM card tray to partially protrude from the slot.
By following these steps, you'll successfully locate the SIM card tray on your Moto G Power, setting the stage for the subsequent steps of ejecting and inserting the SIM card. This initial phase is crucial in preparing your device for seamless connectivity and communication.
Once you've located the SIM card tray, you're ready to proceed to the next step of ejecting the tray to access the SIM card slot.
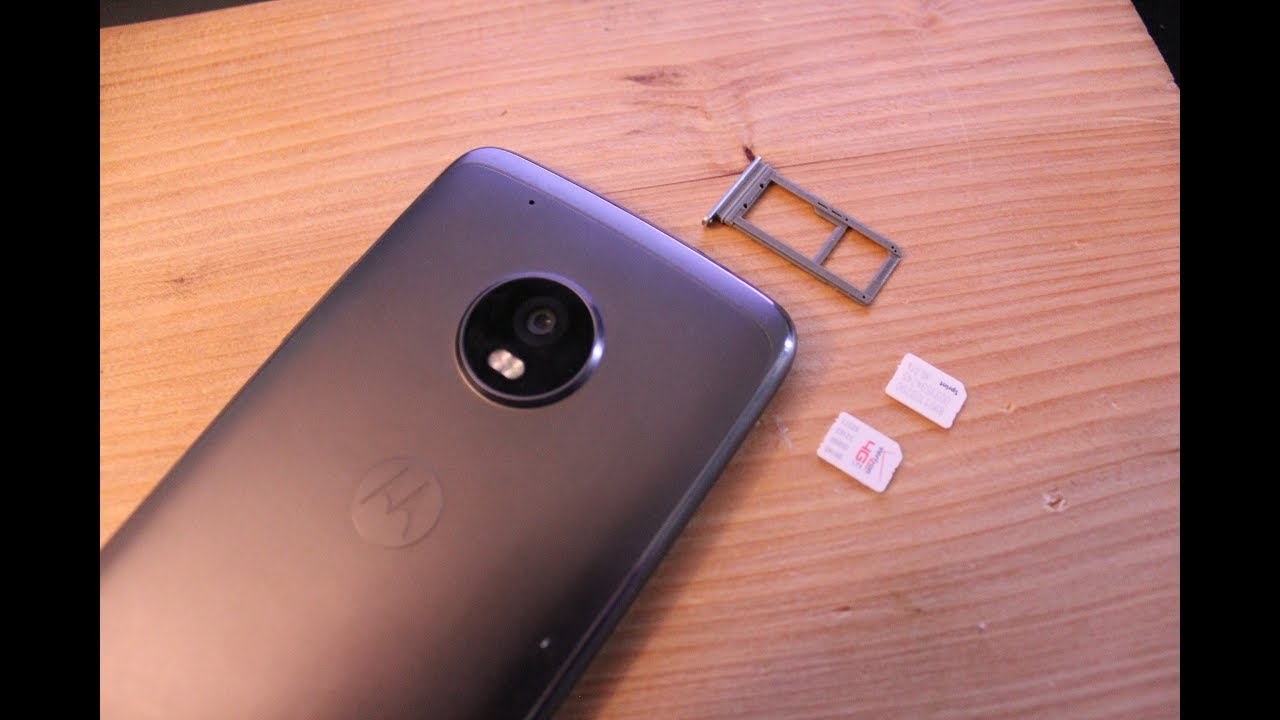
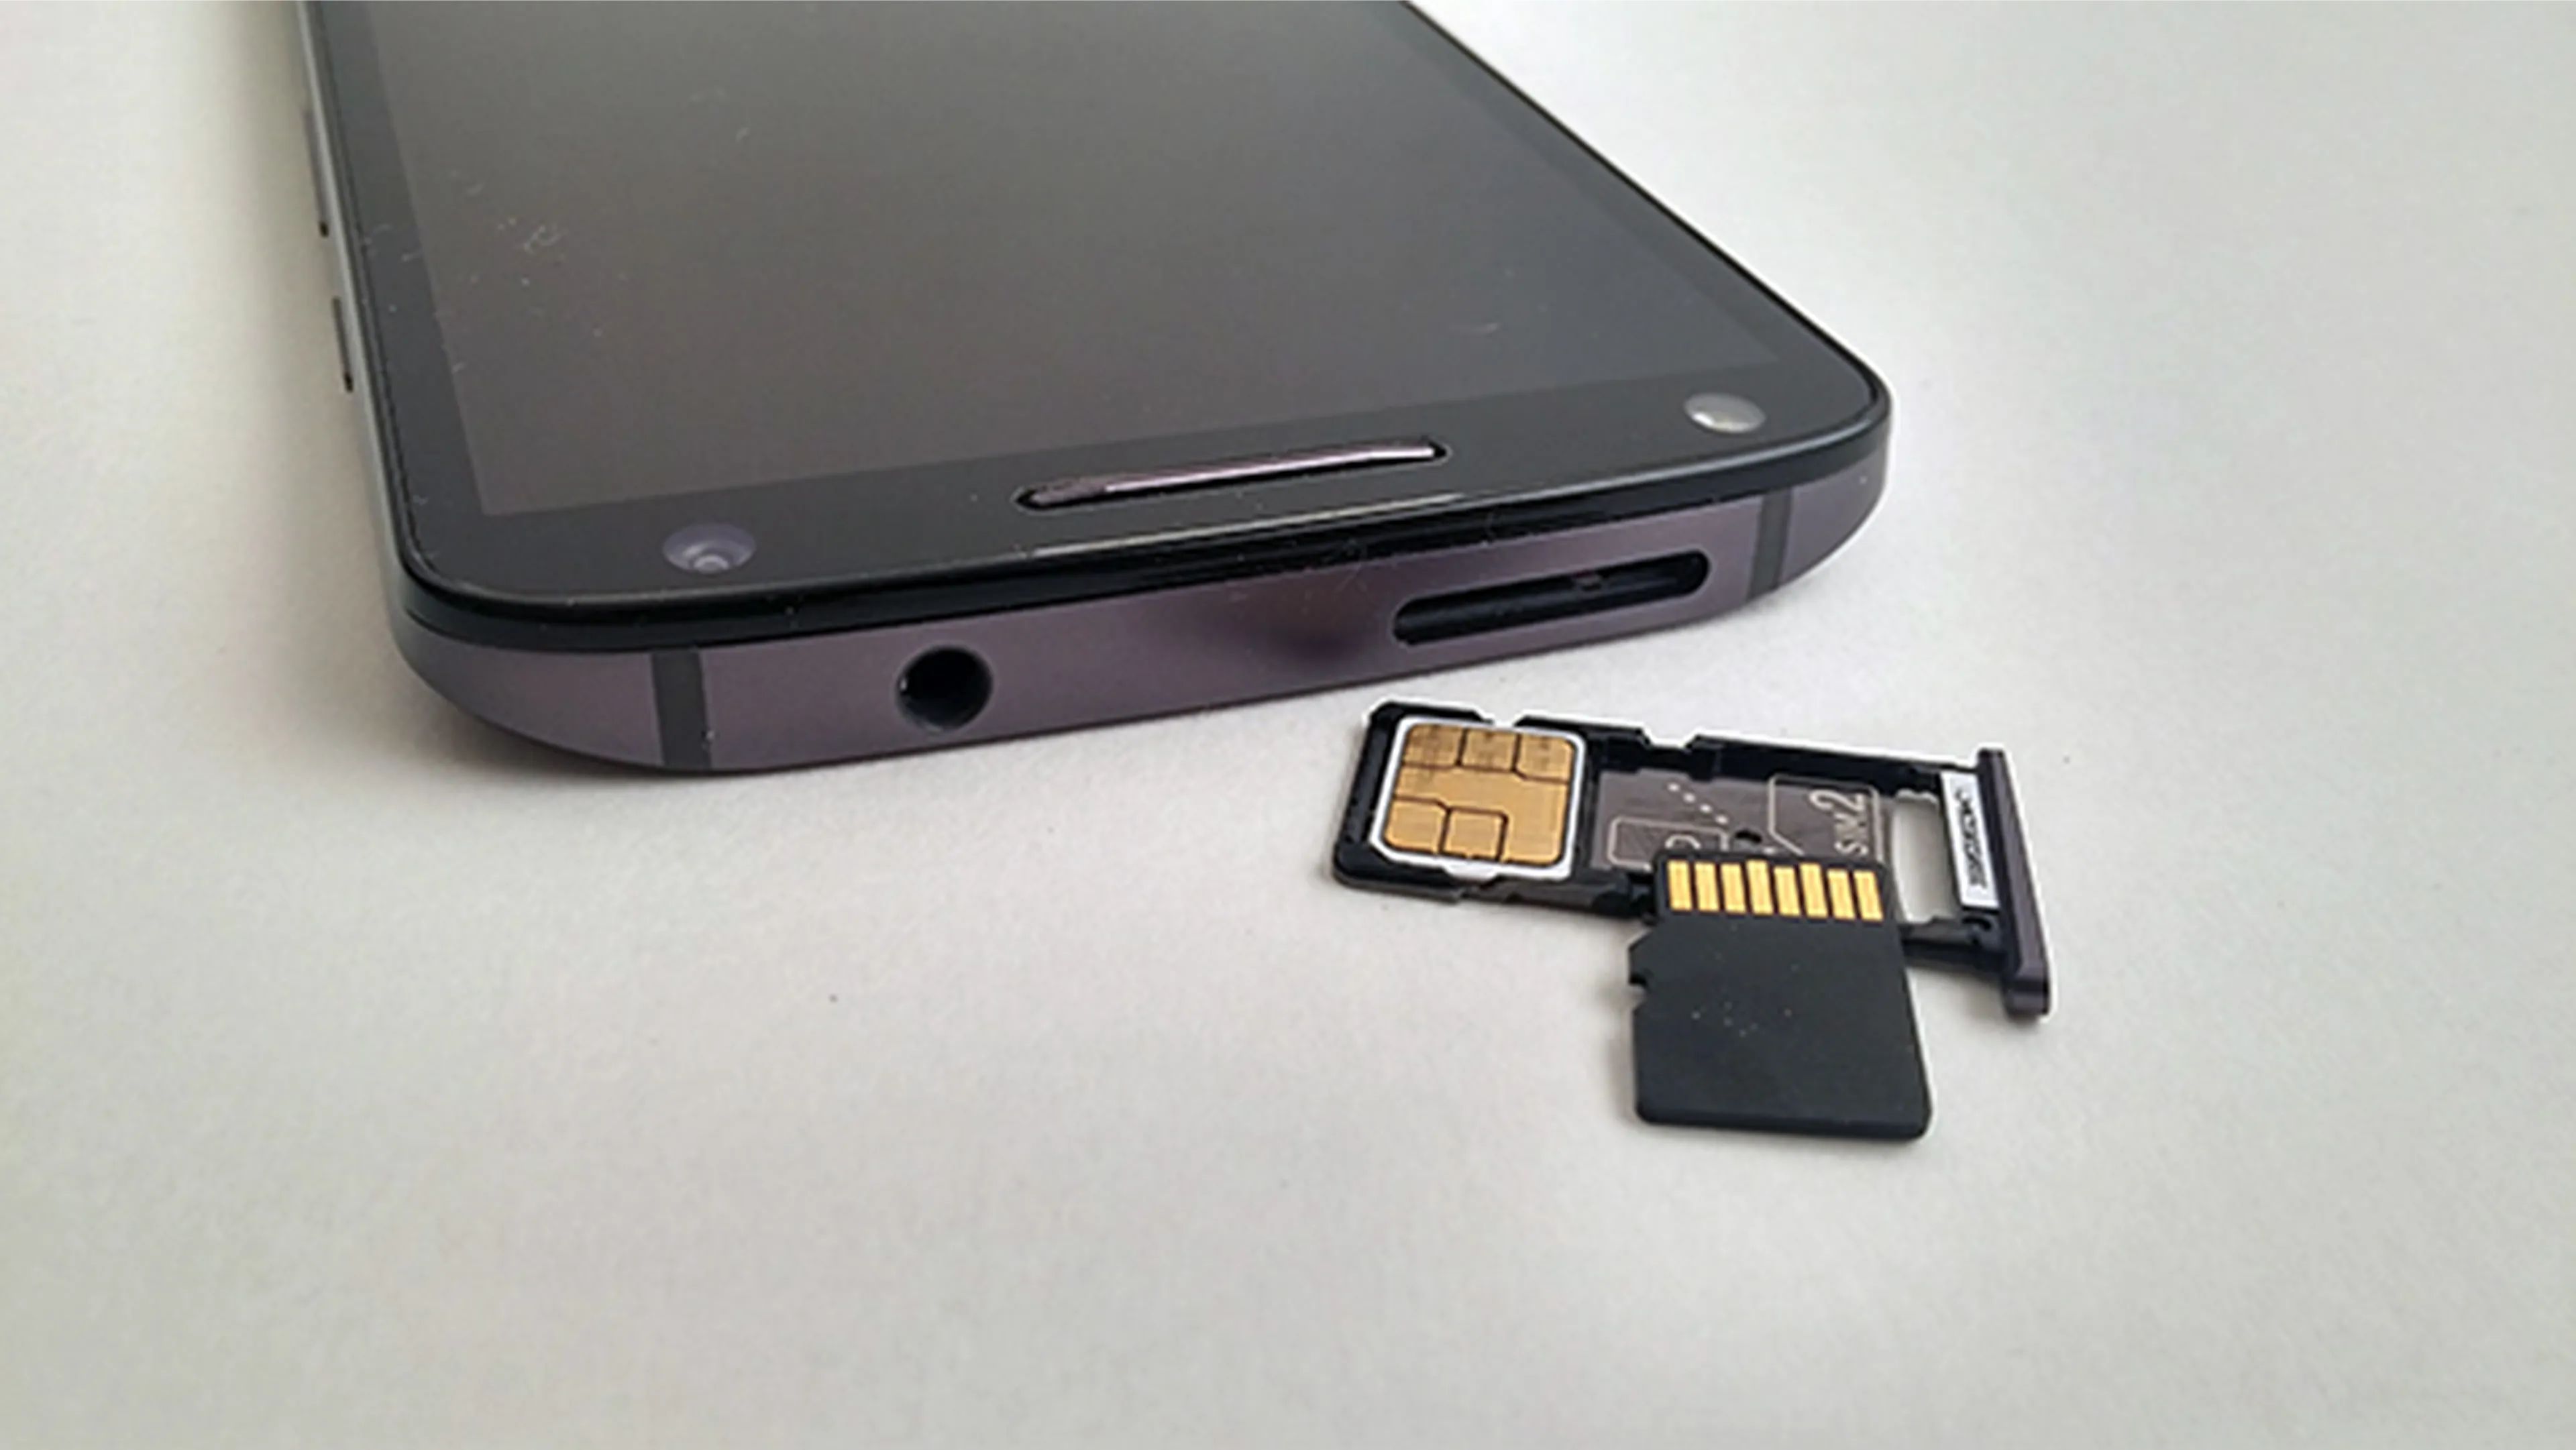
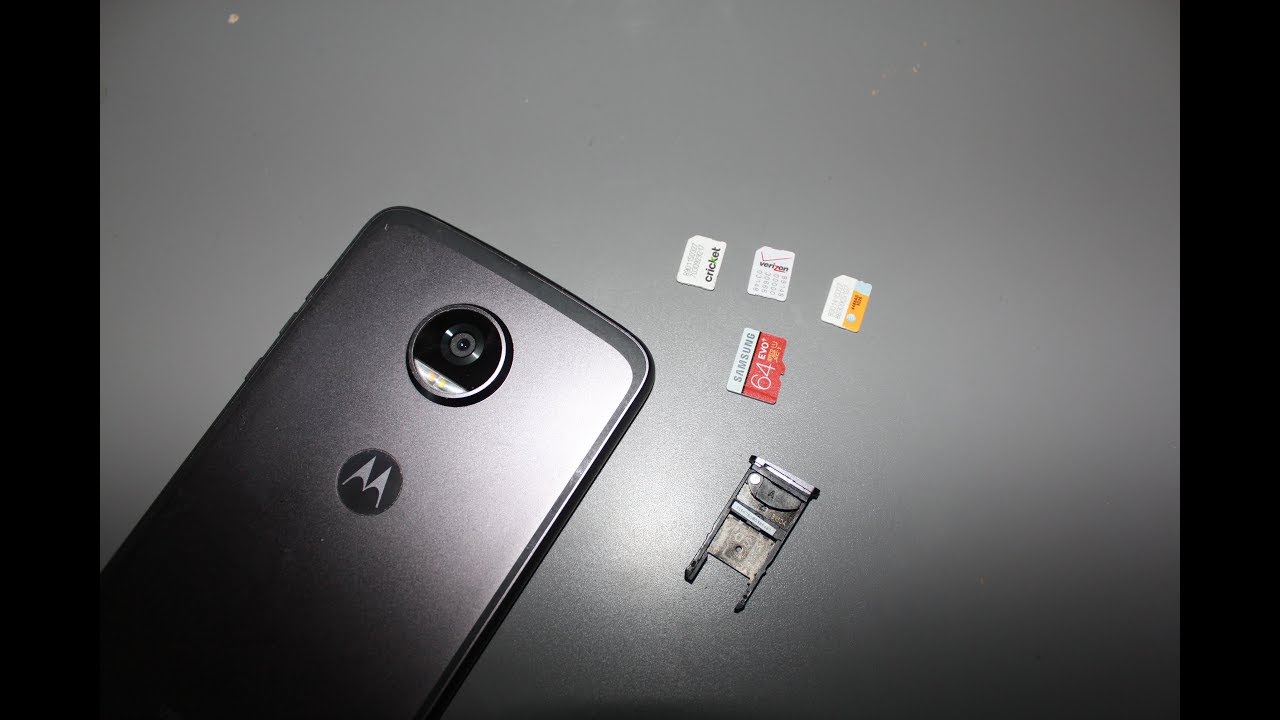
Step 2: Eject the SIM card tray
Ejecting the SIM card tray is a crucial step in the process of inserting a SIM card into your Moto G Power. Once you've located the SIM card tray and prepared the necessary tools, it's time to carefully eject the tray and access the SIM card slot.
-
Use the SIM Ejection Tool: With the SIM ejection tool or a paperclip inserted into the pinhole adjacent to the SIM card tray slot, apply gentle pressure to trigger the ejection mechanism. As you do this, you'll feel a slight resistance, indicating that the tray is being released from its locked position within the device.
-
Carefully Remove the Tray: Once the ejection mechanism is activated, the SIM card tray will partially protrude from the slot. Gently pull the tray out of the device, ensuring that you handle it with care to avoid any damage. The tray will slide out smoothly, revealing the SIM card slot where the new SIM card will be inserted.
-
Inspect the Tray and Slot: As you remove the tray, take a moment to inspect both the tray and the SIM card slot. Ensure that there are no obstructions or debris that could interfere with the insertion of the SIM card. This quick inspection helps to maintain the integrity of the SIM card and ensures a seamless insertion process.
Ejecting the SIM card tray sets the stage for the next step of inserting the SIM card into your Moto G Power. By following these simple instructions, you'll be well-prepared to seamlessly integrate your SIM card into the device, enabling you to stay connected and communicate effortlessly.
Now that you've successfully ejected the SIM card tray, you're ready to proceed to the next step of inserting the SIM card into the designated slot.
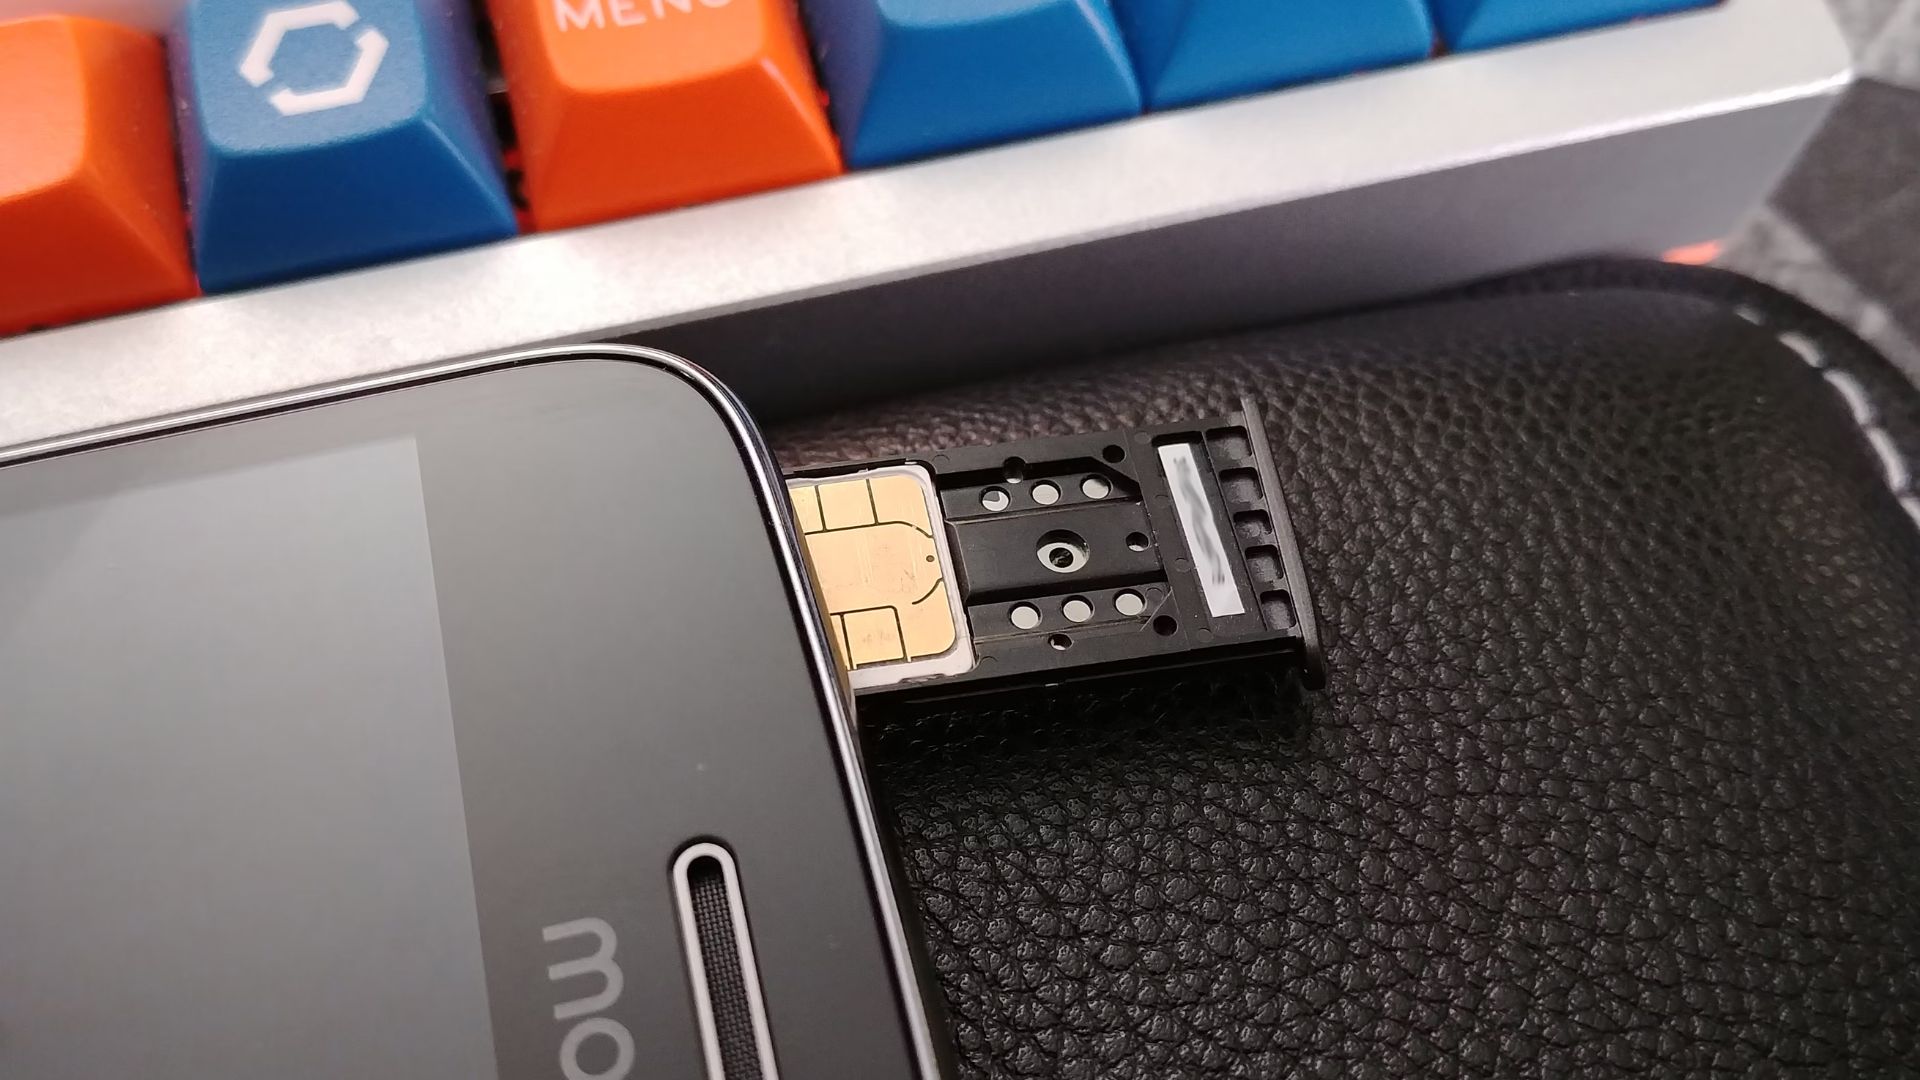
Step 3: Insert the SIM card
With the SIM card tray ejected and the SIM card slot accessible, you're now ready to proceed with the crucial step of inserting the SIM card into your Moto G Power. This process requires precision and care to ensure that the SIM card is properly aligned and securely placed within the designated slot.
Here's a detailed guide to help you seamlessly insert the SIM card into your device:
-
Prepare the SIM Card: Before inserting the SIM card, take a moment to inspect it. Ensure that the SIM card is free from any visible damage and is oriented correctly. Most SIM cards have a notched corner that aligns with the SIM card slot, allowing for easy and accurate insertion.
-
Align the SIM Card: Hold the SIM card with the notched corner positioned as indicated by the SIM card slot. Align the contacts on the SIM card with the corresponding contacts within the slot. It's essential to align the SIM card correctly to prevent any potential damage to the device or the card itself.
-
Gently Insert the SIM Card: With the SIM card properly aligned, carefully place it into the SIM card slot. Apply gentle pressure to ensure that the SIM card sits flush within the slot. Avoid using excessive force, as the SIM card should slide in smoothly without resistance.
-
Verify the Insertion: After inserting the SIM card, visually inspect the slot to confirm that the card is seated properly. The notched corner of the SIM card should align with the notch in the slot, indicating that it has been inserted correctly. Additionally, ensure that the contacts on the SIM card are fully engaged within the slot.
-
Reinsert the SIM Card Tray: Once the SIM card is securely inserted, carefully reposition the SIM card tray. Gently slide the tray back into the device, ensuring that it aligns with the slot and sits flush with the phone's exterior. Take care to avoid any abrupt movements that could dislodge the SIM card.
By following these detailed steps, you'll successfully insert the SIM card into your Moto G Power, setting the stage for seamless connectivity and communication. With the SIM card securely in place, your device is now ready to be powered on and utilized for calls, texts, and data usage.
Now that you've completed the process of inserting the SIM card, you're ready to proceed to the final step of reinserting the SIM card tray and finalizing the setup of your Moto G Power.
Step 4: Reinsert the SIM card tray
After successfully inserting the SIM card into your Moto G Power, the final step involves reinserting the SIM card tray to secure the SIM card within the device. This step is essential to ensure that the SIM card remains in place and maintains a stable connection, enabling seamless communication and connectivity.
Here's a detailed guide to help you complete the process of reinserting the SIM card tray:
-
Position the SIM Card Tray: Hold the SIM card tray in a position that aligns with the slot on your Moto G Power. Take care to orient the tray correctly, ensuring that it fits smoothly into the designated slot without any resistance.
-
Align the Tray with the Slot: With the SIM card tray positioned correctly, gently guide it back into the slot on the side of your device. Ensure that the tray aligns with the slot and slides in smoothly, maintaining a flush and secure fit with the phone's exterior.
-
Apply Gentle Pressure: As you reinsert the SIM card tray, apply gentle pressure to ensure that it sits securely within the slot. Avoid using excessive force, as the tray should slide in smoothly without any resistance. Take care to maintain a steady and controlled motion throughout this process.
-
Verify the Secure Fit: Once the SIM card tray is reinserted, visually inspect the slot to confirm that the tray is securely in place. Ensure that it sits flush with the phone's exterior and aligns seamlessly with the device's design. A secure fit indicates that the SIM card is properly enclosed within the device.
-
Power On Your Device: With the SIM card tray securely reinserted, you're now ready to power on your Moto G Power. Once the device is powered on, it will recognize the newly inserted SIM card, enabling you to access your mobile network, make calls, send texts, and utilize mobile data.
By following these detailed steps, you've successfully reinserted the SIM card tray, finalizing the setup of your Moto G Power. With the SIM card securely in place, your device is fully prepared for seamless communication and connectivity, allowing you to stay connected with ease.
Now that you've completed the process of reinserting the SIM card tray, your Moto G Power is ready to be powered on and utilized for all your communication needs.
Conclusion
Congratulations! You've successfully completed the process of inserting a SIM card into your Moto G Power. By following the simple and precise steps outlined in this guide, you've ensured that your device is ready for seamless communication and connectivity. The insertion of a SIM card is a fundamental step in setting up your smartphone, and your understanding of this process empowers you to make the most of your device's capabilities.
With the SIM card securely in place, your Moto G Power is now equipped to access your mobile network, make and receive calls, send and receive texts, and utilize mobile data. Whether you're connecting with friends and family, staying in touch with colleagues, or accessing online resources on the go, your device is primed for a smooth and reliable user experience.
It's important to note that the process of inserting a SIM card may vary slightly depending on the specific model of your Moto G Power. However, the fundamental principles and steps outlined in this guide provide a solid foundation for understanding and executing the SIM card insertion process.
As you power on your device and begin using it to stay connected and productive, you can take pride in the knowledge that you've successfully completed a crucial setup step. Your Moto G Power is now fully equipped to serve as your reliable communication and connectivity companion, allowing you to navigate the digital world with ease.
Should you ever need to replace or reinsert your SIM card in the future, you can revisit this guide for a quick refresher on the process. Additionally, as you explore the various features and capabilities of your Moto G Power, you'll find that a solid understanding of its foundational setup processes enhances your overall user experience.
Now that your Moto G Power is equipped with a SIM card and ready for action, you can confidently power on your device and embark on your digital journey. Whether it's staying connected with loved ones, managing work-related communications, or exploring the myriad possibilities of mobile connectivity, your device is primed and prepared to support you every step of the way.