Introduction
The iPhone 13 is a remarkable device that offers a plethora of features and functionalities to its users. One of the essential components of the iPhone 13 is the SIM card, which allows users to connect to their mobile network and access various communication services. However, there are instances when you may need to remove the SIM card from your iPhone 13, such as when switching to a new device or changing your SIM card.
In this comprehensive guide, we will walk you through the step-by-step process of safely removing the SIM card from your iPhone 13. Whether you are upgrading to a new iPhone model or simply need to replace your SIM card, it's crucial to follow the proper procedure to avoid any damage to your device or the SIM card itself.
By following the instructions outlined in this guide, you can confidently and safely remove the SIM card from your iPhone 13 without encountering any issues. So, let's dive into the step-by-step process and ensure that you can seamlessly manage your SIM card needs with ease and confidence.
Step 1: Power off the iPhone 13
Before embarking on the process of removing the SIM card from your iPhone 13, it is crucial to ensure that the device is powered off. This initial step is essential to prevent any potential damage to the device or the SIM card during the removal process. By powering off the iPhone 13, you create a safe environment to handle the SIM card and the device itself.
To power off your iPhone 13, simply press and hold the side button along with either volume button until the power off slider appears on the screen. Once the slider appears, slide it from left to right to power off the device. Alternatively, you can power off the iPhone 13 by accessing the Settings app, selecting "General," and then tapping "Shut Down." This will prompt the power off slider to appear, allowing you to turn off the device.
Ensuring that your iPhone 13 is powered off before proceeding to remove the SIM card is crucial in preventing any potential damage to the device's internal components. It also minimizes the risk of disrupting the network connection and ensures a smooth and safe SIM card removal process.
By following this initial step and powering off your iPhone 13, you set the stage for a seamless and risk-free SIM card removal experience. This simple yet essential precaution lays the foundation for the subsequent steps in the process, allowing you to proceed with confidence and peace of mind.
With the iPhone 13 safely powered off, you are now ready to move on to the next step in the process, which involves locating the SIM card tray on the device. This marks the beginning of the systematic and careful approach to safely removing the SIM card from your iPhone 13.
The process of removing the SIM card from your iPhone 13 is a straightforward yet crucial task, and by following each step meticulously, you can ensure a smooth and hassle-free experience. Now that the iPhone 13 is powered off, let's proceed to the next step and continue with the SIM card removal process.
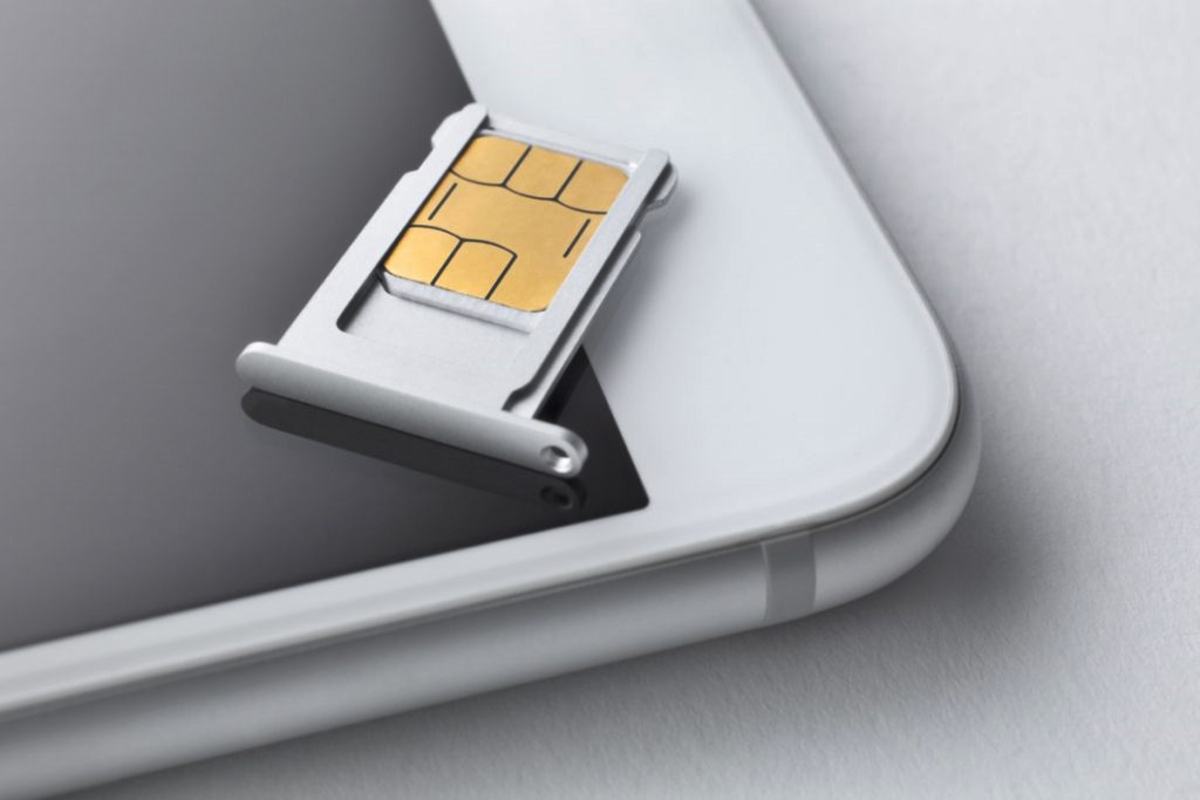
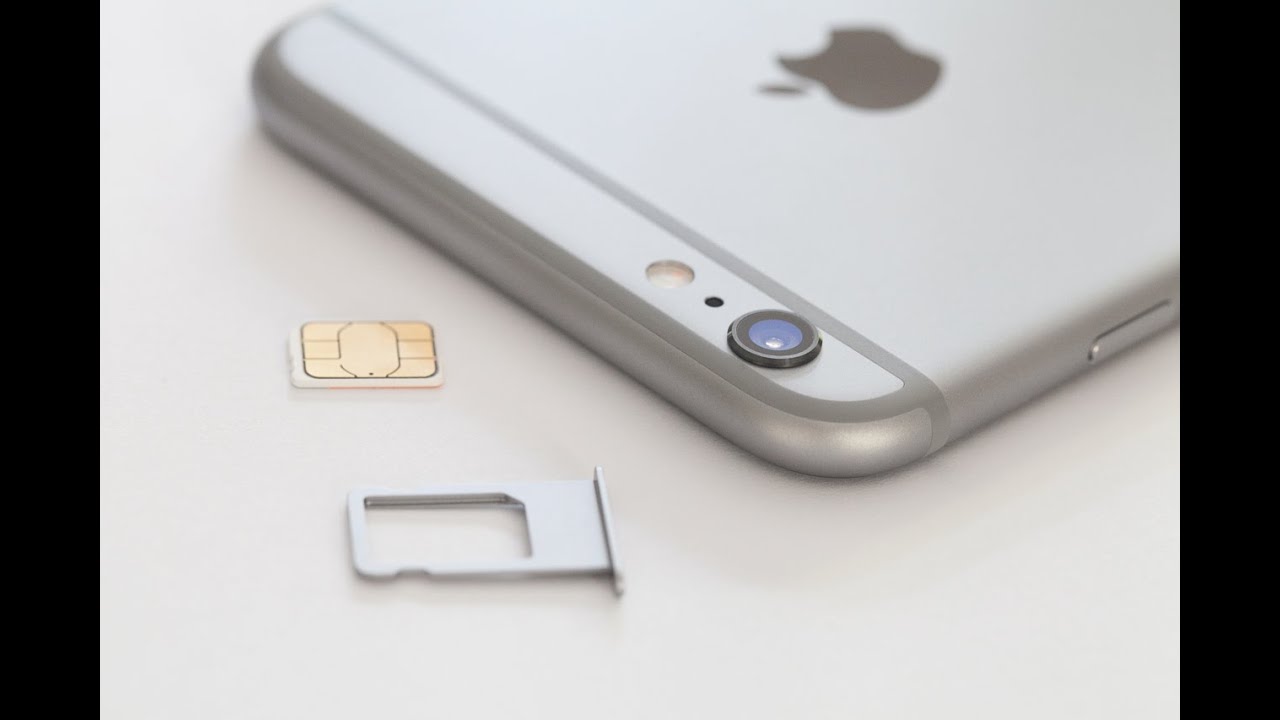
Step 2: Locate the SIM card tray
Locating the SIM card tray on your iPhone 13 is the next crucial step in the process of safely removing the SIM card. The SIM card tray houses the SIM card and is designed to securely hold it within the device. To begin this step, you will need to identify the precise location of the SIM card tray on your iPhone 13.
The SIM card tray on the iPhone 13 is typically located on the right-hand side of the device. It is positioned along the edge of the device, adjacent to the side button and the volume buttons. The exact placement may vary slightly depending on the specific model of the iPhone 13, but it is generally positioned on the right side.
To locate the SIM card tray, gently examine the right-hand side of your iPhone 13 and look for a small pinhole or indentation. This pinhole serves as the entry point for the SIM card removal tool, which is used to eject the SIM card tray from the device. Once you have identified the pinhole or indentation, you have successfully located the SIM card tray on your iPhone 13.
It is important to handle the iPhone 13 with care while locating the SIM card tray, ensuring that you do not apply excessive pressure or force to the device. By delicately examining the right-hand side of the iPhone 13, you can easily pinpoint the SIM card tray and prepare to proceed to the next step in the SIM card removal process.
With the SIM card tray successfully located, you have completed this pivotal step in the process of removing the SIM card from your iPhone 13. The precise positioning of the SIM card tray on the right-hand side of the device sets the stage for the subsequent steps, allowing for a systematic and methodical approach to safely ejecting and removing the SIM card. Now that you have identified the SIM card tray, you are ready to move on to the next step and continue with the SIM card removal process.
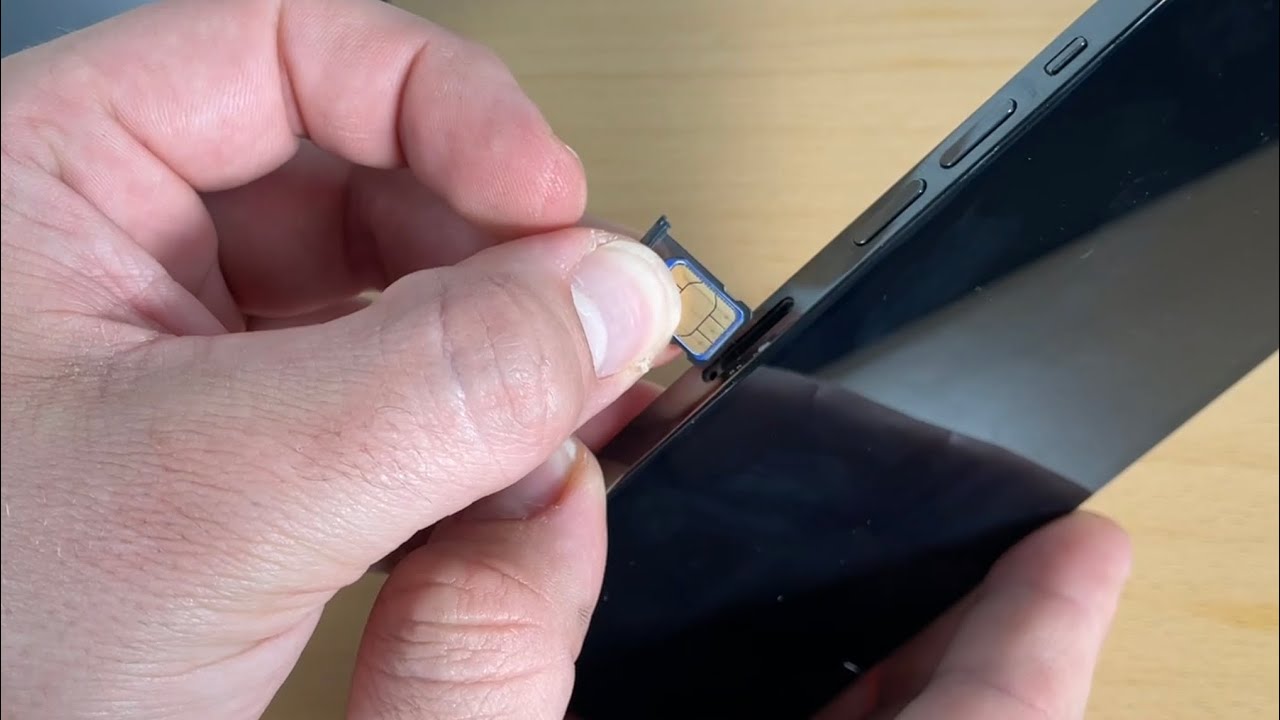
Step 3: Insert the SIM card removal tool
With the SIM card tray located on the right-hand side of your iPhone 13, the next step in the process of safely removing the SIM card involves using the SIM card removal tool to facilitate the ejection of the SIM card tray. The SIM card removal tool, often included with the iPhone 13 upon purchase, is a small, metallic pin-like instrument designed specifically for ejecting the SIM card tray from the device.
To begin this step, retrieve the SIM card removal tool from its storage location, which is typically provided in the iPhone 13 packaging or can be obtained separately if needed. The SIM card removal tool features a slender and pointed end, specifically crafted to fit into the pinhole located near the SIM card tray on the iPhone 13.
Once you have the SIM card removal tool in hand, carefully align the pointed end of the tool with the pinhole adjacent to the SIM card tray. Gently insert the pointed end of the tool into the pinhole, ensuring that it fits securely and does not apply excessive pressure to the device. The insertion of the SIM card removal tool into the pinhole is a precise and delicate maneuver, requiring steady and controlled hand movements to avoid any potential damage to the device.
As you insert the SIM card removal tool into the pinhole, you may feel a slight resistance before the tool engages with the internal mechanism of the SIM card tray. This resistance is normal and indicates that the tool is properly positioned to initiate the ejection process. With the tool securely inserted into the pinhole, you are now prepared to proceed to the next step, which involves carefully ejecting the SIM card tray from your iPhone 13.
By following this meticulous and methodical approach to inserting the SIM card removal tool, you set the stage for a seamless and risk-free ejection of the SIM card tray. The precise alignment and gentle insertion of the tool into the pinhole ensure that the subsequent ejection process proceeds smoothly, allowing you to proceed with confidence and precision.
With the SIM card removal tool successfully inserted into the pinhole, you have completed this critical step in the process of safely removing the SIM card from your iPhone 13. The careful positioning of the tool sets the stage for the subsequent ejection of the SIM card tray, marking a pivotal moment in the systematic and controlled SIM card removal process. Now that the tool is securely in place, you are ready to move on to the next step and continue with the SIM card removal process.
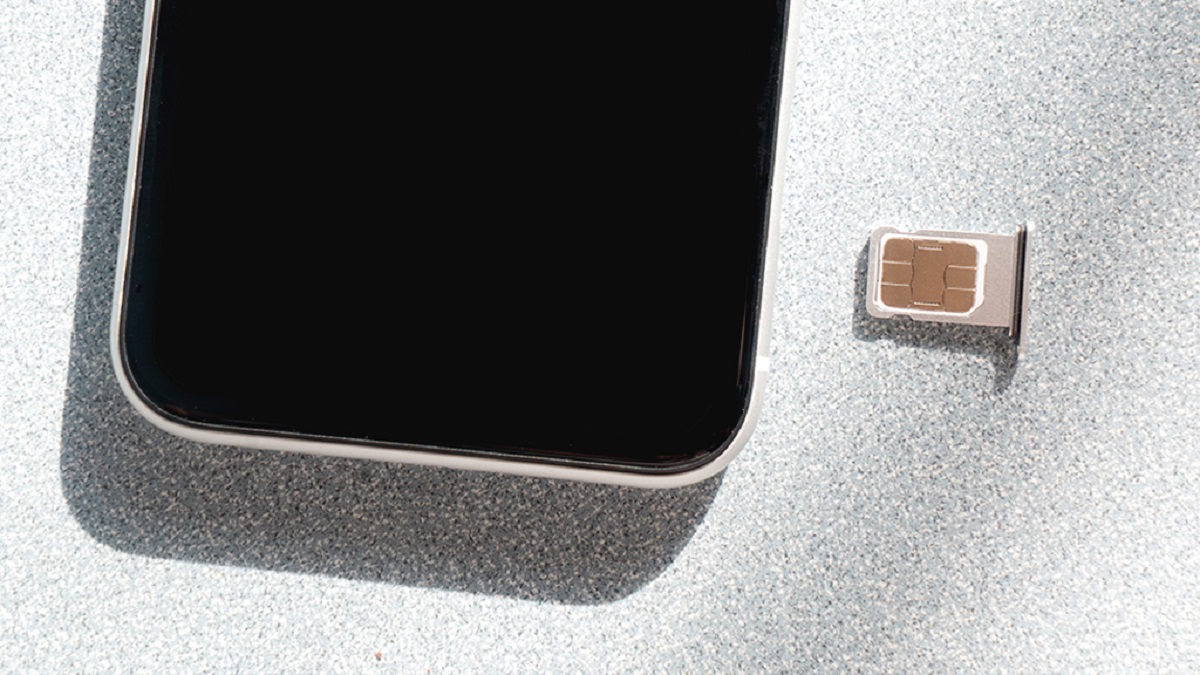
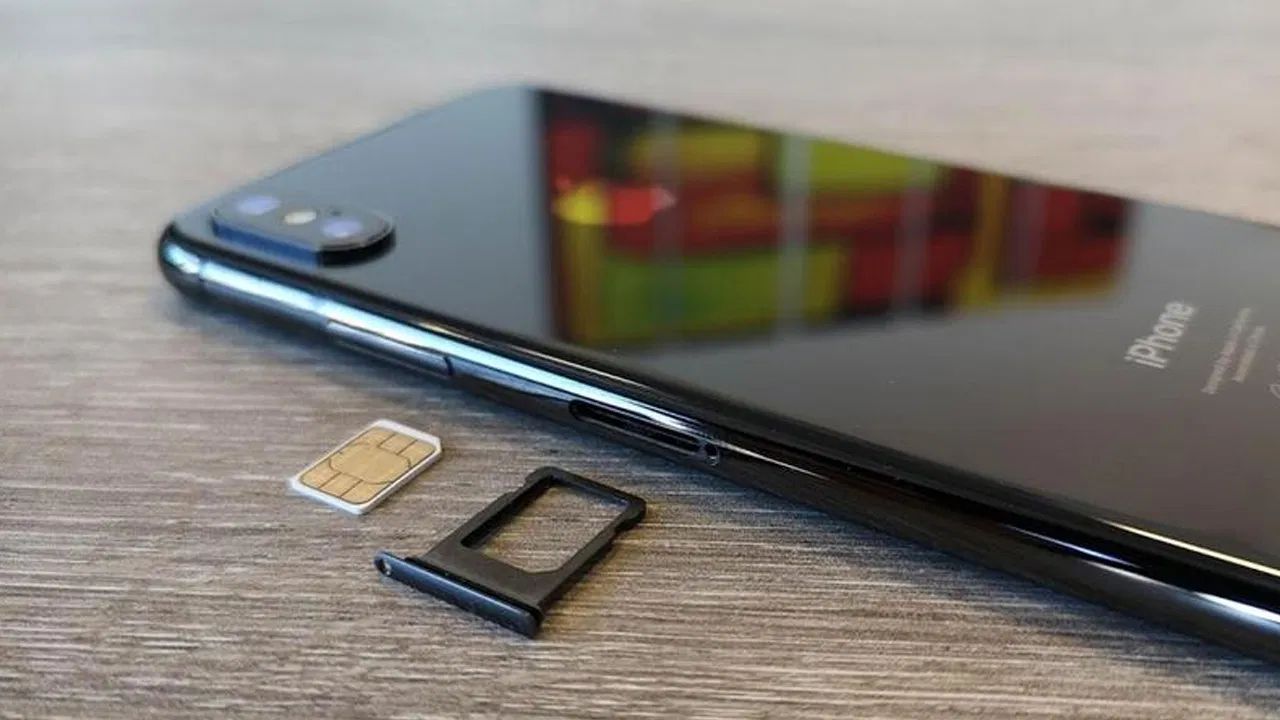
Step 4: Eject the SIM card tray
With the SIM card removal tool securely inserted into the pinhole adjacent to the SIM card tray on your iPhone 13, you are now poised to initiate the ejection process. Ejecting the SIM card tray requires a steady and controlled approach to ensure the smooth and safe removal of the tray from the device.
To eject the SIM card tray, exert gentle pressure on the inserted end of the SIM card removal tool, applying a slight inward push. This action triggers the internal mechanism within the device, causing the SIM card tray to disengage and protrude slightly from the iPhone 13. It is essential to apply consistent and even pressure to the tool, avoiding any abrupt or forceful movements that could potentially disrupt the ejection process.
As you exert pressure on the SIM card removal tool, you may feel a subtle click or release sensation, indicating that the SIM card tray has been successfully ejected from the device. Once the tray protrudes slightly, carefully grasp it with your fingers and gently pull it out from the iPhone 13, ensuring a smooth and controlled extraction.
It is crucial to exercise caution and precision when ejecting the SIM card tray, as any sudden or hasty movements could lead to damage to the tray or the device. By maintaining a steady and deliberate approach, you can safely and effectively remove the SIM card tray without encountering any complications.
Upon successfully ejecting the SIM card tray, you will have clear access to the SIM card housed within the tray. This paves the way for the final step in the process of removing the SIM card from your iPhone 13, allowing you to carefully extract the SIM card and complete the removal process.
By following this meticulous and controlled approach to ejecting the SIM card tray, you ensure that the removal process unfolds seamlessly and without any unforeseen issues. With the SIM card tray now ejected from the iPhone 13, you are ready to proceed to the subsequent step and continue with the safe removal of the SIM card from your device.
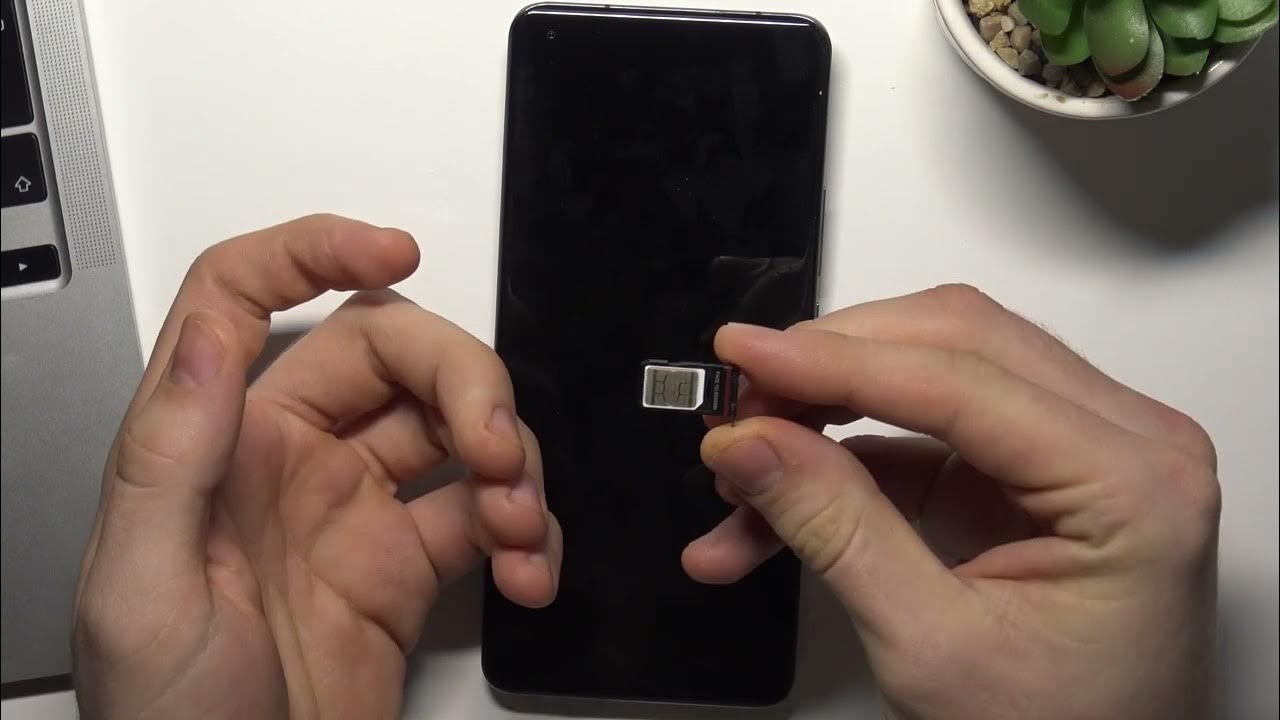
Step 5: Remove the SIM card
With the SIM card tray successfully ejected from your iPhone 13, the final step in the process of safely removing the SIM card involves extracting the SIM card from the tray. This step requires a delicate and precise approach to ensure that the SIM card is removed without any damage or mishaps.
Carefully examine the SIM card tray to locate the position of the SIM card. The SIM card is securely placed within a designated slot or holder within the tray, typically positioned in the center. Gently observe the orientation of the SIM card to determine the correct method for its removal.
Using your fingers, delicately grasp the exposed edge of the SIM card and gently slide it out from the slot within the tray. It is crucial to exercise caution and avoid applying excessive force during this process to prevent any bending or damage to the SIM card. The SIM card should slide out smoothly and effortlessly from the tray, allowing for a seamless extraction.
As you remove the SIM card from the tray, take note of its orientation and position to ensure that it can be correctly reinserted if needed. The SIM card features a distinctive notch or corner that aligns with the corresponding notch within the tray, facilitating the proper positioning of the card.
Once the SIM card has been successfully removed from the tray, place it in a safe and secure location to prevent any damage or loss. It is advisable to store the SIM card in its original packaging or a protective holder to safeguard it from potential damage or misplacement.
With the SIM card safely removed from the tray, the process of extracting the SIM card from your iPhone 13 is now complete. You have successfully navigated each step of the removal process with precision and care, ensuring that both the device and the SIM card remain unharmed throughout the procedure.
By following the detailed instructions outlined in this guide, you have effectively and safely removed the SIM card from your iPhone 13. Whether you are replacing the SIM card, upgrading to a new device, or addressing other connectivity needs, you can now proceed with confidence and assurance, knowing that the SIM card removal process has been carried out with meticulous attention to detail and care.
Conclusion
In conclusion, safely removing the SIM card from your iPhone 13 is a straightforward yet crucial process that demands careful attention to detail and precision. By following the step-by-step instructions outlined in this comprehensive guide, you can confidently navigate each stage of the SIM card removal process with ease and assurance.
The initial step of powering off the iPhone 13 sets the stage for a safe and controlled SIM card removal experience, ensuring that the device is in a secure state for the subsequent steps. Locating the SIM card tray on the right-hand side of the device marks a pivotal moment in the process, allowing for the precise positioning of the SIM card removal tool and the initiation of the ejection process.
Inserting the SIM card removal tool into the pinhole adjacent to the SIM card tray demands a steady and meticulous approach, ensuring that the tool is securely in place before proceeding with the ejection. Ejecting the SIM card tray requires gentle and controlled pressure on the tool, resulting in the smooth protrusion of the tray for easy access.
The final step of removing the SIM card from the tray necessitates a delicate touch, ensuring that the card is extracted without any damage or mishaps. By following these detailed instructions, you can successfully remove the SIM card from your iPhone 13, whether for the purpose of replacement, device upgrade, or other connectivity needs.
It is essential to handle the SIM card with care and store it securely to prevent any damage or loss. Whether you are transitioning to a new device or simply replacing the SIM card, the systematic and meticulous approach outlined in this guide empowers you to manage your SIM card needs with confidence and precision.
By adhering to the recommended procedures and exercising caution at each step, you can ensure that both your iPhone 13 and the SIM card remain unharmed throughout the removal process. This comprehensive guide equips you with the knowledge and guidance needed to safely remove the SIM card from your iPhone 13, enabling you to navigate this essential task with ease and peace of mind.