Introduction
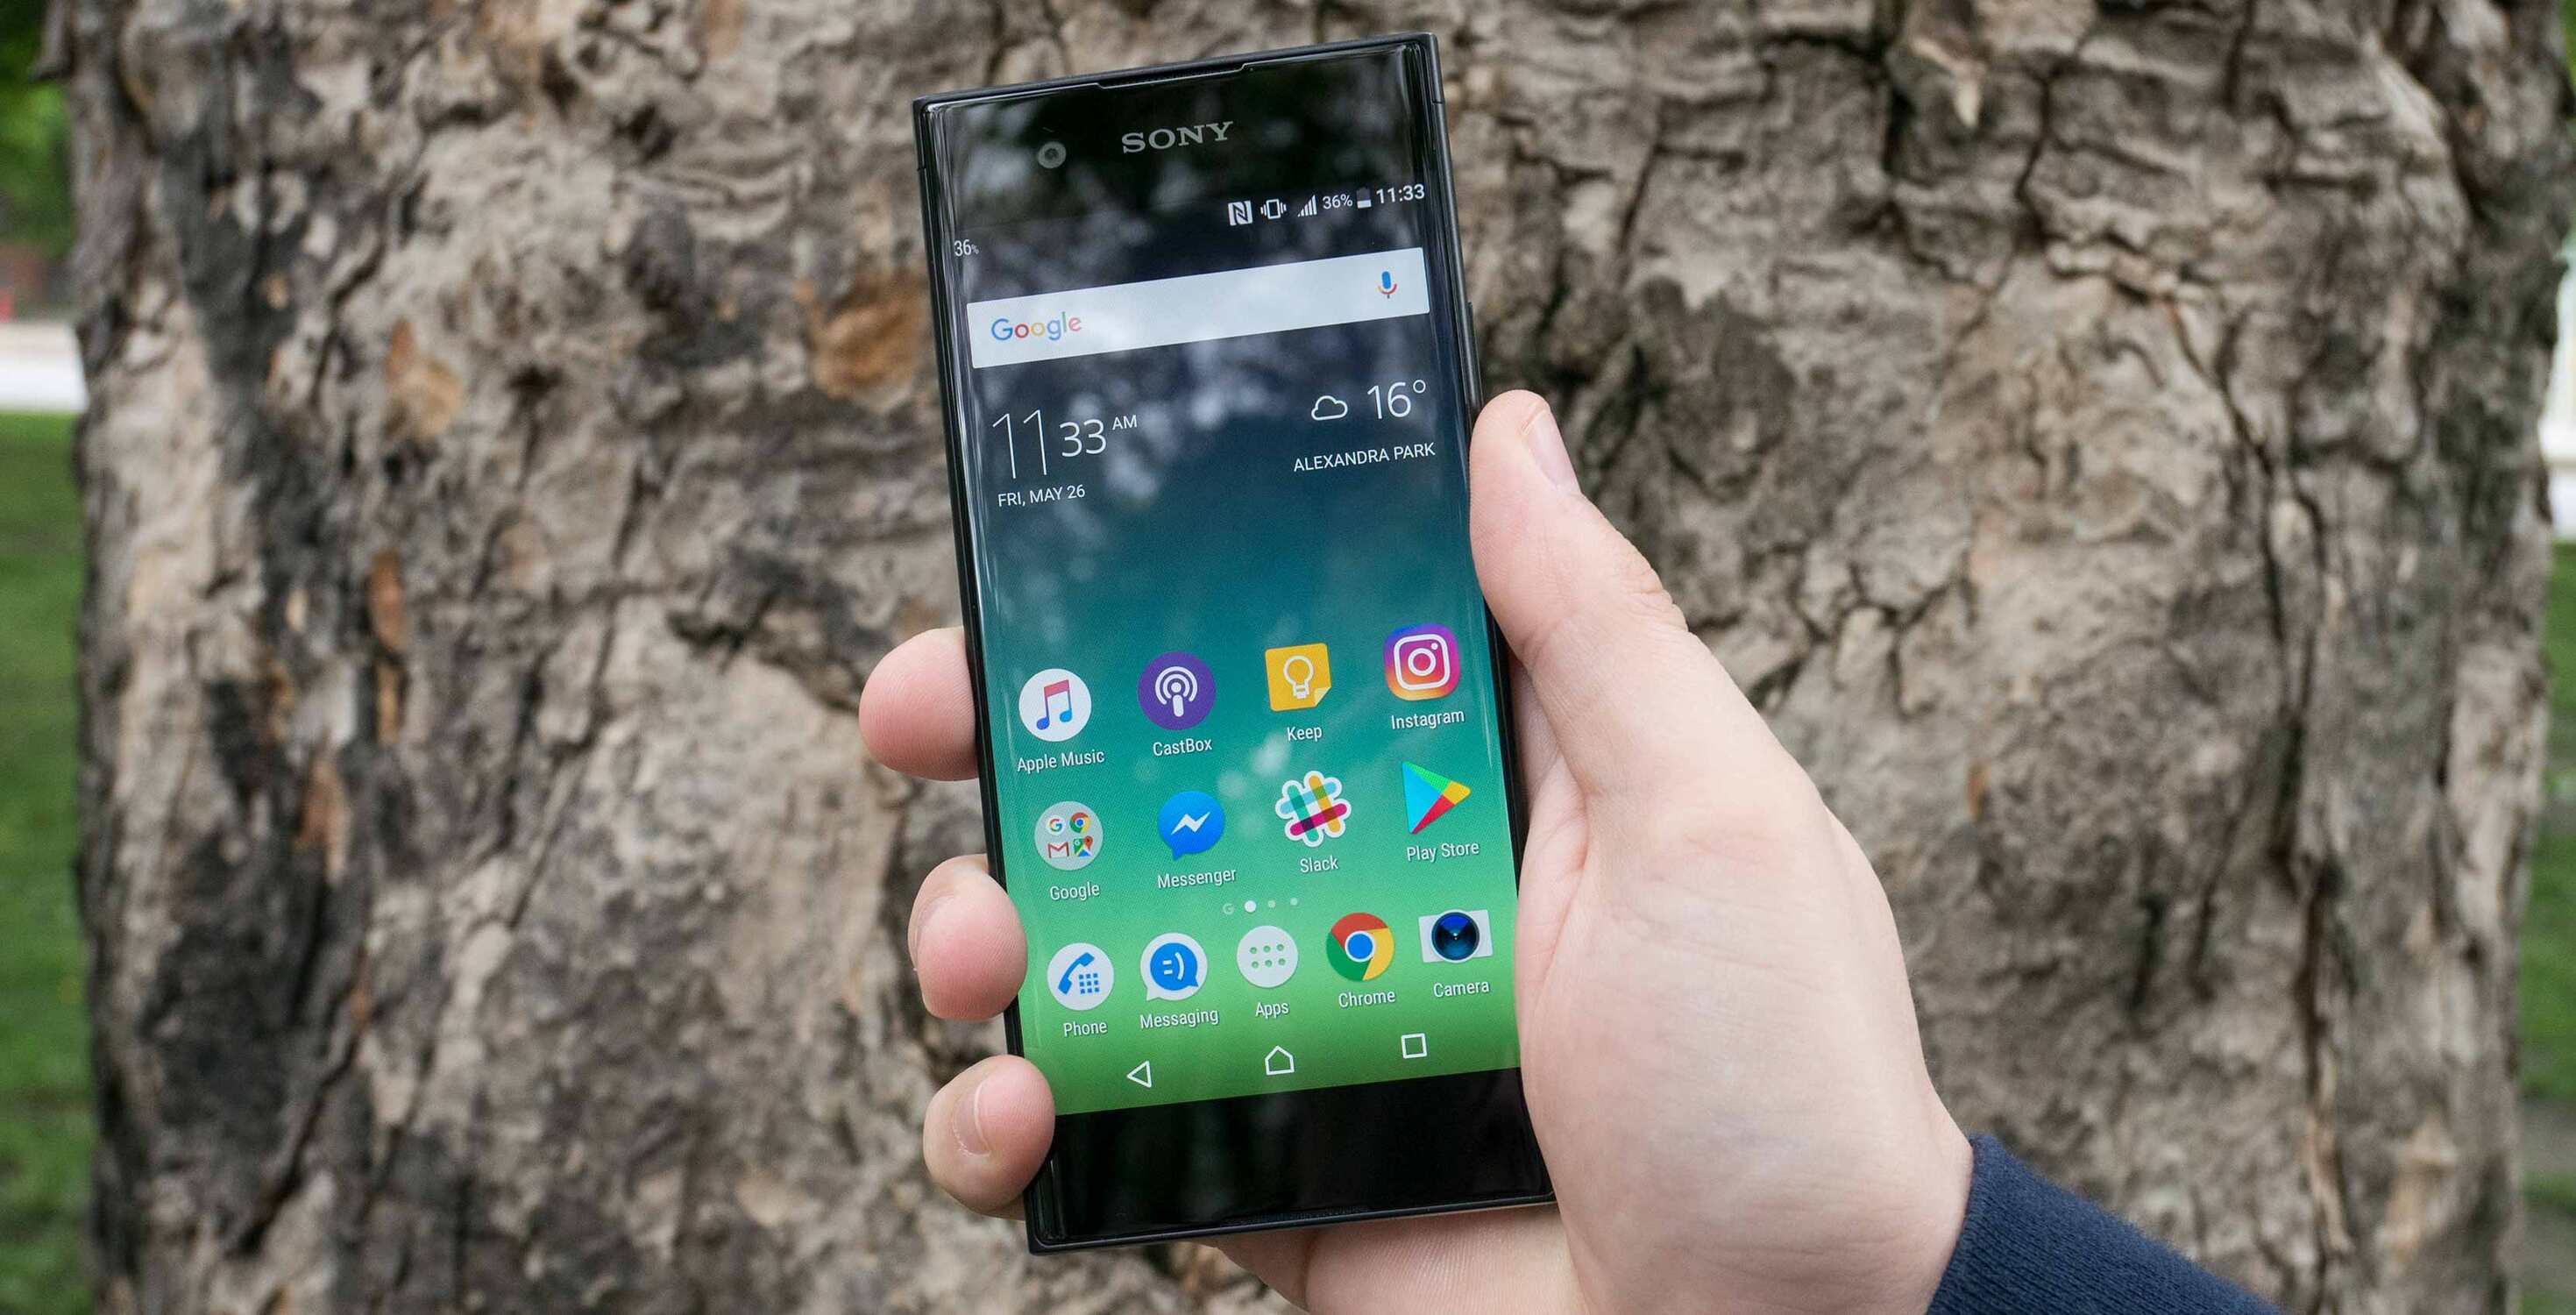
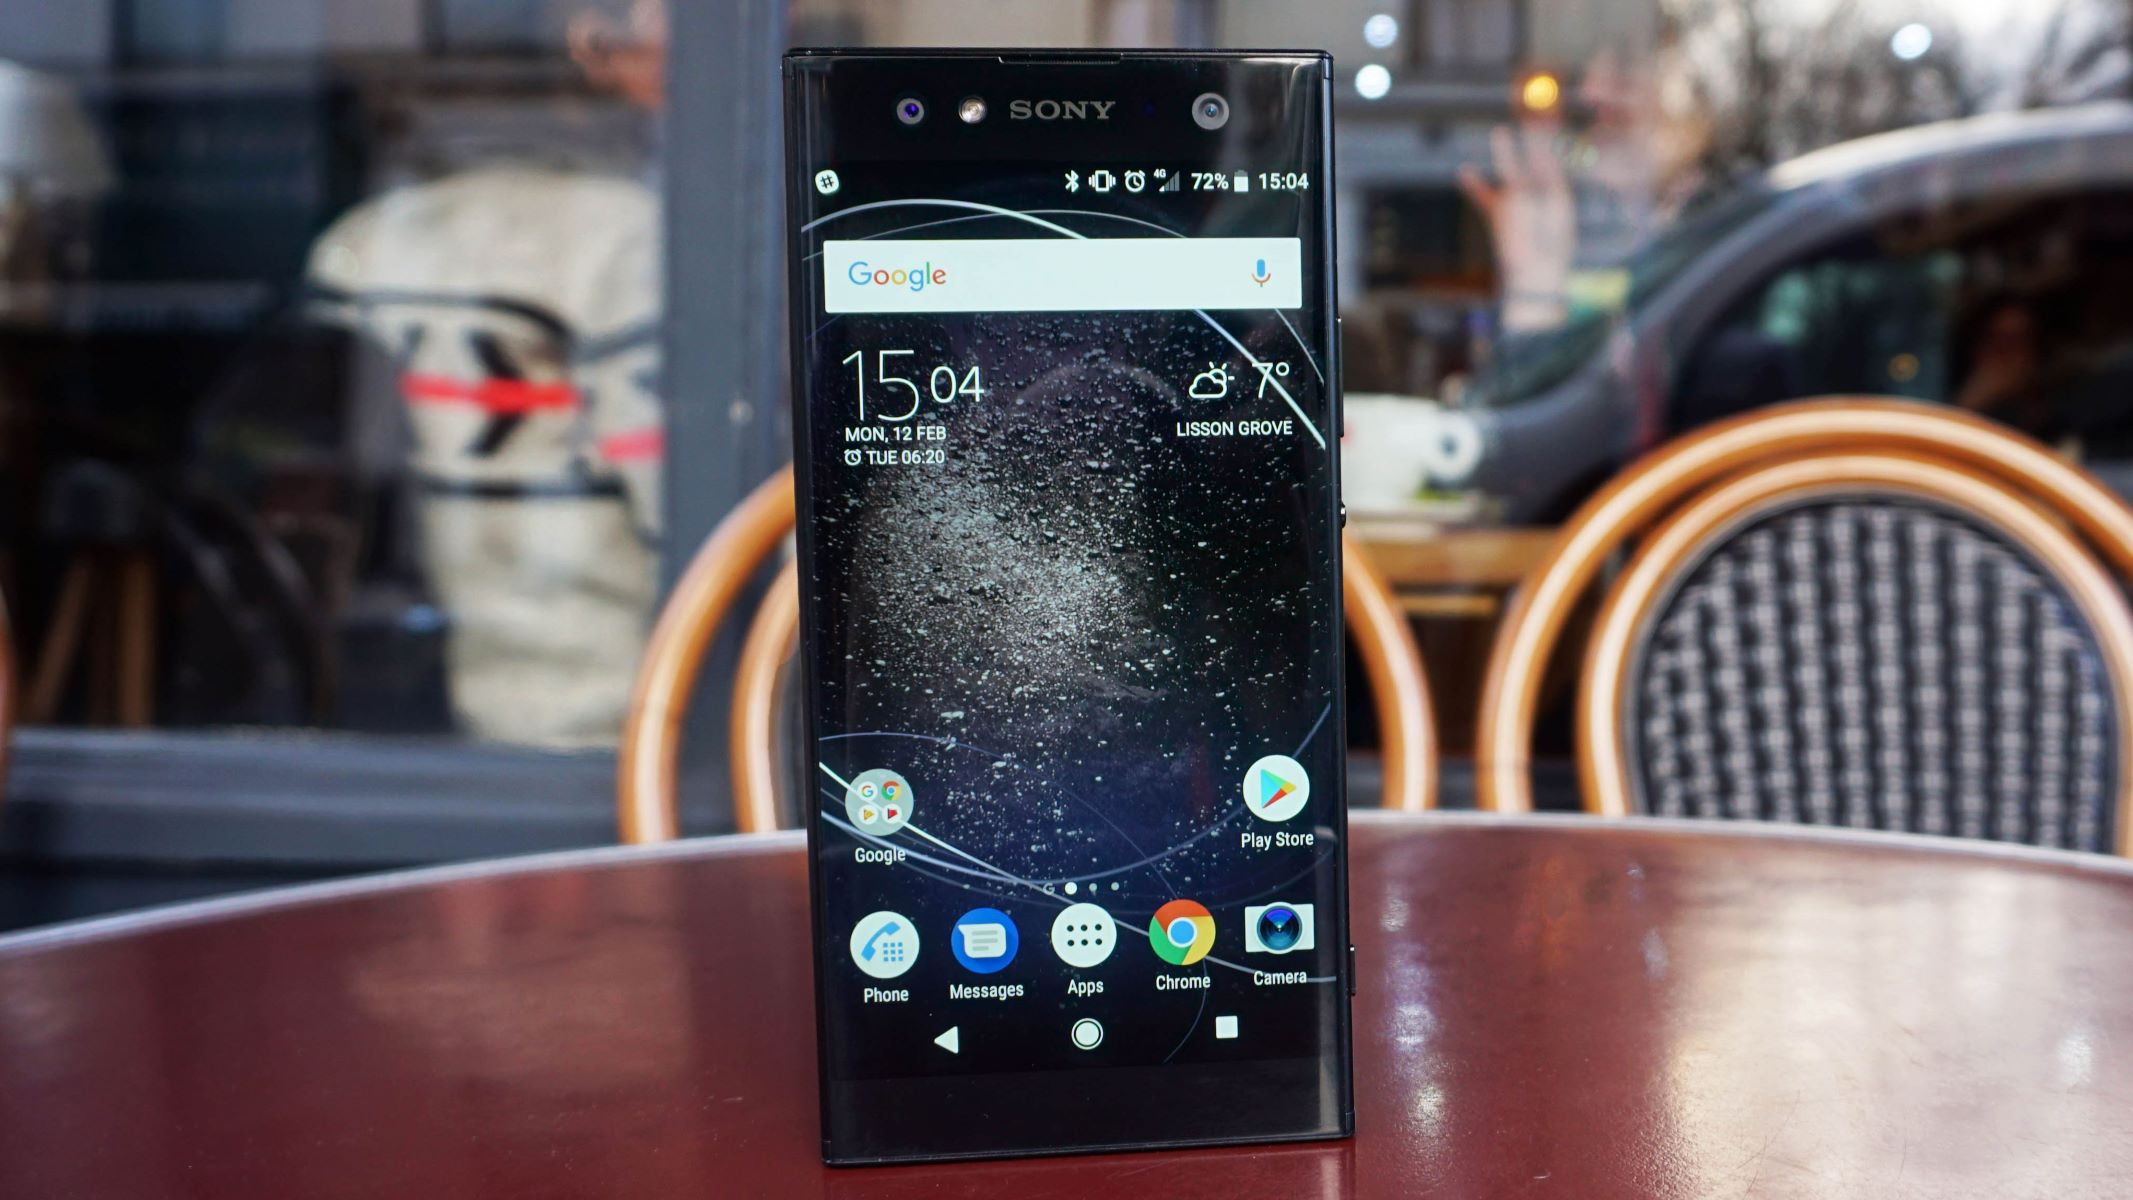
Removing the back cover of your Xperia XA can be a straightforward and rewarding process, allowing you to access the battery, SIM card, and other internal components. Whether you're looking to replace the battery, insert a new SIM card, or simply give your device a thorough cleaning, this user-friendly guide will walk you through the steps with ease.
By following these instructions, you can gain a deeper understanding of your device's internal structure and become more confident in handling basic maintenance tasks. Additionally, learning how to remove the back cover can empower you to personalize your Xperia XA by customizing its appearance with different back covers or protective cases.
This guide aims to provide clear and concise instructions, ensuring that you can successfully remove the back cover without causing any damage to your device. With the right tools and a methodical approach, you'll be able to complete this task efficiently and safely.
Now, let's gather the necessary tools and embark on this journey to uncover the inner workings of your Xperia XA.
Tools Needed
Before embarking on the process of removing the back cover of your Xperia XA, it's essential to gather the necessary tools to ensure a smooth and successful experience. Here's a comprehensive list of the tools you'll need:
-
Pry Tool: A pry tool is a thin, flat instrument designed to safely separate the back cover from the main body of the device. It's crucial to use a pry tool specifically designed for mobile devices to prevent any damage to the back cover or the internal components.
-
Microfiber Cloth: Having a microfiber cloth on hand is essential for maintaining a clean and dust-free work environment. This soft and non-abrasive cloth will help you wipe down the back cover and the device's surface, ensuring that no debris enters the device during the process.
-
Workspace: Find a well-lit and spacious workspace to carry out the back cover removal process. A clutter-free environment will minimize the risk of misplacing small components and allow you to focus on the task at hand.
-
Patience and Attention to Detail: While not physical tools, patience and attention to detail are equally important. Taking your time and paying close attention to each step will contribute to a successful outcome and prevent any accidental damage to the device.
By ensuring that you have these tools at your disposal, you'll be well-prepared to proceed with confidence and precision. With the right tools and a methodical approach, you can safely remove the back cover of your Xperia XA and gain access to its internal components. Now that you have the necessary tools, let's move on to the step-by-step process of removing the back cover.
Step 1: Power Off the Device
Before initiating the process of removing the back cover of your Xperia XA, it is crucial to power off the device. This step is essential to ensure the safety of both the user and the device itself. By turning off the device, you minimize the risk of electrical mishaps and create a secure environment for the subsequent steps.
To power off your Xperia XA, begin by locating the power button, which is typically situated on the right-hand side of the device. Press and hold the power button until the power-off menu appears on the screen. Depending on the model and software version of your Xperia XA, the power-off menu may vary slightly in appearance, but the fundamental process remains consistent.
Once the power-off menu is displayed, select the "Power Off" option by tapping on the screen. This action prompts the device to commence the shutdown process. As the device powers down, you will notice the screen dimming, indicating that the Xperia XA is entering a powered-off state.
It is important to wait for the device to completely power off before proceeding to the next step. This ensures that all internal processes have ceased, reducing the risk of electrical hazards during the back cover removal process.
By diligently following this initial step and powering off your Xperia XA, you establish a safe starting point for the subsequent steps. This proactive approach prioritizes safety and sets the stage for a smooth and secure back cover removal process.
With the device powered off, you are now ready to move on to the next step, which involves locating the notch on the device's back cover. This strategic approach, beginning with powering off the device, sets the tone for a methodical and safe back cover removal process.
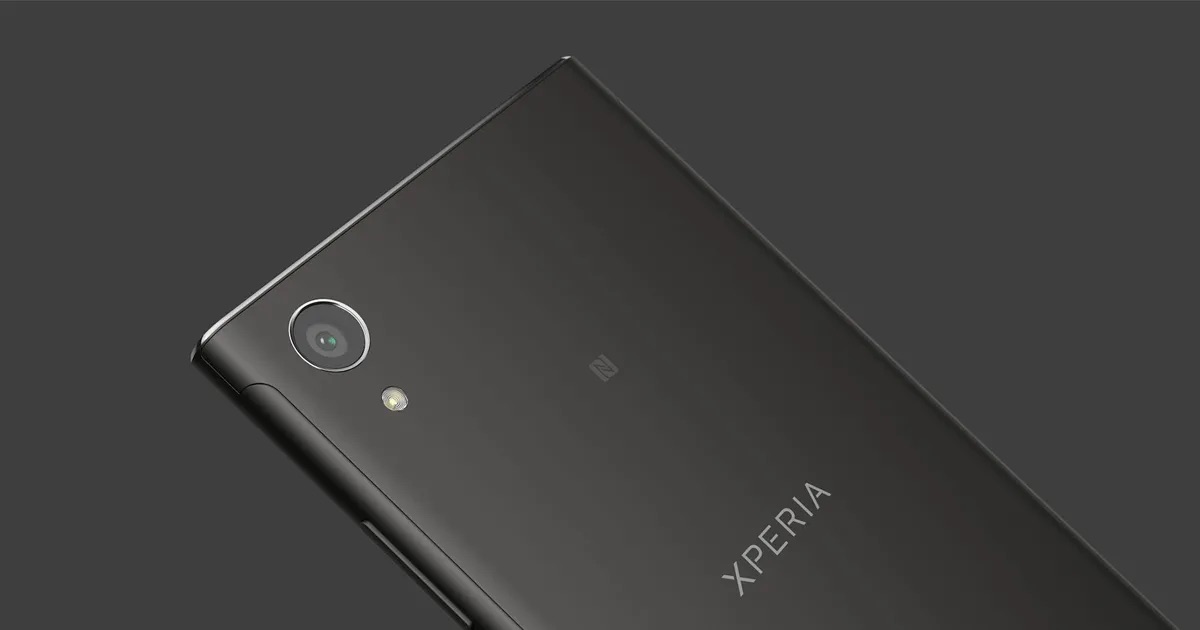
Step 2: Locate the Notch
Locating the notch on the Xperia XA's back cover is a pivotal step in the process of removing the cover safely and efficiently. The notch serves as the entry point for the pry tool, enabling you to begin the separation of the back cover from the main body of the device.
To locate the notch, carefully examine the edges of the Xperia XA's back cover. The notch is typically positioned along one of the edges, often near the top or bottom of the device. It is designed to provide a starting point for the insertion of the pry tool, allowing for controlled and precise separation of the back cover.
The notch is strategically placed to facilitate the removal process while minimizing the risk of damage to the back cover or the internal components of the device. Its presence streamlines the overall procedure, ensuring that users can navigate the removal process with confidence and accuracy.
When identifying the notch, it's essential to approach the task with a keen eye and attention to detail. Take your time to inspect the edges of the back cover, noting any subtle variations or indentations that may indicate the presence of the notch. By maintaining a methodical approach, you can effectively pinpoint the location of the notch and prepare for the subsequent steps in the removal process.
Once you have successfully located the notch, you are poised to proceed to the next step, which involves the use of a pry tool to initiate the separation of the back cover. The careful identification of the notch sets the stage for a controlled and precise removal process, ensuring that you can navigate the subsequent steps with confidence and accuracy.
By taking the time to locate the notch, you demonstrate a proactive and detail-oriented approach to the back cover removal process. This foundational step lays the groundwork for a successful and seamless removal experience, allowing you to proceed with confidence as you advance through the subsequent stages of the process.
With the notch identified, you are now prepared to move on to the next step, where the use of a pry tool comes into play. This deliberate and meticulous approach to locating the notch underscores the importance of precision and attentiveness in the back cover removal process.
Step 3: Use a Pry Tool
The utilization of a pry tool is a critical aspect of the back cover removal process for your Xperia XA. This specialized tool is designed to facilitate the safe and controlled separation of the back cover from the main body of the device, ensuring that the process is executed with precision and care.
When selecting a pry tool for this task, it is essential to choose one specifically designed for mobile devices. These tools are crafted with thin, flat edges that enable them to navigate the tight spaces between the back cover and the device's body without causing damage. Additionally, pry tools often feature a non-abrasive material to prevent scratches or marks on the device's surface.
As you prepare to use the pry tool, it's important to handle it with a steady and deliberate hand. Position the edge of the pry tool at the identified notch on the back cover, ensuring that it is securely but gently inserted into the designated entry point. The goal is to create a slight separation between the back cover and the device's body, initiating the process of detachment.
Maintaining a controlled and cautious approach is paramount during this step. By exerting gentle pressure and leveraging the precision of the pry tool, you can gradually create a small gap between the back cover and the device. It's crucial to proceed methodically, allowing the pry tool to navigate along the edges of the back cover, steadily loosening its attachment to the device's body.
As you navigate the use of the pry tool, it's essential to remain attentive to the feedback and resistance encountered during the process. By staying attuned to the tactile cues and making nuanced adjustments, you can ensure that the separation is carried out with the utmost care and precision.
By effectively utilizing the pry tool, you set the stage for the subsequent steps in the back cover removal process. This deliberate and meticulous approach underscores the importance of precision and attentiveness, ensuring that the separation is executed with the utmost care and consideration for the device's integrity.
With the initial use of the pry tool completed, you are now prepared to progress to the next step, which involves gently prying open the back cover. This methodical and controlled approach to using the pry tool sets the tone for a safe and successful back cover removal process, allowing you to proceed with confidence and precision.
Step 4: Gently Pry Open the Back Cover
With the initial use of the pry tool to create a separation between the back cover and the device's body, the next step involves gently prying open the back cover. This phase of the process requires a delicate touch and a methodical approach to ensure that the back cover is safely and smoothly detached from the Xperia XA.
As you navigate this step, it's crucial to maintain a steady and controlled grip on the pry tool, using it to gradually widen the gap created between the back cover and the device's body. The goal is to facilitate a gradual and uniform separation, allowing the back cover to release from its secured position without abrupt or forceful maneuvers.
As the gap widens, it's essential to proceed with caution, ensuring that the back cover's attachment points are gradually disengaged without placing undue stress on the components. By exerting gentle and even pressure along the edges of the back cover, you can encourage a smooth and controlled release, minimizing the risk of damage to the device's internal structure.
Throughout this process, it's important to remain attentive to any resistance or unexpected challenges that may arise. By responding to these cues with patience and precision, you can navigate the back cover's detachment with a heightened awareness of the device's integrity.
As the back cover begins to loosen from its secured position, continue to apply gentle pressure and carefully monitor the progress. The gradual release of the back cover signifies that the separation process is unfolding as intended, allowing you to proceed with confidence and assurance.
By approaching the task with a deliberate and cautious mindset, you can ensure that the back cover is opened in a controlled and methodical manner, setting the stage for the subsequent steps in the removal process. This meticulous approach underscores the importance of precision and attentiveness, guiding you toward a successful and seamless back cover removal experience.
With the back cover gently pried open, you are now prepared to progress to the next step, which involves the complete removal of the back cover from the Xperia XA. This deliberate and controlled approach to opening the back cover sets the tone for a safe and successful removal process, allowing you to proceed with confidence and precision.
Step 5: Remove the Back Cover
As the back cover of your Xperia XA is gently pried open, you are now poised to complete the pivotal step of removing the back cover from the device's main body. This phase of the process requires a steady hand and a focused approach to ensure that the back cover is safely and effectively detached, granting access to the device's internal components.
With the back cover partially separated, carefully continue to widen the gap using the pry tool, ensuring that the detachment is carried out gradually and uniformly. As the gap widens, you may notice the back cover beginning to release from its secured position, signifying the successful progression of the removal process.
As the back cover loosens, maintain a cautious grip on the device, ensuring that it remains stable and secure during the removal. By exercising patience and precision, you can navigate the final stages of detachment with a heightened awareness of the device's integrity, minimizing the risk of accidental damage.
Once the back cover is sufficiently loosened, gently lift it away from the device's body, taking care to observe any remaining attachment points. By proceeding with a methodical and controlled approach, you can ensure that the back cover is removed without placing undue stress on the internal components, preserving the device's structural integrity.
As the back cover is lifted away, take a moment to appreciate the inner workings of your Xperia XA, gaining a glimpse into the device's internal architecture. This brief pause allows you to acknowledge the intricacies of the device's design and reinforces the sense of accomplishment in successfully removing the back cover.
With the back cover now removed, you have gained access to the battery, SIM card, and other internal components, opening up a world of possibilities for maintenance, customization, and personalization. This pivotal achievement marks the culmination of a methodical and precise process, underscoring your ability to navigate essential maintenance tasks with confidence and skill.
With the back cover removed, you are now prepared to proceed to the final step, which involves reattaching the back cover to the Xperia XA. This significant milestone in the removal process sets the stage for a seamless and successful reassembly, allowing you to conclude the task with a sense of accomplishment and satisfaction.
Step 6: Reattach the Back Cover
With the back cover of your Xperia XA successfully removed, the final step involves reattaching the back cover to the device's main body. This critical phase of the process requires a meticulous and methodical approach to ensure that the back cover is securely and seamlessly restored, safeguarding the device's internal components and structural integrity.
As you prepare to reattach the back cover, take a moment to inspect the interior of the device, ensuring that the battery, SIM card, and other internal components are free from debris or damage. This proactive assessment allows you to address any potential concerns before proceeding with the reattachment, promoting a smooth and trouble-free restoration process.
Position the back cover carefully over the device, aligning it with the edges and ensuring that it sits flush and level with the main body. By maintaining a steady and precise grip, you can guide the back cover into place, preparing it for secure reattachment without undue force or pressure.
As the back cover nears its original position, apply gentle and even pressure along the edges, encouraging a uniform and secure resealing. Take care to monitor the alignment and positioning of the back cover, ensuring that it seamlessly integrates with the device's main body without any misalignment or gaps.
Once the back cover is in position, apply slight pressure along the edges, ensuring that it securely clicks into place. This tactile confirmation signifies the successful reattachment of the back cover, providing reassurance that the device is once again safeguarded and protected.
With the back cover securely reattached, take a moment to appreciate the seamless restoration of your Xperia XA. This final step marks the culmination of a precise and controlled process, underscoring your ability to navigate essential maintenance tasks with confidence and skill.
By reattaching the back cover with care and precision, you have reaffirmed the device's structural integrity and safeguarded its internal components, setting the stage for continued use and enjoyment. With the back cover securely in place, you can proceed with confidence, knowing that your Xperia XA is restored to its optimal condition.
This meticulous and deliberate approach to reattaching the back cover ensures that the device is safeguarded and protected, allowing you to conclude the removal process with a sense of accomplishment and satisfaction.