Introduction
In today's digital age, mobile devices have become an integral part of our daily lives. From smartphones to tablets, these devices rely on SIM cards to connect to cellular networks and enable seamless communication and internet access. Similarly, many modern routers also incorporate SIM card slots to provide reliable internet connectivity. If you own an Arris router with a SIM card slot, you may find it necessary to remove the SIM card for various reasons, such as troubleshooting network issues or replacing the SIM card with a new one.
Understanding how to remove the SIM card from your Arris router is essential for maintaining and troubleshooting your network connectivity. Whether you're a tech enthusiast or a novice user, this comprehensive guide will walk you through the process, ensuring that you can confidently handle this task. By following the steps outlined in this guide, you can effectively remove the SIM card from your Arris router without encountering any complications.
The following sections will provide a clear and detailed overview of the necessary tools, the location of the SIM card slot, the step-by-step process of removing the SIM card, and finally, reassembling the router. With this knowledge at your disposal, you'll be equipped to address any SIM card-related issues that may arise with your Arris router.
So, let's delve into the essential steps required to remove the SIM card from your Arris router and ensure seamless network connectivity. Whether you're a homeowner, a small business owner, or an IT professional, mastering this process will empower you to effectively manage your network infrastructure. Let's get started!
Step 1: Gather Necessary Tools
Before embarking on the task of removing the SIM card from your Arris router, it's essential to gather the necessary tools to ensure a smooth and hassle-free process. The tools required for this task are readily available and easy to handle, making the entire procedure accessible to users of all technical backgrounds.
Here are the essential tools you'll need:
-
Phillips Head Screwdriver: This tool is crucial for accessing the internal components of your Arris router. The Phillips head screwdriver allows you to remove any screws securing the router's casing, providing access to the SIM card slot.
-
Antistatic Wrist Strap (Optional): While not mandatory, an antistatic wrist strap can be beneficial in preventing electrostatic discharge (ESD) during the removal process. ESD can potentially damage sensitive electronic components, and using an antistatic wrist strap can mitigate this risk.
-
Work Surface: Ensure that you have a clean and well-lit work surface to perform the SIM card removal process. A clutter-free environment will help prevent misplacement of screws or small components and allow for better visibility during the procedure.
By having these tools at your disposal, you'll be well-prepared to begin the process of removing the SIM card from your Arris router. With the necessary tools in hand, you can proceed to the next step with confidence, knowing that you have everything required to successfully complete the task.
Gathering these tools demonstrates your readiness and commitment to effectively managing your network infrastructure. With the tools in hand, you're now poised to move on to the next step, where you'll locate the SIM card slot within the Arris router.
Step 2: Locate the SIM Card Slot
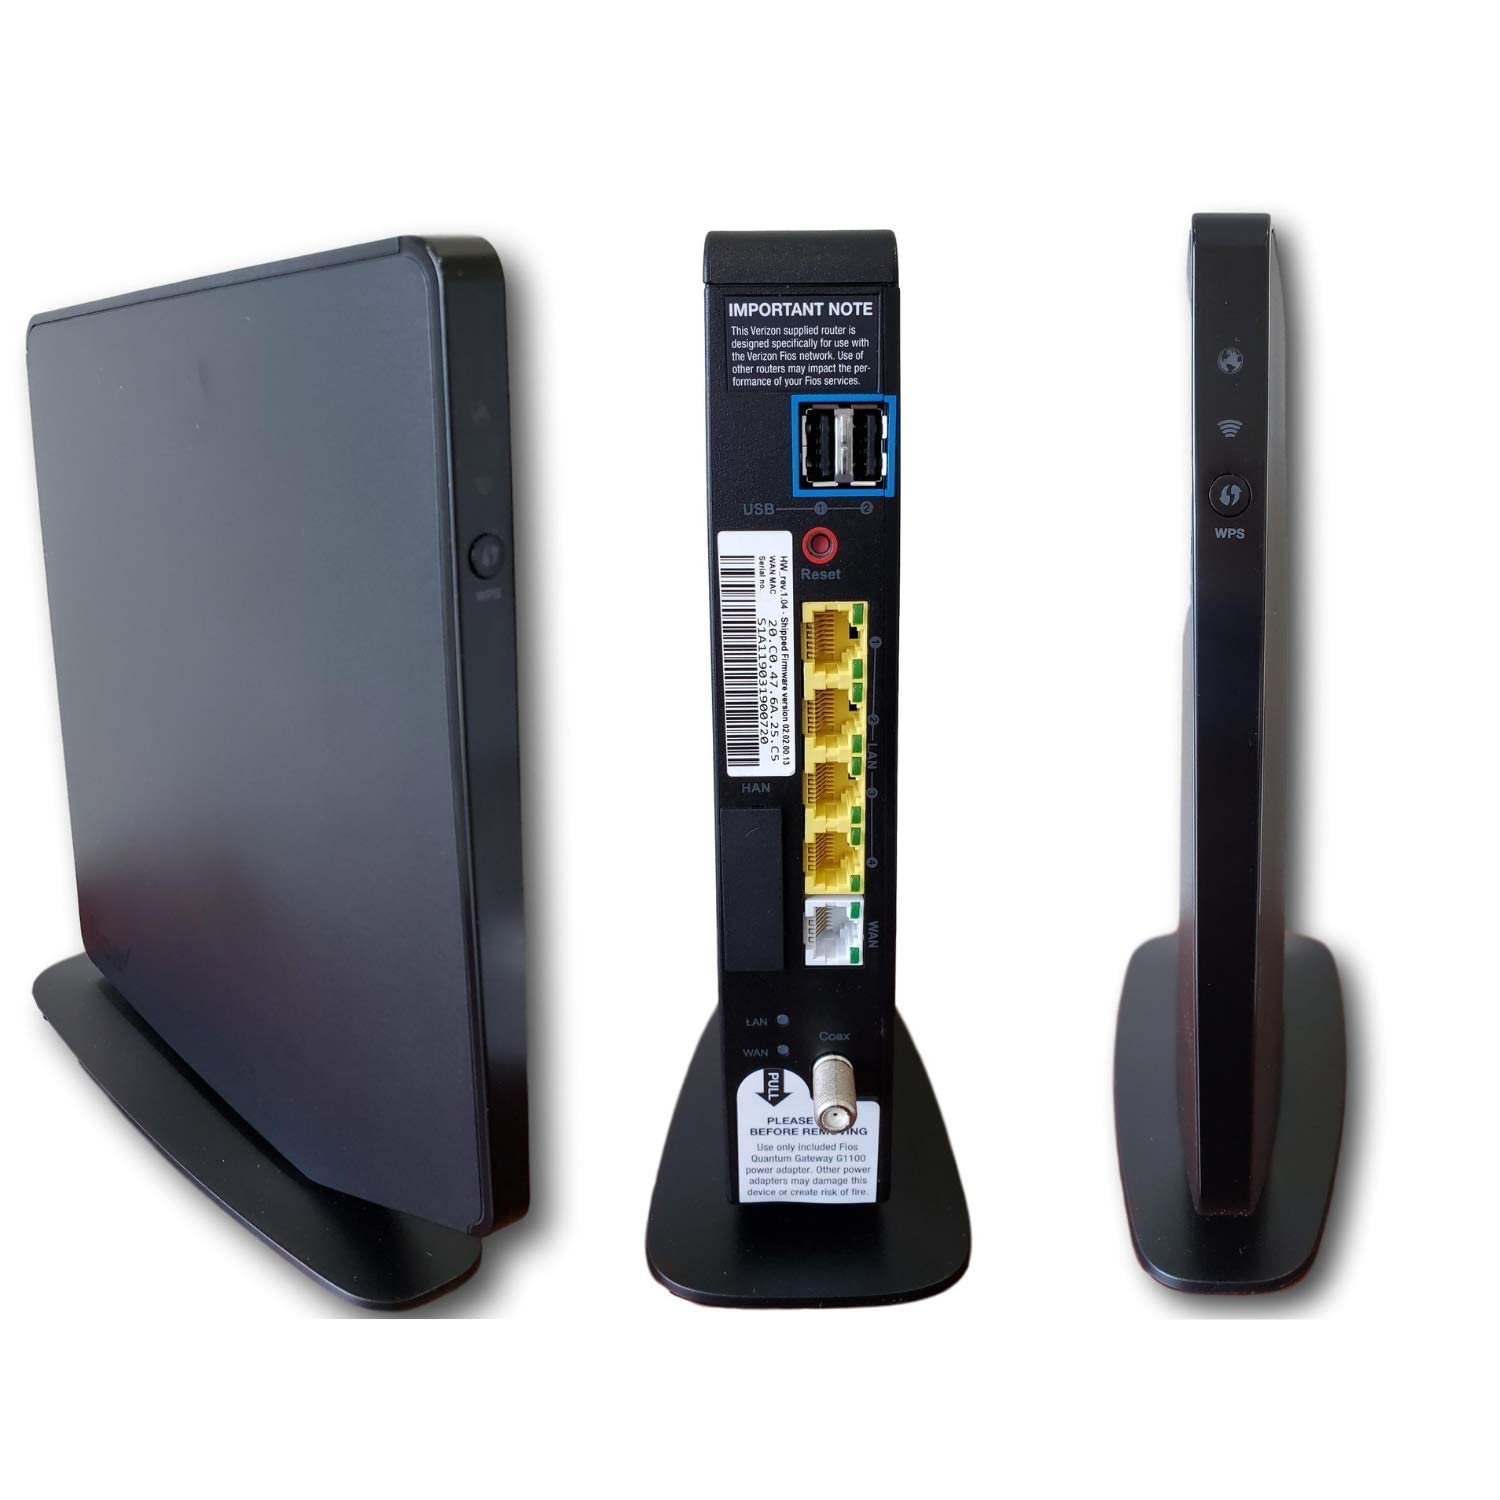
Locating the SIM card slot within your Arris router is a crucial step in the process of removing the SIM card. The SIM card slot is typically situated within the router's casing, and identifying its precise location is essential for accessing the SIM card and proceeding with its removal.
To locate the SIM card slot on your Arris router, follow these general steps:
-
Refer to the User Manual: The user manual provided with your Arris router offers valuable insights into its internal components and layout. It often includes detailed diagrams and descriptions of the SIM card slot's location within the router. If you have the manual on hand, refer to the section that outlines the physical layout of the router to identify the SIM card slot.
-
Inspect the Router's Exterior: Examine the exterior of the router for any visible indicators or markings that denote the location of the SIM card slot. Manufacturers often label the SIM card slot to facilitate easy identification for users. Look for symbols or text that explicitly indicate the presence of the SIM card slot.
-
Open the Router's Casing: In some Arris router models, accessing the SIM card slot may require opening the router's casing. Use the Phillips head screwdriver from the previously gathered tools to carefully remove any screws securing the casing. Once the casing is removed, you'll have a clear view of the internal components, allowing you to locate the SIM card slot.
-
Internal Component Layout: Upon opening the router's casing, visually inspect the internal layout of the device. Look for a slot that resembles a SIM card slot, typically accompanied by a small tray or holder designed to secure the SIM card in place. The SIM card slot may be positioned near the router's antennas or alongside other connectivity ports.
By following these steps, you can effectively locate the SIM card slot within your Arris router. Once you have identified the SIM card slot, you'll be prepared to proceed to the next step, which involves the careful removal of the SIM card from the router.
Understanding the location of the SIM card slot is fundamental to the successful removal of the SIM card, and this knowledge will empower you to navigate the process with confidence and precision. With the SIM card slot identified, you're now ready to move on to the subsequent step, where you'll learn how to remove the SIM card from your Arris router.
Step 3: Remove the SIM Card
With the SIM card slot located within your Arris router, the next crucial step is to carefully remove the SIM card from its designated slot. This process requires precision and attention to detail to ensure that the SIM card is extracted without causing any damage to the router or the card itself.
Follow these detailed steps to remove the SIM card from your Arris router:
-
Power Off the Router: Before proceeding with the SIM card removal, it's essential to power off the router and disconnect it from the electrical outlet. This precautionary measure ensures safety and prevents any potential electrical hazards during the removal process.
-
Use Antistatic Precautions (Optional): If you have an antistatic wrist strap available, consider using it to prevent electrostatic discharge while handling the internal components of the router. This added precaution can safeguard sensitive electronic elements from ESD-related damage.
-
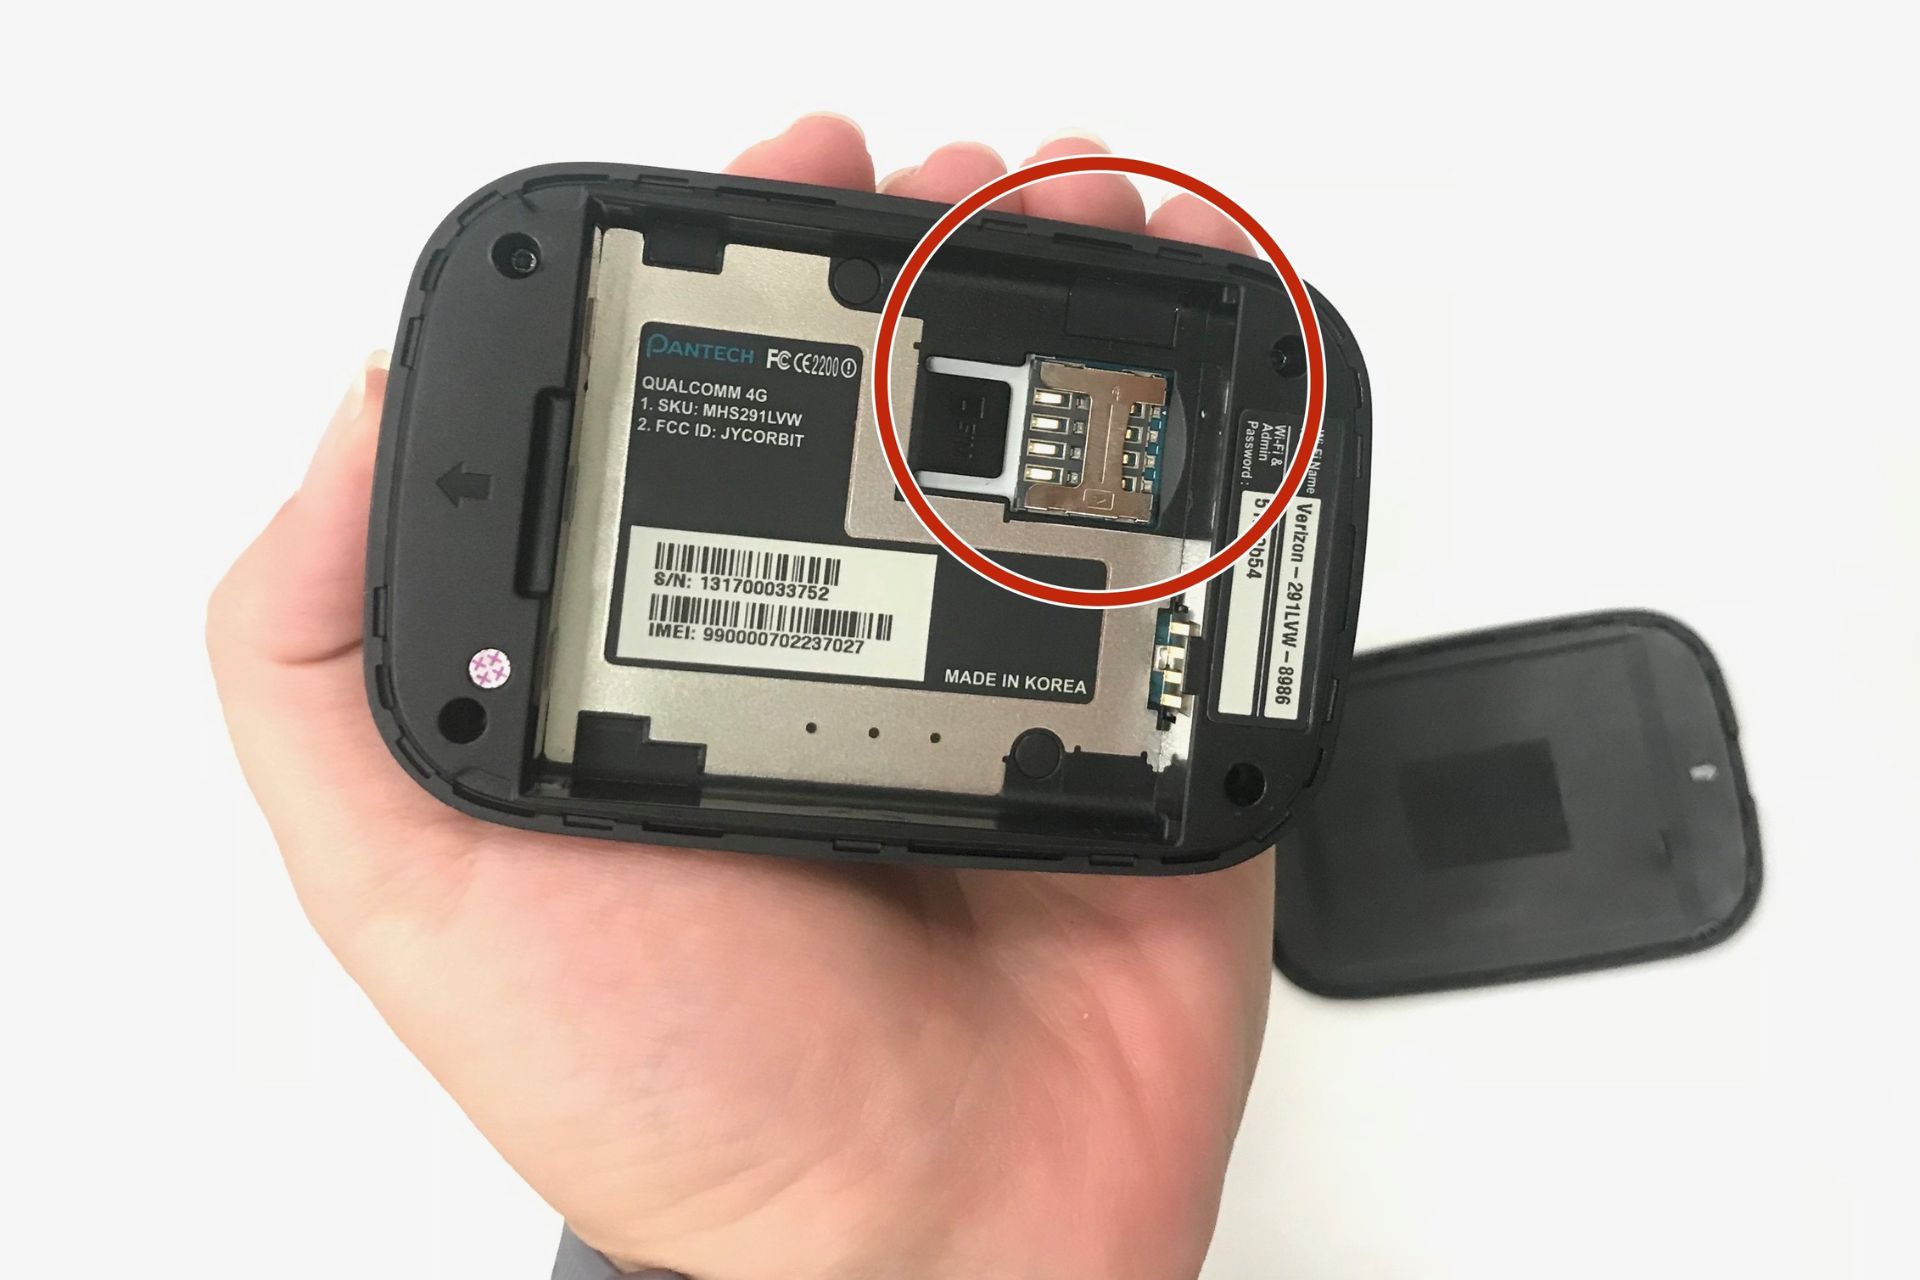
Gently Extract the SIM Card: Carefully access the SIM card slot within the router, and using your fingertips, gently push the SIM card inward to release it from the holder. The SIM card should be easily removable once it's been disengaged from the securing mechanism.
-
Handle with Care: As you remove the SIM card, handle it with care to avoid bending or damaging the delicate metal contacts on the card. Hold the SIM card by its edges to minimize the risk of any physical or electrical damage.
-
Inspect for Damage: Upon removing the SIM card, take a moment to inspect it for any signs of damage or wear. Check the metal contacts on the SIM card for any debris or corrosion, and ensure that the card itself remains in good condition.
-
Secure the SIM Card: Once the SIM card has been successfully removed, place it in a safe and easily accessible location. Keeping the SIM card in a secure spot ensures that it can be readily reinserted if needed, or safely stored for future use.
By following these detailed steps, you can effectively remove the SIM card from your Arris router with precision and care. This process ensures that the SIM card is extracted without causing any harm to the router or the card itself, allowing for a seamless transition to the reassembly phase.
With the SIM card safely removed, you're now prepared to proceed to the final step, where you'll reassemble the router and prepare it for continued use.
Step 4: Reassemble the Router
After successfully removing the SIM card from your Arris router, the final step involves reassembling the router to restore it to its operational state. This process ensures that the internal components are securely housed within the router's casing, allowing for the seamless resumption of network connectivity. Reassembly is a critical phase that requires attention to detail and precision to safeguard the router's functionality.
Follow these essential steps to reassemble your Arris router:
-
Position the Casing: Align the router's casing with the main body of the device, ensuring that it fits snugly into place. Take care to position the casing correctly to avoid any misalignment that could impede the reassembly process.
-
Secure the Screws: If the router's casing is secured by screws, use the Phillips head screwdriver to carefully fasten the screws back into their respective positions. Tighten the screws evenly to ensure that the casing is firmly secured without applying excessive force.
-
Verify Connections: Before powering on the router, double-check that all external connections, such as the power adapter and any Ethernet cables, are securely reconnected. Ensuring proper connections minimizes the risk of operational issues once the router is powered up.
-
Power On the Router: Once the router is reassembled and all connections are verified, proceed to power on the device. Reconnecting the router to the electrical outlet and powering it on initiates the boot-up sequence, allowing the router to resume its network functionality.
-
Observe Operational Status: As the router powers on, observe the indicator lights or display panel to confirm that the device is functioning as expected. Pay attention to any error indicators or unusual behavior that may signal a reassembly issue or connectivity disruption.
By carefully following these steps, you can effectively reassemble your Arris router after removing the SIM card. This process ensures that the router's internal components are securely housed within its casing, allowing for the seamless restoration of network connectivity.
With the router successfully reassembled, you have completed the essential steps required to remove the SIM card from your Arris router and prepare it for continued use. Whether you encountered any challenges during the process or navigated it with ease, your proactive approach to managing your network infrastructure is commendable. By mastering the task of removing and reinserting the SIM card, you've demonstrated a valuable skill set in maintaining and troubleshooting your network equipment.
As you continue to engage with your Arris router and other network devices, your newfound expertise will serve you well in addressing future maintenance and connectivity needs. With the SIM card removal process completed, you can confidently manage your router's functionality and ensure seamless network connectivity for your home or business environment.
Conclusion
In conclusion, the process of removing the SIM card from your Arris router is a fundamental skill that empowers you to effectively manage and troubleshoot your network connectivity. By following the comprehensive guide outlined in this article, you have gained valuable insights into the essential steps required to navigate this task with confidence and precision.
Mastering the removal of the SIM card from your Arris router equips you with the capability to address various network-related scenarios, including troubleshooting connectivity issues, replacing SIM cards, or conducting routine maintenance. Your proactive approach to understanding and managing the internal components of your router demonstrates a commendable commitment to maintaining a reliable and efficient network infrastructure.
As you embarked on the journey to remove the SIM card, you gathered the necessary tools, located the SIM card slot, carefully extracted the SIM card, and successfully reassembled the router. Each step in this process contributed to your expanding knowledge and technical proficiency, allowing you to engage with your network equipment in a confident and informed manner.
Furthermore, the attention to detail and precision demonstrated during the SIM card removal process reflects your dedication to safeguarding the integrity of your Arris router and its internal components. By handling the task with care and consideration, you have ensured the continued functionality and reliability of your network infrastructure.
Moving forward, the skills and insights gained from this experience will serve as a valuable asset as you engage with your Arris router and other network devices. Whether you're a homeowner seeking to maintain seamless connectivity or a business professional responsible for network management, the ability to remove and reinsert the SIM card positions you as a capable and proactive steward of your network infrastructure.
By embracing this knowledge and honing your technical capabilities, you are well-prepared to address future network maintenance tasks and ensure the optimal performance of your Arris router. As you continue to navigate the dynamic landscape of network technology, your proficiency in managing the SIM card removal process will contribute to a seamless and reliable network experience for yourself and those who rely on your network connectivity.
In conclusion, your dedication to mastering the SIM card removal process reflects your commitment to maintaining a robust and efficient network environment. With this accomplishment, you stand poised to tackle the challenges and opportunities that arise in the realm of network management, equipped with the expertise and confidence to ensure uninterrupted connectivity for your home or business.