Introduction
The Redmi Note 8 is a powerful and versatile mobile device that offers a wide range of features and capabilities. However, there are instances when users may encounter issues with their devices, such as freezing, unresponsiveness, or persistent software glitches. In such cases, performing a hard reset can be an effective solution to resolve these issues and restore the device to its original state.
A hard reset, also known as a factory reset, is a process that erases all the data and settings on the device, returning it to its default factory state. This can be a useful troubleshooting step when dealing with persistent software issues or preparing the device for a fresh start. It's important to note that performing a hard reset will erase all the data on the device, so it's crucial to back up any important information before proceeding with the reset.
In this comprehensive guide, we will walk you through the step-by-step process of performing a hard reset on your Redmi Note 8. Whether you're experiencing software issues, planning to sell or give away your device, or simply looking to start afresh, this guide will provide you with the necessary instructions to perform a hard reset with ease and confidence.
By following the instructions outlined in this guide, you can effectively troubleshoot software issues and restore your Redmi Note 8 to its original factory settings. Additionally, we will provide insights and tips to ensure a smooth and successful hard reset process, empowering you to make informed decisions and take proactive steps to maintain the optimal performance of your device.
Now, let's delve into the step-by-step process of performing a hard reset on your Redmi Note 8, equipping you with the knowledge and confidence to address software issues and restore your device to its pristine state.
Step 1: Backup Your Data
Before embarking on the hard reset process for your Redmi Note 8, it's crucial to safeguard your valuable data by performing a comprehensive backup. This proactive step ensures that your personal information, including contacts, photos, videos, and app data, is securely preserved and can be restored after the reset. Here's a detailed guide on how to backup your data effectively:
1.1. Utilize Cloud Services
Take advantage of cloud-based services such as Google Drive, Dropbox, or Xiaomi's Mi Cloud to store your data securely. These platforms offer seamless backup and synchronization features, allowing you to safeguard your photos, videos, documents, and app data effortlessly. By enabling automatic backups, you can ensure that your data is continuously synced and accessible across multiple devices.
1.2. Sync Contacts and Calendars
Sync your contacts, calendars, and important reminders with your Google account or other preferred cloud-based services. This ensures that your essential contact information and scheduling details are securely stored and can be easily retrieved after the hard reset.
1.3. Transfer Media Files to a Computer
Connect your Redmi Note 8 to a computer using a USB cable and transfer your photos, videos, and music files to a designated folder on your computer's hard drive. This method provides an additional layer of security for your media files and allows for a seamless transfer back to your device post-reset.
1.4. Backup App Data
Certain apps offer built-in backup options that allow you to save app-specific data to your Google account or cloud storage. Explore the backup settings within individual apps to ensure that your app preferences, game progress, and custom settings are preserved.
1.5. Verify Backup Completion
Once you've completed the backup process, take a moment to verify that all your essential data has been securely stored and is readily accessible. Double-check the backup integrity to ensure that no crucial information is overlooked.
By diligently backing up your data using these methods, you can safeguard your personal information and ensure a seamless transition during and after the hard reset process. This proactive approach empowers you to address software issues with confidence, knowing that your valuable data is securely preserved and ready for restoration when needed.
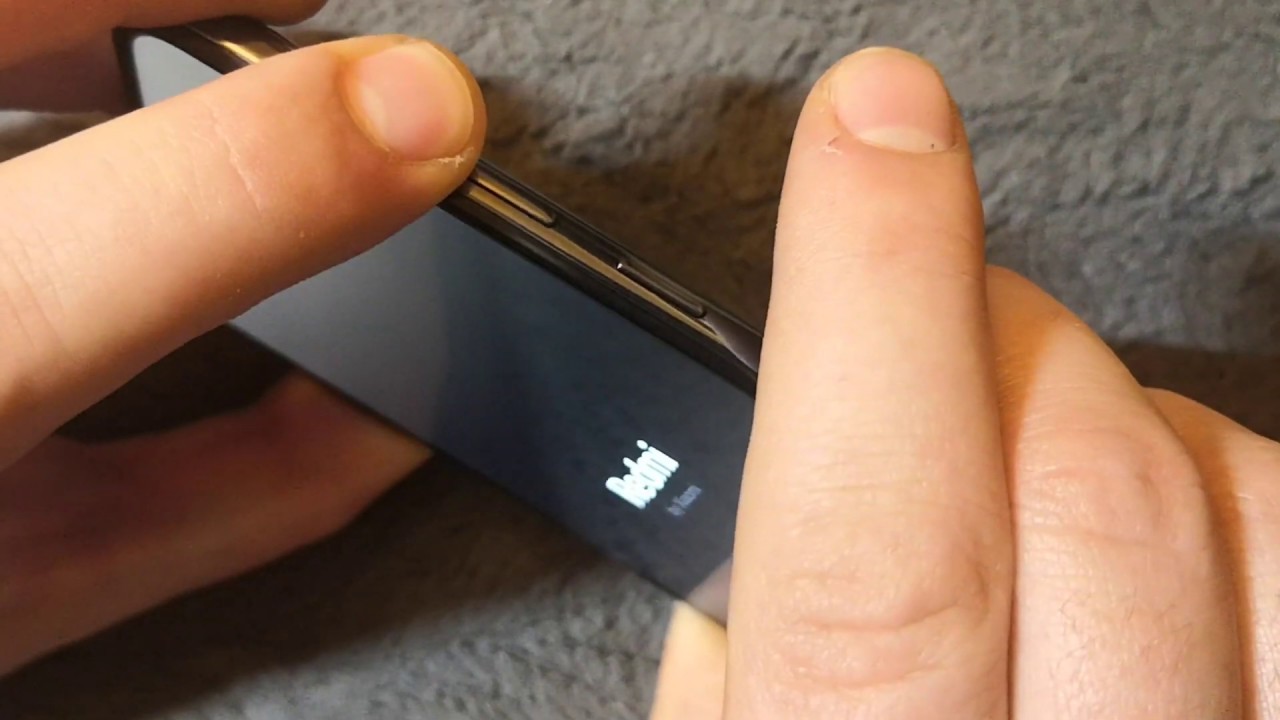
Step 2: Power Off Your Redmi Note 8
Powering off your Redmi Note 8 is the initial step in preparing the device for a hard reset. This process ensures that the device is safely turned off before entering the recovery mode to initiate the reset. Here's a detailed walkthrough of the steps to power off your Redmi Note 8 effectively:
-
Unlock Your Device: If your device is locked, unlock it by entering your PIN, pattern, or password.
-
Press and Hold the Power Button: Locate the power button on your Redmi Note 8, typically situated along the right-hand side of the device. Press and hold the power button until the power-off menu appears on the screen.
-
Select "Power Off": Once the power-off menu is displayed, tap on the "Power Off" option to initiate the shutdown process. This action prompts the device to begin the power-off sequence, ensuring that all active processes are safely terminated.
-
Confirm Power-Off: After selecting "Power Off," the device will prompt you to confirm the action. Tap "OK" or the equivalent option to confirm the power-off command. This finalizes the shutdown process, and your Redmi Note 8 will power down gracefully.
-
Verify Power-Off: Once the device has powered off, verify that the screen is completely dark and that all indicator lights are inactive. This confirms that the device is successfully powered off and is ready for the next step in the hard reset process.
By following these steps, you can effectively power off your Redmi Note 8 in preparation for the subsequent stages of the hard reset process. This proactive step ensures that the device is safely shut down, setting the stage for entering the recovery mode and initiating the hard reset with confidence and precision.
Step 3: Enter Recovery Mode
Entering recovery mode is a crucial step in initiating the hard reset process for your Redmi Note 8. Recovery mode provides a dedicated environment for performing essential system maintenance and recovery tasks, including the execution of a hard reset. Here's a detailed guide on how to enter recovery mode on your Redmi Note 8:
-
Power Off Your Device: Ensure that your Redmi Note 8 is powered off completely. If the device is still powered on, revisit Step 2 to initiate the shutdown process.
-
Press and Hold the Volume Up and Power Buttons: Once the device is powered off, press and hold the volume up button and the power button simultaneously. These buttons are typically located on the right-hand side of the device. Continue holding both buttons until the device enters the recovery mode interface.
-
Navigate the Recovery Menu: Upon successful entry into recovery mode, you will be presented with the recovery menu on the screen. This menu provides a range of options for performing system maintenance and recovery tasks. Use the volume buttons to navigate through the menu options and the power button to confirm your selections.
-
Select "Wipe Data/Factory Reset": Within the recovery menu, locate and select the "Wipe Data/Factory Reset" option. This action initiates the hard reset process, prompting the device to erase all data and settings, returning it to its default factory state. Confirm the selection to proceed with the hard reset.
-
Confirm the Hard Reset: After selecting the "Wipe Data/Factory Reset" option, the device will prompt you to confirm the action. Ensure that you have backed up your essential data, as this process is irreversible and will result in the permanent deletion of all data on the device. Once confirmed, the hard reset process will commence.
-
Wait for the Reset to Complete: The hard reset process may take a few minutes to complete, during which the device will erase all data and settings. It's important to allow the process to finalize without interruption, ensuring that the device is reset effectively.
By following these steps, you can successfully enter recovery mode on your Redmi Note 8 and initiate the hard reset process with confidence and precision. This proactive approach empowers you to address software issues and restore your device to its original factory settings, ensuring optimal performance and functionality.
Step 4: Perform the Hard Reset
Performing the hard reset on your Redmi Note 8 is a critical step in the process of restoring the device to its default factory settings. This procedure effectively erases all data and settings on the device, providing a clean slate for troubleshooting persistent software issues or preparing the device for a fresh start. Here's a detailed walkthrough of how to perform the hard reset with precision and confidence:
-
Initiate the Hard Reset Process: After confirming the hard reset within the recovery mode interface, the device will commence the reset process. This involves the systematic erasure of all data, including apps, media files, settings, and user preferences. It's important to allow the device to complete this process without interruption, ensuring a thorough reset.
-
Monitor the Reset Progress: As the hard reset progresses, the device will display on-screen indicators to signify the erasure of data and the restoration of default settings. It's essential to monitor the reset progress and allow the device to finalize the process entirely. This ensures that the device is reset comprehensively, paving the way for a fresh start.
-
Ensure Data Erasure: Throughout the hard reset process, the device will systematically erase all data and settings, reverting to its original factory state. It's crucial to verify that all personal information, accounts, and user-generated content have been effectively removed from the device. This proactive step ensures that the reset is thorough and comprehensive.
-
Prepare for Device Reboot: Once the hard reset is complete, the device will prepare to reboot into the initial setup interface. This signifies the successful restoration of the device to its default factory settings. It's important to allow the device to reboot seamlessly, initializing the setup process for the freshly reset device.
By following these steps, you can effectively perform the hard reset on your Redmi Note 8, addressing software issues and restoring the device to its pristine state. This proactive approach empowers you to troubleshoot persistent software glitches and ensure that your device operates at its optimal performance level. With the hard reset completed, your Redmi Note 8 is ready for a fresh start, free from the previous software issues and user-generated data, providing a clean and reliable user experience.
Step 5: Reboot Your Device
After successfully performing the hard reset on your Redmi Note 8, the final step involves rebooting the device to initialize the setup process and ensure that the reset is fully implemented. Rebooting your device after a hard reset is crucial, as it allows the device to transition from the reset state to the initial setup interface, where you can configure the device with your preferred settings and restore your backed-up data. Here's a detailed guide on how to reboot your device effectively:
-
Complete the Hard Reset Process: Before proceeding with the reboot, ensure that the hard reset process has been completed successfully. Verify that the device has erased all data and settings, returning to its default factory state. This confirmation ensures that the device is ready for the reboot and setup process.
-
Press and Hold the Power Button: To initiate the reboot, press and hold the power button on your Redmi Note 8. The power button is typically located on the right-hand side of the device. Continue holding the power button until the device powers on and the Redmi logo appears on the screen.
-
Navigate the Initial Setup Interface: Upon rebooting, the device will transition to the initial setup interface, prompting you to configure essential settings such as language, Wi-Fi connectivity, date and time, and account credentials. Follow the on-screen instructions to customize the device according to your preferences.
-
Restore Backed-Up Data: If you've backed up your data before performing the hard reset, this is the opportune moment to restore your backed-up information. Utilize the backup sources, such as cloud services or computer backups, to retrieve your contacts, photos, videos, and app data. This step ensures that your essential data is seamlessly restored to the device.
-
Complete the Setup Process: Proceed through the setup interface, ensuring that all necessary settings and preferences are configured according to your requirements. This includes signing in to your accounts, setting up security measures, and customizing the device to align with your usage patterns.
By following these steps, you can effectively reboot your Redmi Note 8 after performing a hard reset, ensuring that the device transitions smoothly from the reset state to the initial setup interface. This proactive approach empowers you to configure the device according to your preferences and restore your essential data, culminating in a seamless and successful post-reset experience. With the device rebooted and set up according to your specifications, your Redmi Note 8 is ready to deliver optimal performance and functionality, free from the previous software issues and user-generated data.
Conclusion
In conclusion, the process of performing a hard reset on your Redmi Note 8 is a valuable troubleshooting tool that empowers you to address software issues and restore the device to its original factory settings. By following the step-by-step guide outlined in this comprehensive walkthrough, you have gained the knowledge and confidence to navigate the hard reset process with precision and effectiveness.
The initial step of backing up your data ensures that your valuable information is securely preserved, allowing for seamless restoration after the hard reset. By utilizing cloud services, syncing contacts and calendars, and transferring media files to a computer, you have safeguarded your essential data, enabling a smooth transition during and after the reset process.
Powering off the device and entering recovery mode are pivotal preparatory steps that set the stage for initiating the hard reset. By following the detailed instructions to power off your Redmi Note 8 and enter recovery mode, you have ensured that the device is ready for the comprehensive reset process.
Performing the hard reset itself involves systematic data erasure and restoration of default settings, effectively addressing persistent software issues and providing a clean slate for the device. By monitoring the reset progress and verifying the thorough erasure of data, you have ensured that the hard reset is executed with precision and completeness.
The final step of rebooting the device and navigating the initial setup interface allows for the seamless transition from the reset state to the personalized configuration of the device. By following the reboot process and restoring your backed-up data, you have culminated the hard reset experience with a successful post-reset setup, ensuring that your Redmi Note 8 is ready to deliver optimal performance and functionality.
In essence, the hard reset process equips you with the capability to troubleshoot software issues, restore your device to its pristine state, and configure it according to your preferences. By leveraging the insights and instructions provided in this guide, you have harnessed the power to maintain the optimal performance of your Redmi Note 8, ensuring a reliable and seamless user experience.
With the hard reset completed and the device rebooted and set up according to your specifications, your Redmi Note 8 is poised to deliver a fresh and dependable user experience, free from the previous software issues and user-generated data.